Overview
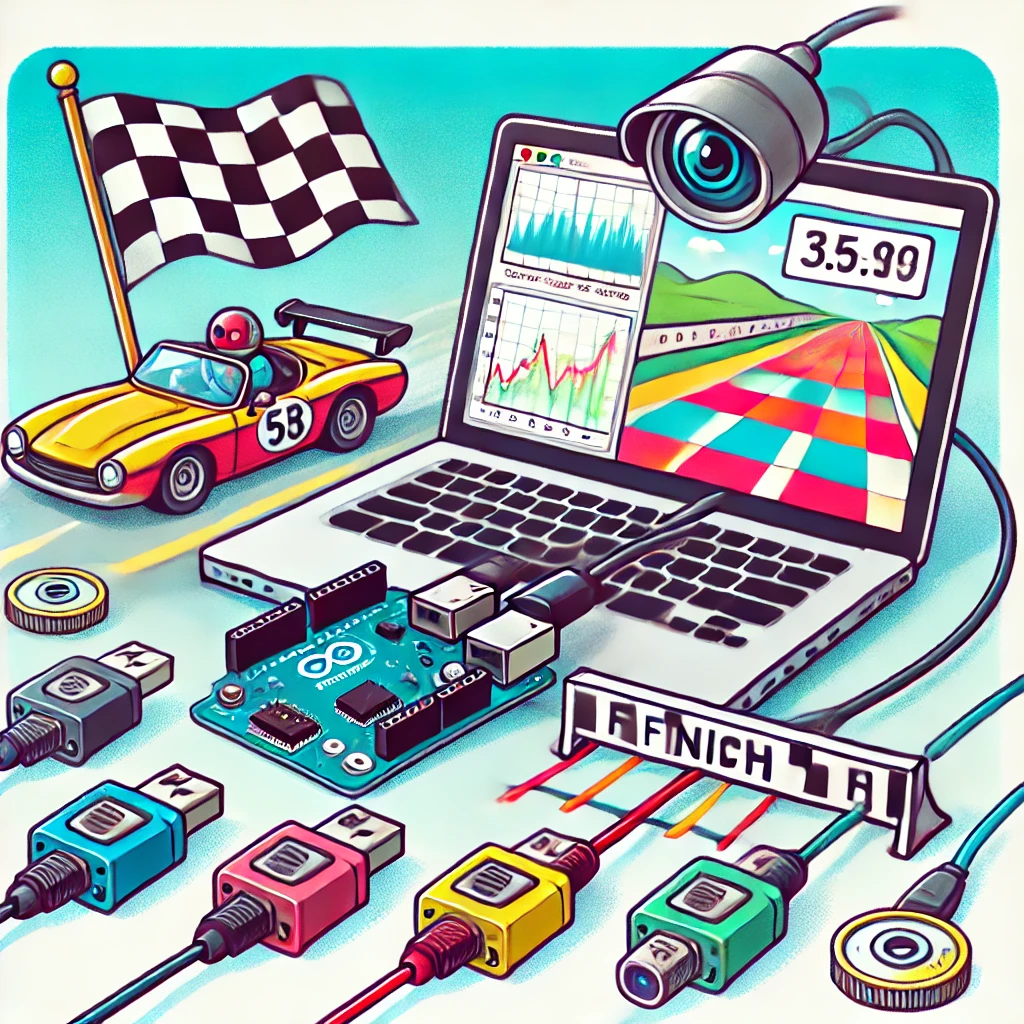
Do it yourself photofinish can be more challenging than it seems. Achieving precise race timing and clear, high-quality photo finish analysis is essential for any event involving fast movements and close finishes. In this article, I’ll walk through how we developed a fully integrated race timing and photo finish system using LabVIEW, Arduino Giga, and a mobile phone camera (iVCAM). This setup achieves 10ms sensor sampling for exact finish-line timing and captures 20 pre-trigger and 20 post-trigger frames for detailed photo analysis. It’s an accessible and highly accurate solution for smaller events, clubs, or schools that need professional-level timing without the high costs.
System Goals
To design a timing and photo finish system, we focused on:
Precise sensing of runner passage: Using ultrasound distance measurement on multiple lanes (up to 8 lanes)
Photo finish capture: 20 pre- and 20 post-trigger frames at 25 or 30 fps (camera dependent)
Real-time data processing and display: Handled through LabVIEW for seamless review and export
System Components
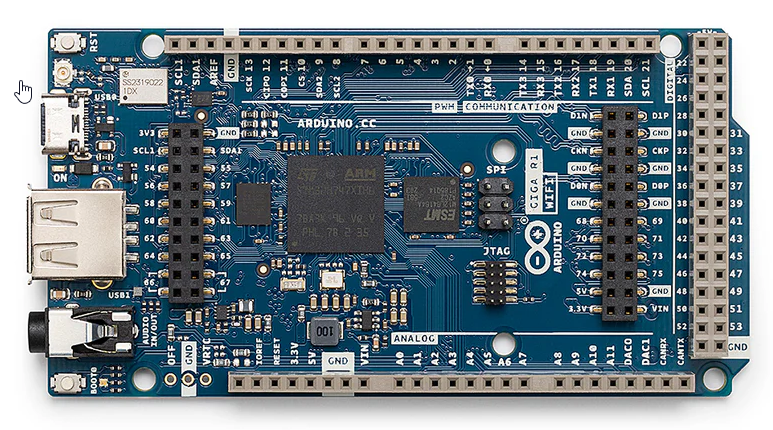
Arduino Giga: Interfaces with up to 8 distance sensors, sampling data every 10ms.
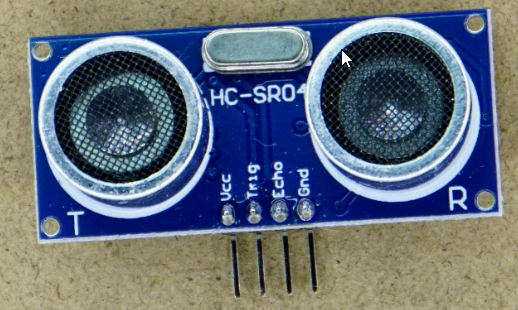
Distance Sensors: Placed in the floor, they measure the height as runners cross, marking the exact finish time.
Mobile Phone Camera (or any USB Camera): Captures frames at 20ms intervals, with 20 frames pre- and post-trigger for a detailed view of the crossing. The mobile camera solution makes this project highly affordable and deployable.
LabVIEW Interface: Manages all data capture, synchronizes the sensors with the camera, processes trigger events, and presents results ready for export.
Youtube Video of the working principle
System Structure and Workflow
Sensor Module and Trigger Detection (Arduino + LabVIEW):
The Arduino Giga collects data from up to 8 distance sensors placed in each lane on the ground, sampling all sensor every 10ms. Base code available here
LabVIEW processes these measurements and checks each lane’s distance against a predefined threshold to detect crossings.
Camera Module (LabVIEW+Python):
LabVIEW manages a USB camera with a circular frame buffer that continuously stores frames before and after a trigger.
When a crossing is detected, LabVIEW freezes the buffer, capturing a detailed view of the finish line at the critical moment.
A Python TCP server using OpenCV is used to capture the camera to provide an open and accessible implementation to Camera Capture since IMAQdx is not free as LabVIEW Community.
Data Analysis and Review (LabVIEW):
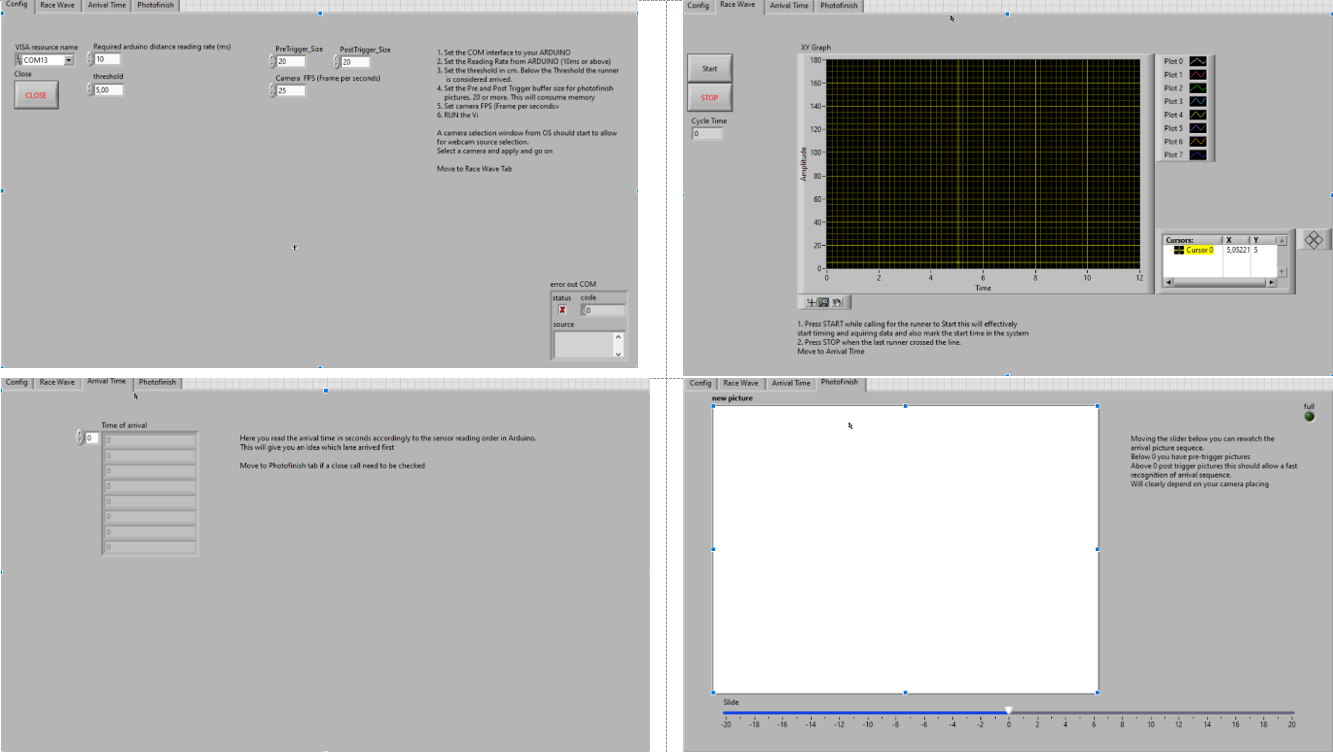
LabVIEW’s interface displays real-time sensor data and manages photo finish images for post-race analysis.
Results, including lane number, timing, and order, can be reviewed within LabVIEW and exported to a platform of choice.
Key Technical Aspects
Multiple Labview Loops communicating through custom events. multiple event driven state machines architecture.
Trigger and Circular Buffering: The Arduino sends a precise trigger to LabVIEW upon detecting a crossing. LabVIEW captures pre- and post-trigger frames in real-time, ensuring no crucial moment is missed.
Data Synchronization and Interpolation: By sampling the sensors every 10ms and using interpolation, we achieve precise timing—even in close races. This setup rivals the accuracy of many professional timing systems.
Data Export: At the end of each race, all timing and photo finish data is compiled for easy export to any recording platform.
Python simplified image capture instead of NI-IMAQdx, for free image acquisition compatible with LabVIEW Community.
Download and Try It Yourself
This complete project is available for download, including code, configuration files, setup instructions. The download package includes:
Arduino code for sensor monitoring and triggering
LabVIEW VIs for sensor integration, camera control, and data display
Instructions for customizing distance thresholds and buffer sizes to fit different event needs
The full package is priced at €49. With a budget camera and Arduino hardware, the total project cost remains under €200, providing precise race timing in an accessible, DIY format. This makes it an excellent project to explore with kids or as an educational module for schools.
Download Here Race Timing and Photo Finish System
Software Dependencies
This project is designed to be accessible with free tools, making it even more practical for schools, clubs, and DIY enthusiasts:
Arduino IDE: The Arduino IDE is free to download and use, allowing you to upload the provided code directly to the Arduino Giga. Download the Arduino IDE here.
LabVIEW Community Edition: LabVIEW provides a free Community Edition specifically for personal, non-commercial projects. This edition includes the full LabVIEW IDE and allows you to implement the provided LabVIEW VIs for data capture, real-time display, and photo finish analysis. Download LabVIEW Community Edition here.
iVCAM: while not stricly necessary I found it handy to have a "remote" webcam hooked to the PC. You can download iVCAM here. The paid version removes the AD and allow for longer interface time.
With these software tools, you’ll have everything needed to set up, run, and explore the project, making it ideal for educational or non-commercial use.
Conclusion
This project offers an affordable yet powerful solution for accurate race timing and photo finish analysis. Whether you’re timing school races or small competitions, this system provides professional-grade functionality with flexible configuration options. If you have any questions, feel free to reach out—and enjoy the precision of professional race timing!
Save for Later
If you are reading this content on a mobile device you can send this article to your email using this link: MAIL TO ME
Enjoyed the content?
If you found this article useful, consider supporting my work with a coffee or exploring the downloadable examples available on my Buy Me a Coffee page. Your support helps keep the motivation high and fuels more hands-on content!
