
We're making some Freeze Dried Treats for Family Gifts. Last year we cut up mini cheesecakes and they were a hit! They came out crunchy like a cookie. We got more requests for Cheesecake Bites this year. We decided to try using some fun food molds, and various mixtures of cheesecake with pastry filling and water, to see if we can make some treats that are not only delicious and fun, but also easier to bite into.
We bought some Philadelphia No Bake Cheesecake filling and also some Raspberry and Apricot pastry filling. We also bought various silicone food molds to make some fun shapes for Christmas. Here is our link to the Gingerbread Houses Molds we're using for this particular project. They come in a two pack so you can make 12 at a time.
Time Saving Tip: Super busy and short on time? You can also fill food molds with your favorite Cinnamon Applesauce, pop into the freeze dryer, and have fun and tasty cookie-style treats!
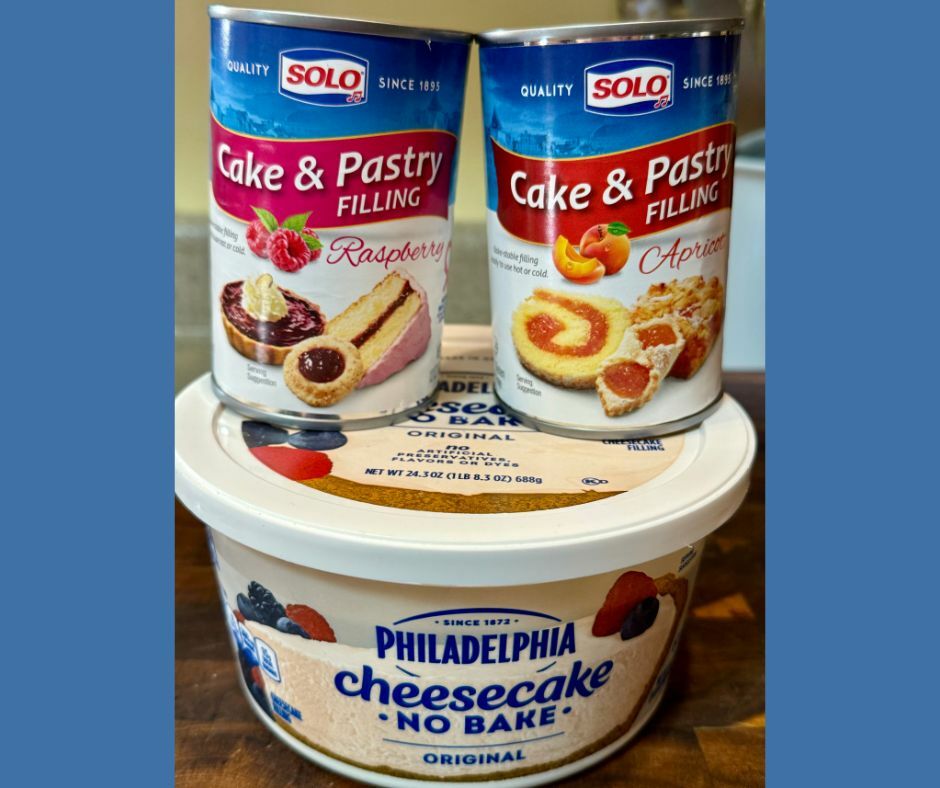
In order to make the cheesecake & filling mixtures easier to pour into the food molds, we whisked in some water. Thinning out the mixture also produces a cheesecake treat that is easier to bite into once freeze dried. If you've ever freeze dried cheesecake bites in the past, and thought they were too hard on the tooth, then perhaps our techniques will help you!
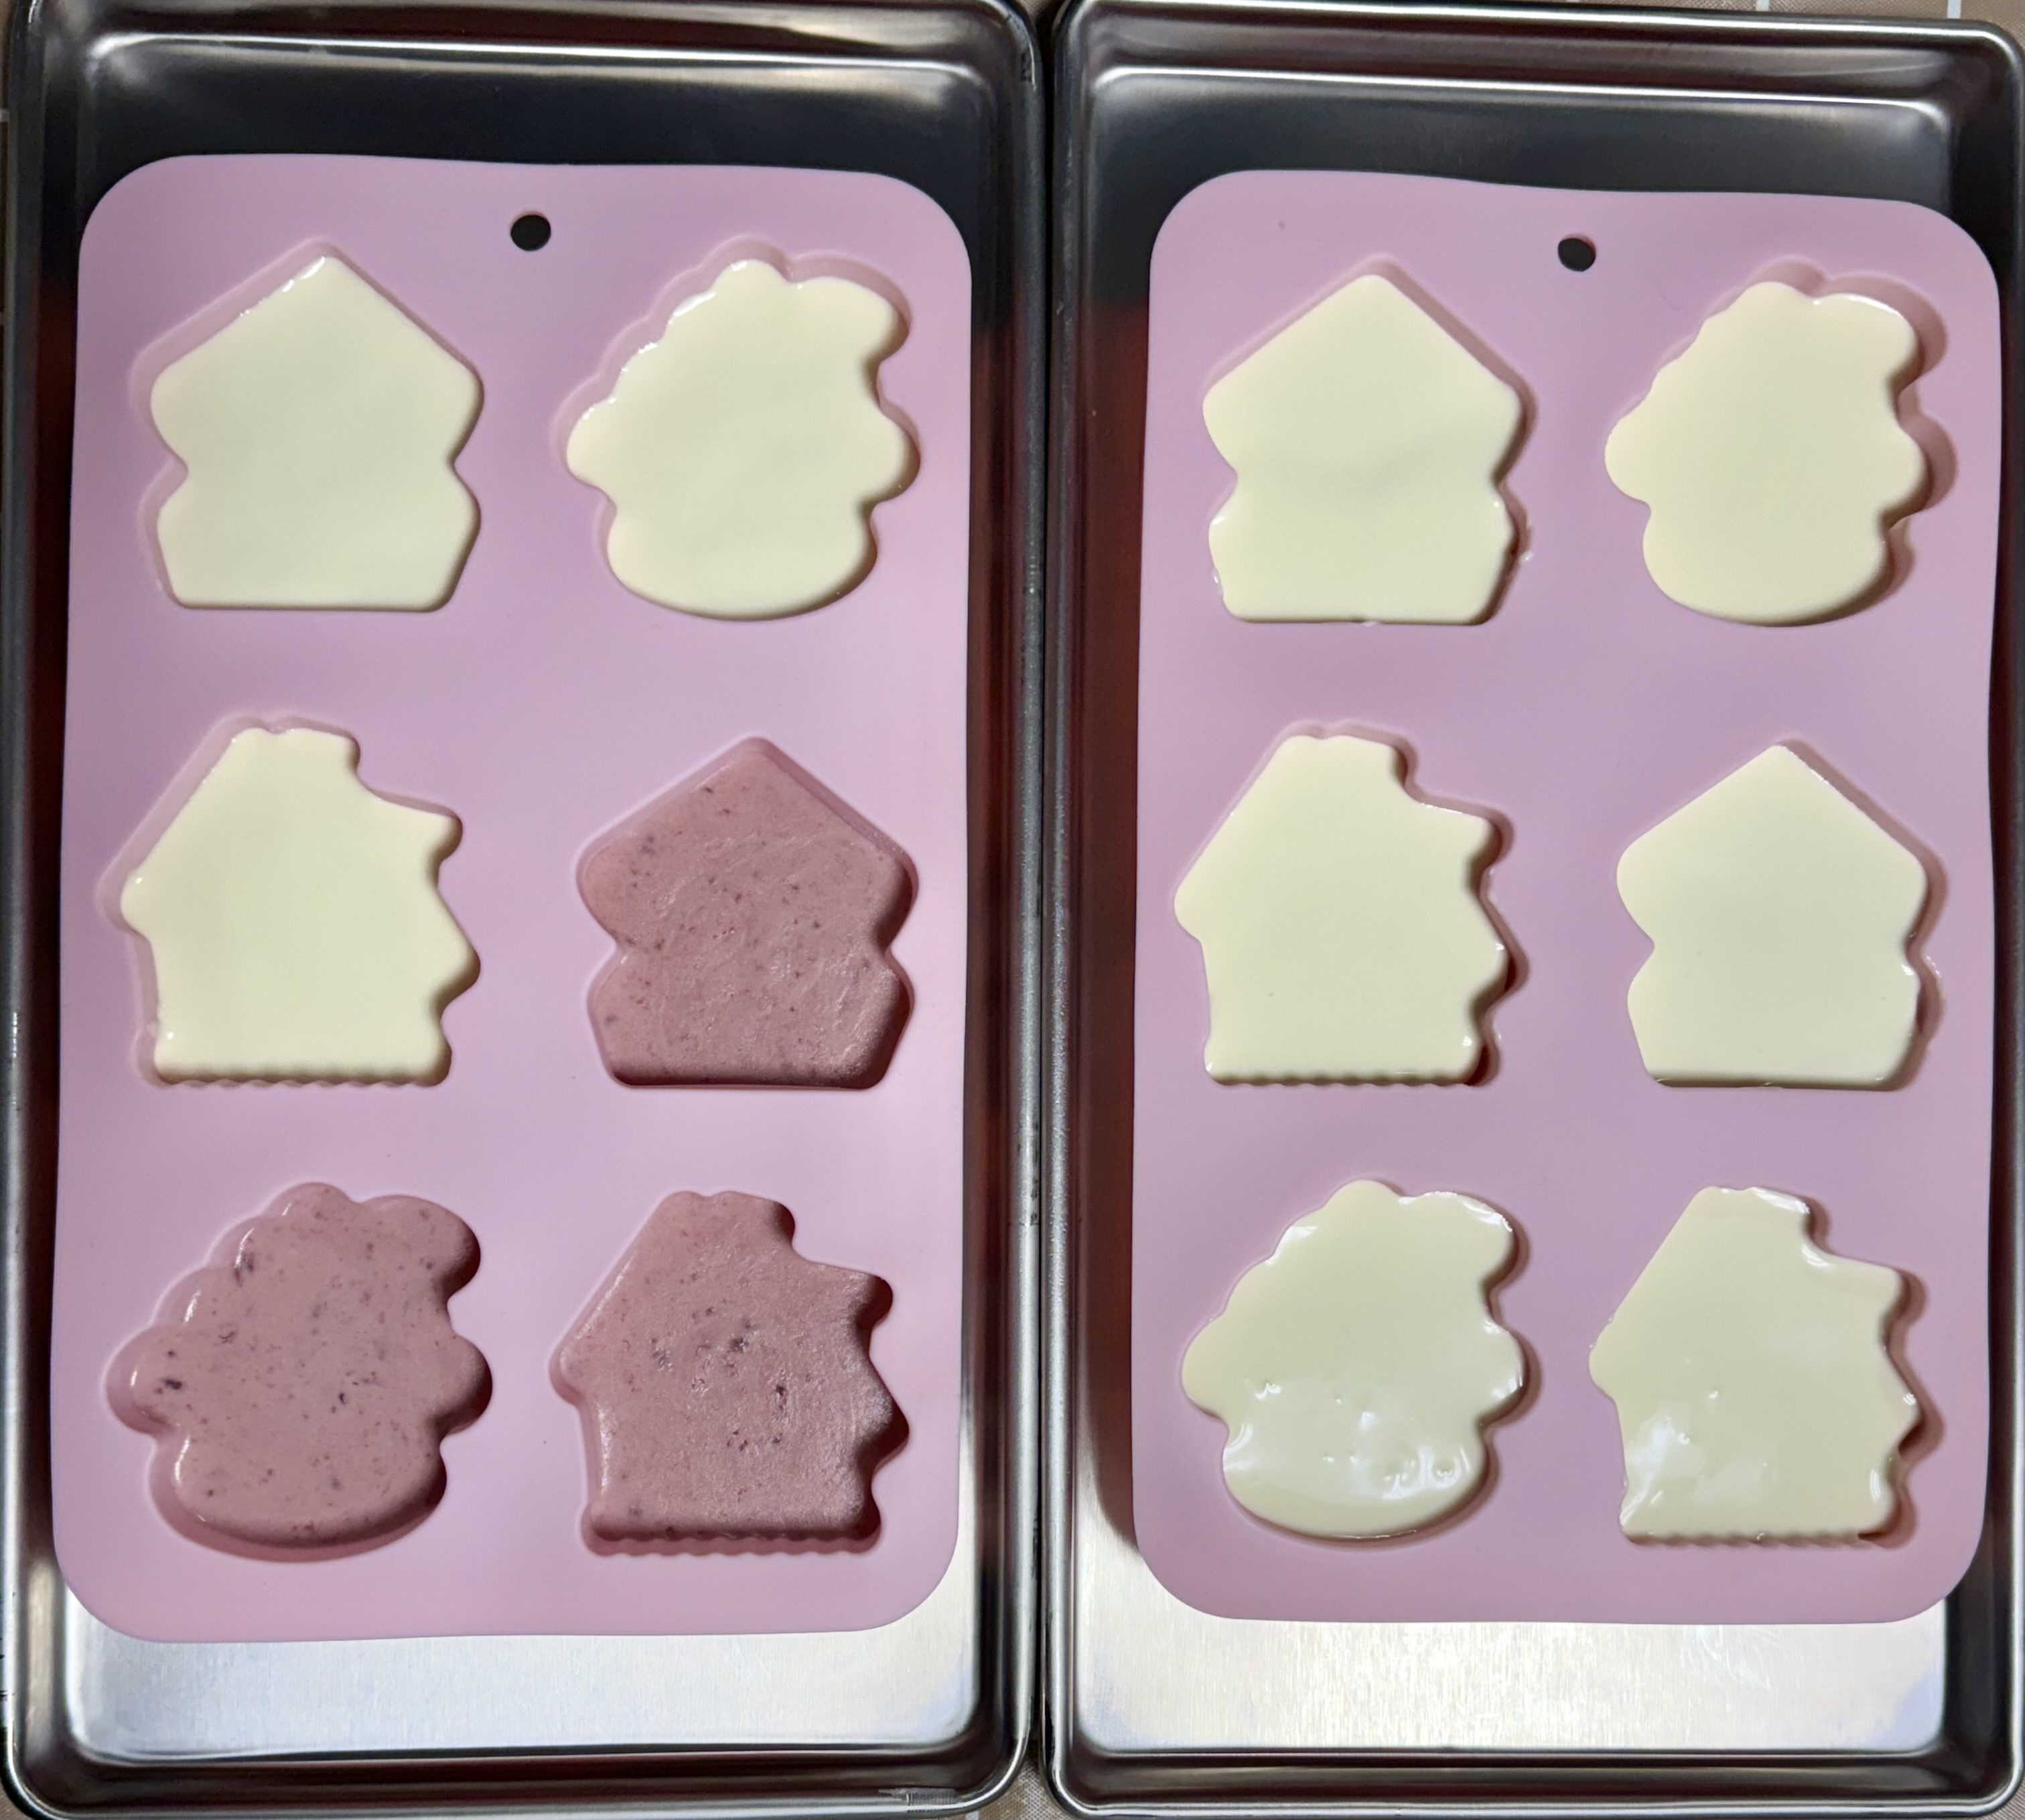
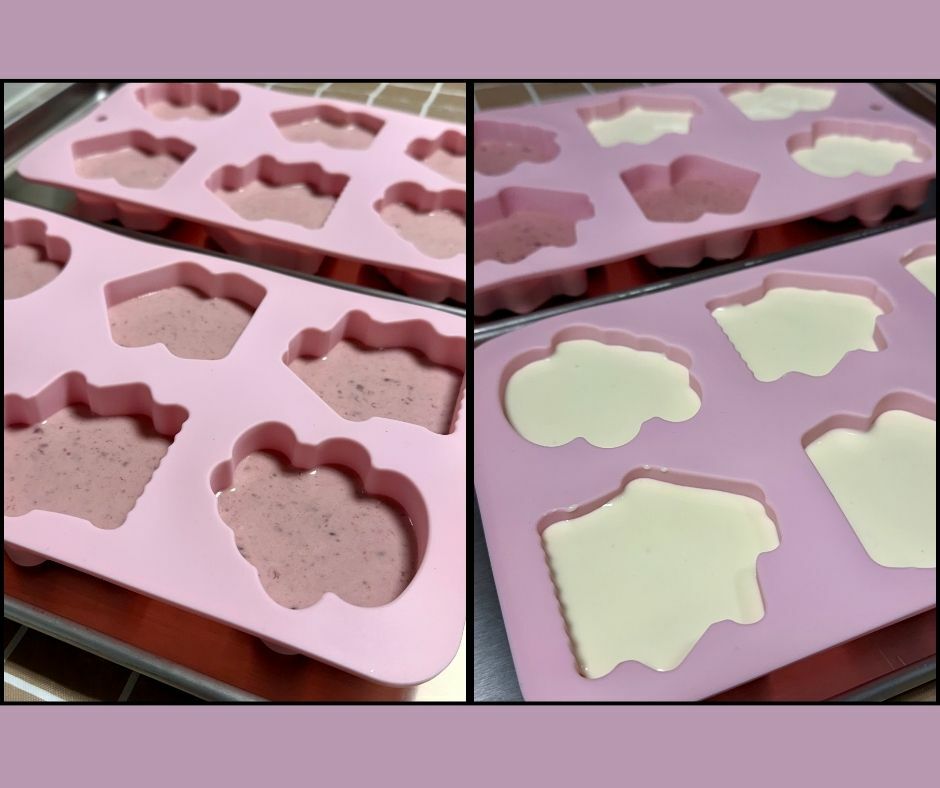
First, we took some cheesecake filling and mixed it with some of the raspberry pastry filling and also some water. Then we placed the food molds onto our trays for support. We poured a thin layer of the cheesecake mixture into the food molds, and then placed them in the freezer for about an hour. We then took more of the plain cheesecake filling, added water, whisked, and then poured a second layer into the food molds. We put them back into the freezer.
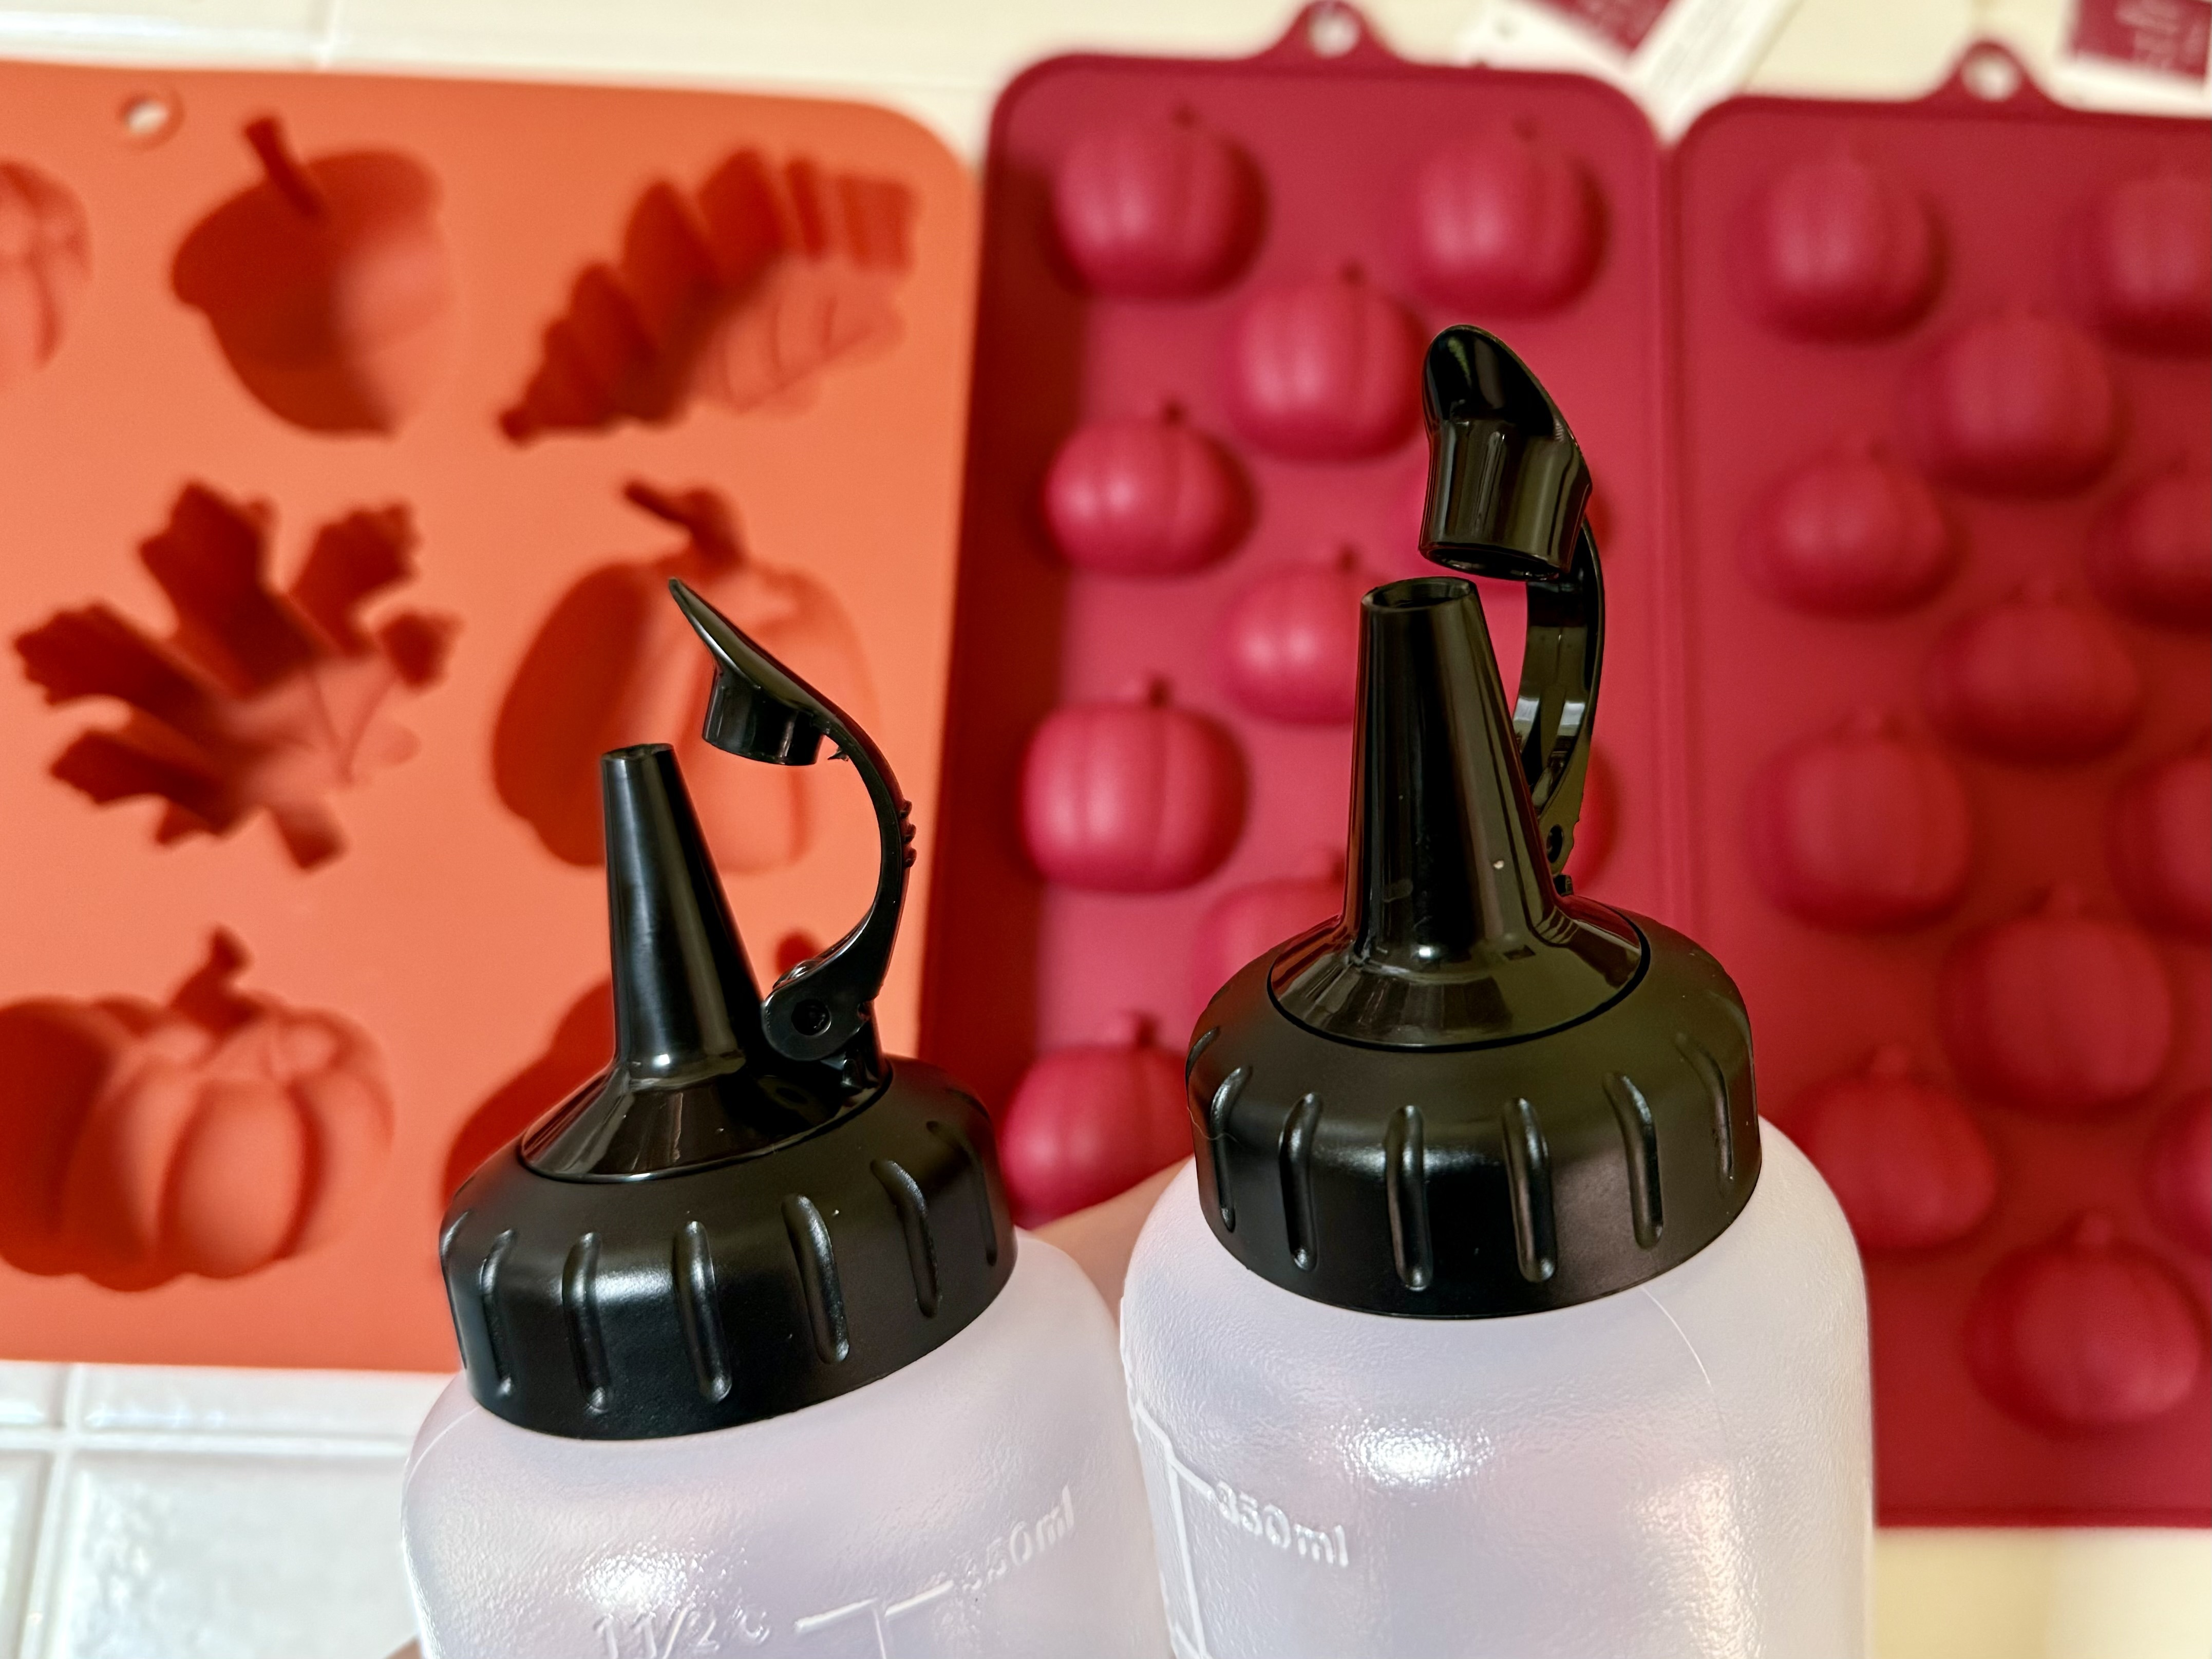
Here is the Condiment Squeeze Bottles Set we like to use for filling food molds - one has a narrow tip for the thinner mixtures and one has a wider tip for the thicker mixtures. Using these tips makes it so much easier to reach in all the corners and distribute the mixtures into all of the various shapes!
How much water did we add?
Raspberry Cheesecake Layer: 1/2 cup cheesecake filling + 1/4 cup raspberry pastry filling + 1/4 cup water + 1/8 cup of more water. Whisked mixture up in a measuring cup with pour spout. This mixture was enough to partially fill 6 of the gingerbread house molds (so double this if you're filling all 12).
Plain Cheesecake Layer: 1 cup cheesecake filling + 1/2 cup water. This mixture was enough to add a second thin layer on top of the raspberry cheesecake layer to partially fill 9 of the gingerbread house molds (I decided to leave the other 3 as just one layer to find out if they held their shape well or if they were too fragile after freeze drying - we shall see)
These food molds are deep so I partially filled them on purpose to keep them relatively thin. This way, they will be easier to bite into later on after freeze drying. Thinning down the mixture to make the treats easier to bite into worked very well when we made our batches of Freeze Dried Pumpkin Pie Bites! If you've tried FD cheesecake bites and pie bites in the past and thought they were too hard on the tooth, then you'll definitely want to try this technique of thinning out the mixtures. It's a game-changer!
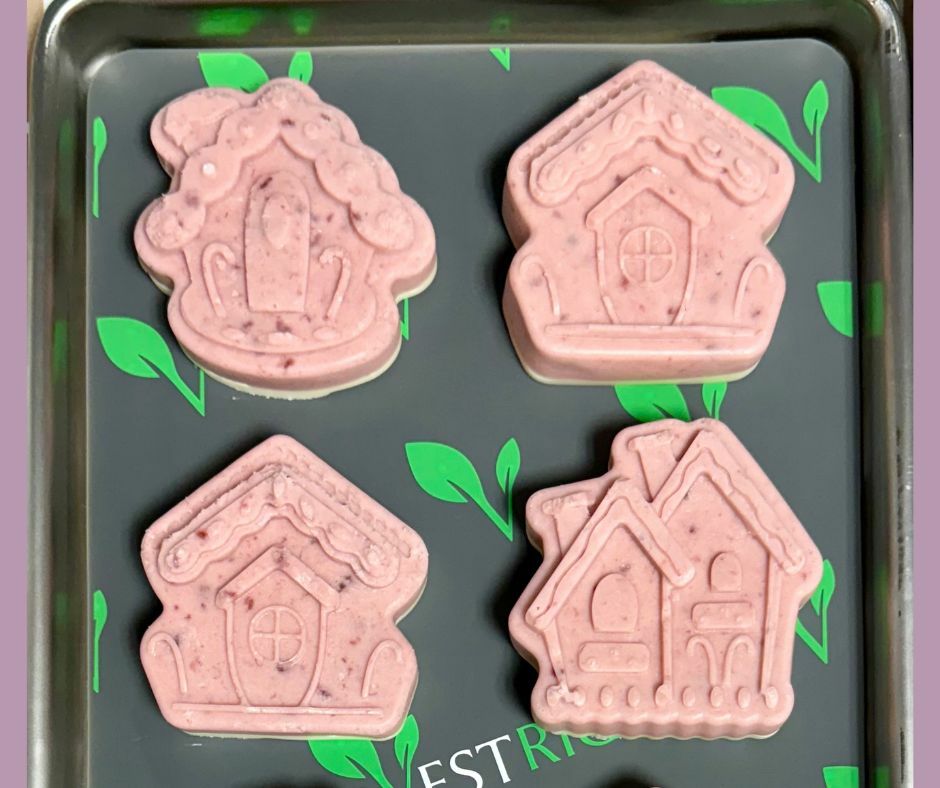
Later, each piece was carefully removed from the food mold and placed onto a tray. You can see the top layer of Raspberry Cheesecake and the bottom layer of plain Cheesecake. We line the trays with silicone mats to prevent sticking. Each tray was then put back into the freezer until all the trays are ready to go into the freeze dryer.
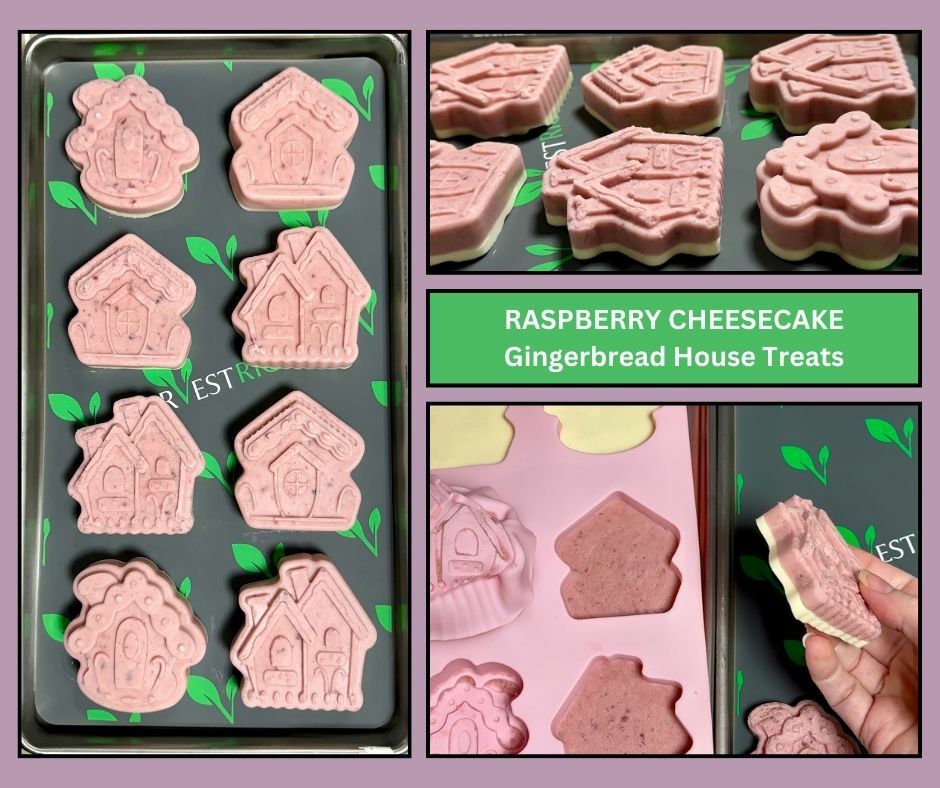
We are planning to make an additional set of these treats using the Apricot pastry filling. This is an ongoing FD Project, and we will be updating this Post as we move forward. Feel free to follow along!
We use our Custom-Built FD Log App to record our Batches and see what's in our Inventory. You can see in these screenshots below, in the Notes area, how we can add whatever details we need to record as the batch begins, cycles, and completes. These screenshots are from the start of the batch, and we will be adding our Dry Check Notes along the way. These notes are great to reference later when we want to freeze dry more of the same food items, and want to see how long it took or what combination of ingredients we used, etc.
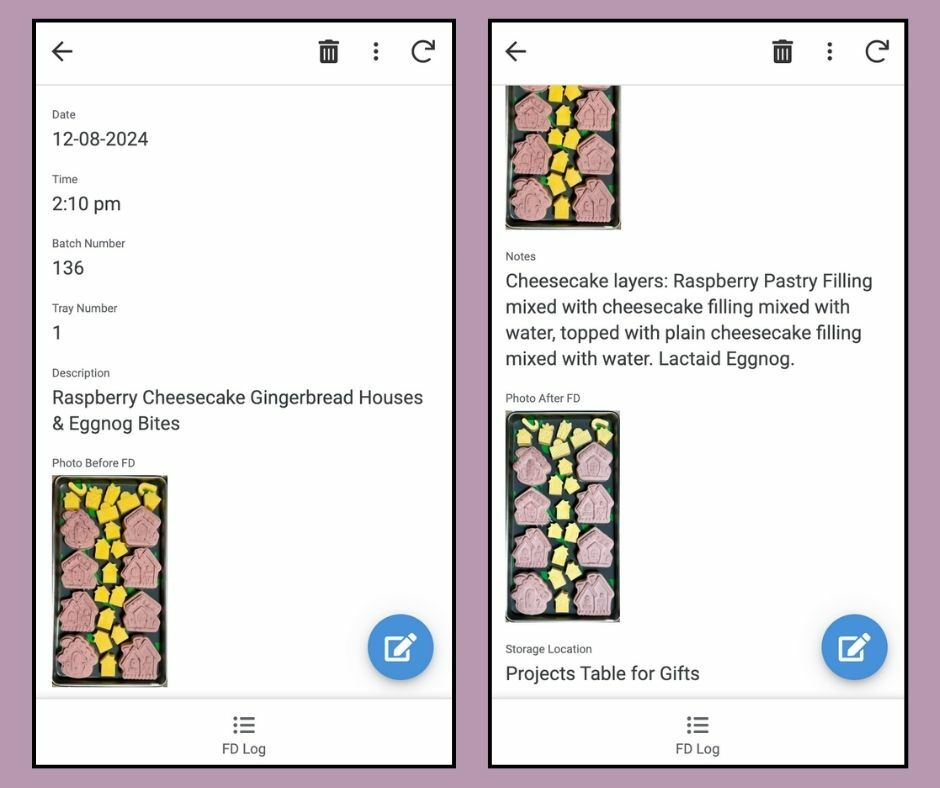
If you'd like to learn how to custom-build your own FD Log App to track your batches and inventory using your cell phone or tablet, click here to learn more about our online tutorial!
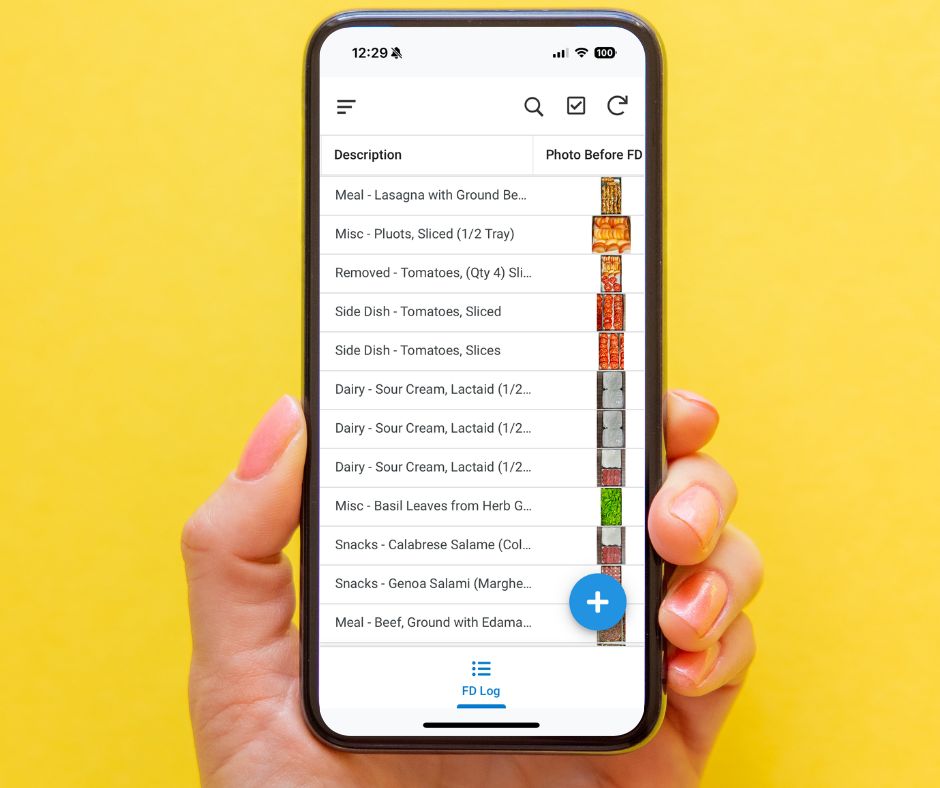
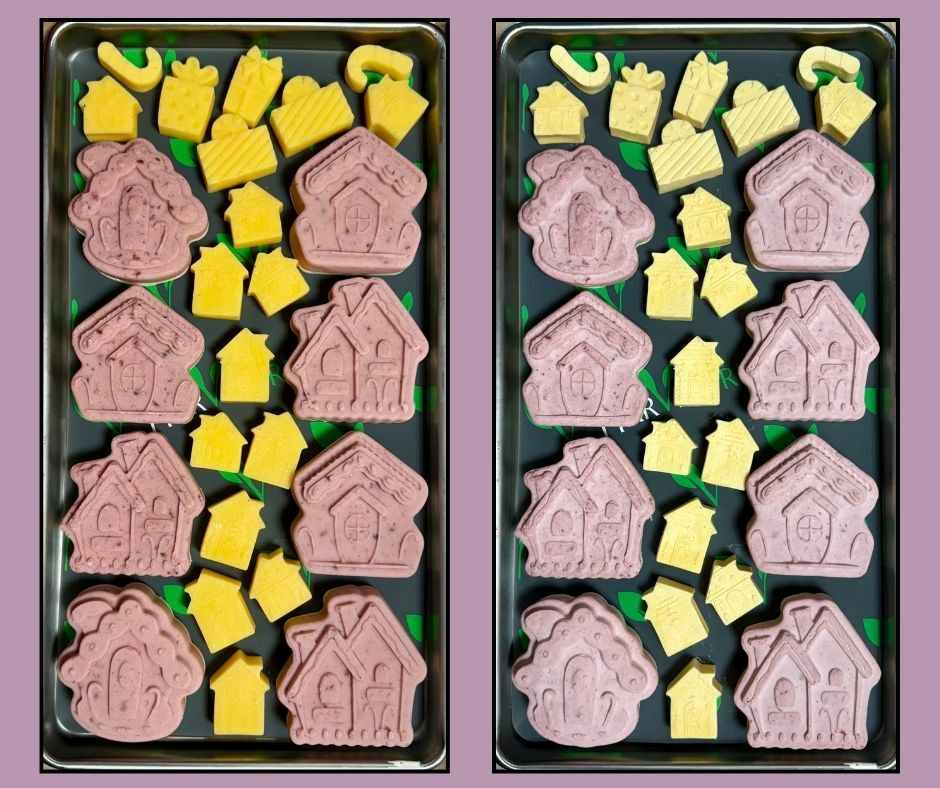
Photo below shows Tray 1 Before and After Freeze Drying. The colors get lighter, which is always fascinating to see, and the flavors get more concentrated.
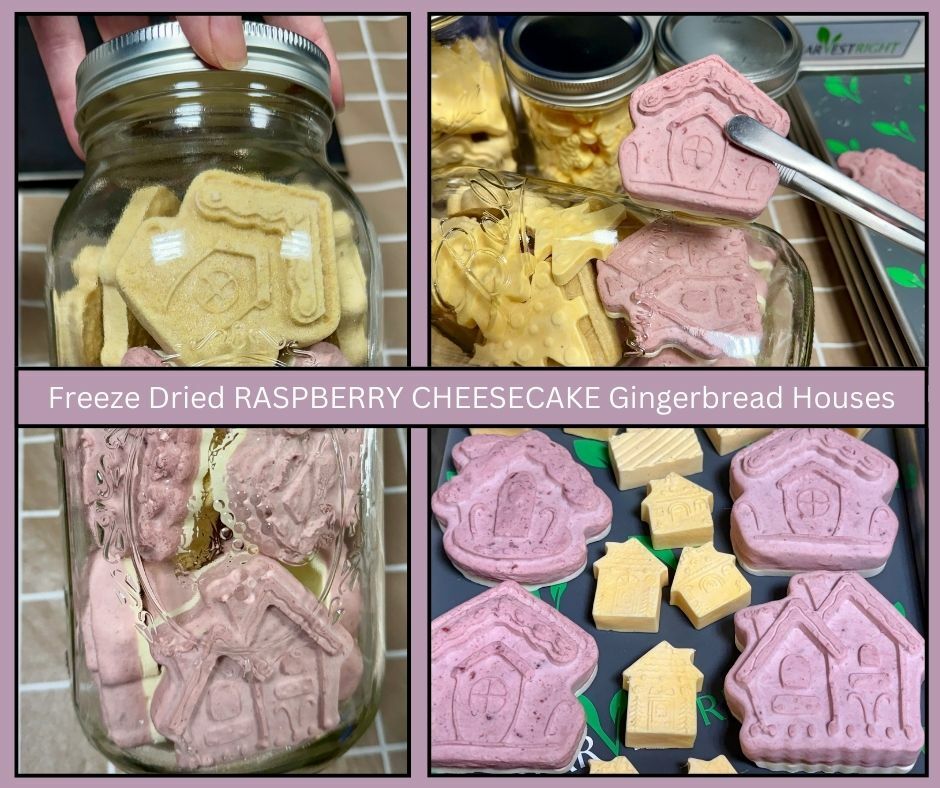
We use the Weigh Method to determine dryness. Once all the trays stopped dropping in weight, we stored in vacuumed sealed jars until it's time to arrange the gift packages for Family. We used our Handheld Electric Mason Jar Sealer (for Wide-mouth and Regular-mouth jars) - they are quick and easy to use - we have one upstairs and one downstairs for convenience. (Having a backup is also nice in the event one stops working - we still have the other to tide us over until a replacement arrives.) If you have hand or wrist pain, and don't like having to twist the adapter piece on and off, then consider using this Dual-Head Auto-Stop Mason Sealer instead - it has dedicated ends for both regular and wide mouth lids and doesn't require an adapter piece.
We like to use long, Stainless Steel Food Tweezers to add FD foods into the larger, deeper jars. It's easier than trying to squeeze your hand in, and reduces the risks of breakage compared to just dropping them into the jars. Using Food Tweezers also makes removing them from jars and packing into gift bags easier. You also don't have to worry about moisture or oils from your hands getting onto your FD food items. This FD Accessory just makes life easier.

This was a really fun FD Project and we can't wait to give these as Gifts to Family members! We hope you found this to be interesting, informative, and inspires you to make some FD Raspberry Cheesecake Treats very soon.
We believe in Collaboration. Let's all help and support each other to become more Confident Freeze Dryers.
Love Our Content?
Want To Support Our Efforts In The Freeze Drying Community?
Here are ways you can contribute:
1. Use our links to purchase FD tools and Accessories. It's free for you and may earn us a small commission
2. Need to get more organized? Purchase our Online Training Guide to learn How to Custom-Build your own FD Log App to track your batches and storage inventory
3. Subscribe To Our YouTube Channel
4. Buy us a coffee! Your donations fuel our passion for freeze drying - We Appreciate Your Support!
5. Share Our FD Blog Posts With Others Who Will Enjoy This Info
6. Join our Facebook Group Freeze Dried Food For Travel And Storage
Scroll Down To See More Posts On Our Freeze Drying Projects And Experiments