"The Watercolor Pour technique has taught me above all else to go with the flow, make it your own, experiment and find what works for you, here is what works for me..."
Watercolor Pour Method: (No masking fluid)
Prepare paper by taping onto hard board using artist tape
Sketch design using an F drawing pencil. Be sure your sketch is easy to read, once you start pouring it is very easy to lose your lines.
Using a paint brush wet your entire paper except the lightest value (leave this bone dry as it will become the whites of your painting)
Pour transparent watercolor(s) onto the wet parts of the paper using plastic pipettes avoiding the dry areas and allow to blend by leaning board to and fro and dripping excess paint into tray or blotting along tape line with tissue paper. Be very careful not to let paint drift into dry areas.
Once 100% dry repeat this process, each time only charging color into the wet areas and being very careful to avoid the dry.
Repeat as needed until desired values are achieved. (light, mid, dark) I recommend no more than three pours (this keeps your colors from becoming muddy)
Hand finish with traditional painting using color mixes from initial colors used in pours.
Reminder : After each pour allow to dry 100% before starting the next step.
Watercolor Pour Method: (Masking Fluid)
Prepare paper by taping onto hard board using artist tape
Sketch design using an F drawing pencil. Be sure your sketch is easy to read, once you start pouring it is very easy to lose your lines.
Mask your whites, allow to completely dry, then using a paint brush wet your entire paper
Pour transparent watercolor(s) onto the paper using plastic pipettes and allow to blend by leaning board to and fro and dripping excess paint into tray or blotting along tape line with tissue paper.
Once 100% dry repeat this process, this time masking the next lightest value, allow to completely dry and then pour transparent watercolor(s)
Repeat as needed until desired values are achieved. (light, mid, dark) I recommend no more than three pours (this keeps your colors from becoming mud)
Remove masking fluid with rubber cement pick up
Hand finish with traditional painting using color mixes from initial colors used in pours.
Reminder : After each masking allow to dry 100% and after each pour allow to dry 100% before starting the next step.
Watercolor Pour Method: (Sectional Pour)
You can also pour a section at a time, wet the area you would like to pour color into, then pour transparent watercolor(s) onto the wet parts of the paper avoiding the dry areas and allow to blend by leaning board to and fro and dripping excess paint into tray or blotting along tape line with tissue paper. Be very careful not to let paint drift into dry areas. This method can be used to create beautiful backgrounds, foliage, and dynamic skies. I also use this method when painting roses and succulents, pouring a petal at a time.
Watercolor Simplicity -
There is something amazing that transpires when you limit your palette to the primaries, discovering new blends and vibrant hues of violets, orange, and green that you would never find straight from a tube. You will be surprised at the endless color possibilities! Keep color swatches with the names of the trio written on the back, this will help develop a color library.
Six Color Limitless Palette: (Hansa Yellow Light, Quinacridone Sienna, Quinacridone Red, Quinacridone Magenta, Pthalo Turquoise, Pthalo Blue Red Shade) - this palette adds two convenience colors, (Quinacridone Sienna and Magenta) wonderful mixers! These two additions allow for rich vibrant browns, subtle greys, and rich transparent blacks.
Watercolor Pour Project Examples:
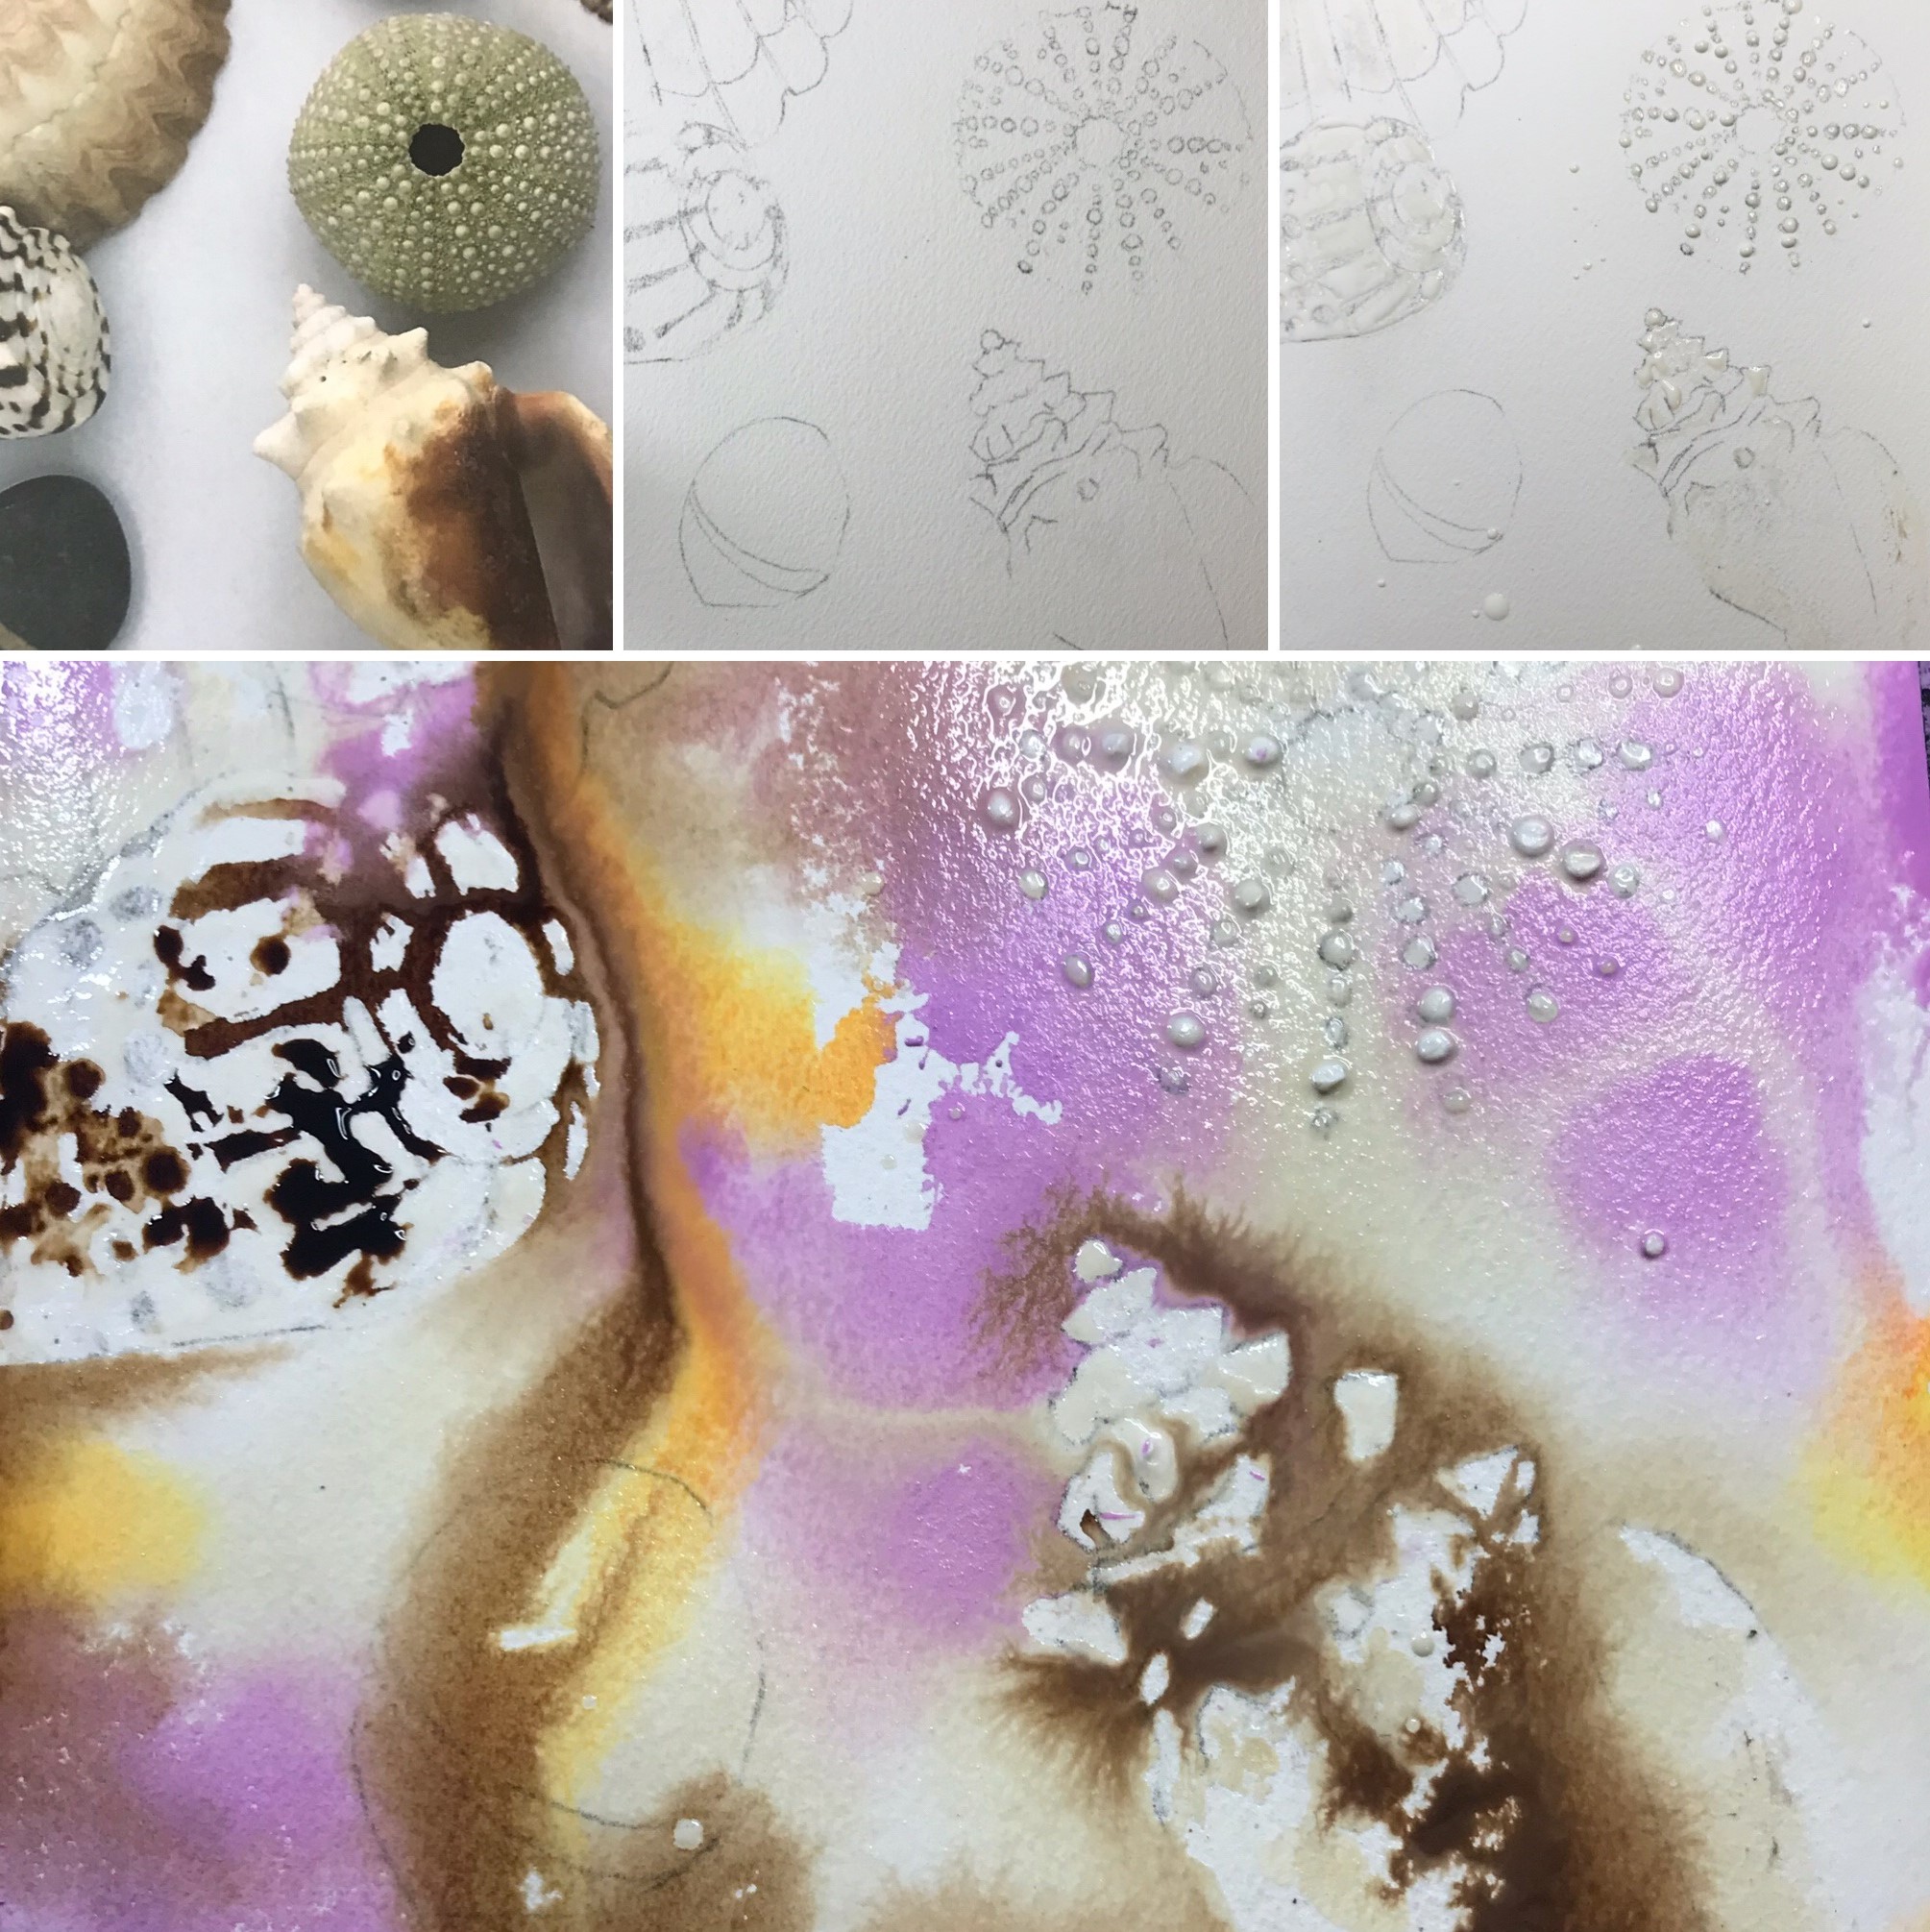
 Daniel Smith Paint & Walnut Ink, Winsor Newton Colourless Masking Fluid on Arches Paper
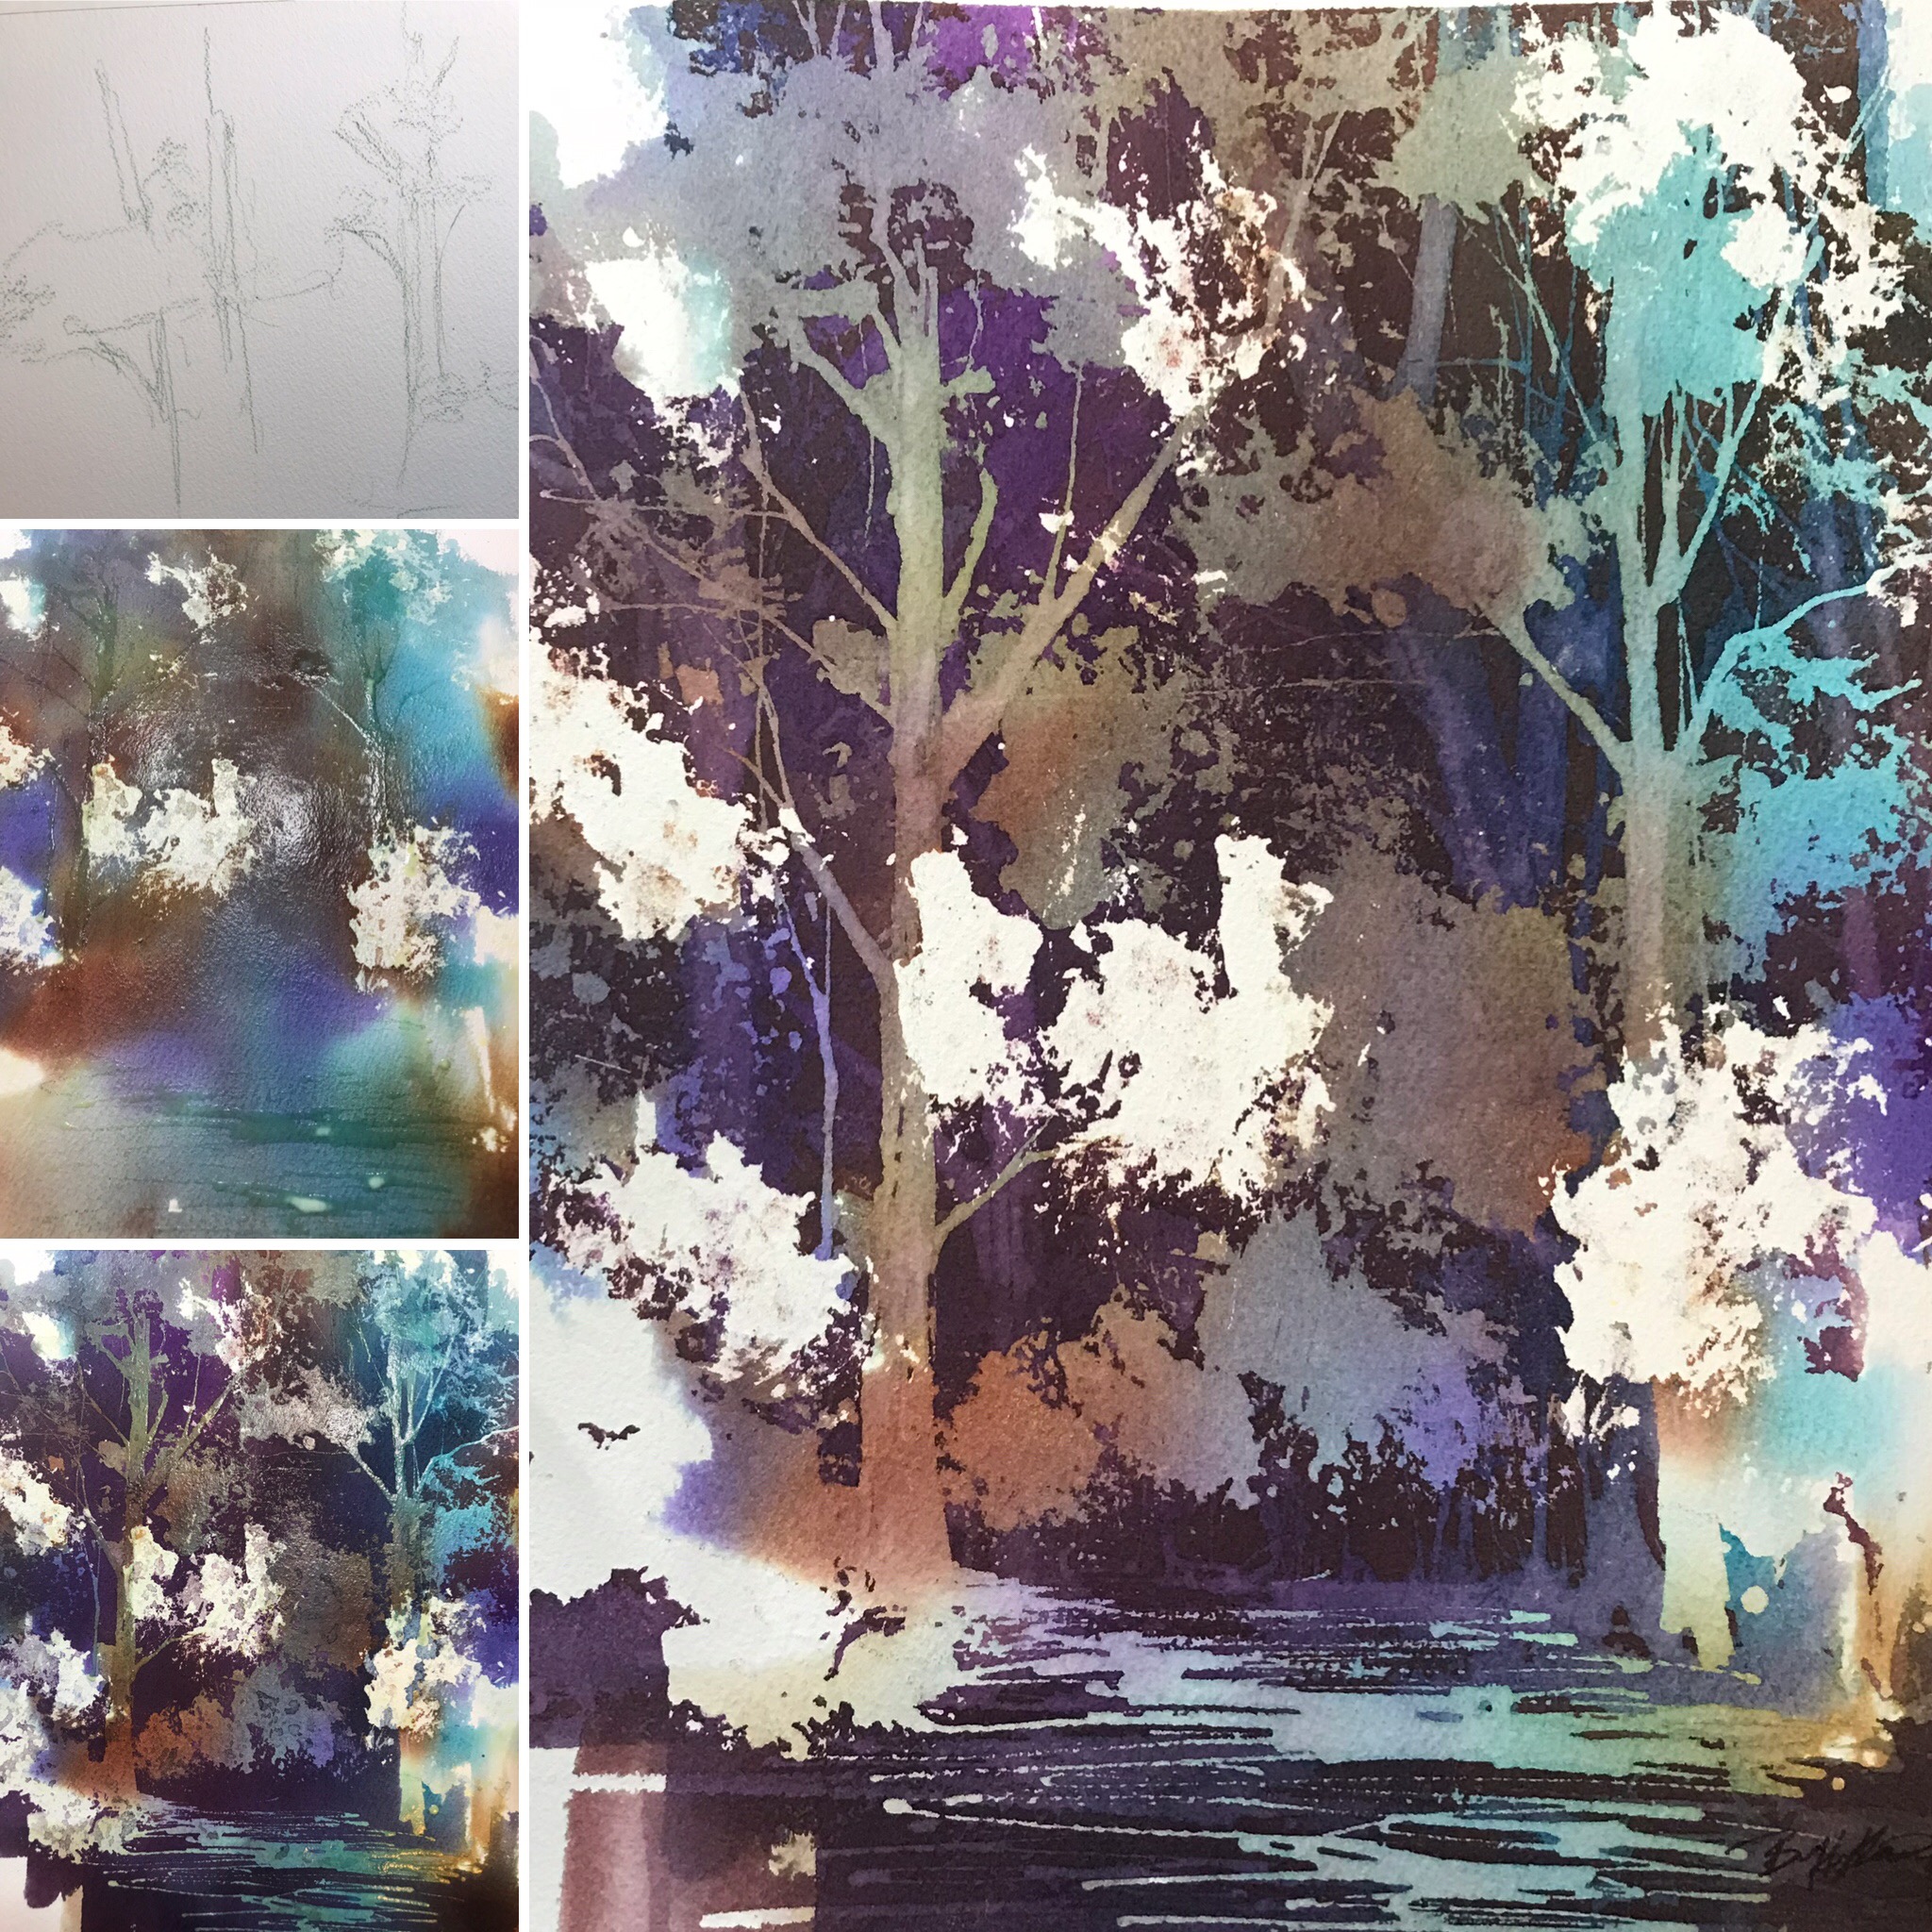
 Peerless Watercolors and Winsor and Newton Colourless Masking Fluid on Arches Paper
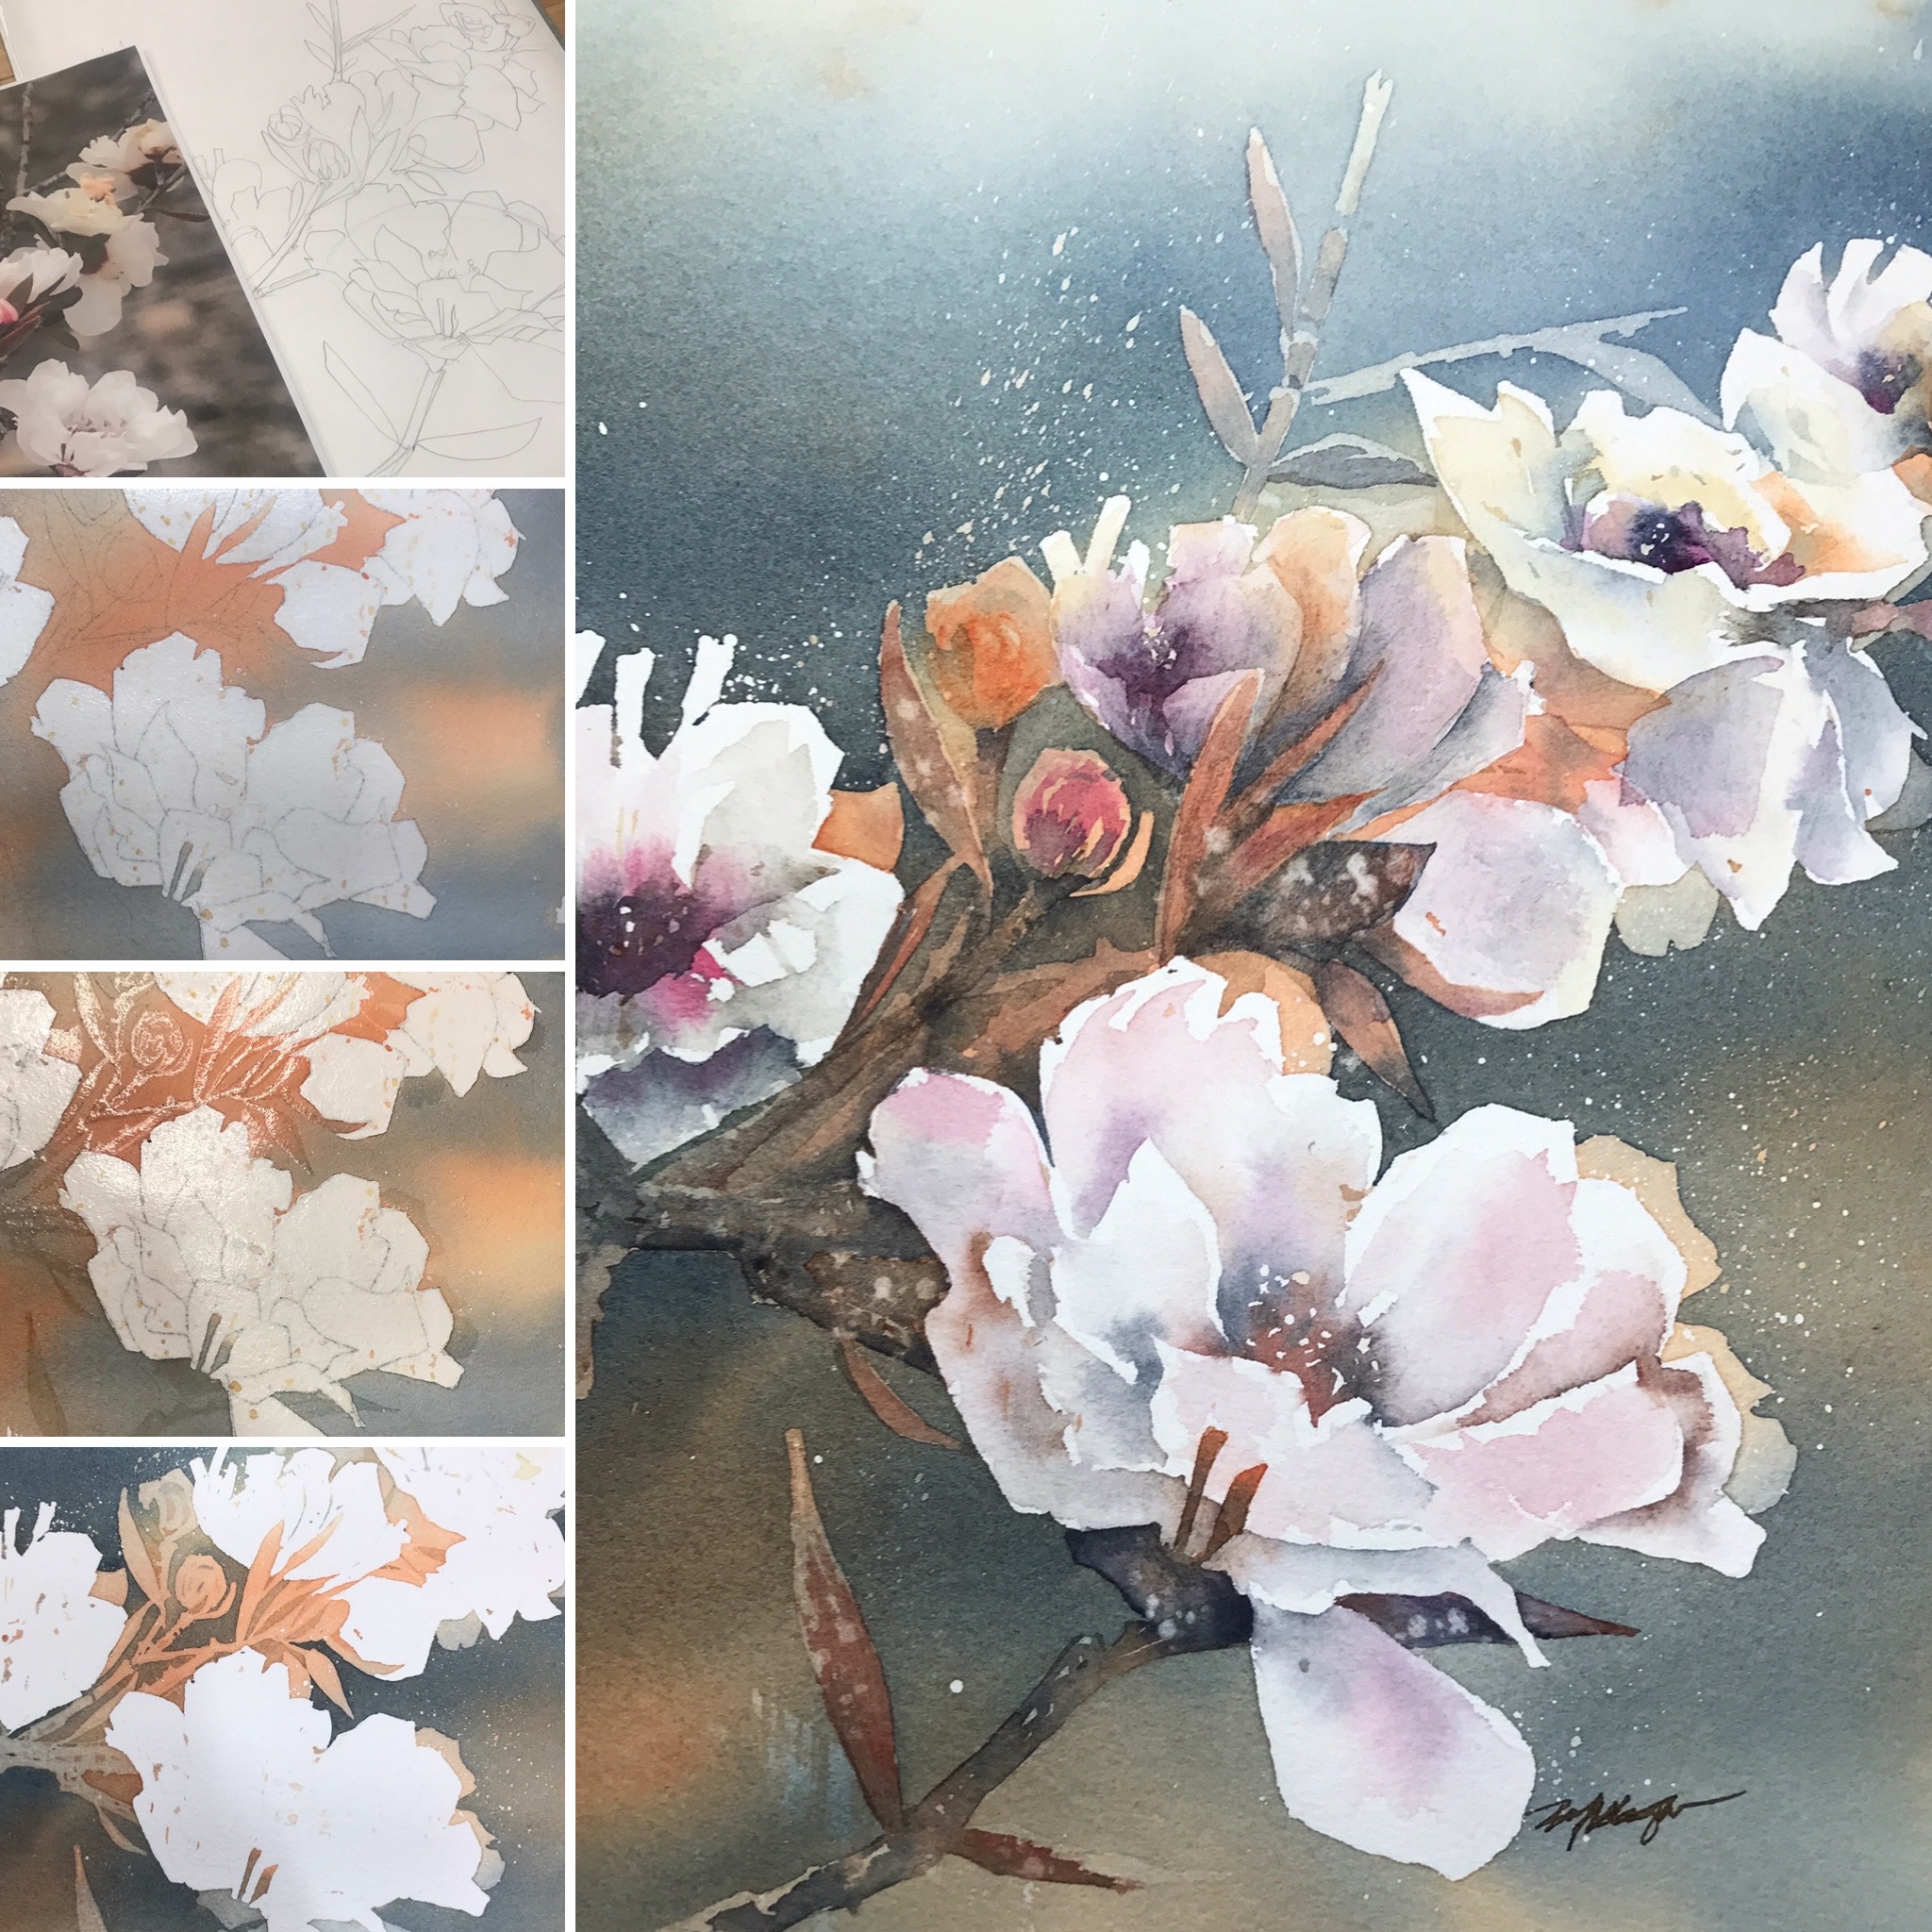
 Daniel Smith Watercolors on Winsor Newton Cold Press Paper & Colourless Masking Fluid
Think, Paint, Adapt, Enjoy! Happy Pouring!!!
