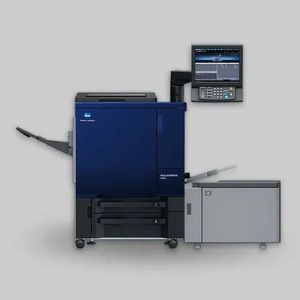

Based on the video transcript, here is a summary of how to take a test print to diagnose and solve lines on print issues for Konica Minolta production printers (series C6100, C1070, C3080, etc.).
1. Enter Service Mode
Press the buttons:
Utility/Counter→Stop→0→0→Stop→0→1.
2. Configure Test Pattern
Navigate to Test Mode.
Select Test Pattern Output Mode.
Pattern Number: Enter 58.
This specific pattern prints blocks of Cyan, Magenta, Yellow, Black, and Green (Yellow + Cyan mix).
Gradation: Set all values to 125.
This 50% density level makes lines and defects easiest to see.
Screen Setting: Use Screen 1.
3. Print the Test Sheet
Go to Print Mode.
Select Full Color.
Select a paper tray containing paper.
Press Start.
4. Analyzing the Output
Examine the printed sheet to identify the faulty color unit:
Yellow Lines: Hard to see on pure yellow. Look at the Green patch.
If you see lines in Green but not in Cyan, the issue is with the Yellow drum or developer.
Cyan Lines: You will see lines in both the Cyan and Green patches.
Magenta/Black Lines: These will appear clearly in their respective color blocks.
White Lines (Void Lines): Indicate blocked developer or laser glass dust.
Color Lines: Indicate drum or charging wire issues.