

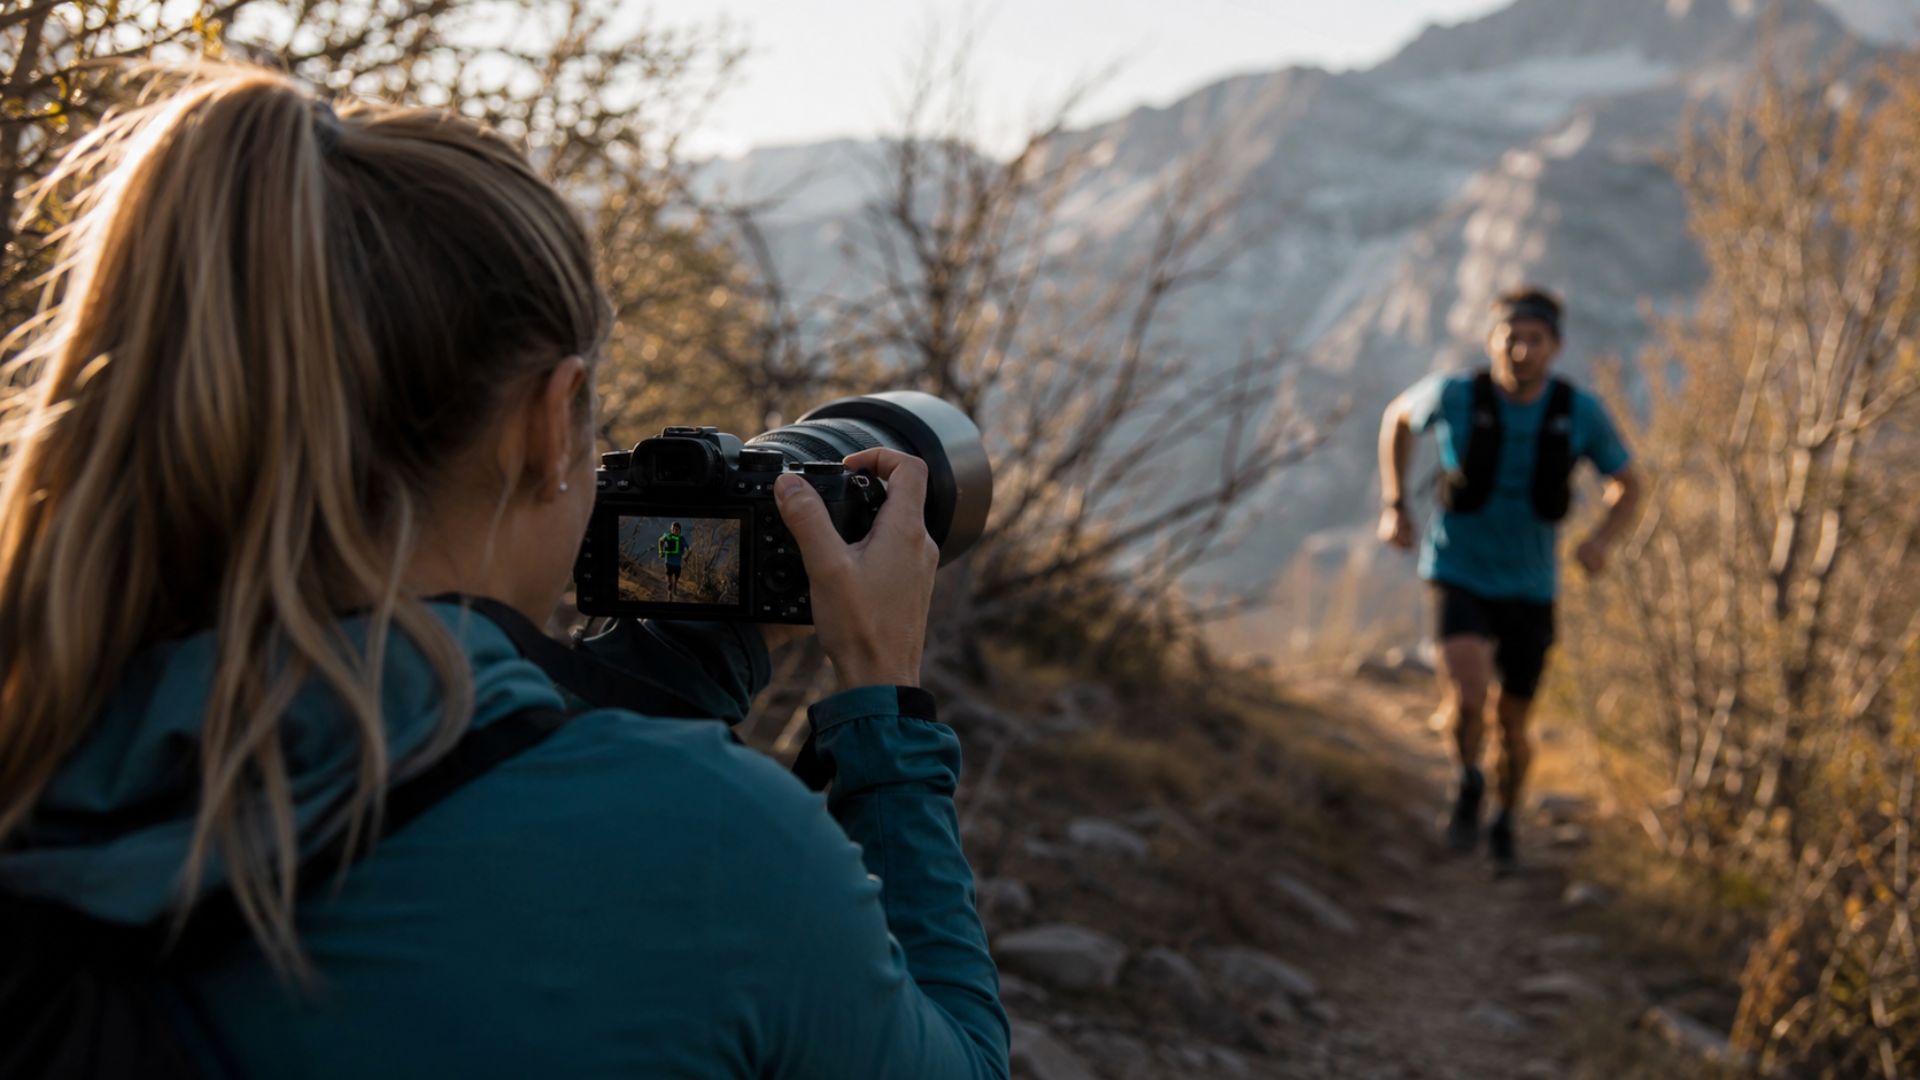
 Helen Oakes / Image generated by OpenAI.
“When autofocus misses, I do not assume the camera is faulty. I look at what the camera was being asked to recognise, follow and prioritise.”
— Helen Oakes
This companion article is based on a longer guide first published on Helen Oakes Limited.
When autofocus misses, the result can look as though the camera simply failed. The focus box appeared on the subject, yet the eyes, face or moving detail were not the sharpest part of the photograph.
I do not begin by blaming the equipment. I look at what the camera was asked to recognise, track and prioritise, because the cause is often hidden in the focus area, subject conditions or camera settings.
I Find the Sharpest Detail First
I scan the whole frame for the sharpest area. If hair, glasses, an eyebrow or the background is sharper than the eye, the camera focused, but it chose a different detail.
This immediately separates many autofocus problems from movement softness. When nothing is sharp and the edges smear in one direction, shutter speed or camera shake may be responsible instead.
I Check the Focus Area
A large autofocus area gives the camera too many choices. The system may select a bright edge, patterned background or high-contrast object instead of the face.
For portraits, I prefer a smaller area or reliable eye detection. The focus area should guide the camera towards the important detail rather than asking it to decide everything.
I Watch Which Eye or Person Is Selected
Eye detection can jump between people or choose the wrong eye as the subject turns. At a wide aperture, that small change can make the eye you wanted look soft.
I watch the detection box and switch the selected subject when the camera allows it. In groups, I do not assume the nearest or most obvious face is the one the camera will choose.
I Match the Autofocus Mode to the Subject
A still subject and a moving subject need different behaviour. Single autofocus locks focus, while continuous autofocus keeps adjusting as distance changes.
A runner, animal or active child can move out of the sharp plane immediately after single autofocus locks. For movement, I use continuous autofocus and begin tracking before the key moment.
I Check Contrast and Background Distractions
Autofocus needs a recognisable edge. Flat light, dark subjects, mist, backlighting and low-contrast surfaces can make the lens hunt backwards and forwards.
Busy backgrounds create the opposite problem because they give the camera too many strong edges. I look for a cleaner angle or place the focus point over a clearer detail.
I Check Aperture and Shutter Speed
At f/1.4 or f/1.8, a tiny focus shift can make the photograph look badly missed. Closing the aperture slightly gives the subject more depth and increases the number of usable frames.
I also check the shutter speed because movement softness is often blamed on autofocus. A slightly higher ISO is usually preferable to losing the expression or action through motion.
I Test the Camera Under Simple Conditions
I photograph a detailed stationary object in good light using a small focus point, moderate aperture and fast shutter speed. I refocus between frames and check whether the results are consistent.
If the setup performs well in controlled conditions, I know the difficulty is more likely connected to subject movement, low contrast, tracking or another setting. I only suspect a fault after ruling out those conditions.
My Quick Autofocus Checklist
Find the sharpest detail in the original image.
Rule out motion blur and camera shake.
Check the active autofocus mode.
Reduce the focus area when precision matters.
Confirm which person or eye the camera selected.
Review aperture, shutter speed and subject contrast.
Compare several frames from the sequence.
Test the camera and lens on a stationary detailed subject.
Read the full article: Why Autofocus Keeps Missing Your Subject and What I Check First
This is Article 3 in my Sharpness & Focus series, where I explain how I diagnose common photography problems and what can realistically be fixed.
For a structured diagnosis and editing process, explore the Photo Fix & Edit Kit. If you would rather have me edit your photograph, visit Fix My Photo on Buy Me a Coffee.