

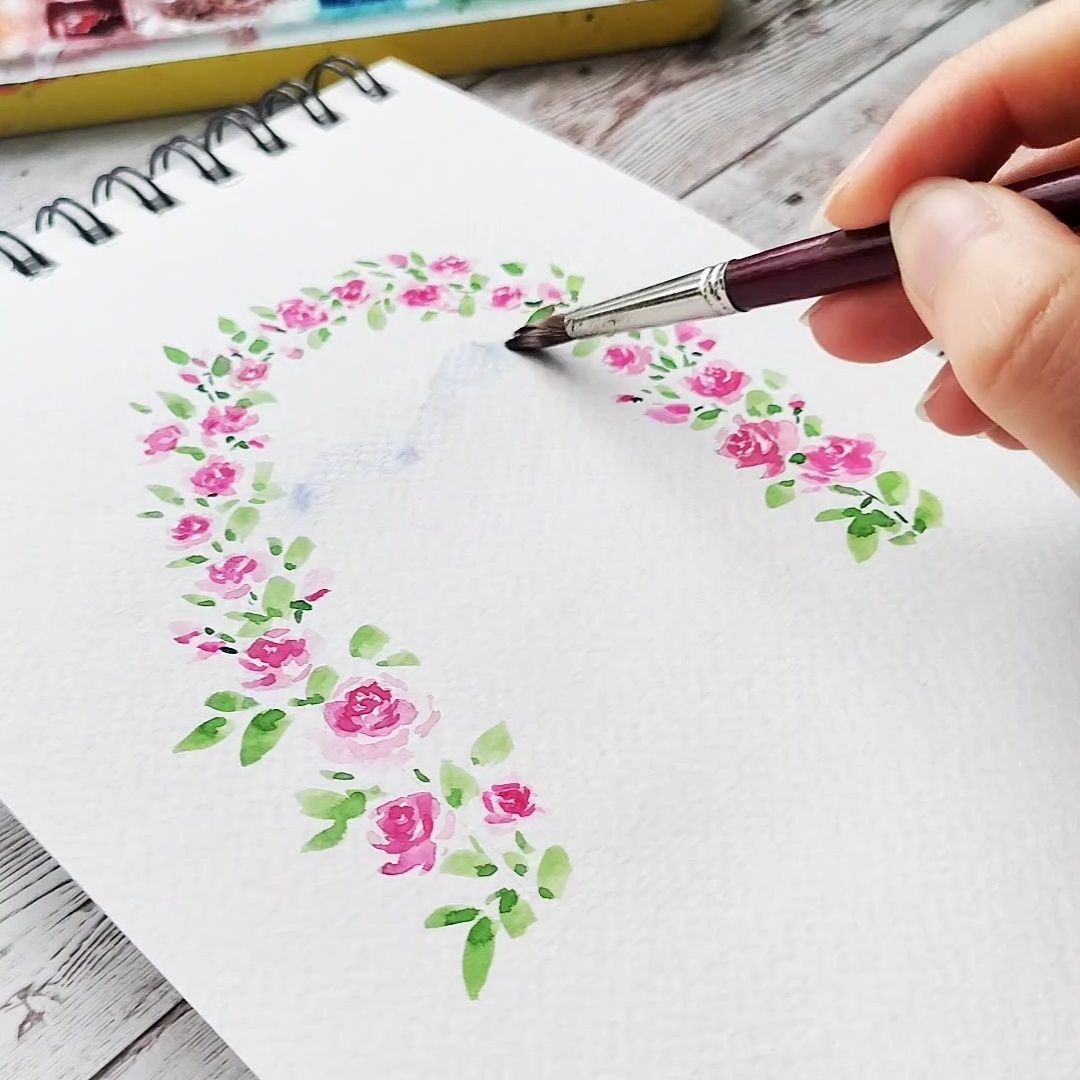
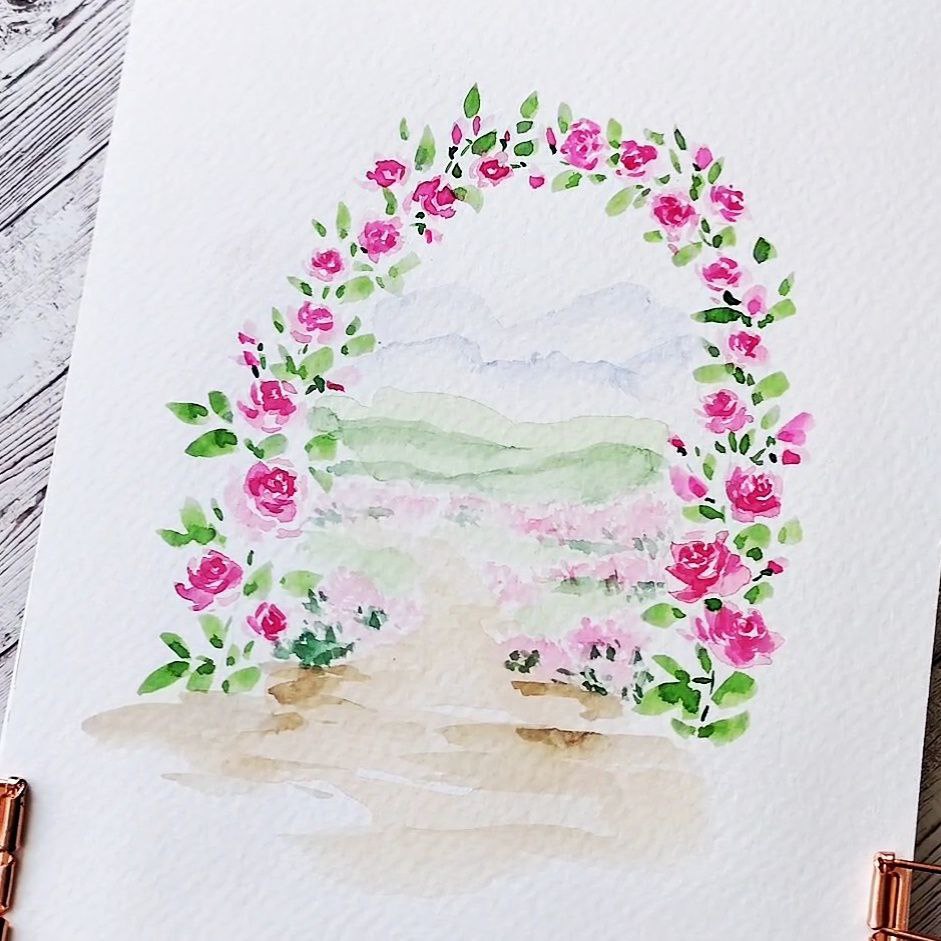
 1. Sketch in very lightly where you want your arch shape to be
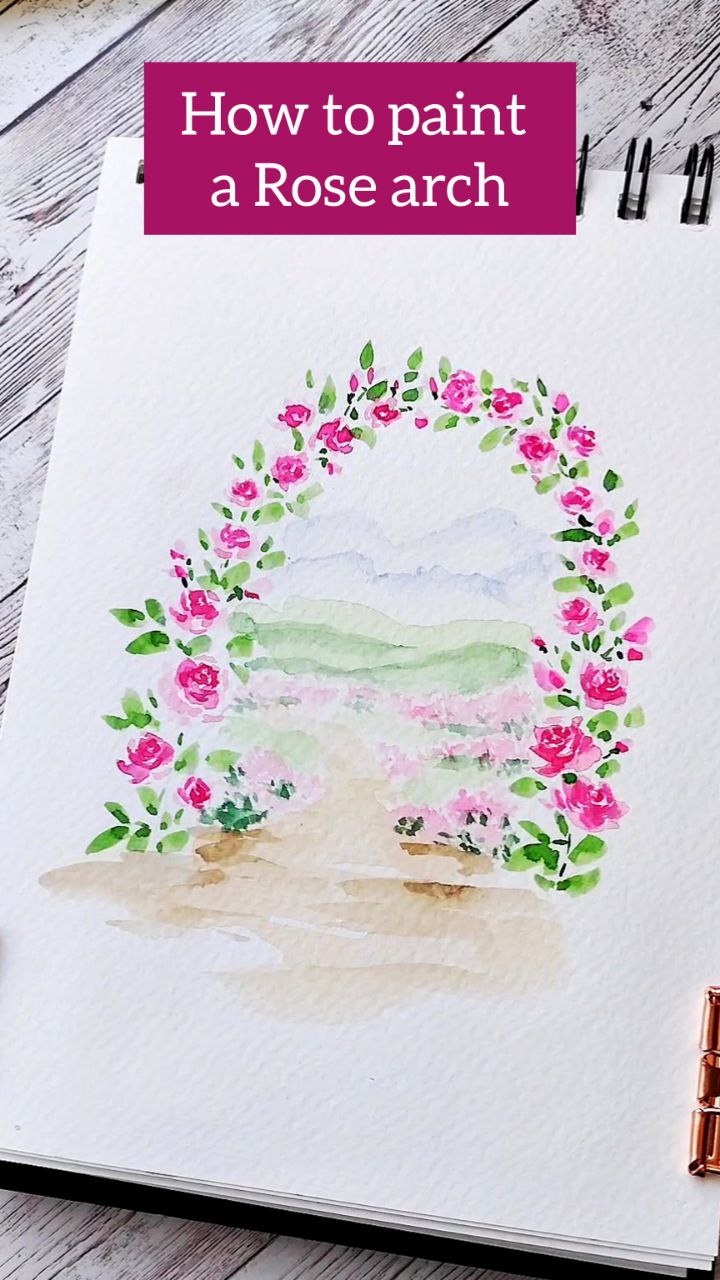
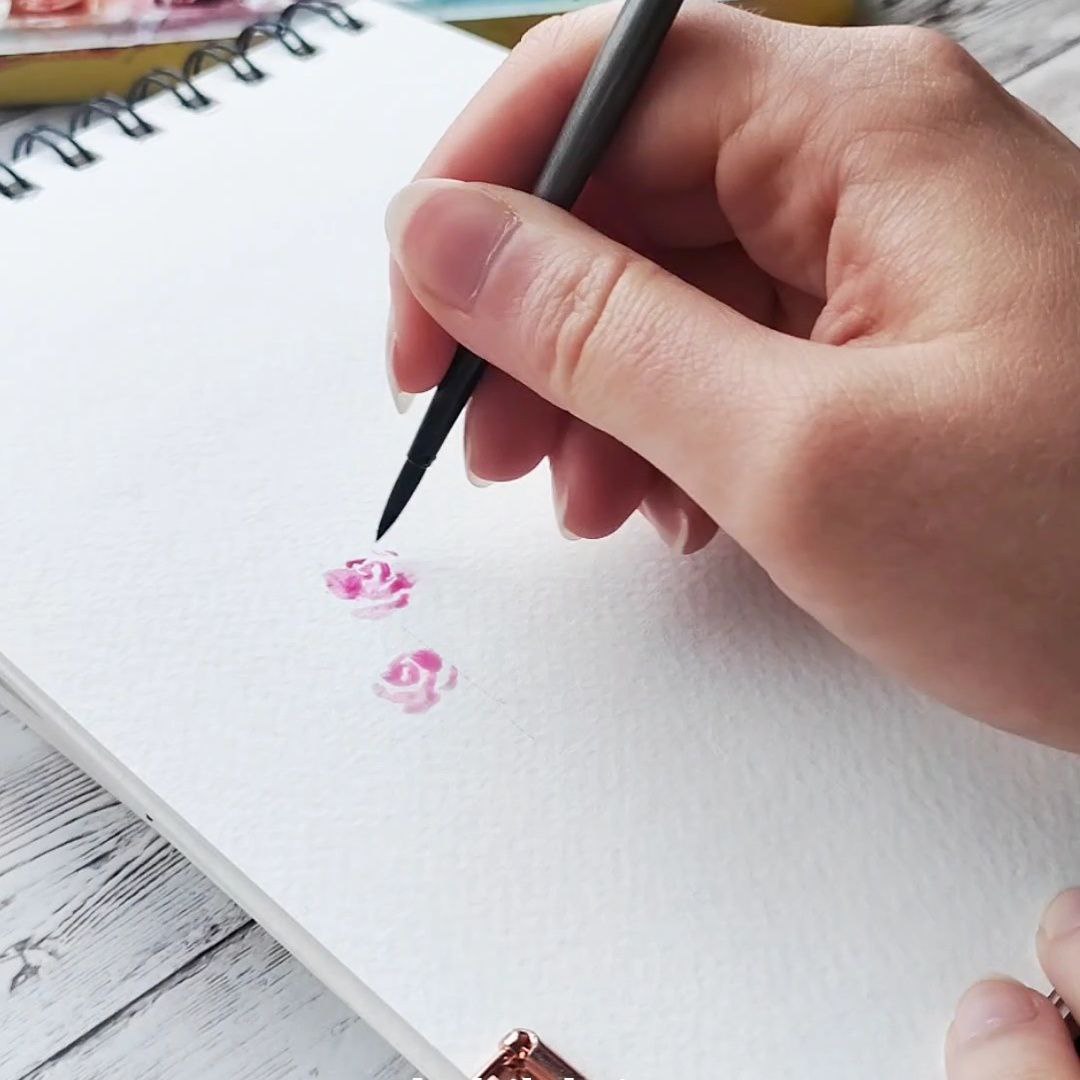
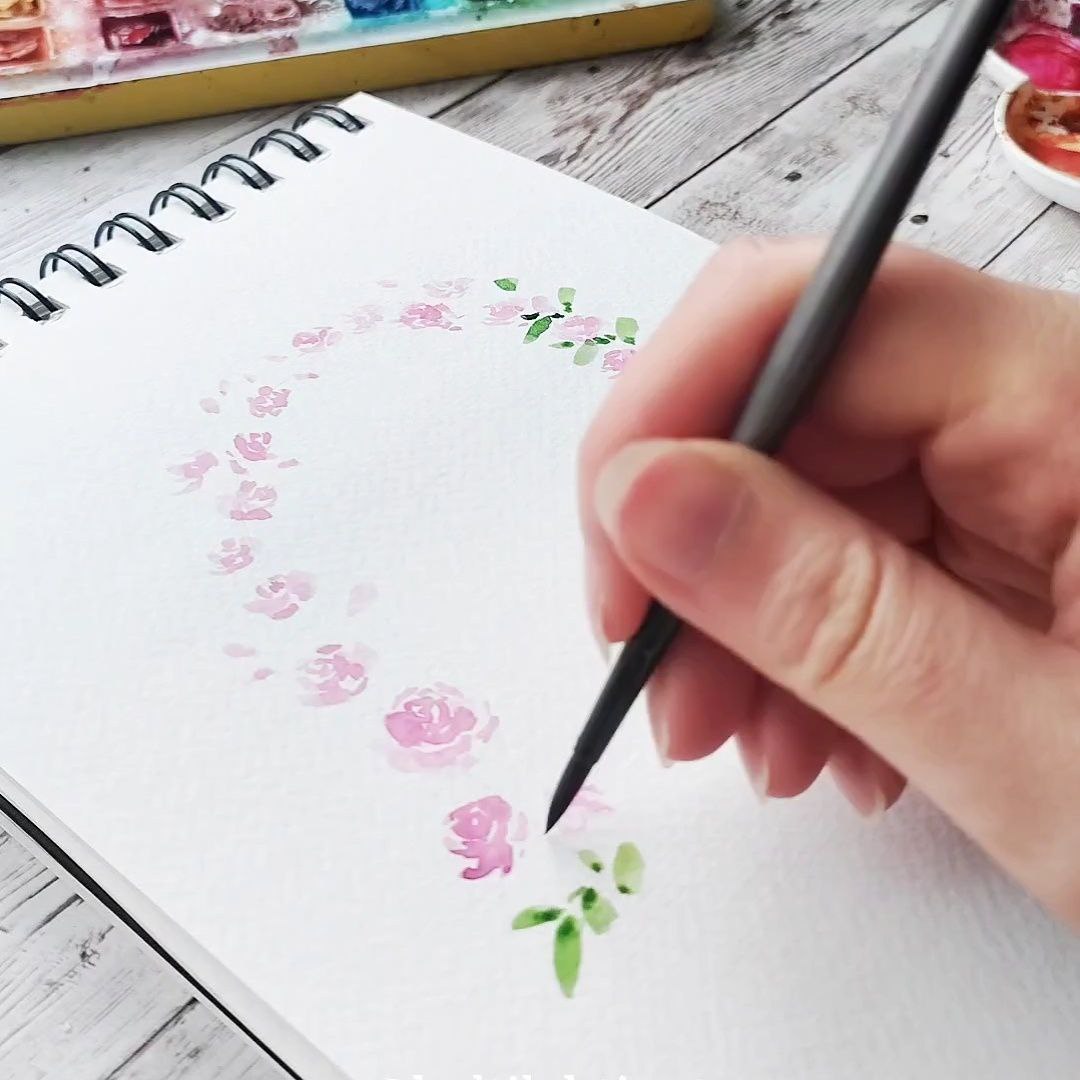
2. With a small brush and light pink, make little c shapes to create the petals for the roses. Follow the arch to get a harmonious placement for your flowers. It often looks nice to have larger flowers at the bottom and smaller at the top ☺️🌹
3. If you have space, you can do simple dabs with the pink to create rose buds and empty spots ✨
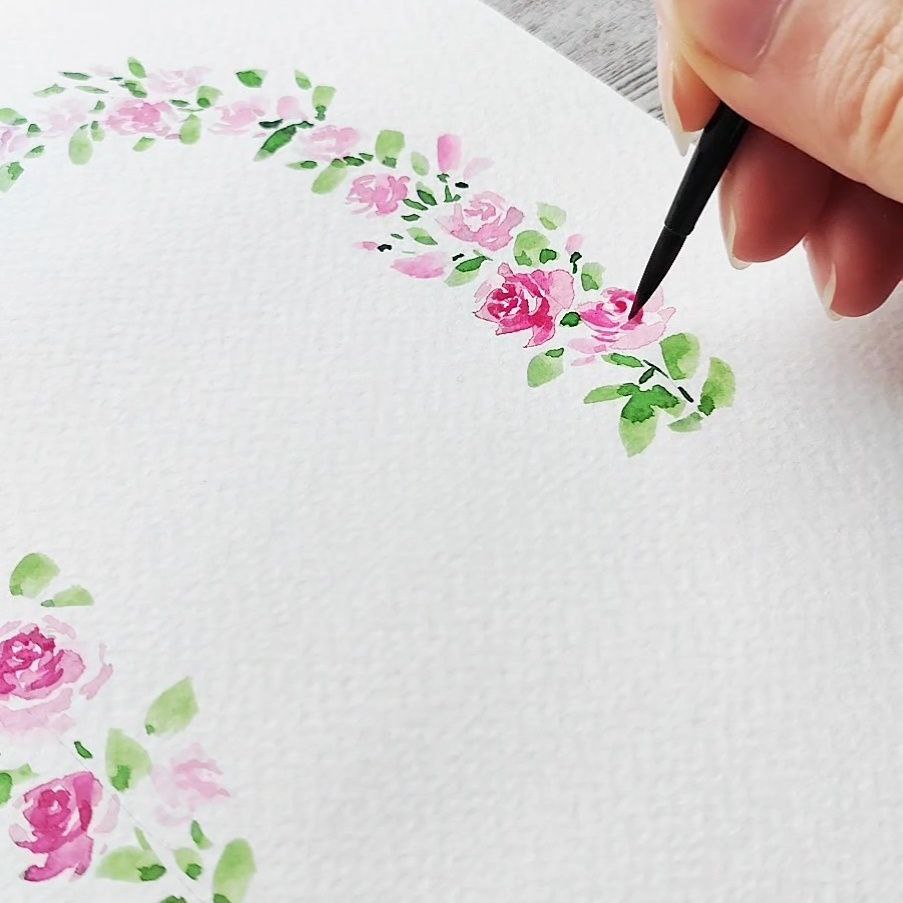
4. Using the same brush, add in leaves and little strokes as a hint of stems 🌿
5. Using the same pink but more saturated, add little c shapes to the very center of your roses to create extra depth (the previous layer need to be dry first) 🌸🌹
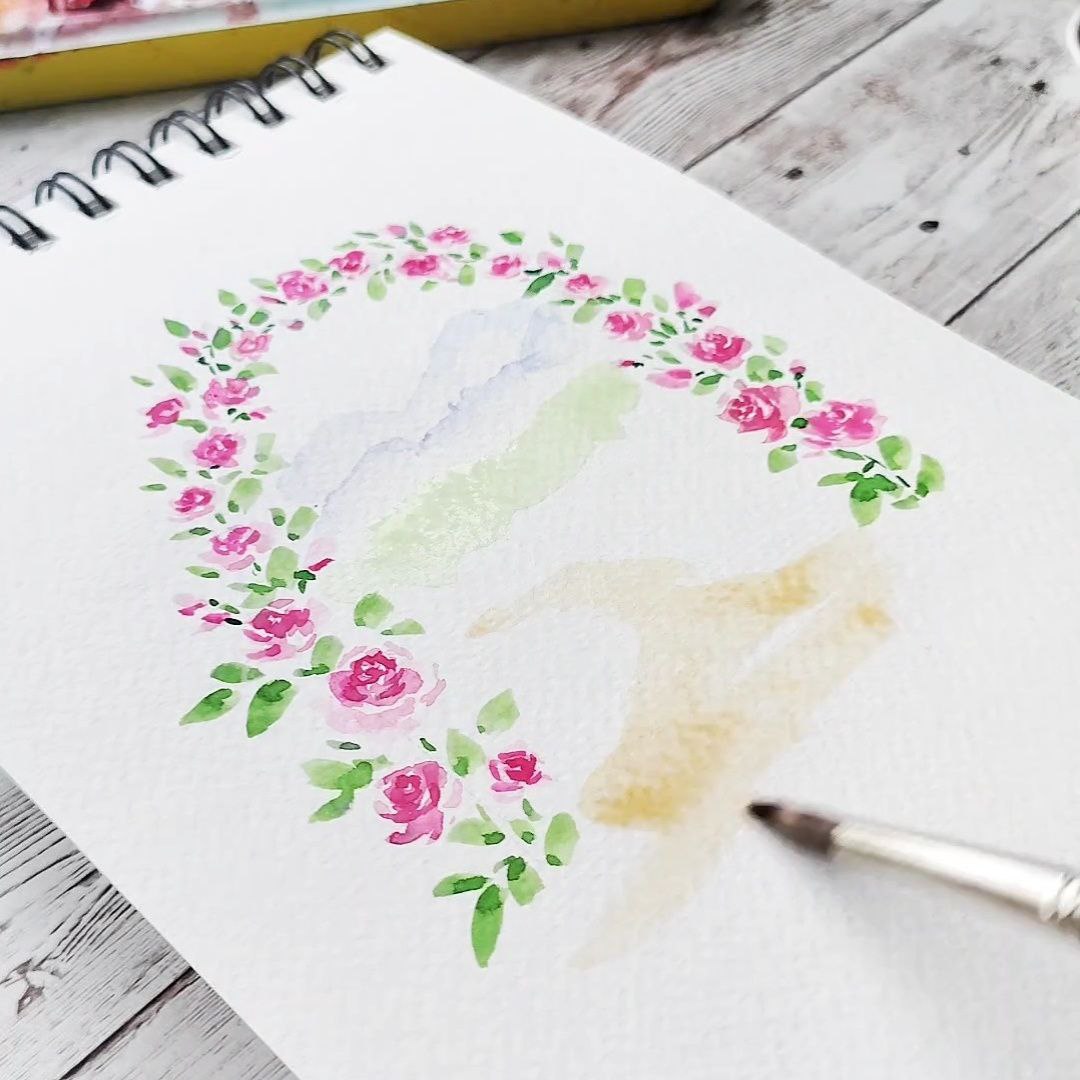
6. For the landscape, mix some of the medium pink with a little ultramarine to create a lovely purple. Use it to draw in the top of your mountain line, and the blend the bottom of that line with a clean damp brush. Repeat this for extra depth 🏔️
7. Below your mountains, draw a thicker line with a light mixture of lemon yellow and sap green, wipe the bottom of the line with a clean damp brush. This is your foot hill.
8. You repeat the previous step and increase the amount of sap green in your mixture and maybe drop in a hint of ultramarine to deepen the color
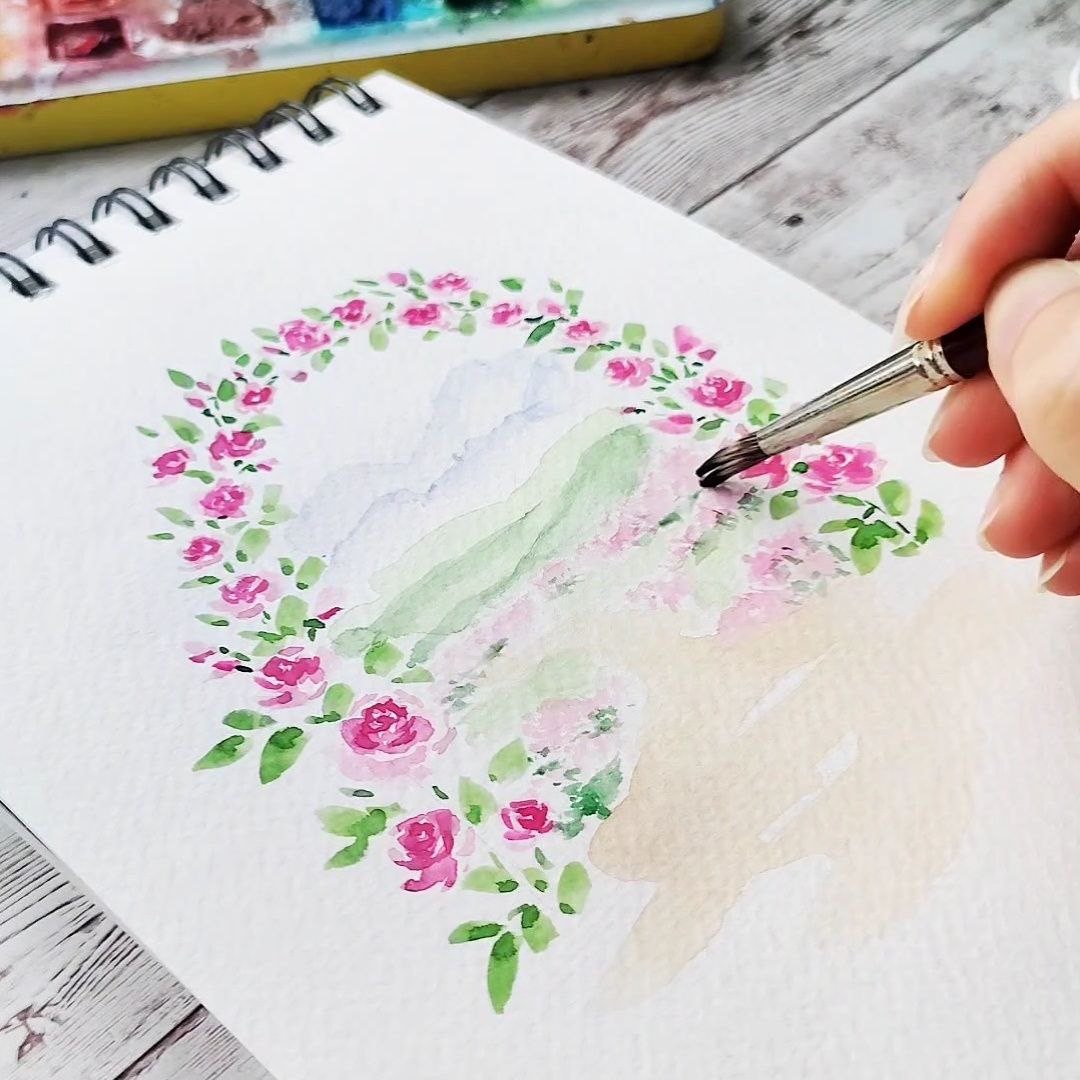
9. Now, leave some empty space, and with some yellow ochre sketch in a path as in the picture. The further it gets, the smaller it shall be ☺️ it's ok to leave little white gaps! They add extra visual interest and detail ✨
10. Once the paper is dry, you can dab in with a light pink tone some far away flower hills to the gaps you left. Let it dry completely
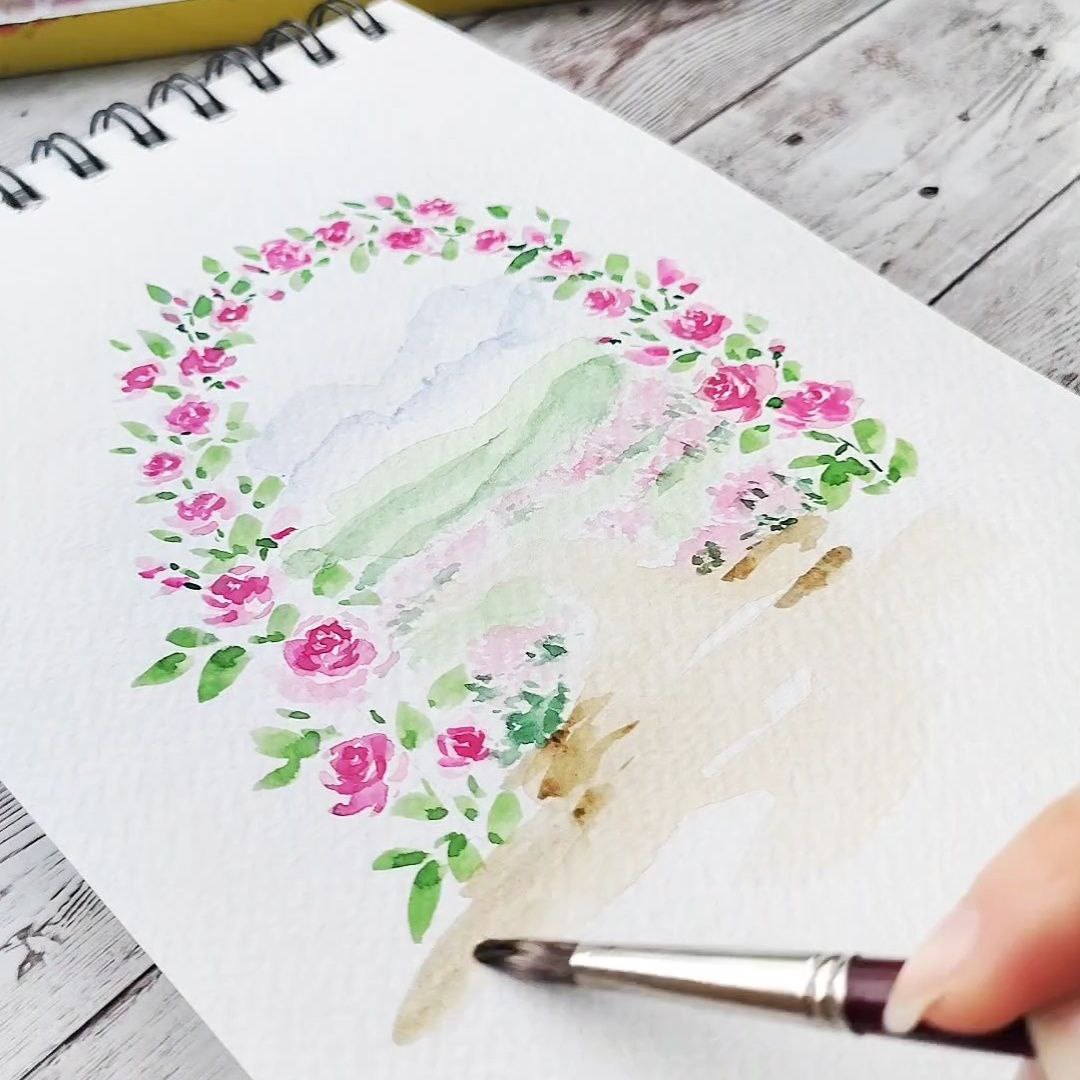
11. Add in the darker green below the flowers for a shadow. The more front you come, the deeper the color needs to be to create the illusion of depth ☺️
12. Drop in a few darker details on your path and enjoy your fairyland rose arch! 🧚♀️🌸🌹✨