

Honestly…
At the root of this post is a flex because I’m so proud of myself for building my own blog and creating something I love. 🎉
However, I want this post to be helpful. So, this is going to serve as “everything I did” to set up my blog, as well as “tips" if you want to build your own site.
For context, I started building my site in April 2026, and I finished by the end of May. Okay, first things first, let’s start with the platform.
Wordpress.org
As I said in my last post, I chose WordPress.org because it was more affordable for me, and I was confident in the manual setup. The other option I considered was WordPress.com.
WordPress.com has a free plan, but some of the features I wanted came at a high cost. For example, I didn’t like the free blog themes, and third-party themes required the $25/month Business plan.
WordPress.org costs $0, and it allows me to use any theme I want. However, it did require me to use my own web hosting provider, which costs an annual fee. More on that in a minute.
I recommend doing your own research to help you decide which platform is better for you.
TIP: It’s NOT recommended to update to a new version of WordPress.org right away. It’s best to let the bug fixes get worked out first. For example, the 7.0 version launched on May 20, 2026, and as of today, I haven’t updated it. On WordPress.com, I believe updates happen automatically.
Hosting + Domain
The web hosting provider I chose was Hostinger. There's usually a discount deal for the first year, so I only paid $59.88 for their Business Web Hosting annual plan. Key features are 50 GB of storage and daily backups. Next year, I will pay $203.88 (regular price $227.88).
Hostinger automatically walked me through setting up a WordPress.org account. They also gave me guidance on how to connect my custom domain (chadras.com).
I had already been paying for my domain for several years, so it didn’t feel like a new cost. It costs me $45.72 every two years.
If you don’t have a domain, Hostinger currently offers a free domain for 1 year. However, I can't recommend it because I don’t if it's a hassle to move the domain out of Hostinger. For example, you may want to move to a new web hosting provider (i.e., Bluehost).
TIP: In general, it’s not recommended to have all your eggs in one basket. If you need a domain, I recommend using a proper domain provider (i.e., Porkbun, NameCheap, etc.).
Google AI
Before I get into the setup, I want to give a HUGE shoutout to Google AI because it held me down.
Every time I got stuck or wanted to tweak something on my site, I did a Google search and Google AI walked me through it. It even offered CSS code to make those tweaks.
HOWEVER, you still have to do your due diligence because it doesn’t always know what it’s talking about. It will create features that platforms don’t have or give you outdated information.
I was only able to catch those errors because I was already familiar with the platforms I was asking about.
Nevertheless, if you want to understand, fix, or change something, I recommend a Google search. It will show you the websites it’s pulling information from.
TIP: If you ever hit a wall with Google AI, start a new thread and rephrase your question. There were times when I got the answer I needed by doing this.
📣 IMPORTANT: Please check the end of this post for my update on using Google AI.
Blog Theme
I chose NEVE for my blog theme because they were popular, well-reviewed, and free. Neve gives you a free gallery of templates to choose from and customize using WordPress’ block editor.
WordPress currently uses a block editor called Gutenberg. It’s really simple to add block types (paragraphs, images, headers, etc.) and customize them. No extra coding needed.
For example, I really wanted to make a magazine layout similar to Substack's. So I found a YouTube video that taught me about the Query Loop block that did just that.
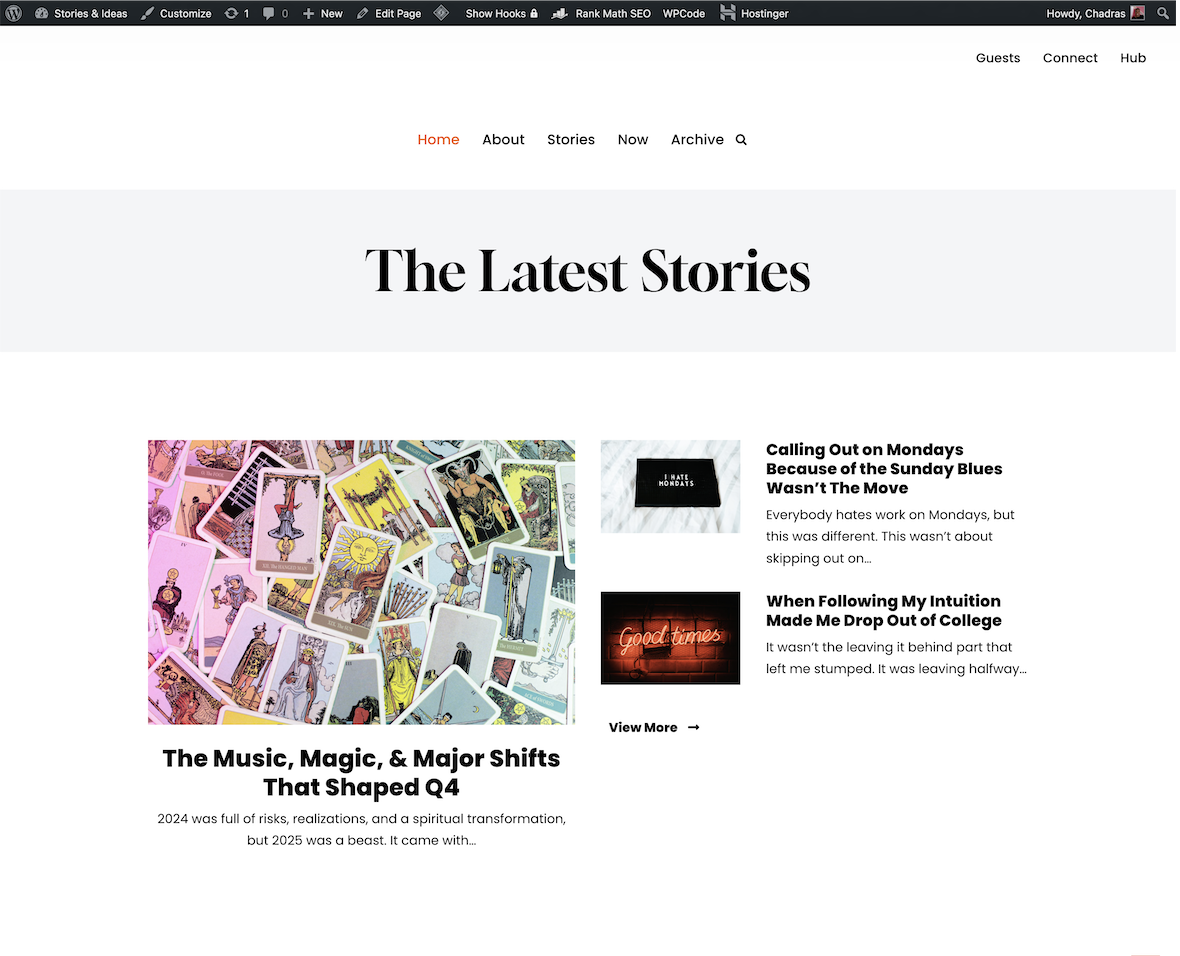 On top of Gutenberg, I used a free plug-in called Otter Blocks. Otter Blocks is owned by the same company that owns NEVE. There’s a free version that gives me 20+ additional block types. For example, I used the Timeline block to tell my origin story on my about page.
Another free plug-in I want to mention is Featured Image from URL (FIFU). It allows me to use Unsplash images for my thumbnails without taking up any storage.
Here are a few specific things you might want to do on your blog or website:
Turn on version history for your pages and posts. This was not turned on for me by default. I recommend doing this before you start building your site. I don’t remember how I did this because I had to do a lot of trial and error with Google AI. After following various instructions, it turned on.
Add a copyright to your site. Mine just says, "© 2026 Chadras Coples. All rights reserved."
Get a spam protection plug-in for your comments section.
Turn on a dropdown hamburger menu for viewing your site on mobile. This menu will also show up on tablets and on desktop when the window is narrow enough.
Be sure to optimize your website for mobile and tablet modes overall. In my theme, I can view a page in mobile or tablet mode to see how it will look. However, I recommend previewing the page on the device if you have it. Note: Not all blocks allow you to change settings per mode. Some of them are all or nothing.
NOTE: You will have to do your own research to make these changes. The menu and copyright settings are in WordPress Dashboard > Appearance > Customize for me. However, settings may be in different locations depending on your theme.
If you feel nervous about changing a setting, don’t do it without researching. Do a search asking what would happen if you clicked something or turned something on or off. Give as many details as you see fit. For example, you can include what theme you’re using.
TIP: Choose a template you like and explore it. Understand what blocks and settings were used to achieve the look. Pick it apart and teach yourself how to put it back together. This can help you understand how to build your own creation.
Blog Theme Design
Let's talk colors. Black and white were a given. The gray was already listed as the "light background" color in the base palette so I kept it.
I like orange a lot these days and I was already using a specific orange HEX code on a Subreddit I created. So I copied it along with the cream color I was also using on that same Subreddit. I already liked those two colors together so it was an easy choice.
Purple is my favorite color and I believe it was already listed as one of the two "extra colors" in my blog theme. I customized the shade and left it because I like purple and orange together.
So, it kind of just happened. But listen, I'm no professional so I kept it simple. I kept the orange and purple to a minimum and had them act as accent colors only. Now, let's talk font.
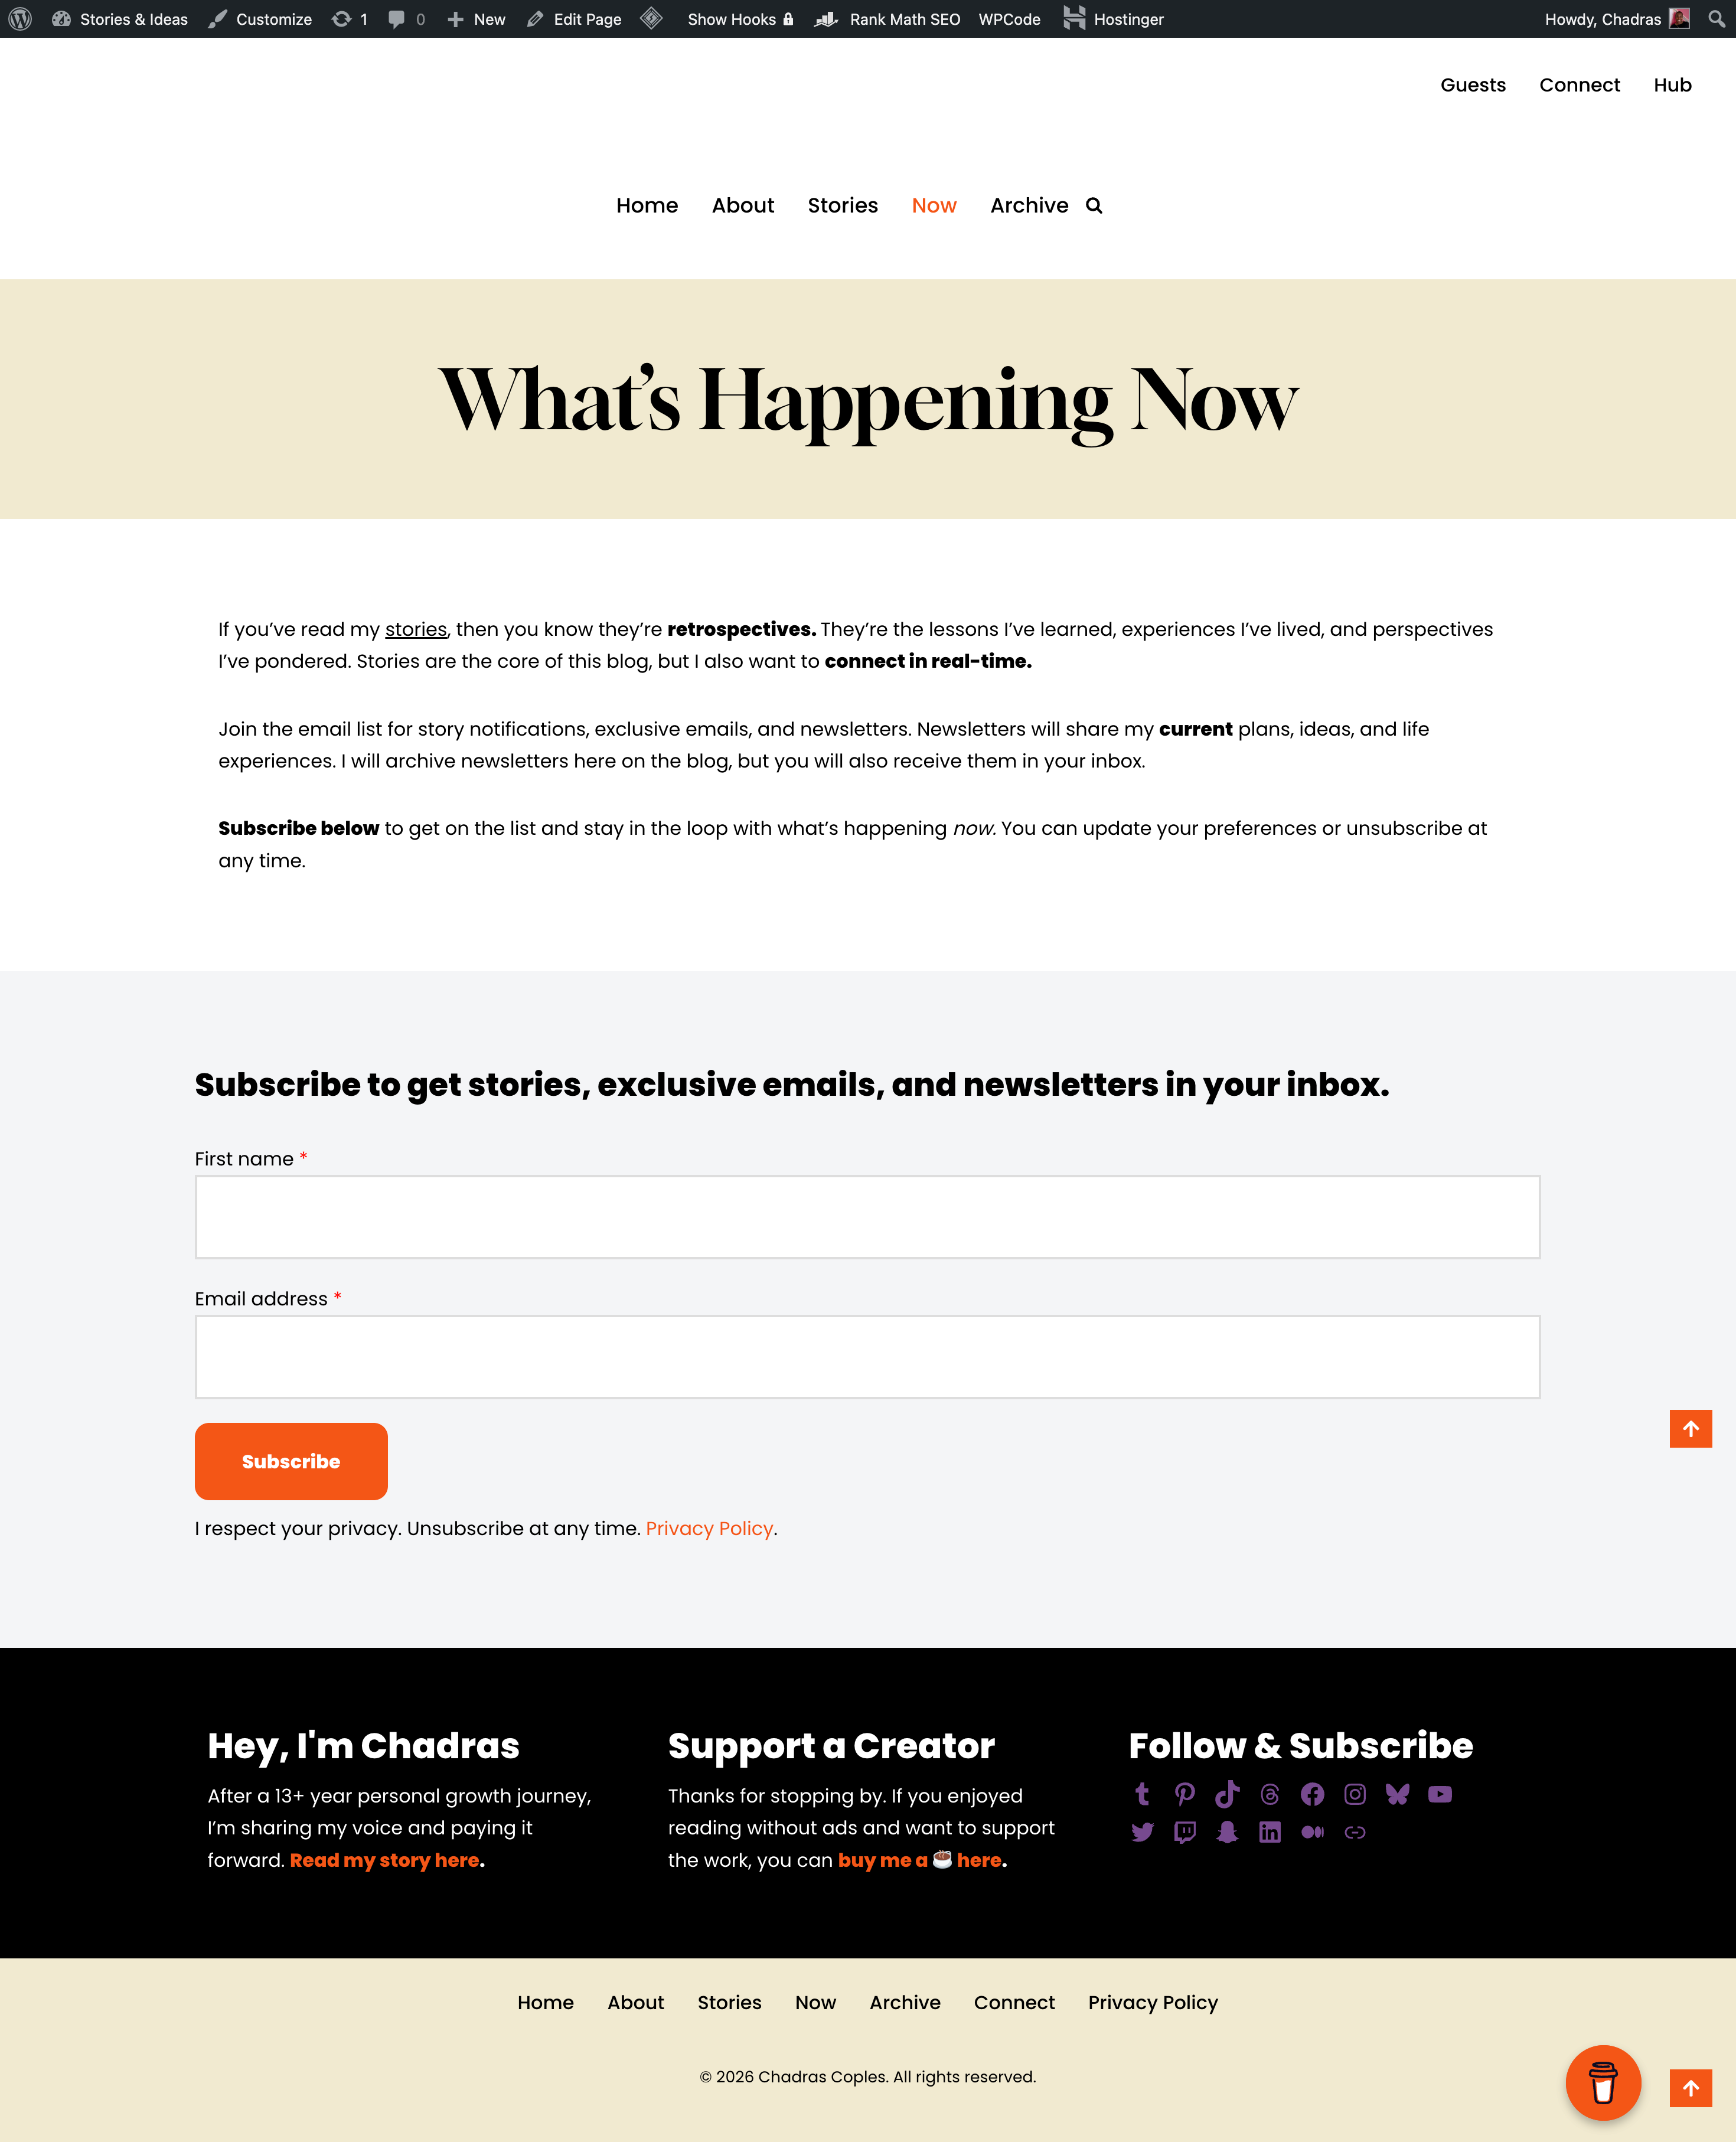
I do not like Serif font on the web, so Sans Serif was an easy choice. I stuck with NEVE's default Poppins font. For special headers, I used Otter Block's Advanced Heading block. I tested different fonts before landing on Gloock.
Is that the best combo? I don't know, but I like it.
Overall, I think the font and color choices were a good fit for my blog's overall vibe. As far as user experience, I've done my best without any real user input, lol.
TIP: There are color palette sites that will let you see how colors look together. When in doubt, I recommend keeping it simple until you can hire a professional.
Blog Theme Customization
I’m currently using 19 CSS codes and 1 PHP code to make tweaks to my blog theme. Here are a few things I tweaked (with the help of Google AI because I don’t know how to code):
Hid my Buy Me a Coffee floating widget from mobile view using CSS code
Increased the comment level indentations using CSS code
Updated the design and layout of the previous/next links for comments using CSS code
Changed the order of my comments and button function using PHP code. I wanted to show the newest comments at the top. I also wanted the next button to send readers back in time to the oldest comments.
Added headers to Neve’s default archive page for categories, tags, search, and dates
TIP: Sometimes I had to go through 10+ rounds of Google AI given me CSS codes that didn’t work. But eventually, it got there in the end. Don’t give up so easily.
📣 IMPORTANT: Please check the end of this post for my update on using Google AI.
SEO (Search Engine Optimization)
I’m not an expert, but from my understanding, you need a plug-in to implement SEO in WordPress. I use the Rank Math SEO plug-in. This plug-in also connects to Google Analytics and Google Search Console. More on this in a minute.
TIP: My blog posts are stories, so I use story-based blog titles. However, I use search-related blog titles for the SEO title. You can use SEO title analyzers to help you settle on a good SEO title.
Google Analytics
I connected to Google Analytics via the Rank Math SEO plug-in so I could let the plug-in do the basic setup. Then, I asked a lot of questions via search before clicking anything on the Google Analytics site.
Here are a few things I did to put Google Analytics to work:
I set up UTM tracking links to use on my social media platforms. From my understanding, Google Analytics can track clicks to your website.
I added my Google Analytics ID to my Tumblr theme and to my Buy Me a Coffee account.
I tried to exclude my clicks from Google Analytics tracking via Rank Math’s built-in toggle. I tried to exclude myself via my IP address as well, but it changes with Apple’s iCloud Private Relay feature. To be honest, this was more of a headache than it was worth.
TIP: It’s highly recommended to use a separate Google account for Google Analytics. I suggest doing your own research before deciding. Google actually limits how many accounts you can create using the same phone number.
Google Search Console
I submitted my website to Google Search Console for indexing on May 22nd. I added my sitemap along with my site's core pages using the Console’s URL inspection tool. As of today, I have one page indexed, and it’s my about page.
The other 11 pages have been “discovered” but not indexed. I’m assuming it’s because my website is new, but if you have any advice, please comment below.
Update (July 13, 2026): On July 9th, I received an email saying that Google started collecting Google Search impressions for my website. Now my website shows up when I search my name.
Google Tag Manager
In Google Tag Manager, I set up a tag and trigger for “scroll depth percentage.” This tracks how much a visitor scrolls down the pages on my site. This setup required adding code to my site, so I used a WordPress plug-in called WPCode (Code Snippets).
Cookies Compliance
I really didn’t want a Cookie disclaimer pop-up on my site because I find most of them to be annoying. But since I was using Google Analytics, UTM tracking, etc…
By US law, I had to inform visitors that I was monitoring the traffic on my website.
I chose the CookieYes plug-in. They offered a free tier that could work for me for a bit. Long story short, their automatic setup wasn’t working, and I didn’t want to do it manually, so…
I tore it all down. I turned off Google Analytics on my site via the Rank Math plug-in. I removed the UTM tracking links from my social media sites…
I paused the Google tag and trigger to turn off scroll depth tracking. I removed the Google tag code from my WPCode plug-in. I removed my Google Analytics ID from Tumblr and Buy Me a Coffee…
And I disconnected and deleted the CookieYes plug-in. I’m not sure if this is a forever decision, but it certainly wasn’t worth the hassle for a brand-new website.
Would I like to know if people are visiting my blog?
Yes. But removing tracking keeps my website simple, fast, and clean. Also, not focusing on the data could be good for me as a new blogger.
TIP: I decided to tell Google AI about my cookies situation (because it was my work partner at that point, lol). It mentioned guestbooks so I built one. It's just a page (not a post) with comments enabled, but I think it's nostalgic and cool 😎. You can check it out here.
Privacy Policy
A privacy policy page came with my free Neve WordPress theme, but I made some edits and added a few more sections. For example, I added a section about personal data for my email marketing provider and Buy Me a Coffee widget.
TIP: Look at other websites’ privacy policies to trigger ideas for what you might need. You can check out my privacy policy here.
Bonus: Personal Privacy
First things first, decide what information you want to expose about yourself (age, birthdate, city and state, etc.). Then update all your social media accounts to reflect that.
You can use a data removal service (i.e., Optery) to remove your personal info from data scraping sites.
If you have a business registered with your State, your address may be accessible to the public. You may be able to use a virtual address as your mailing address on file. Check with your State for virtual address requirements.
If you have a Google account, you can ask them to remove search results with your personal info. You can also have Google alert you when a new result pops up. This won’t remove your personal information from the sites, but it will remove the search result.
Is any of this bulletproof? I don’t know, but do the best you can.
TIP: I recommend researching removing photo data/location from uploaded images. I use the free LiteSpeed Cache plug-in for image optimization. The feature I turned off in this plug-in is called “Preserve EXIF/XMP data.” I also recommend looking up the most important image settings to update (i.e., using WebP for formatting can save on storage).
Bonus: Email Marketing Provider
One of Substack’s best features is building a free email list, but Substack is not your only option.
I use Kit (formerly ConvertKit) as my email marketing provider. They offer a free plan for up to 10,000 email subscribers.
The free plan gives you access to one automated email sequence and one visual automation. I used the automated email sequence to set up a welcome email. And I used the visual automation to trigger the welcome email and automate tagging.
There are two specific things I set up for emailing.
One allows me to send & receive emails to my domain via my email provider (i.e., Gmail, Outlook, Fastmail, Proton). And the other allows me to send emails from my domain via my email marketing provider (Kit).
I'm used to setting up domains with email providers through the domain provider (i.e., Porkbun, NameCheap, etc.). But this was different because my domain was being managed by my web hosting provider for my website.
TIP: This will make sense if you’re trying to connect a website domain to an email provider. Based on my research, it's best to let your web hosting provider (i.e., Hostinger) be the “home” for all your DNS records. DNS records are required to connect domains to services.
So, when I connected my domain to my email provider and to Kit, I did it via Hostinger's DNS instead of my domain provider.
This means I can send and receive emails as username@chadras.com. And I can send broadcasts from that same address when I email my list via Kit.
Bonus: Social Media
Yes, you want to add your website domain to all your social platforms. But there are a few platforms that let you go a bit further.
On Pinterest, you can claim your domain so that your profile shows up for any pins created from your site. I didn’t have to switch to a business account to do this. You can also claim your Instagram page.
On Bluesky, you can change your username to your domain under the Handle settings. Check out mine here.
Threads has a feature called two-way link verification to verify your site, but I couldn’t get it to work.
TIP: If you build a site, you can create your own link-in-bio page. This way all traffic goes to your site domain. Depending on your theme, you can toggle the header and footer off for that Linktree look. You can see mine here.
Total Cost
Building my blog on WordPress costs me $59.88 for one year of web hosting with Hostinger. Everything else, including my blog theme and plug-ins, was free.
Going forward, my annual costs will be $226.74. This includes the cost of my annual Hostinger plan ($203.88) plus one year of my biennial custom domain plan ($22.86).
Thanks for stopping by!
Okay, that’s my big flex, lol. This was a big deal for me because I didn't have the means to hire professional help. And I'm glad I didn't because I got to have this experience. ✨
I hope my tips help on your creative journey, whether you’re building a blog or a static website. Maybe one day I’ll upload a YouTube video to show you exactly how I used free tools to build my blog.
Let me know if you’re interested or if you have any questions.
– Chadras ❤️
Google AI Update: July 8, 2026
As I was building my site, I saw Google AI as a better alternative to ChatGPT for instructions. As far as I was concerned, it was pulling from websites and forums that had the answers to my questions.
But I saw something online today that triggered me to do some research as it relates to this post. I saw a developer use the term genAI-”coding.”
And I was like wait…is that what I did. This person was referring to app developers, but still, that is, in fact, what I did.
I didn’t realize I was participating in “Generative AI.” Yes, I understood that AI is a "large language model" that predicts patterns. But in my mind, words from ChatGPT and Google AI were “AI,” and creating media (images, audio, and video) was “Generative AI.”
Nope. Both are generative. That makes sense, but anyway…
From what I gathered, generating a block of code has a very low impact on the environment. This is in comparison to trying to create entire apps, websites, and media with AI.
Also, coding doesn't share the same unethical argument as generating media. This is because generated media is based on humans or human art. Whereas with coding, AI is organizing standard programming languages that already exist.
But let's talk Google AI in general since I mentioned it guiding me through instructions. From what I’ve gathered, the solo impact when using Google AI is relatively low. But the collective impact is high. Super high.
This is because Google AI is integrated into Google search and it runs automatically. And as we know, millions of people use Google search every day…sometimes all day, like when you’re building a blog. 👀
There are other downsides to using Google AI, but I recommend doing your own research. That way you can understand and decide for yourself how, when, or if you want to use it to assist with your project.
As for me, what’s done is done. I can only be mindful about how, when, or if I continue to use it going forward.