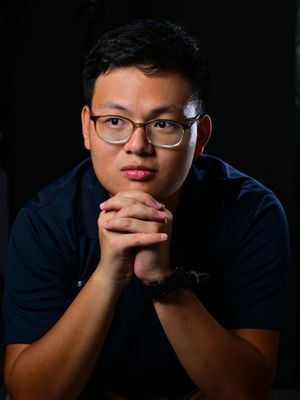

Since young I have always loved performing arts. Not that I can dance well (well I did dance lessons when I was young), but I really admire the performances by these people.
As such when an opportunity rose to try capturing some dance, specifically ballet in a studio, I knew I had to. Photography is a continuous cycle of learning and trying, and hey I am in for a challenge.
My friends at Amaran were so kind enough to let someone like myself (im currently a nobody in the industry lol) use their studio space, at the same time try out some of their lights including the newly released Pano panels. I really love their lights and many thanks for their kindness in opening up this floor for me to experiment and grow! Sharing what I managed to create in that short 2 hours of shooting.
Am definitely looking to create more exciting imagery especially in sports and performing art (other genres also possible), so do drop me a DM if you would like to try being a model :)
Quick Video Recap
Part 0: Camera Settings
I dont really have a fixed rule when it comes to my camera settings. In general just make sure you properly expose for what you want to showcase.
But for most of these pictures you see below, the settings are something around:
1/100s, f4-5.6, ISO 100-400
Aperture (f-stop) you could try to stop down to get in more details rather than shooting wide open. And since we are in a studio, try to keep your ISO as low as possible. Use lights to compensate.
Concepts: @ykteoactioncaptures (myself)
Model: @annayang_mehmeh @thefashionandbeyond
Lighting: @amarancreators
Studio: @stylehausstudio @chaoxangel
Camera: @nikonsg @nikonasia
I used the Nikon Z8 + Z 24-120 F4 S, its my main setup for almost everything I do.
Camera gear here isnt the most important. Given we are doing it in a enclosed studio, what matters way more is the lighting. Almost every camera released in the past 15 or so years can get nice images. Just trust the process and keep trying :)
Part 1: Single Top Down Light
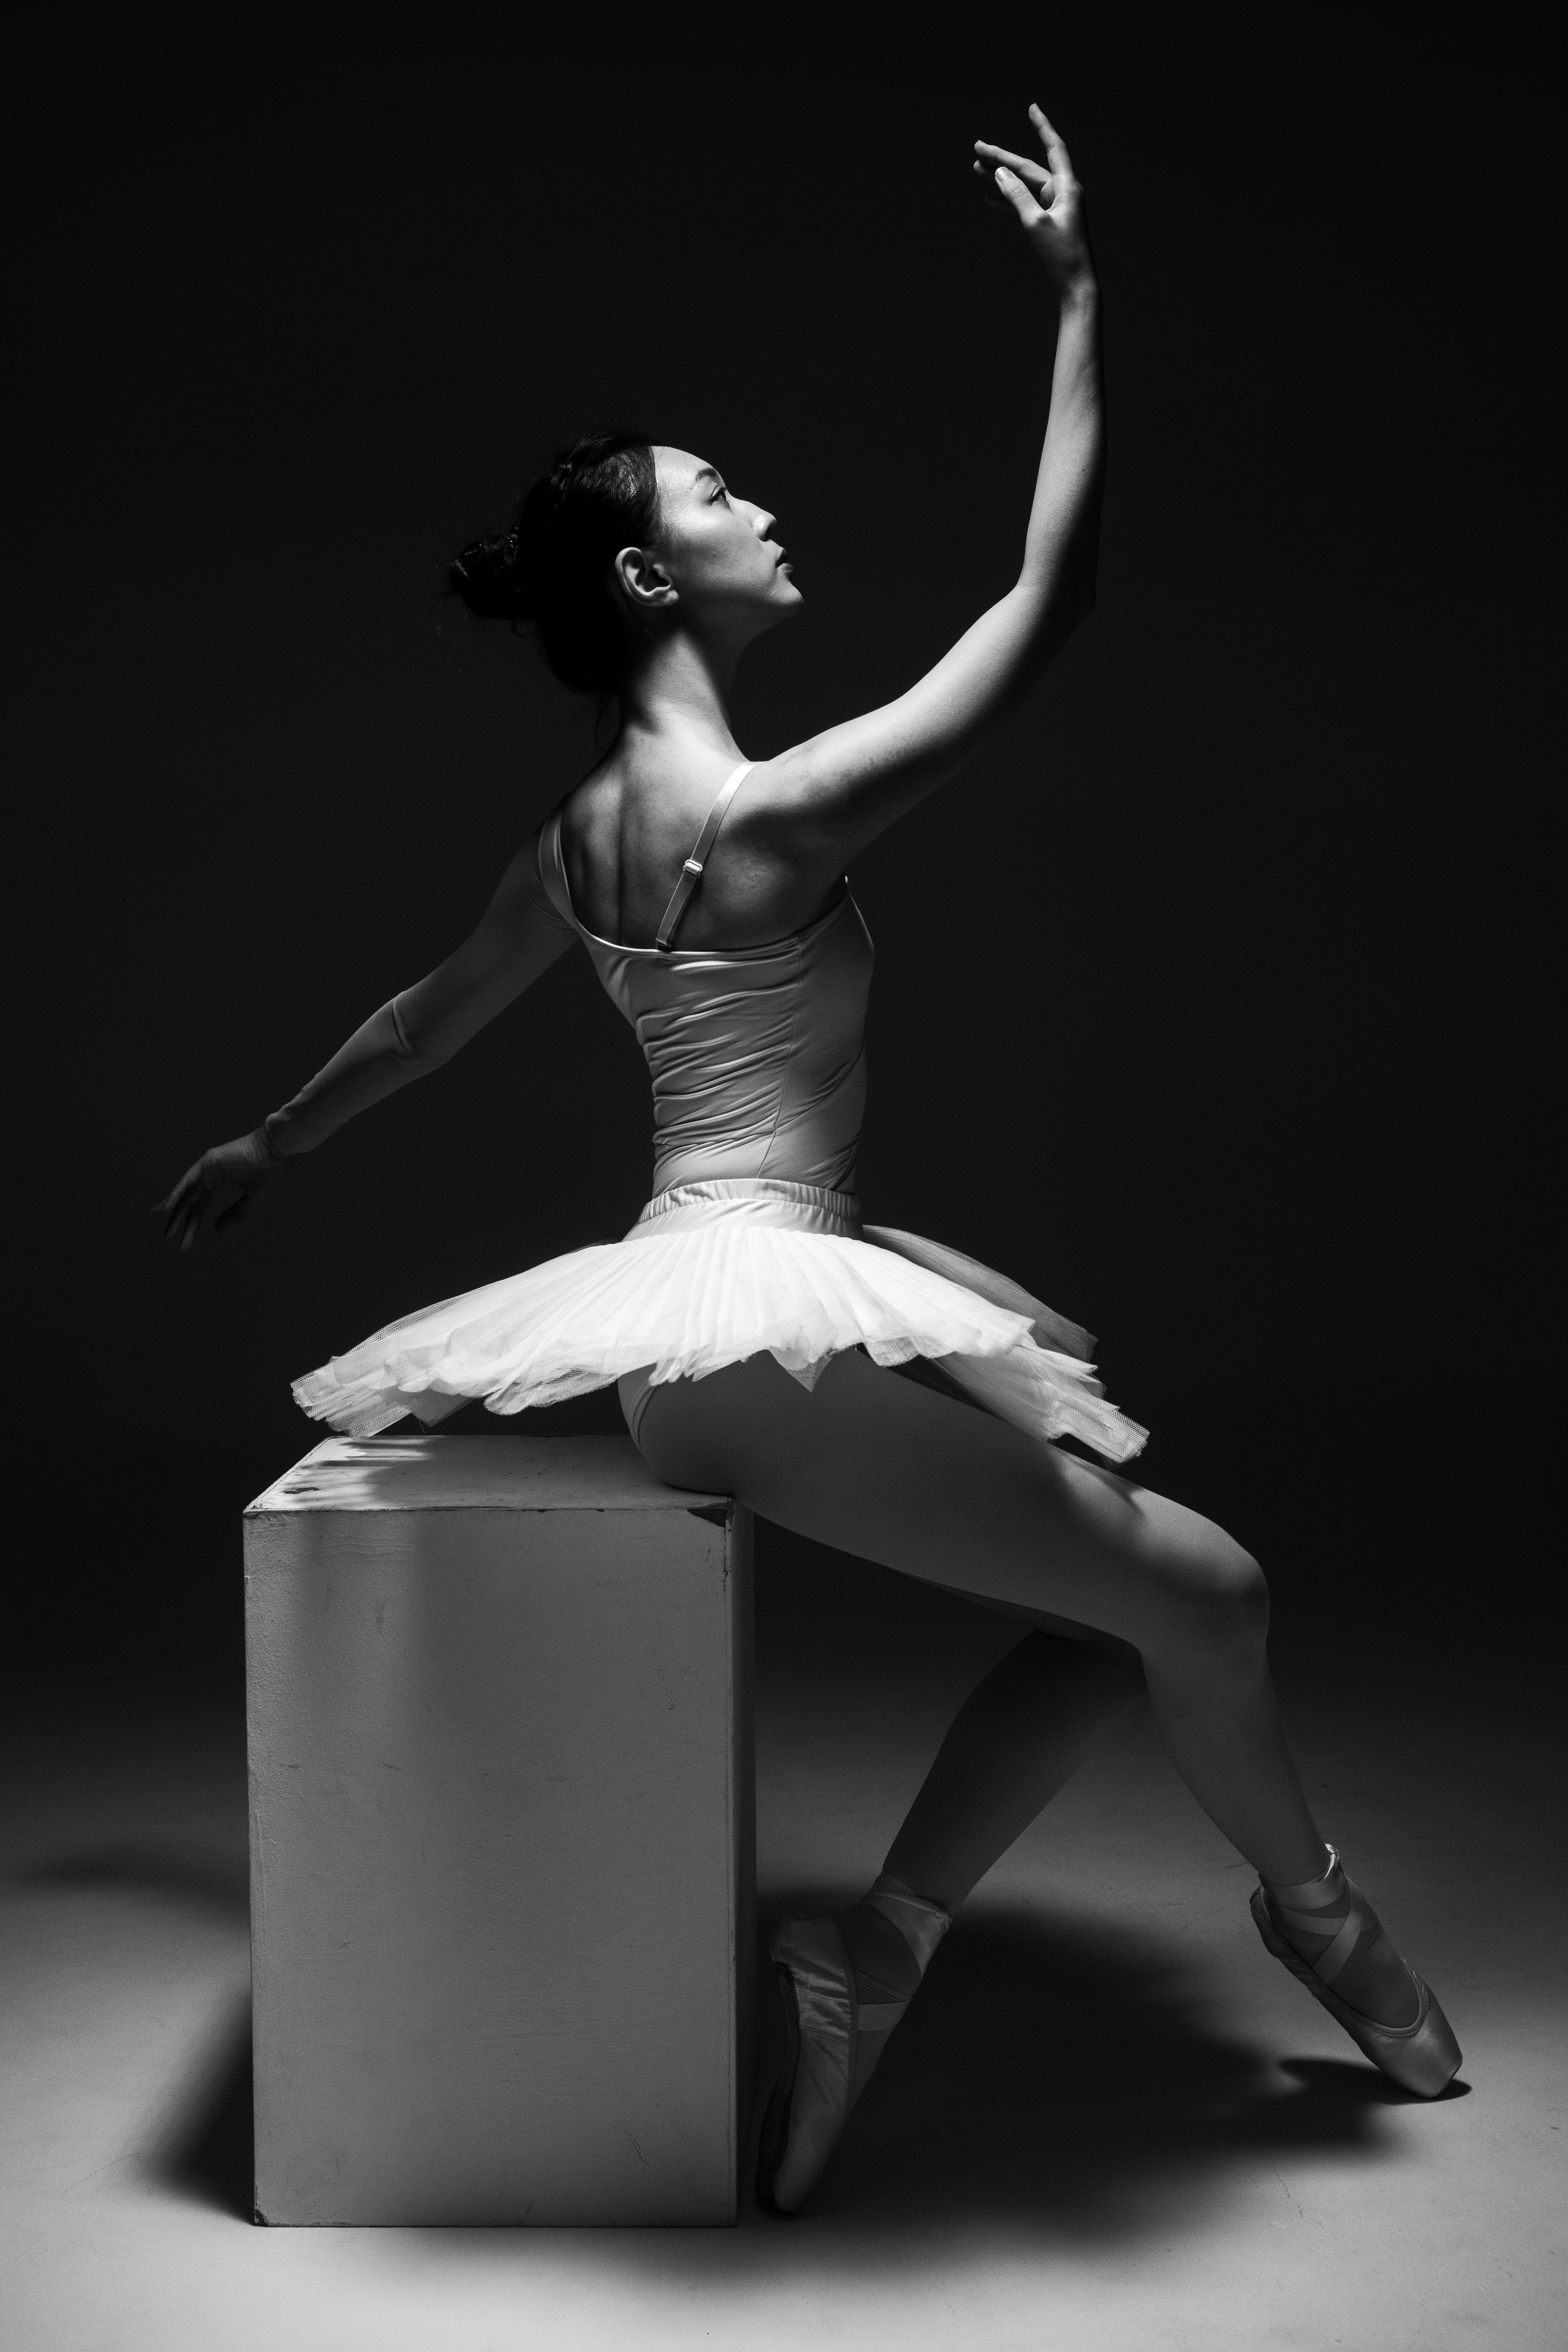
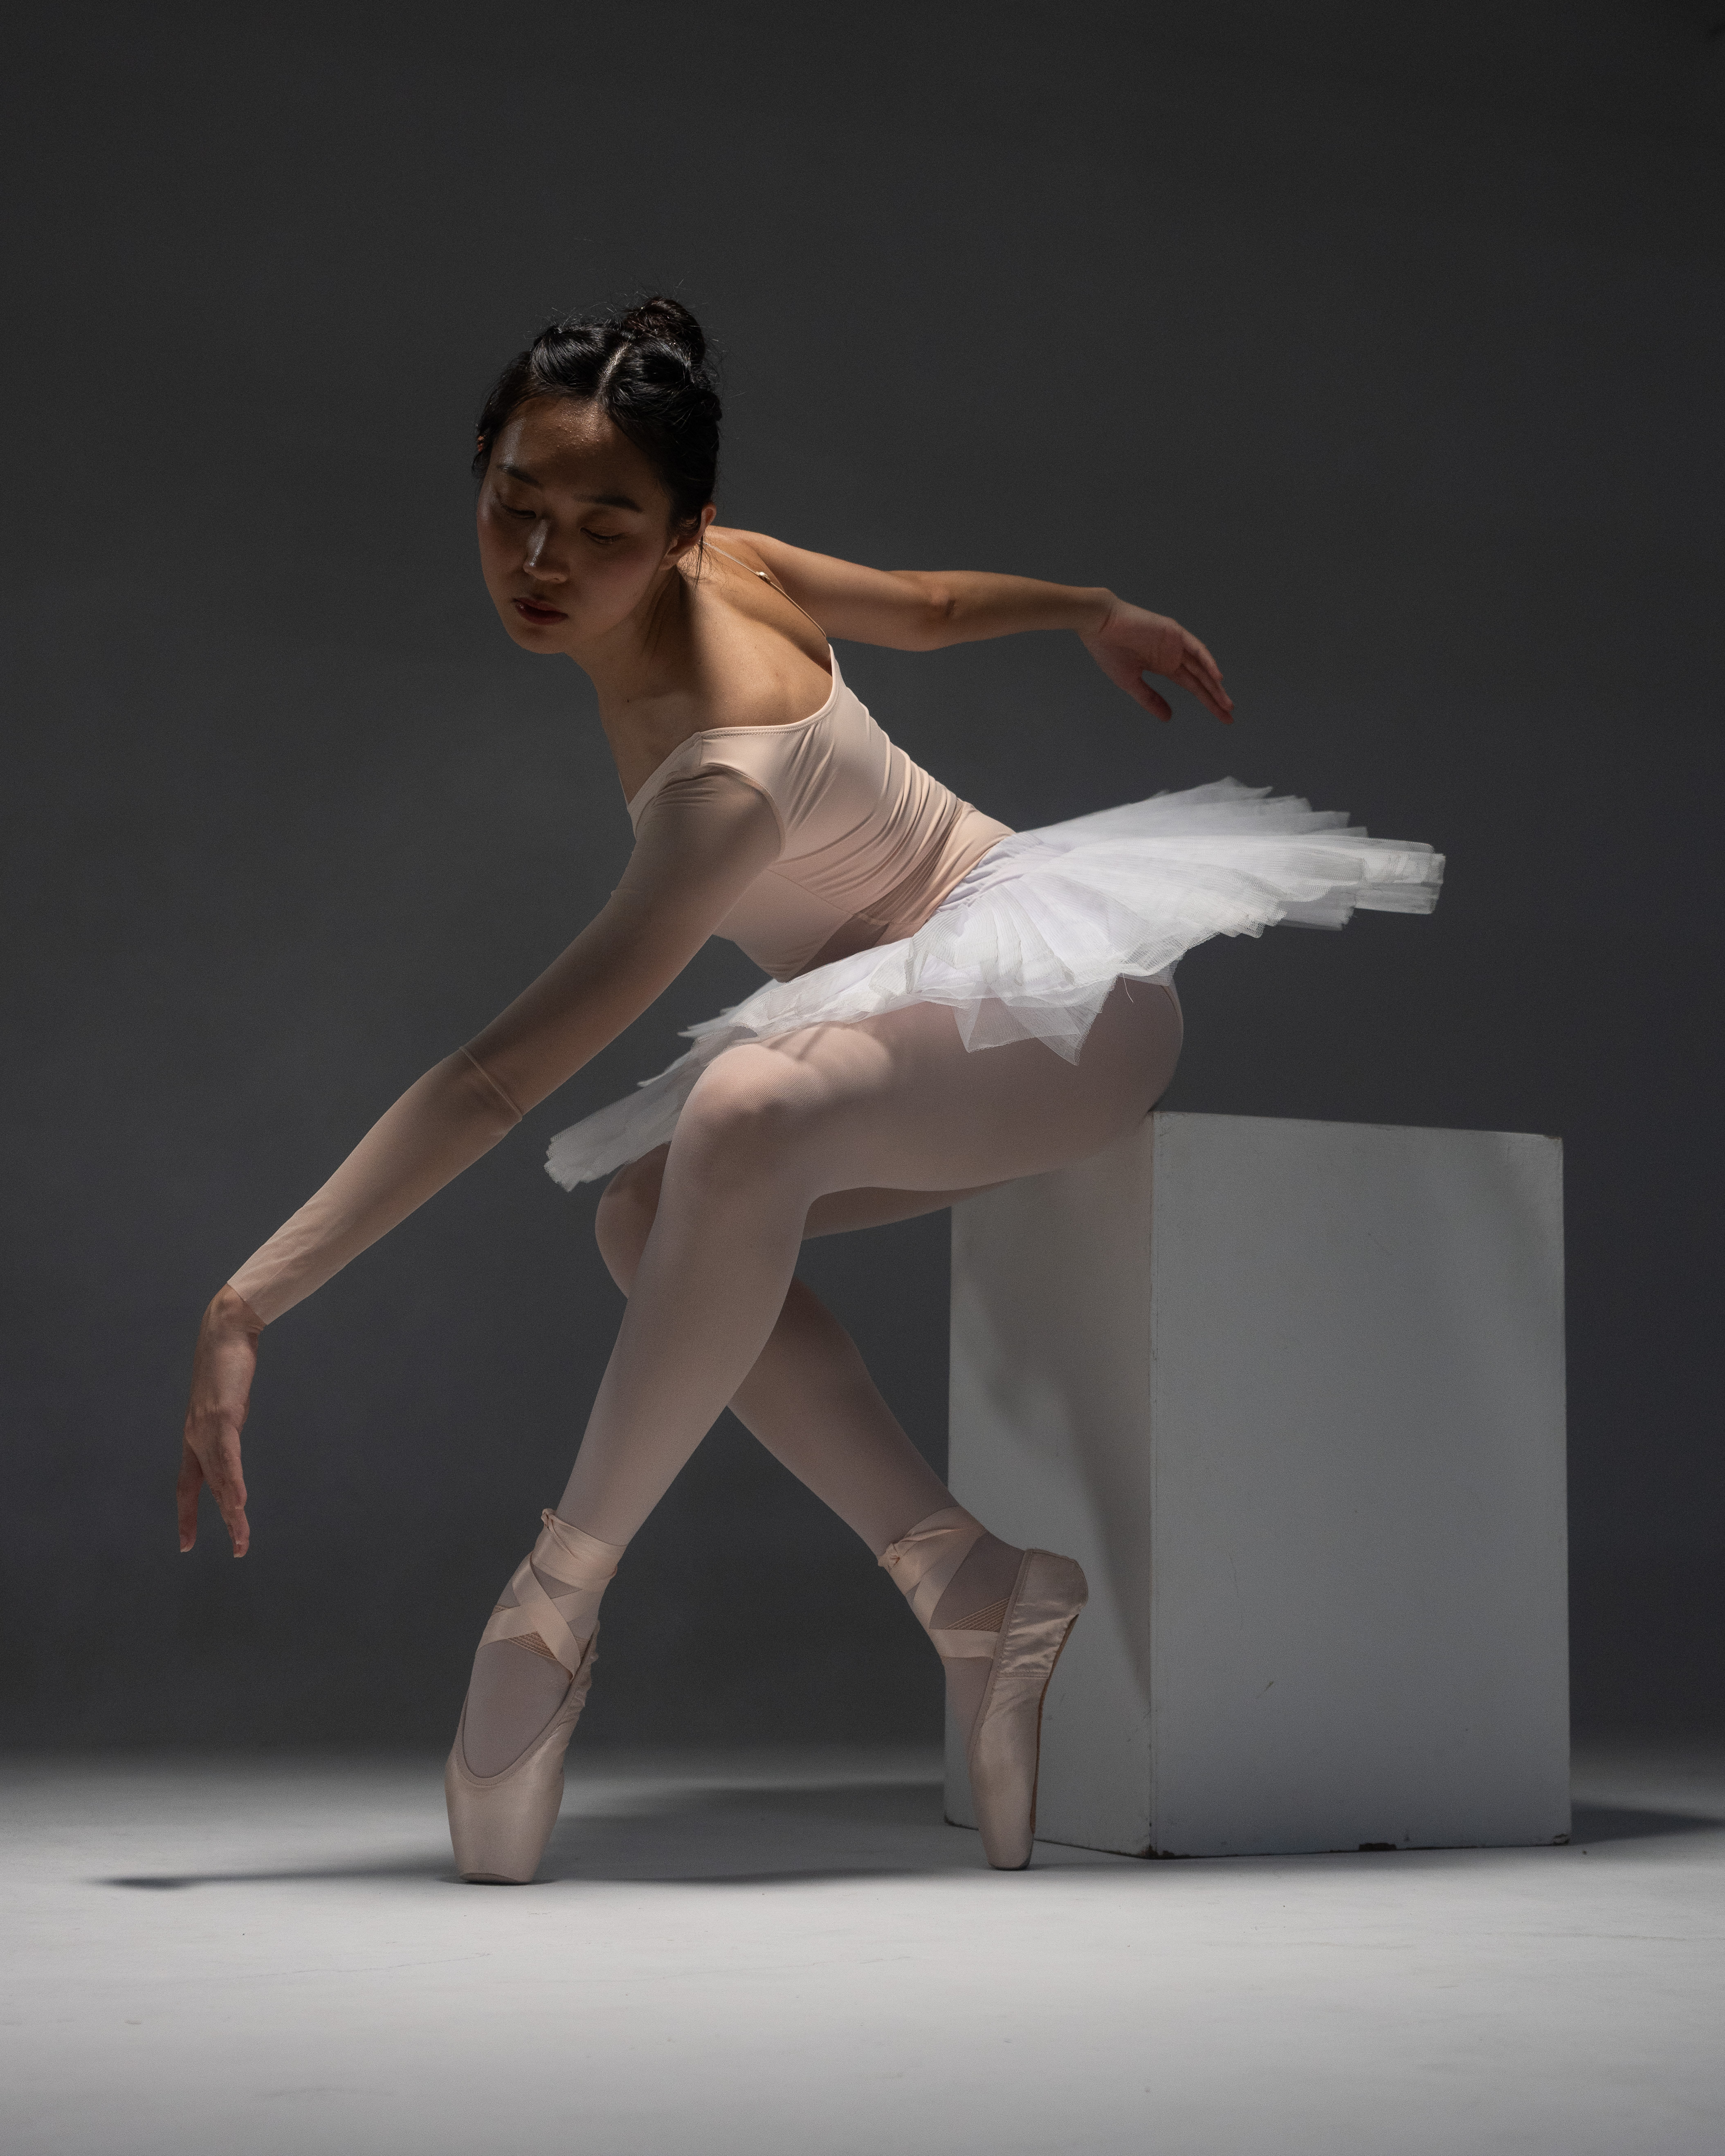



For these images, I decided to try a single light, positioned above Anna (our talented model). The light was slightly in front of her to get some more light on her face.
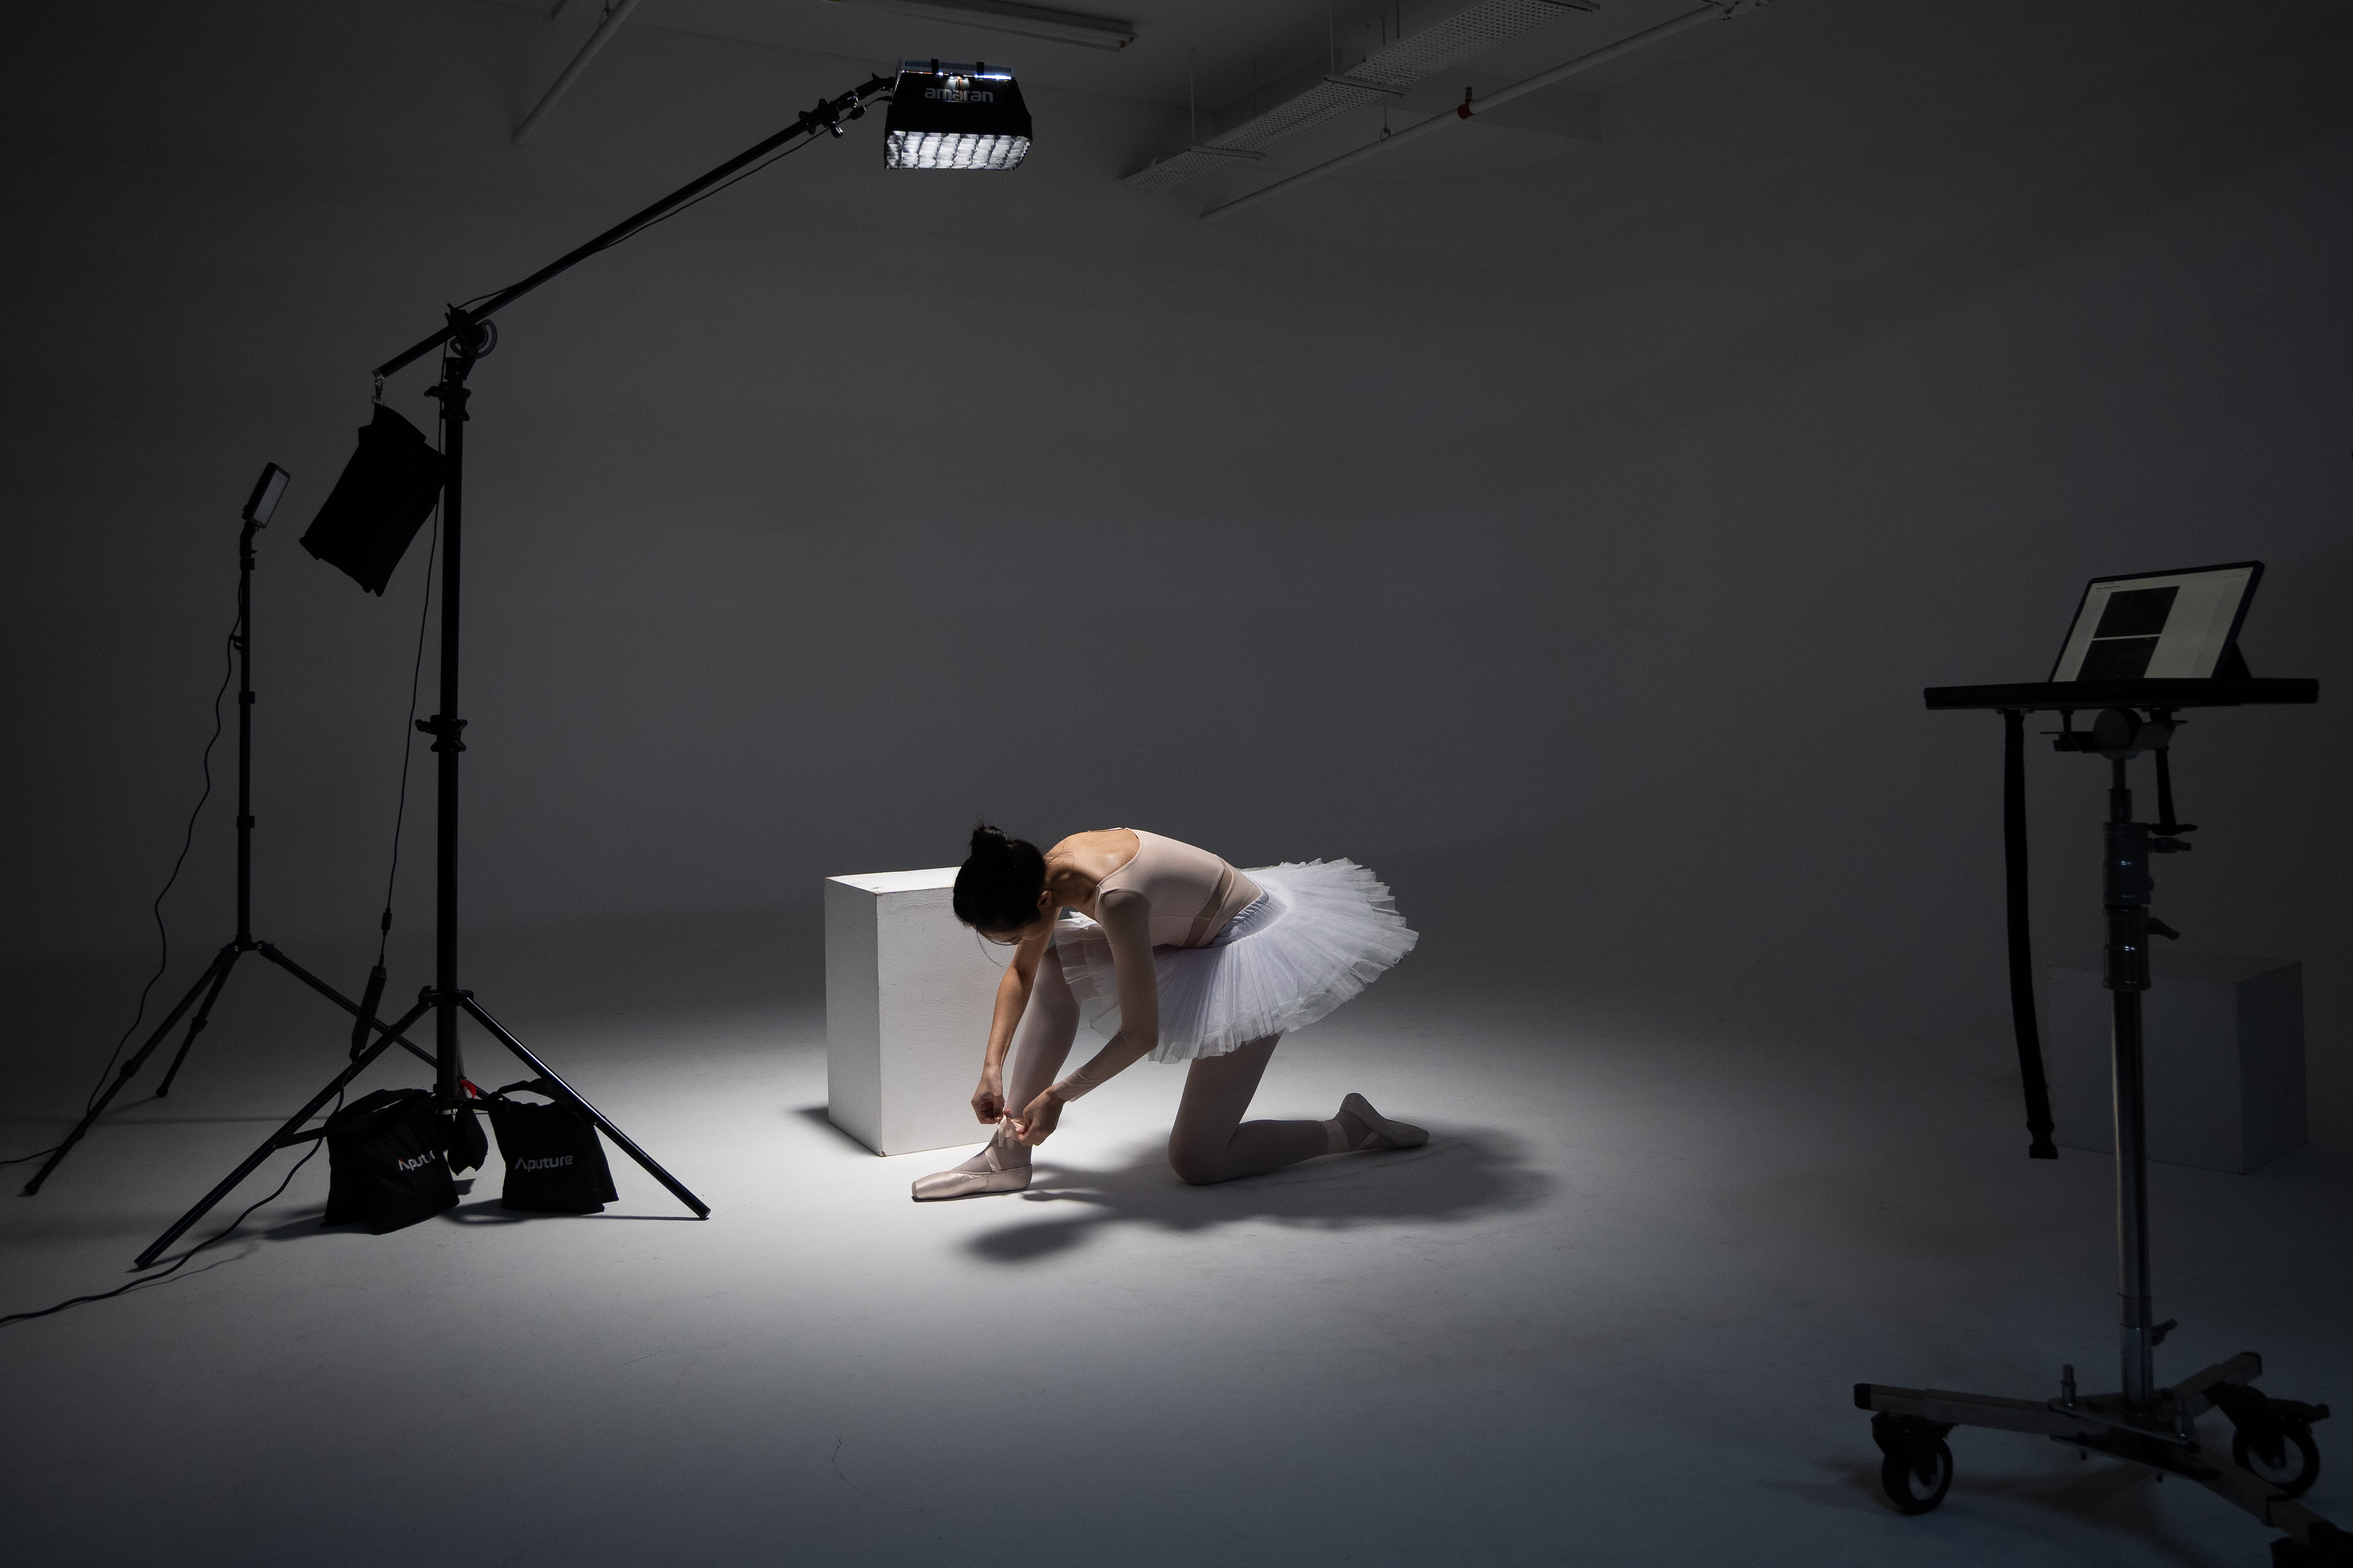
I used the Amaran Pano 120C in this case, and put it on a light stand with boom arm. The 60C would technically have been easier to set up given its smaller size, but I was already using them for other lighting purposes (further down ahead). I was amazed at how small and light a 120W RGB source could be. Like the full kit with the softbox could slide right into my camera bag's laptop compartment. (Pano 120C is approx the size of a 15-inch laptop, 60C is approx the size of a tablet).
I used a posing block to sit her down for some shots, while some others were on the ground. Overall I think these photos are simple and nice.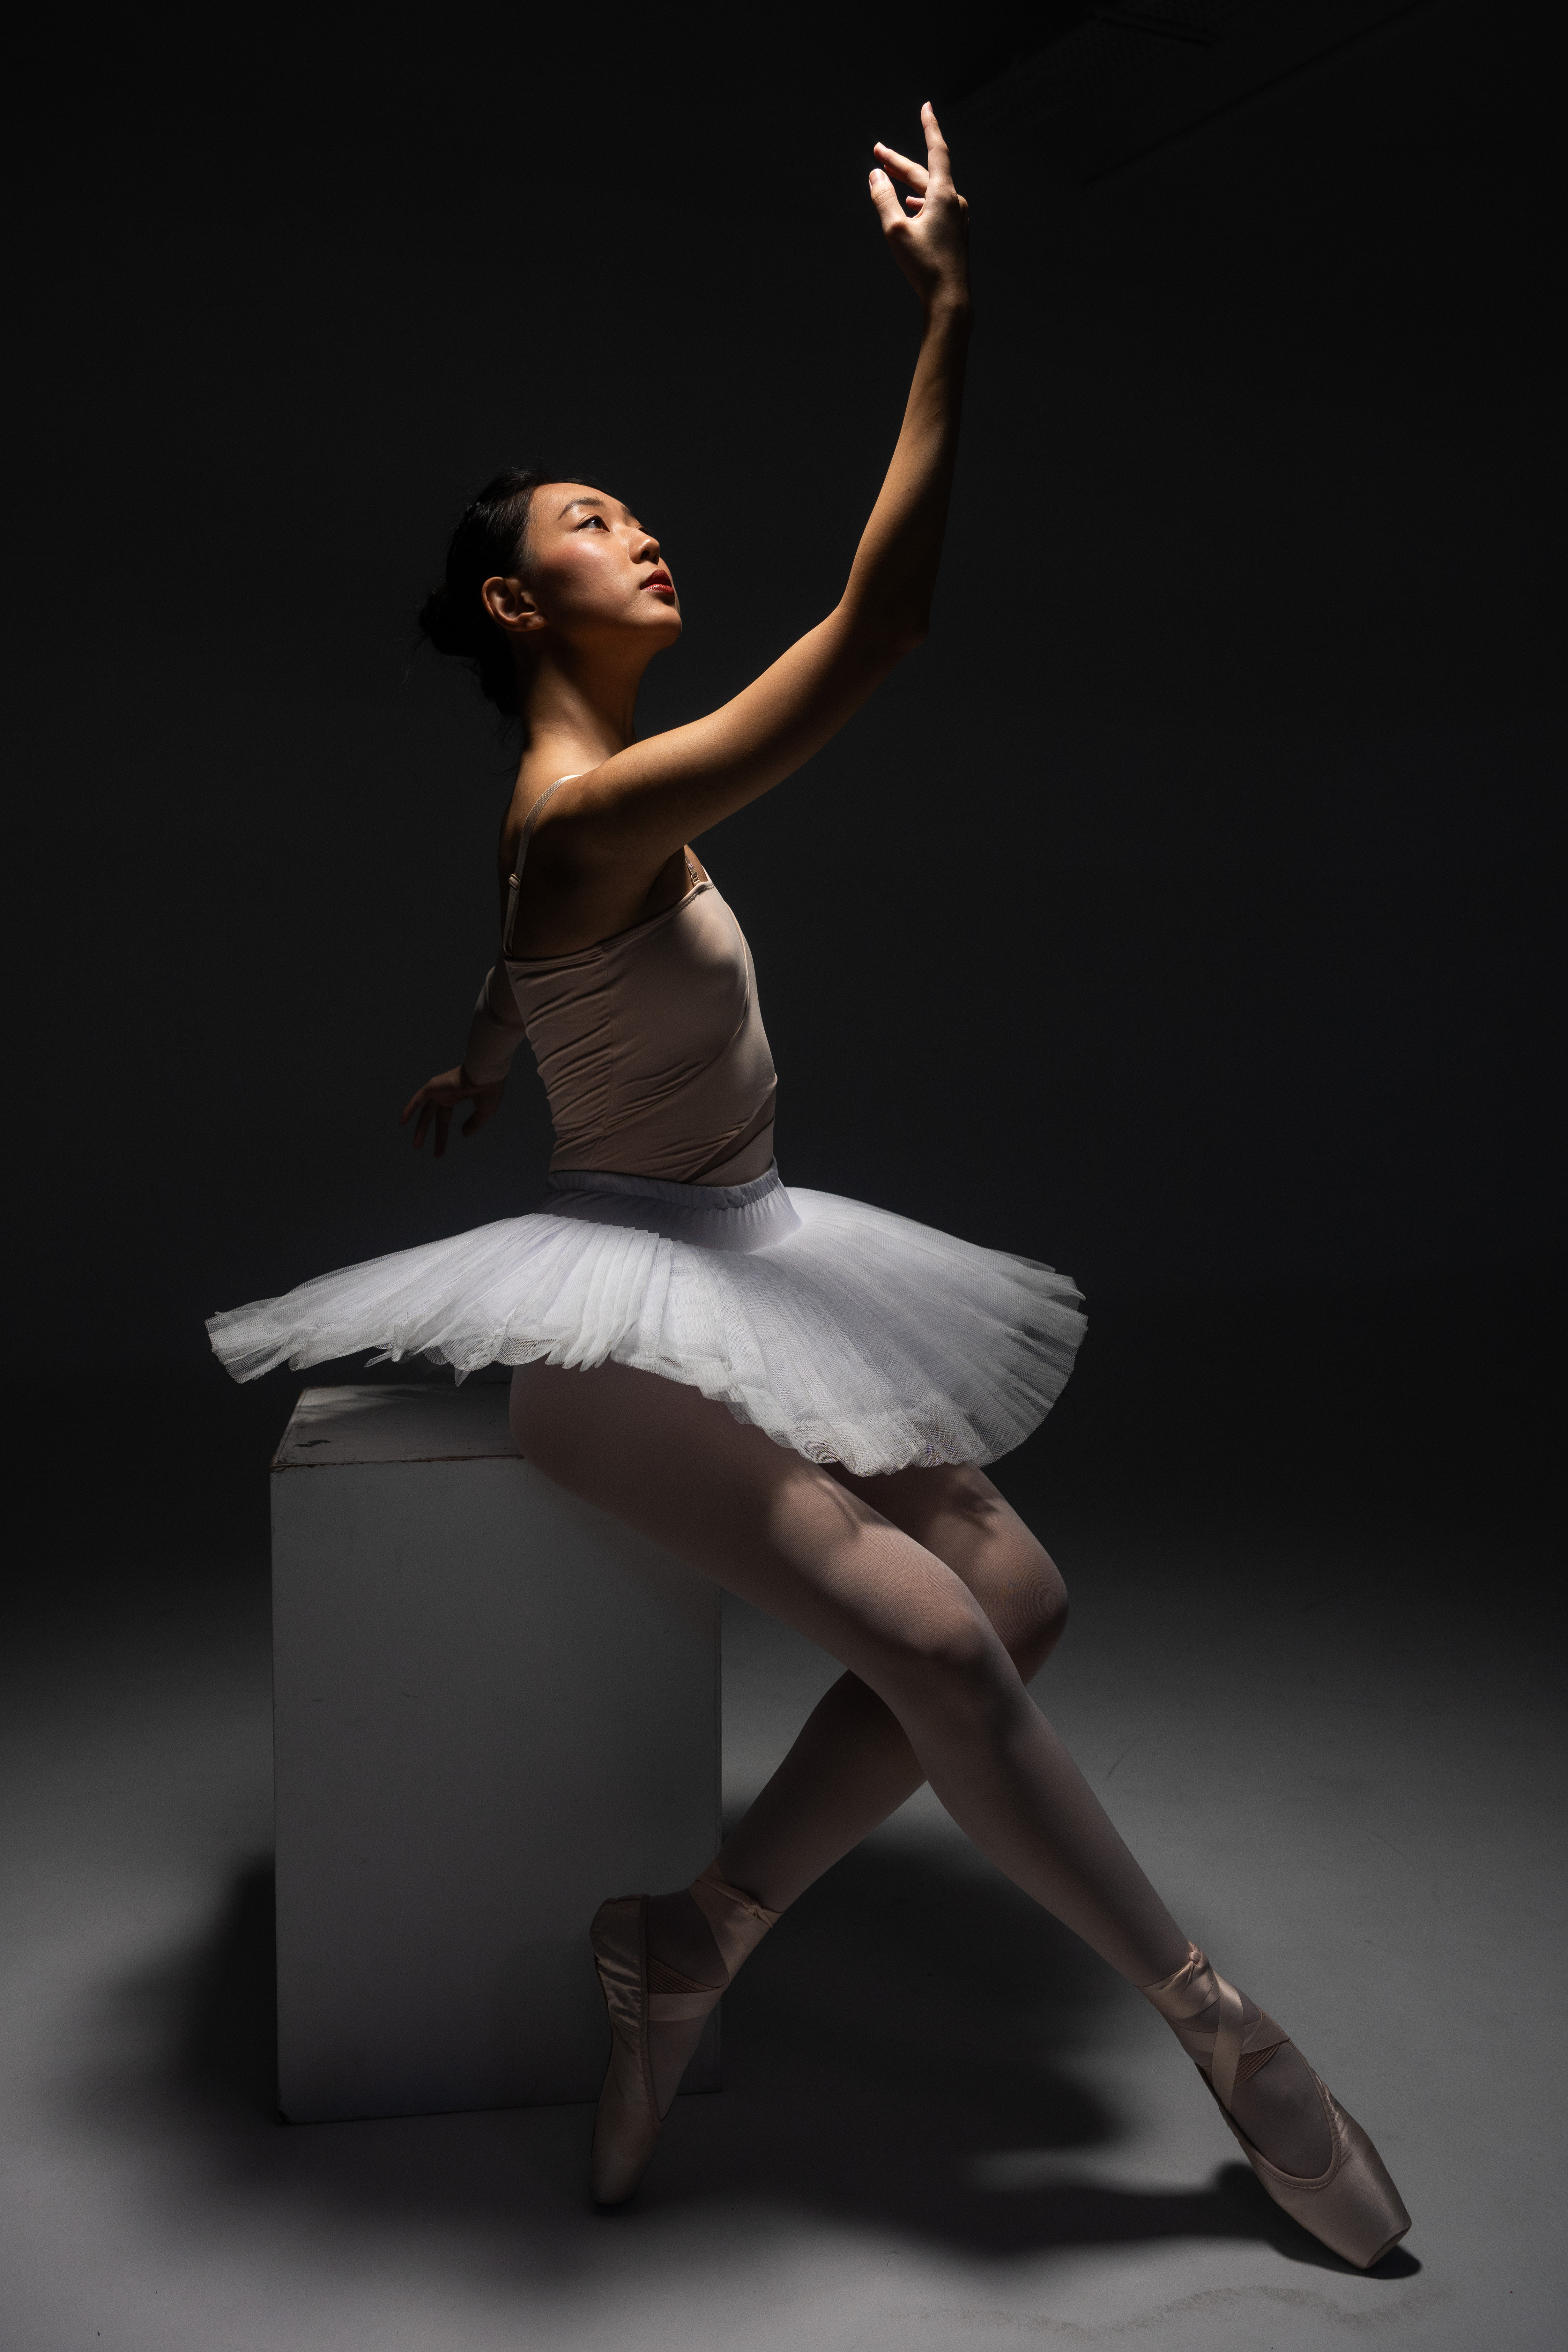
Part 2: Single Light Silhouette

I didnt really take much photos with this as I had other concepts to try out. Simply put, I decided to light the background rather than the subject, putting the entire subject in the shadows. Decided that blue would be a fun colour to use.
Used a Single Pano 60C to light up the background. Another relatively easy to do concept. Amaran RGB fixtures do really have very saturated colours, allowing you to get very creative with your shots!
Part 3: Standard 2/3 Point Lighting

Now here is where we get to the fun stuff, playing with 1 key (main) light on Anna, while using 2 other lights to add rim (gives contour and outline) lighting. The Pano 120C was used as the main light, given it is was the brightest light source I had on hand. But you could also just use 2 lights, the rim light can honestly even be a torchlight. Just experiment and play, theres no right or wrong :)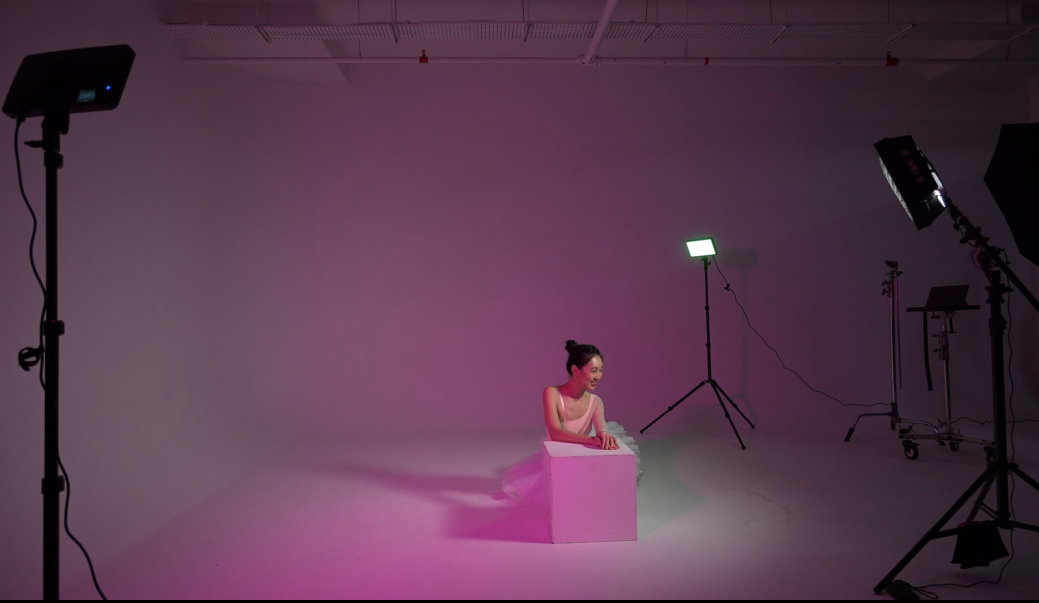
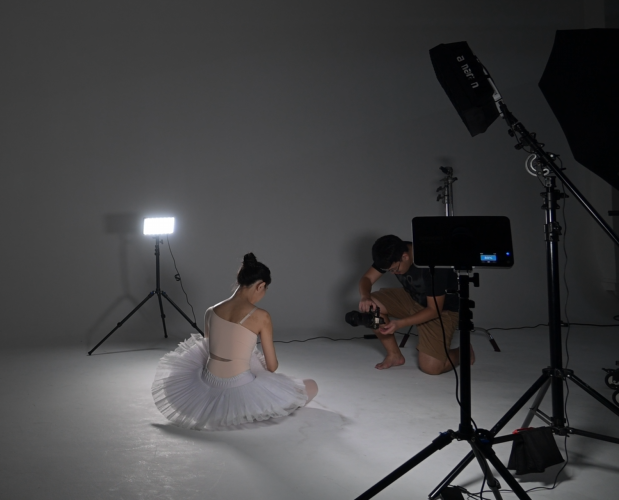
Thats basically the setup(s) I used.
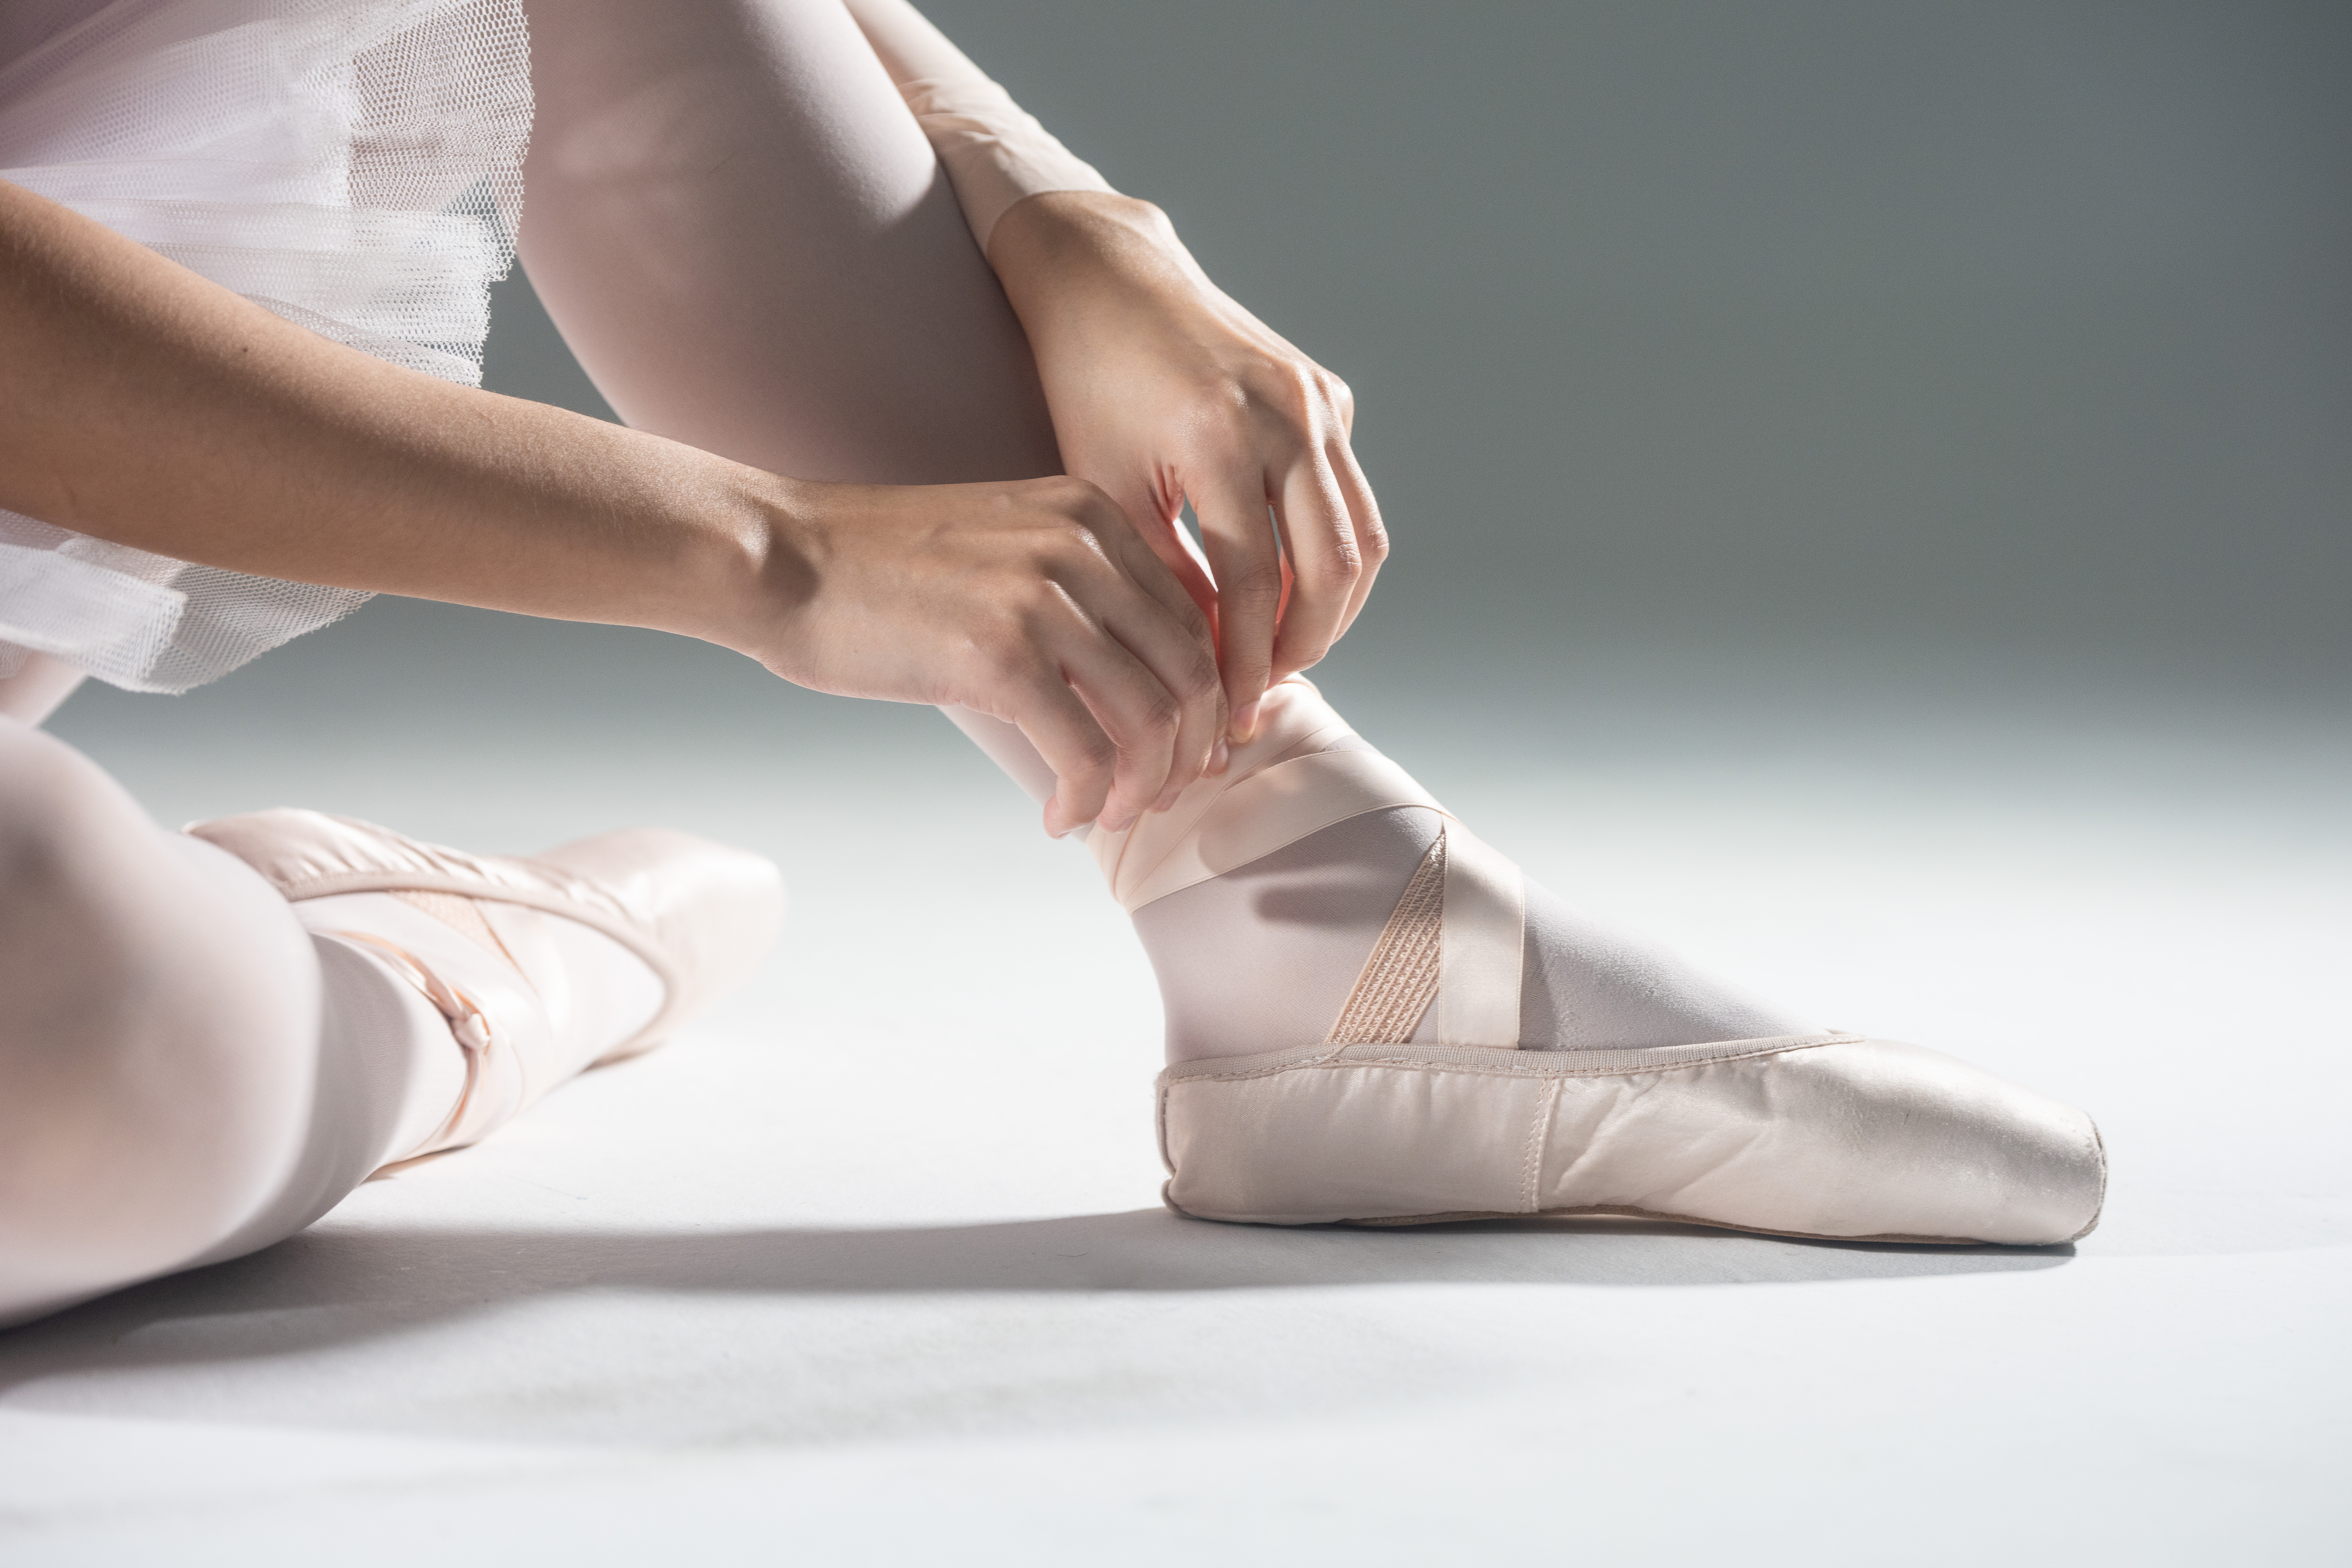

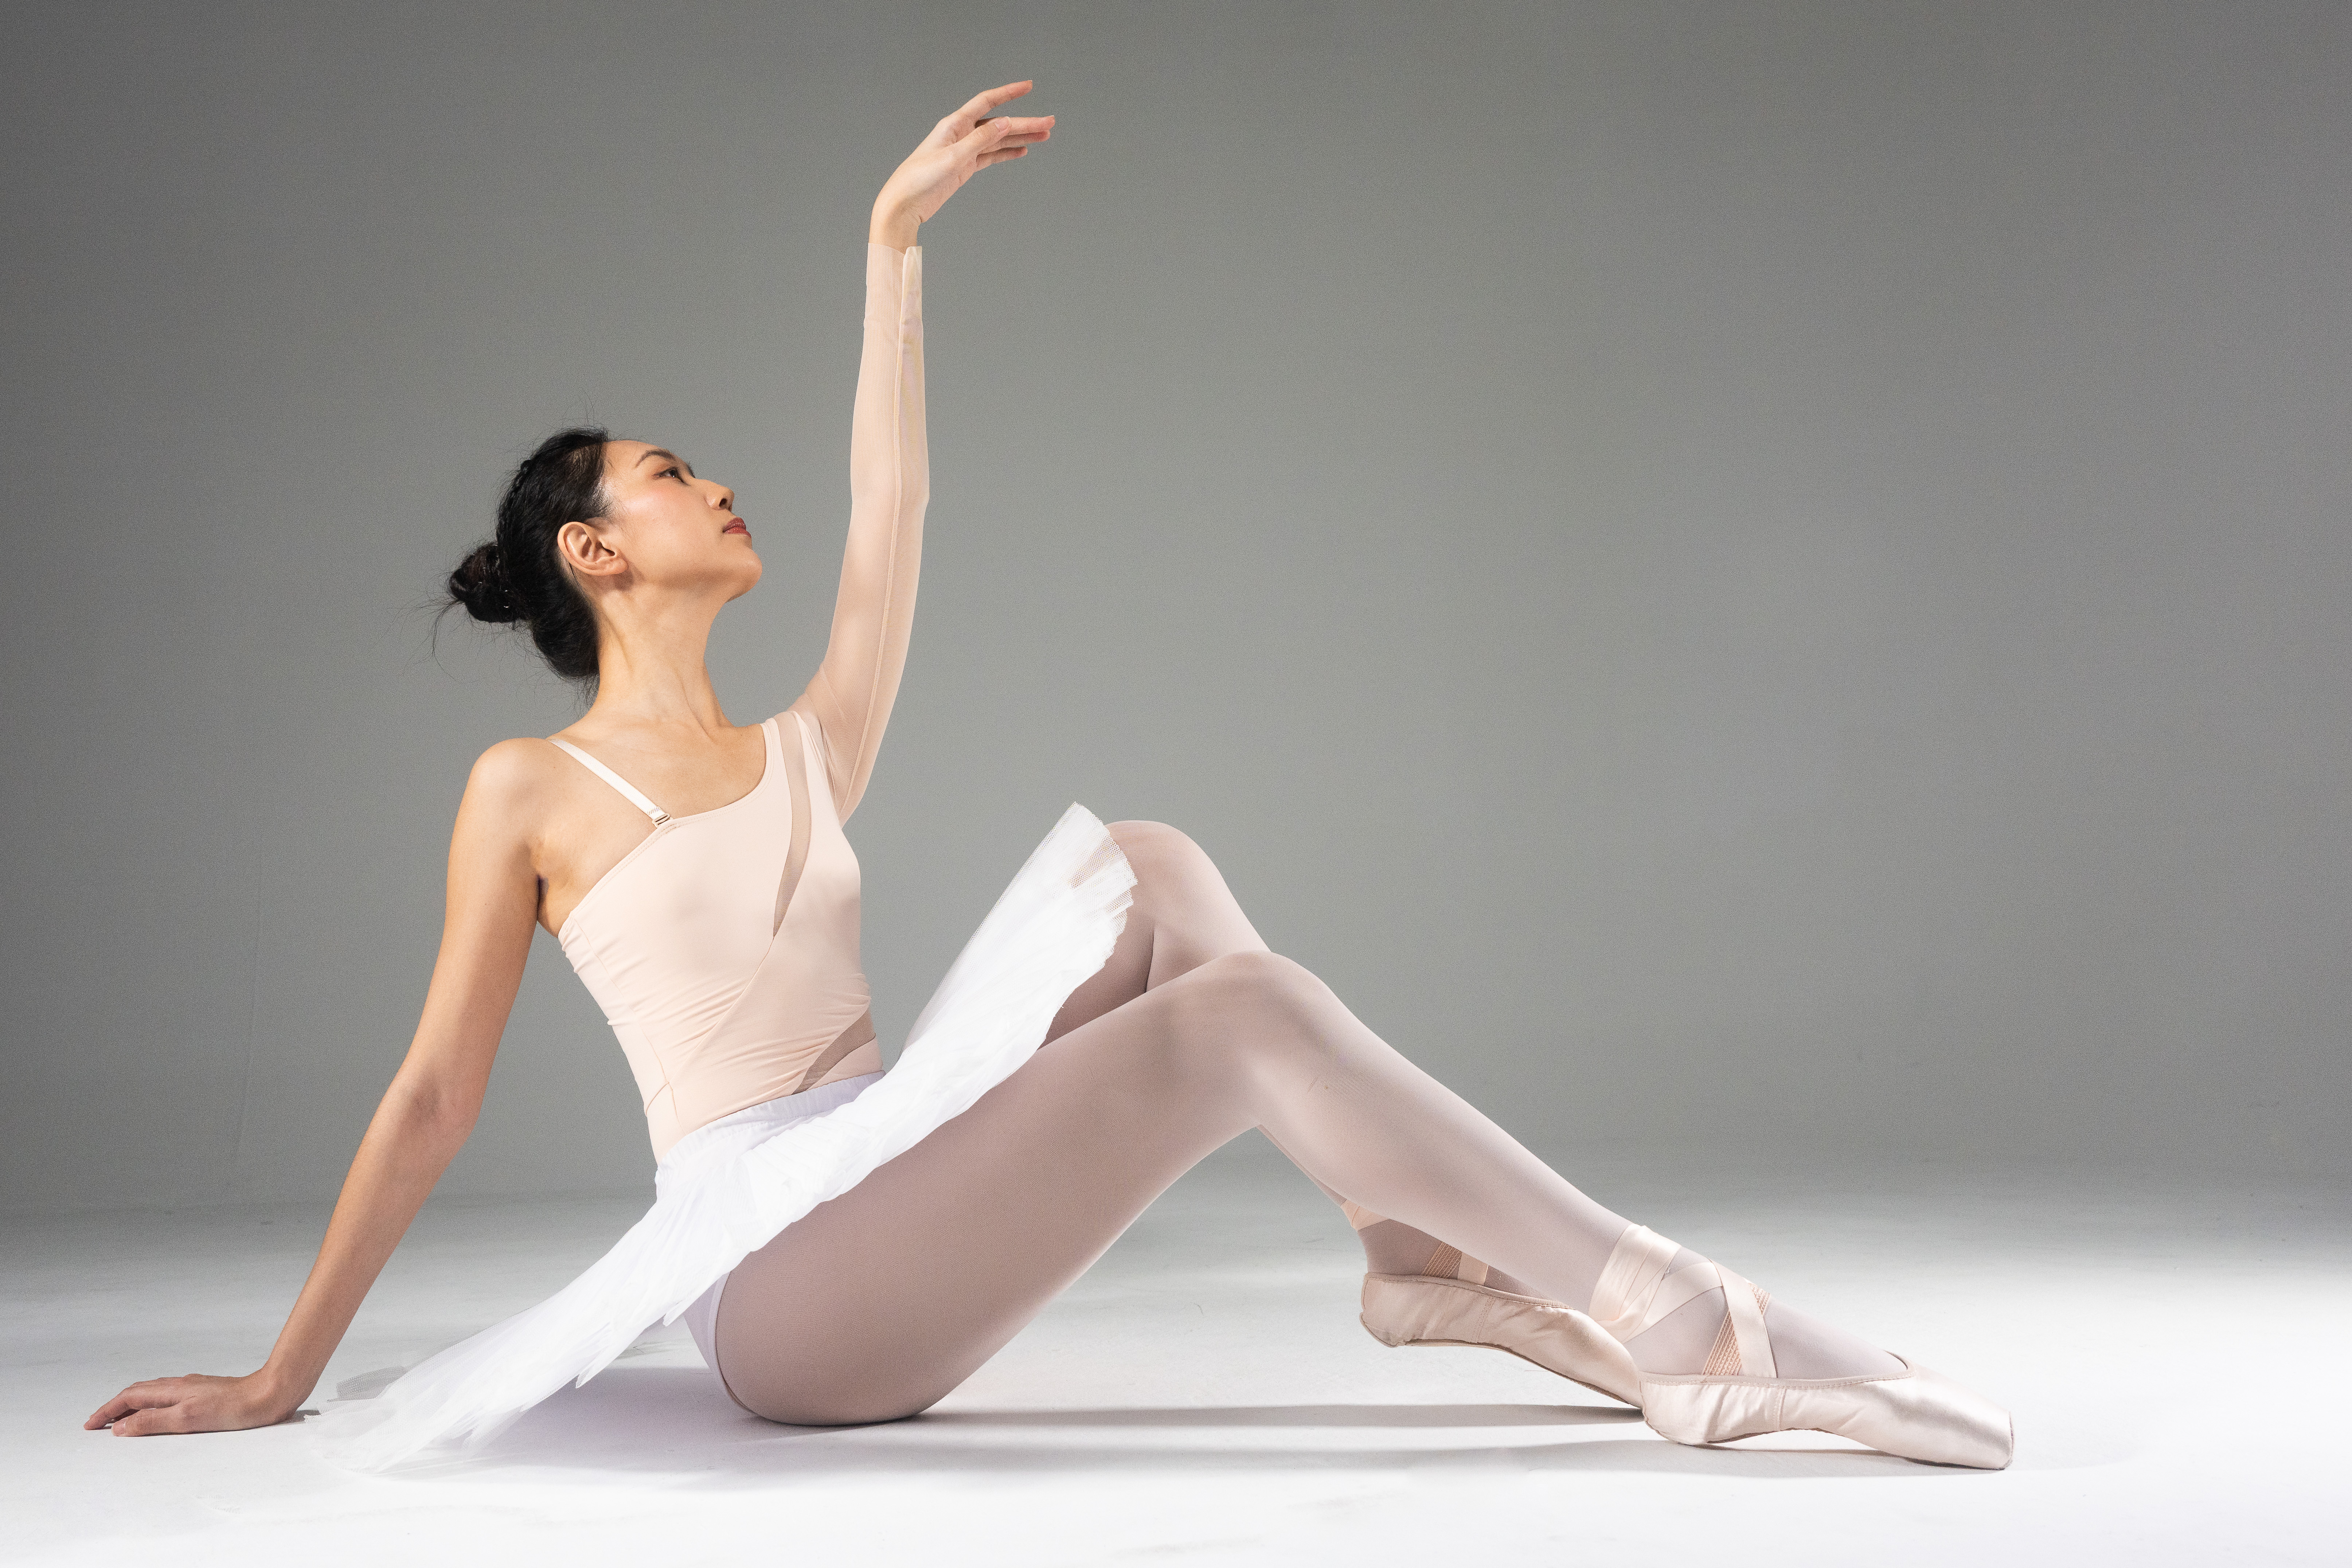
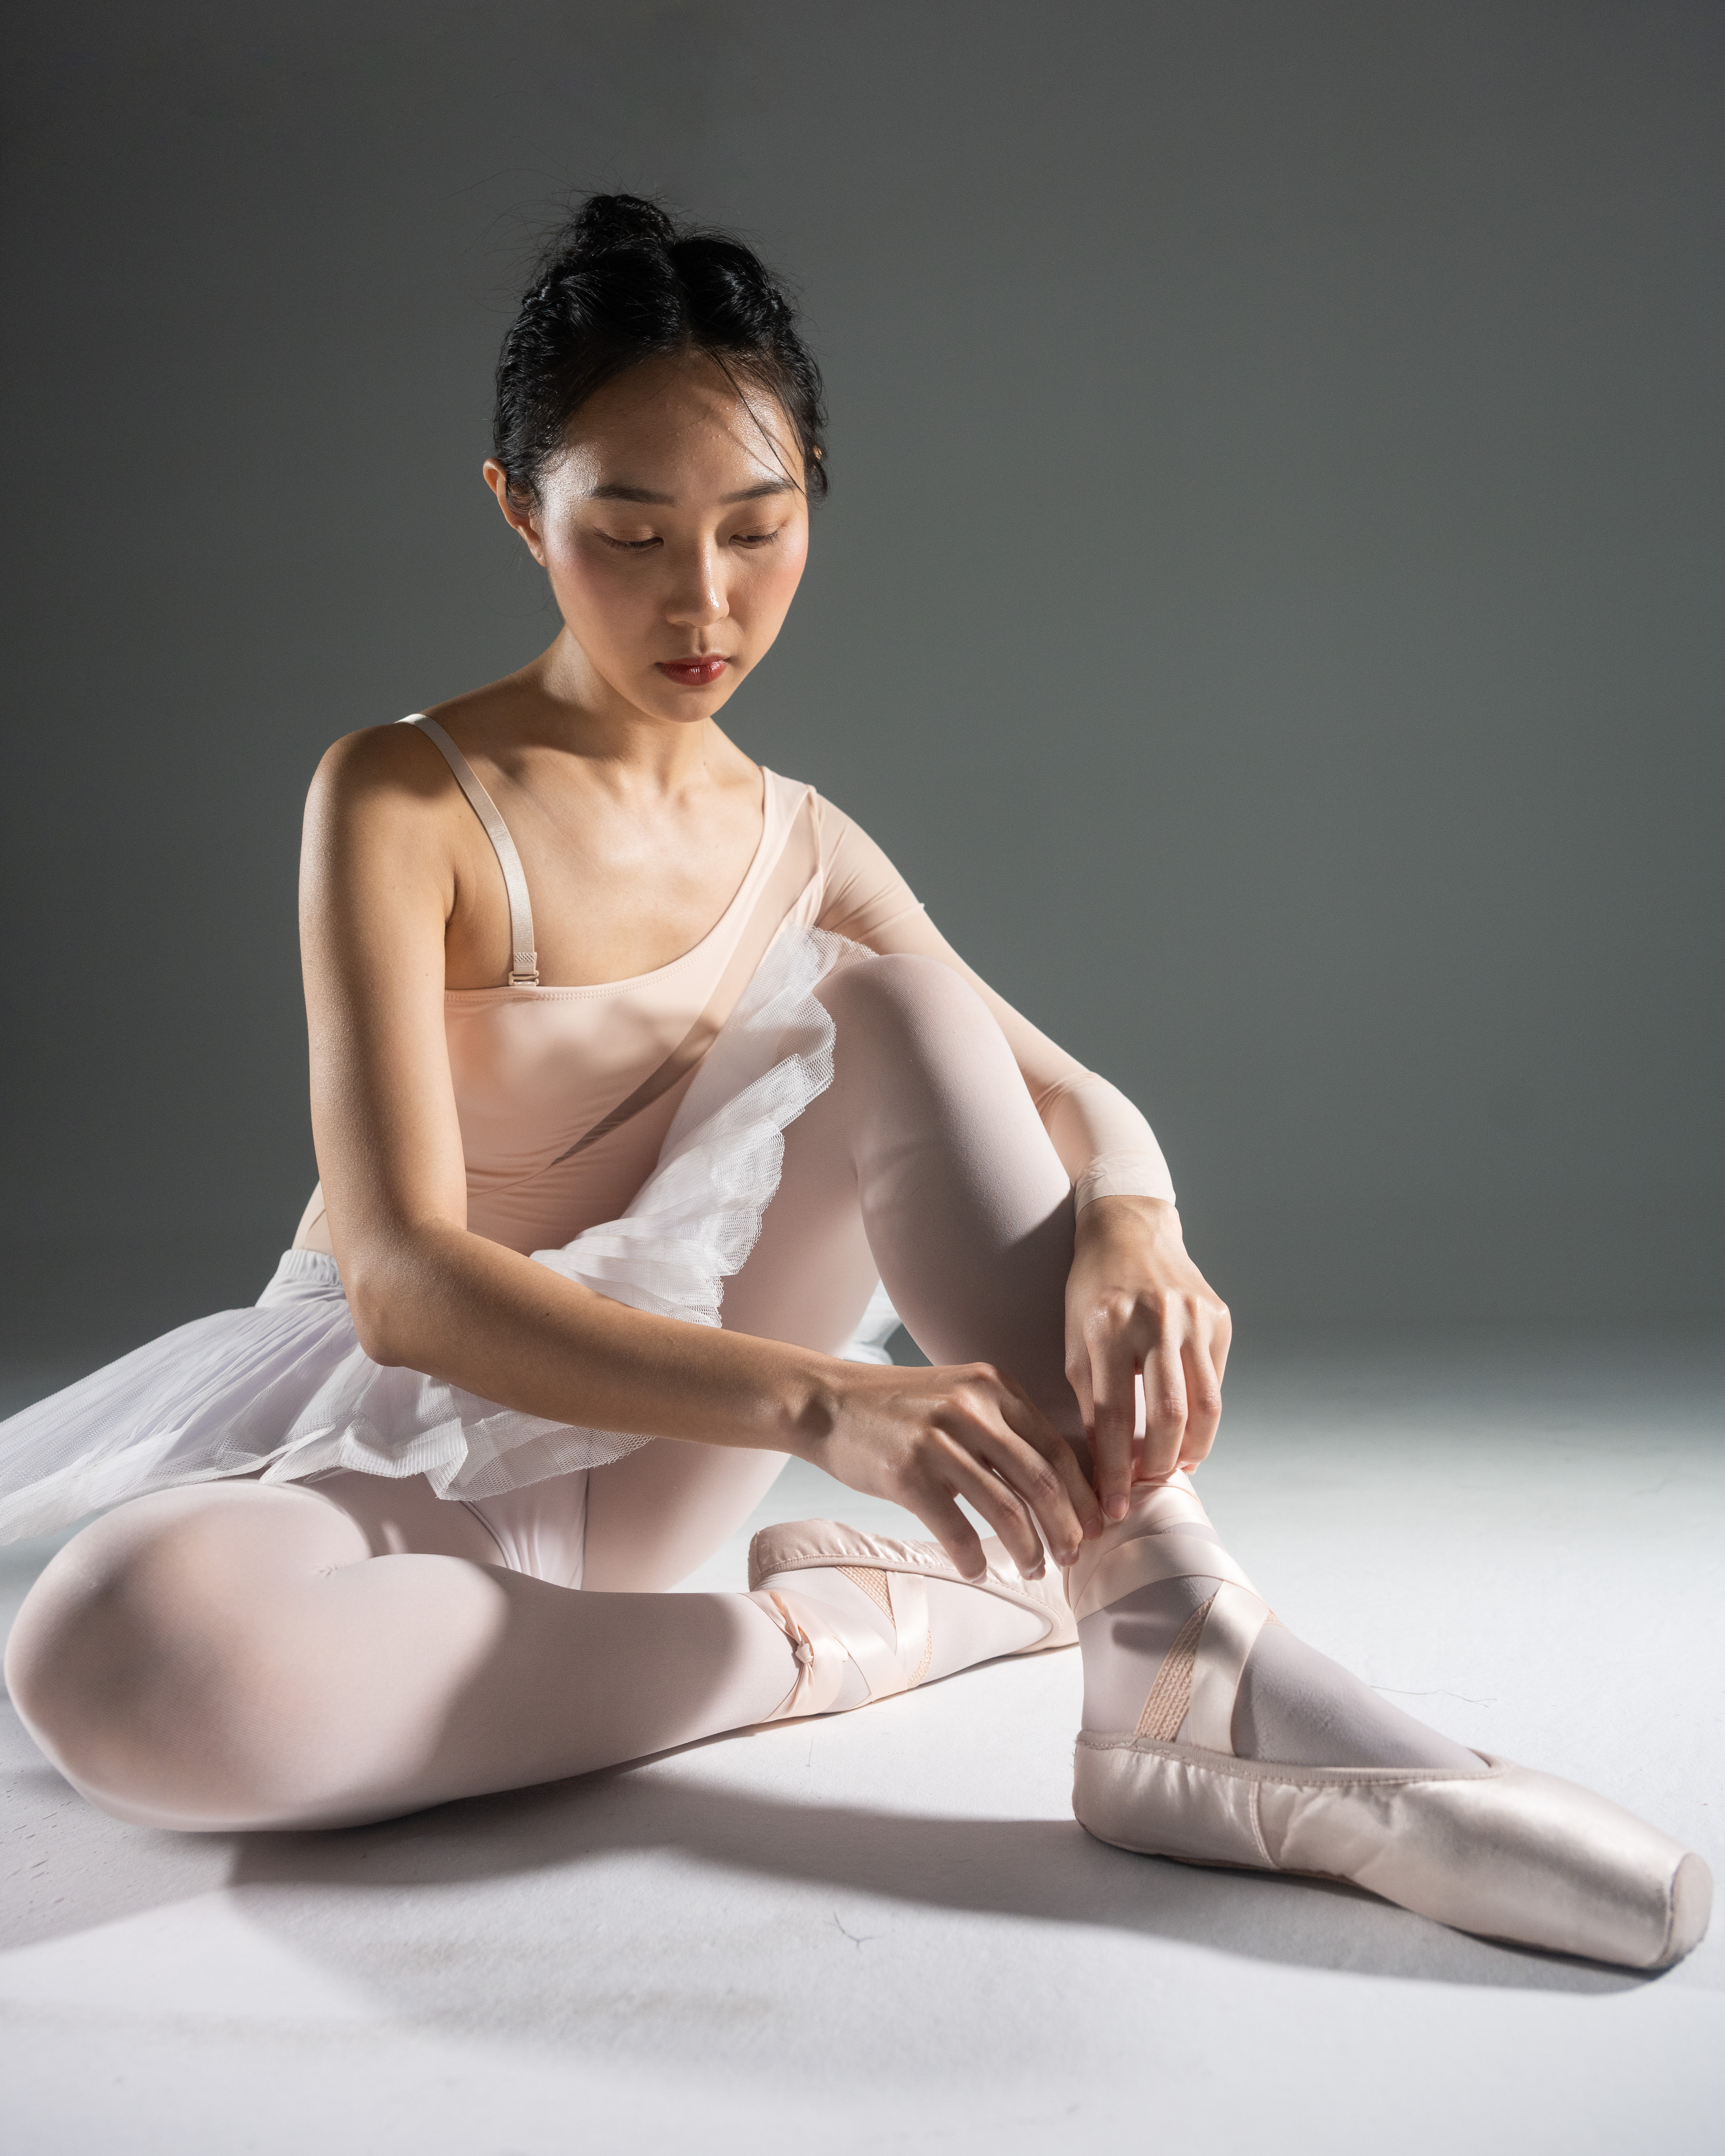
The studio has a cyclorama, meaning that the walls were curved. Its nice and so I decided to make use of it in some pictures. I know some people would bicker about multiple shadows, but trust me it was intentional here. I personally think multiple shadows can look cool, but hey thats why photography is an art haha.

I thought pink/ white/ green hues would look good so I ended up using them. Definitely room for more improvement next time, but for a start I think these images are pretty cool still.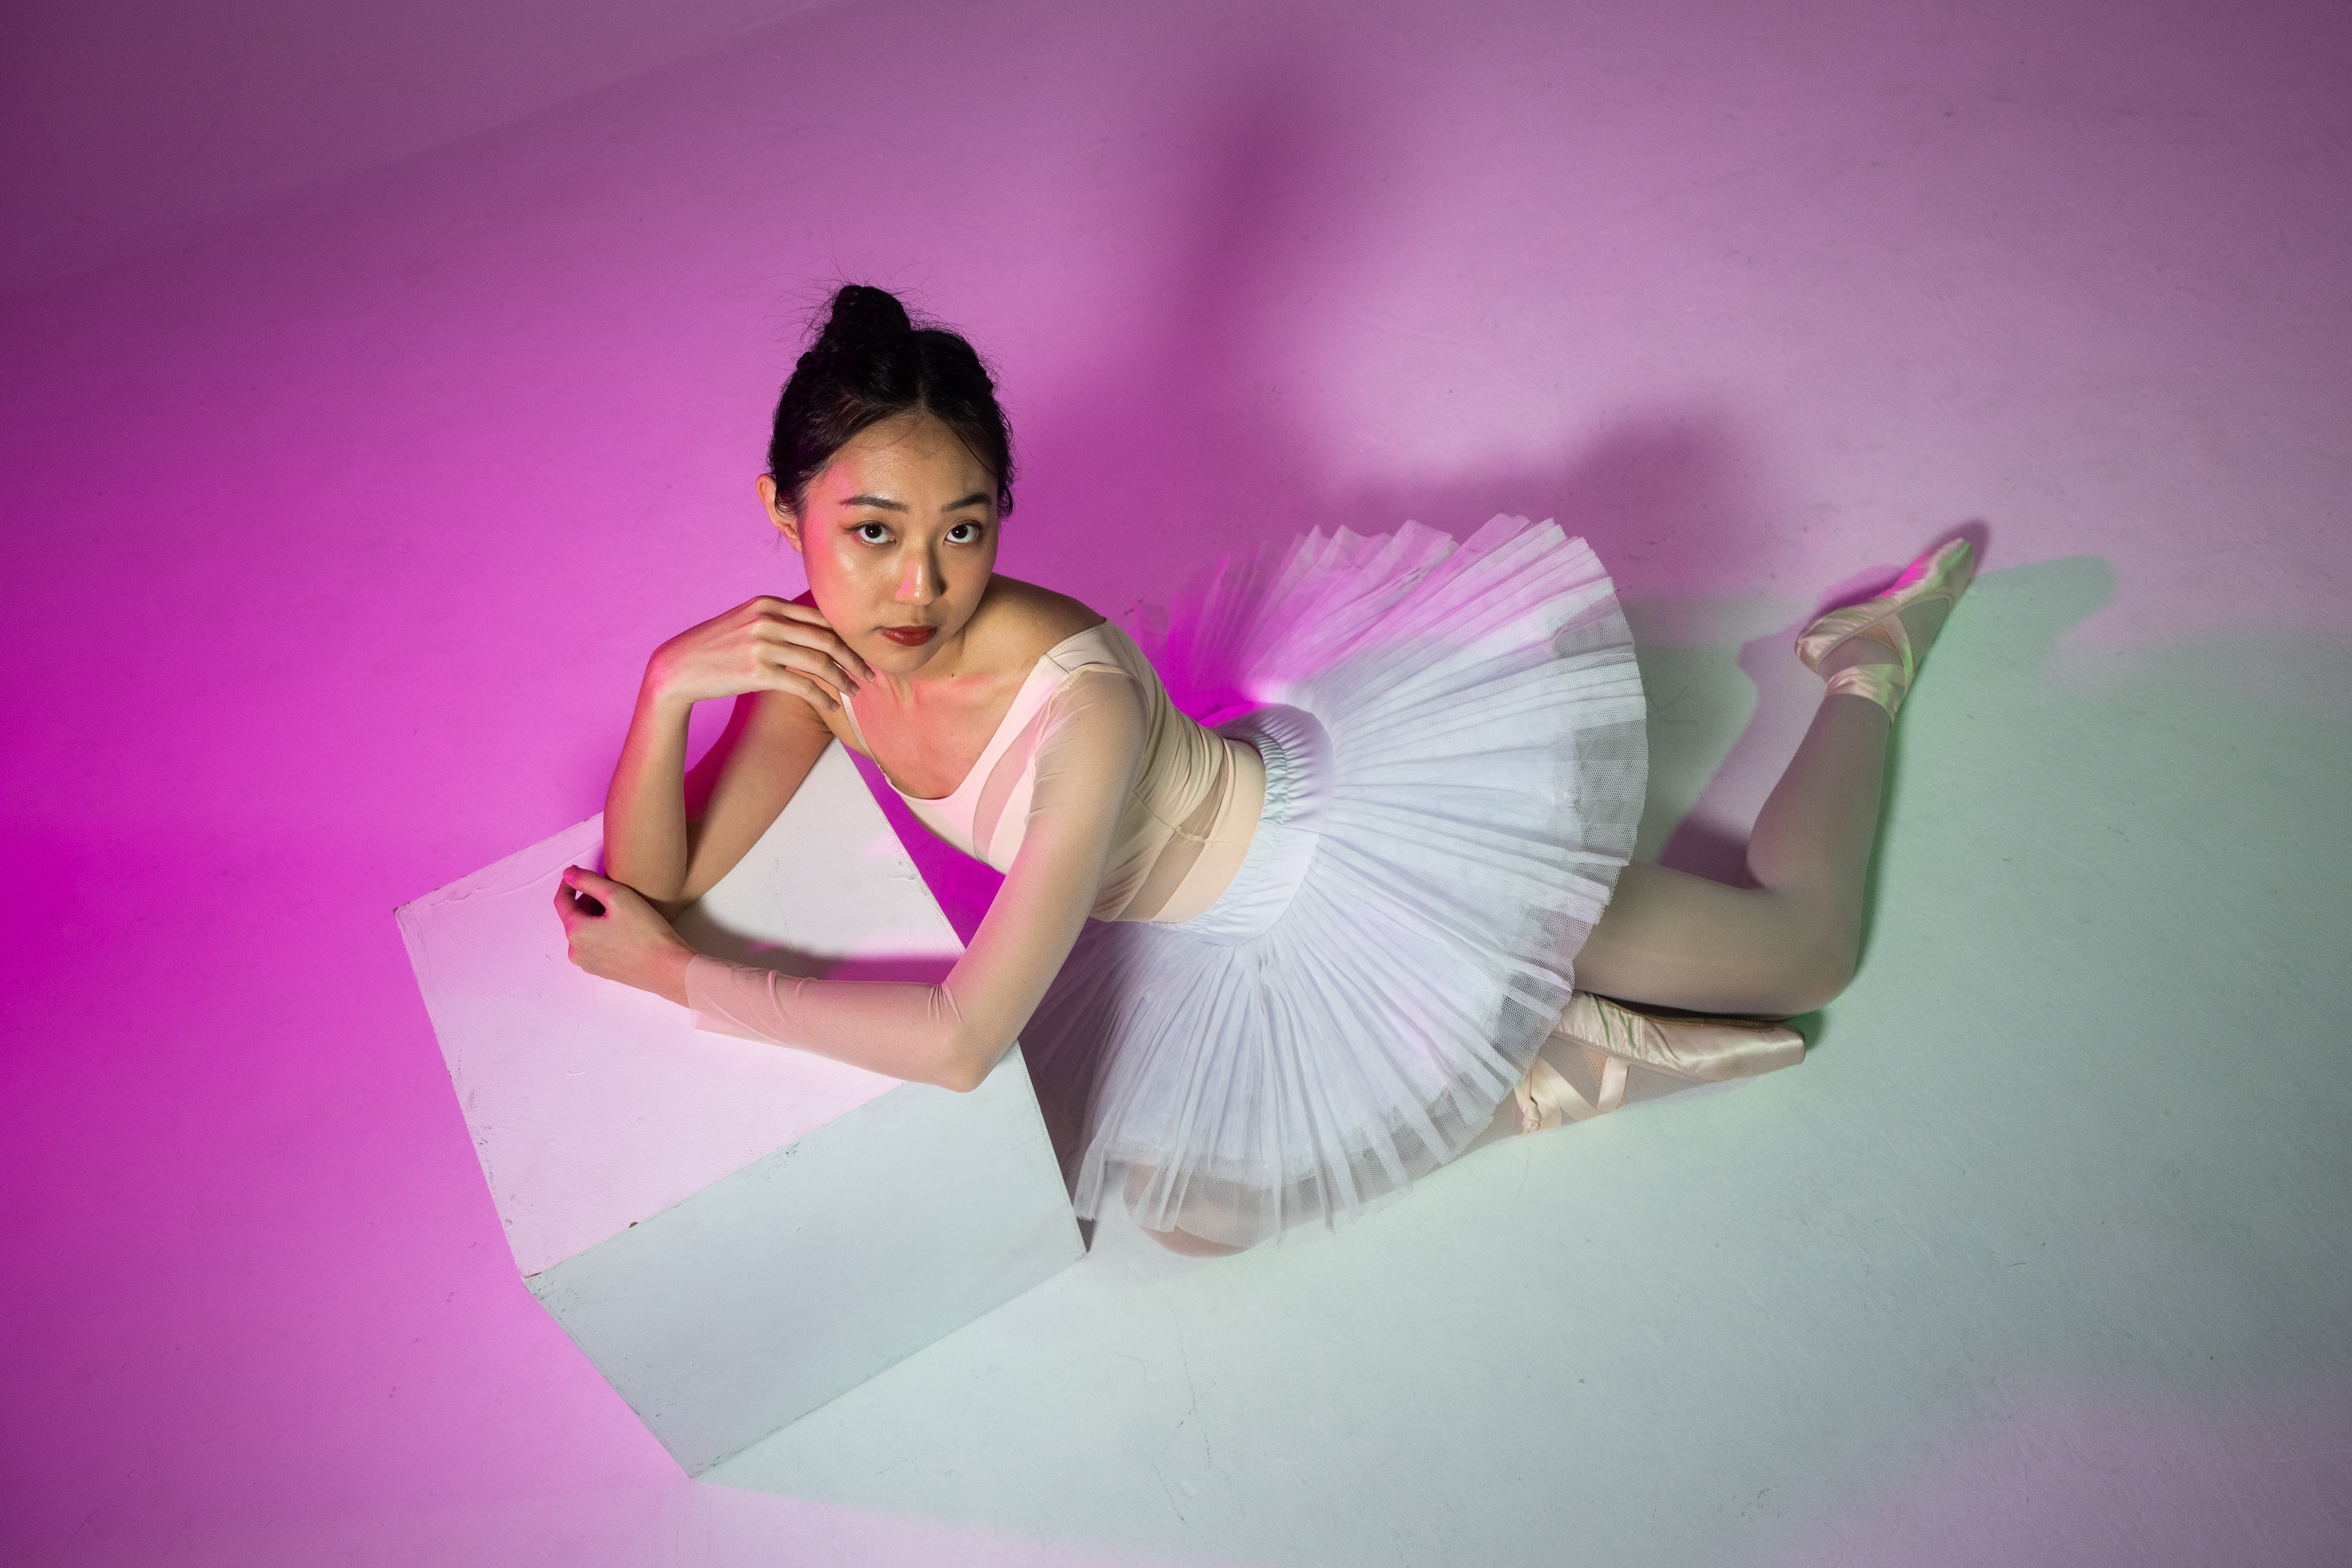
 For this next shot, I decided to just turn off the Pano 120C, leaving just the rim lights. I increased the green saturation. Kinda looks like the Wicked movie, Elphaba (green) and Glinda (Pink).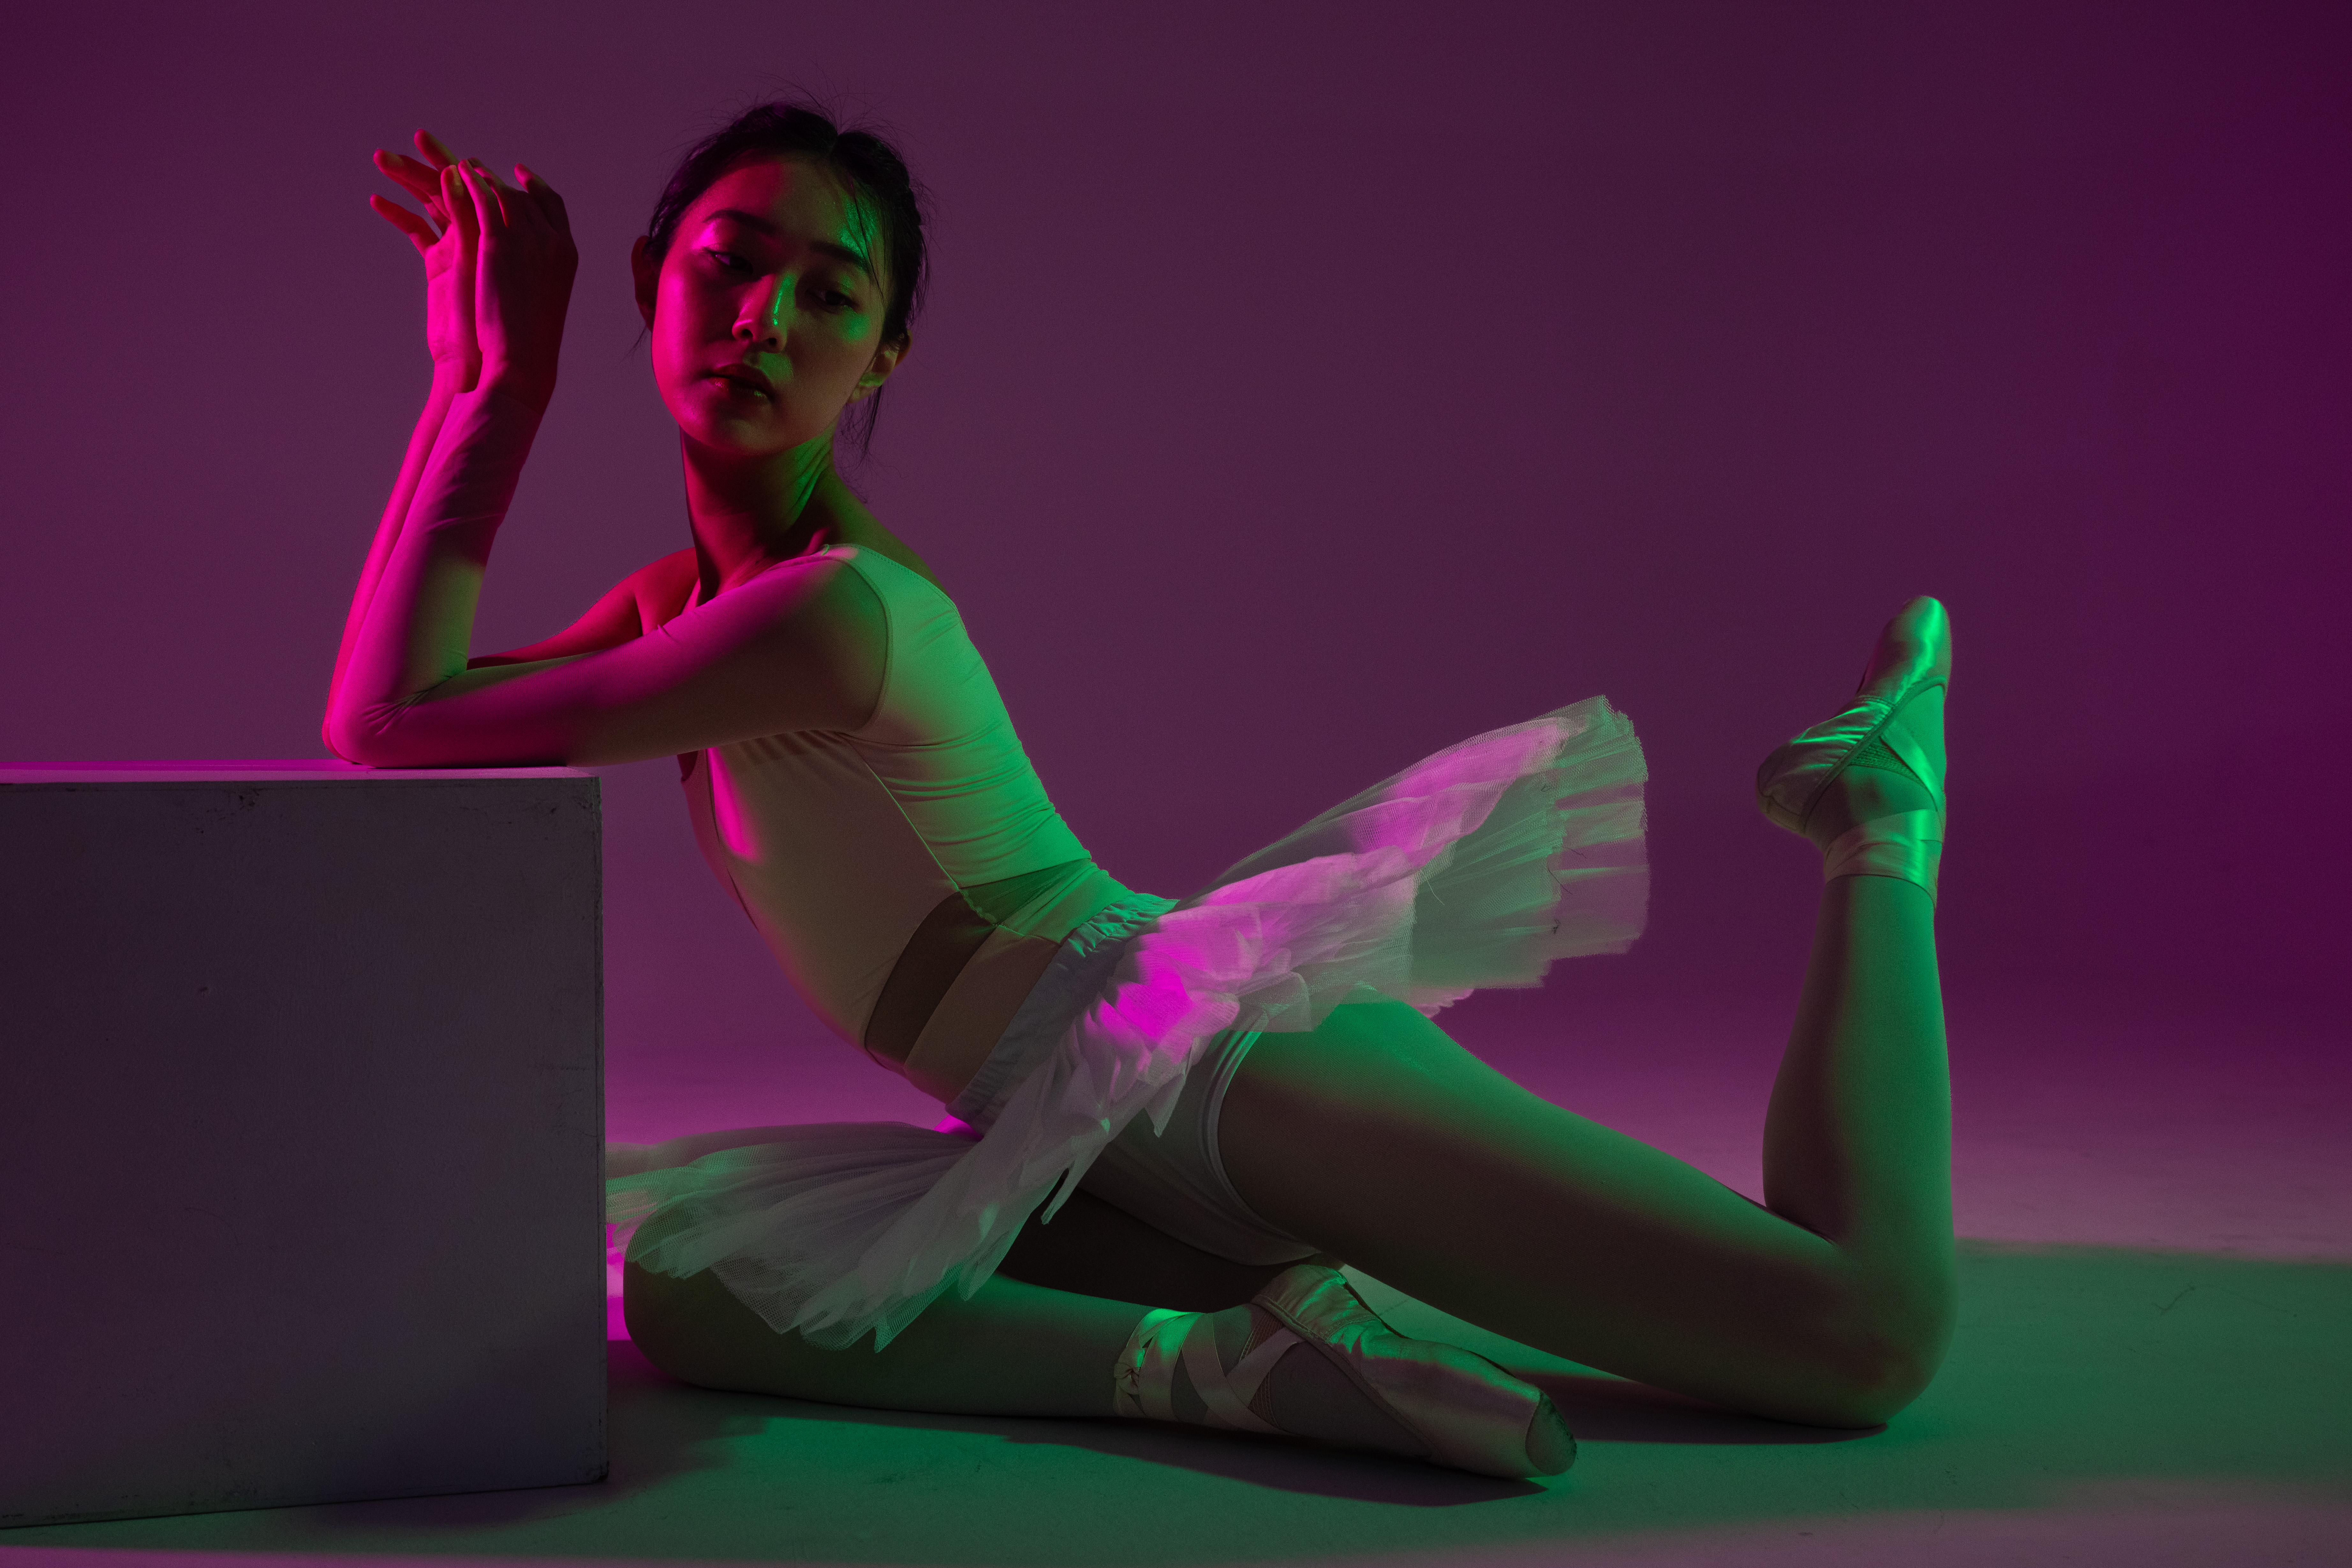
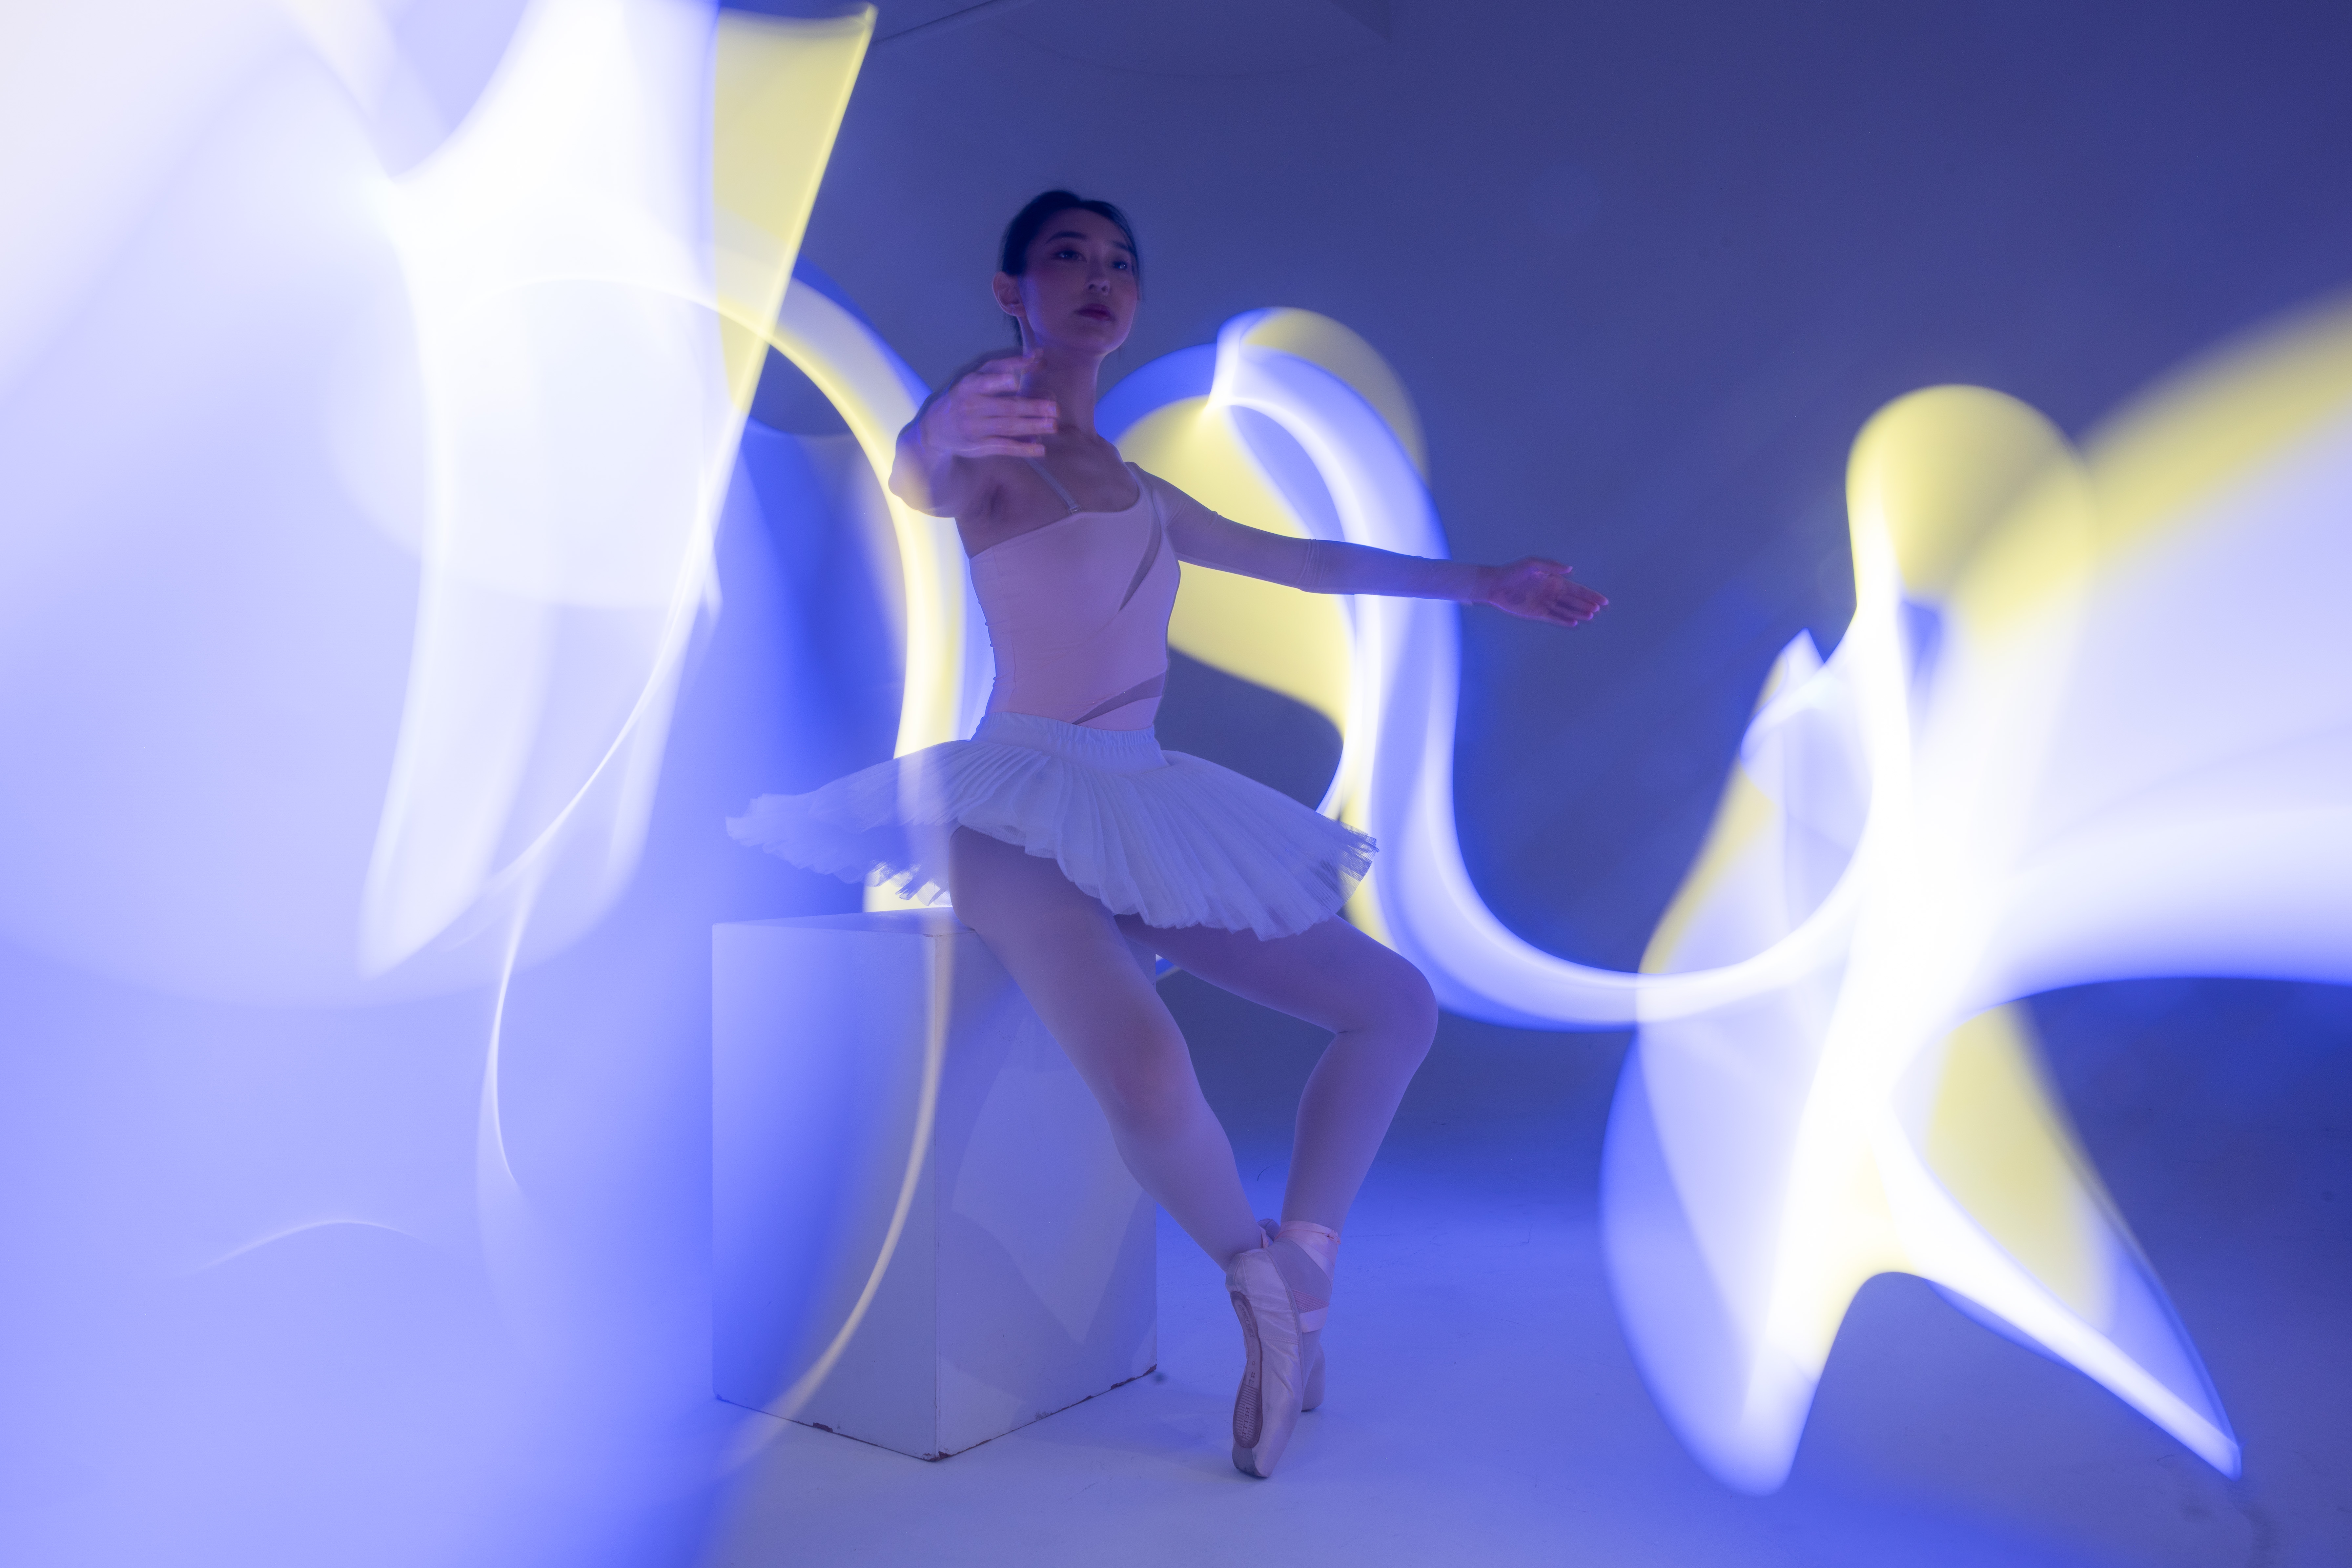
Part 4: Light Painting (Failed lol)
Light painting is fun but my flash didnt manage to fire properly. Leaving it here on this blogpost and I will do a better job next round. Will definitely make a seperate post on this, so please bear with me for now. Stay tuned, I will come back even stronger!
Part 5: Fun with Gobos
Here is where it gets fun. I used the Amaran 150C Chip-On-Board (COB) RGB light alongside the Aputure Spotlight 36° gobo (yes this is the more expensive version but the more affordable one wasn't available then) to give the background some patterns.
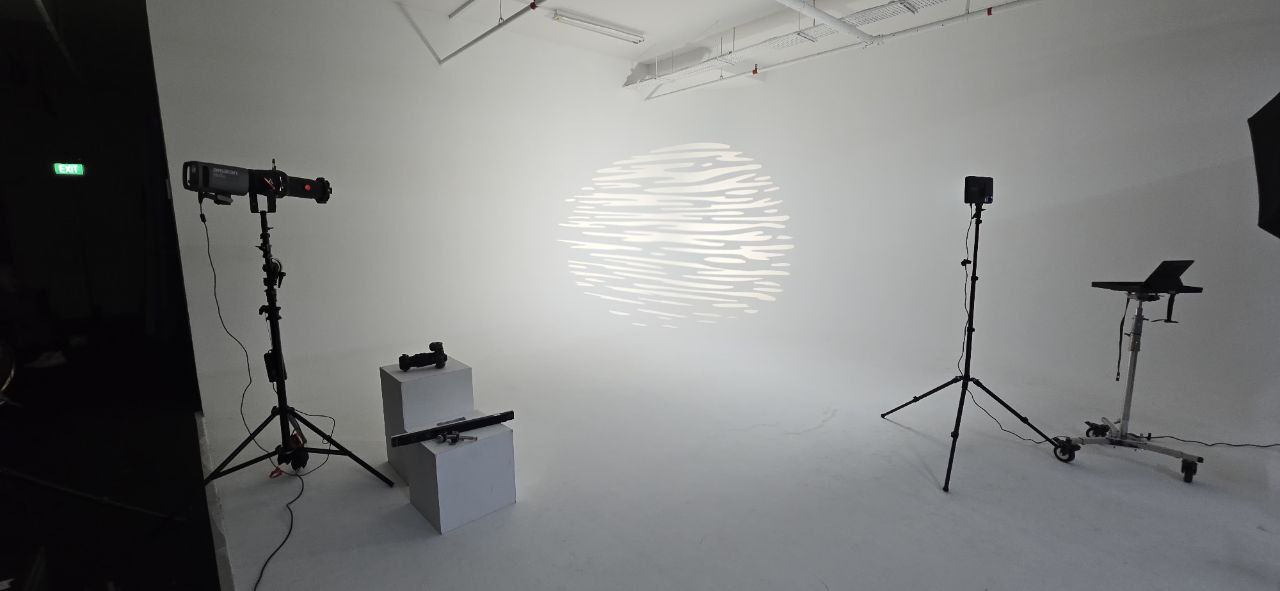
COB lights are definitely more versatile than panel lights, as you can add many modifiers (attachments) to change how the light is being shaped. However they are a lot bigger and bulkier normally. Plus they require much bigger batteries to run unlike panel lights.
I decided that it would be cool for Anna to stand and get "camouflaged" in the patterns made by the gobo. I placed her just so the eyes, nose and mouth are not covered in shadow. No other lights were used for the below image, giving it the much added contrast.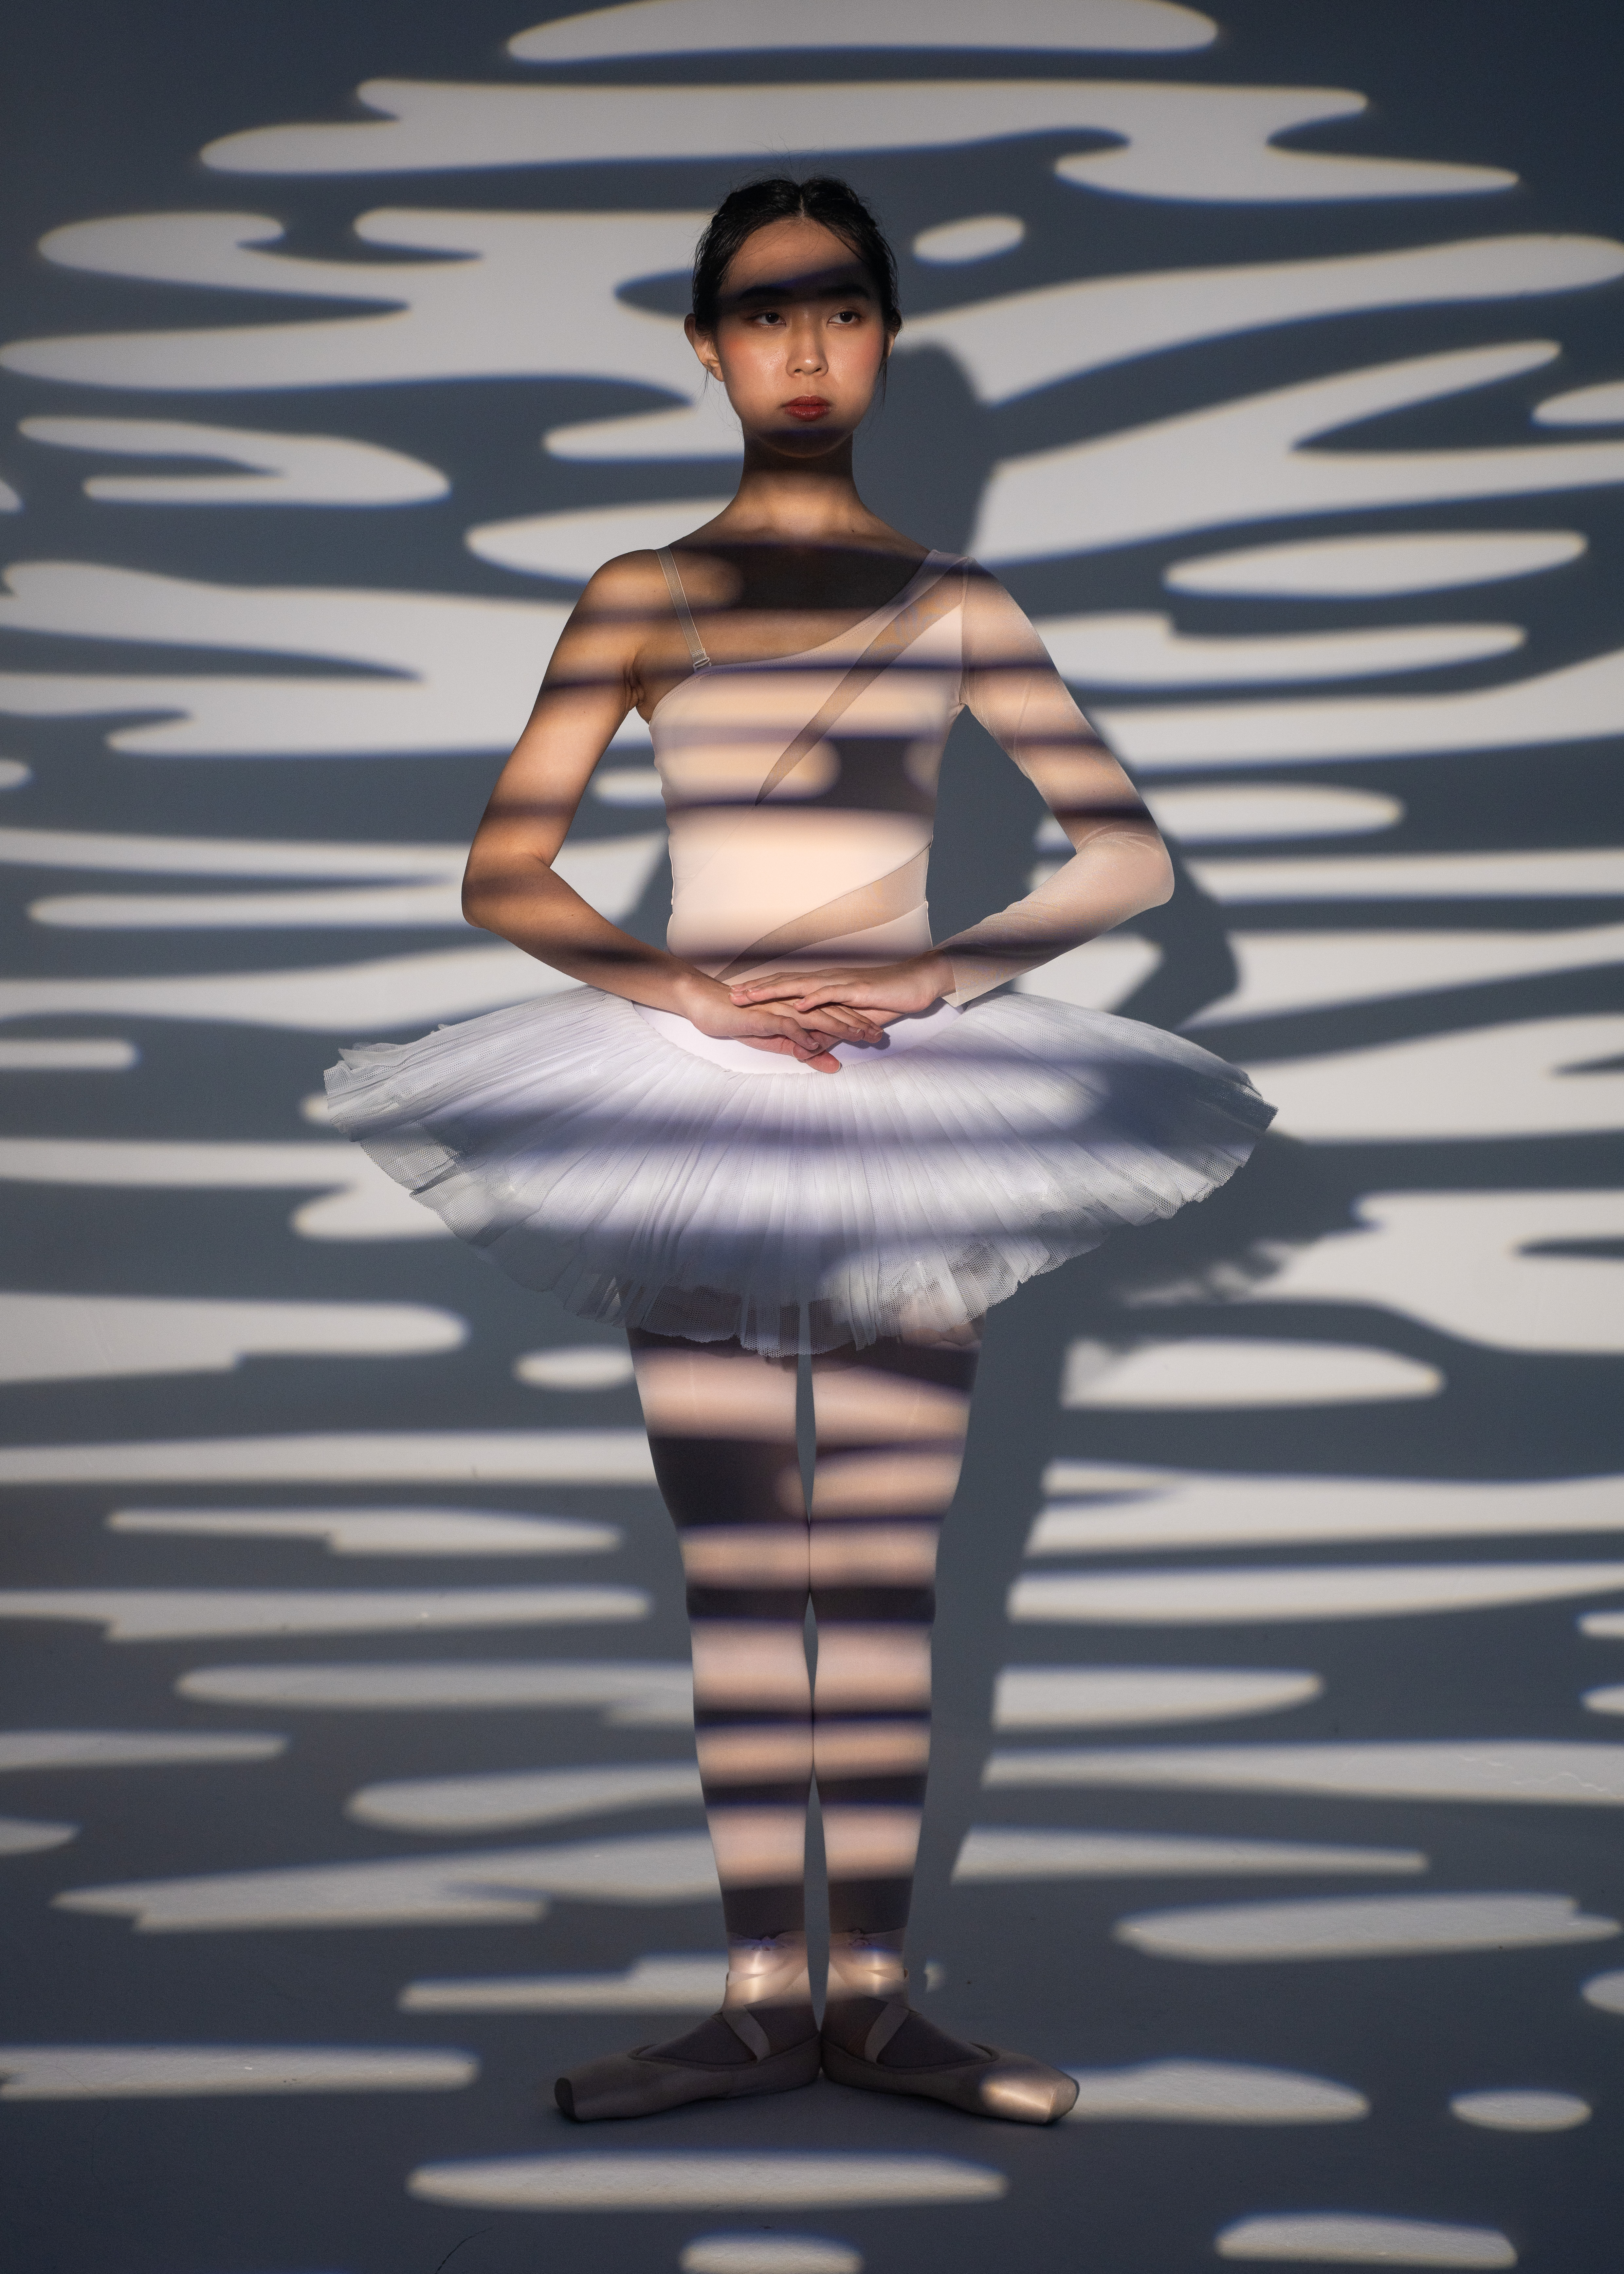
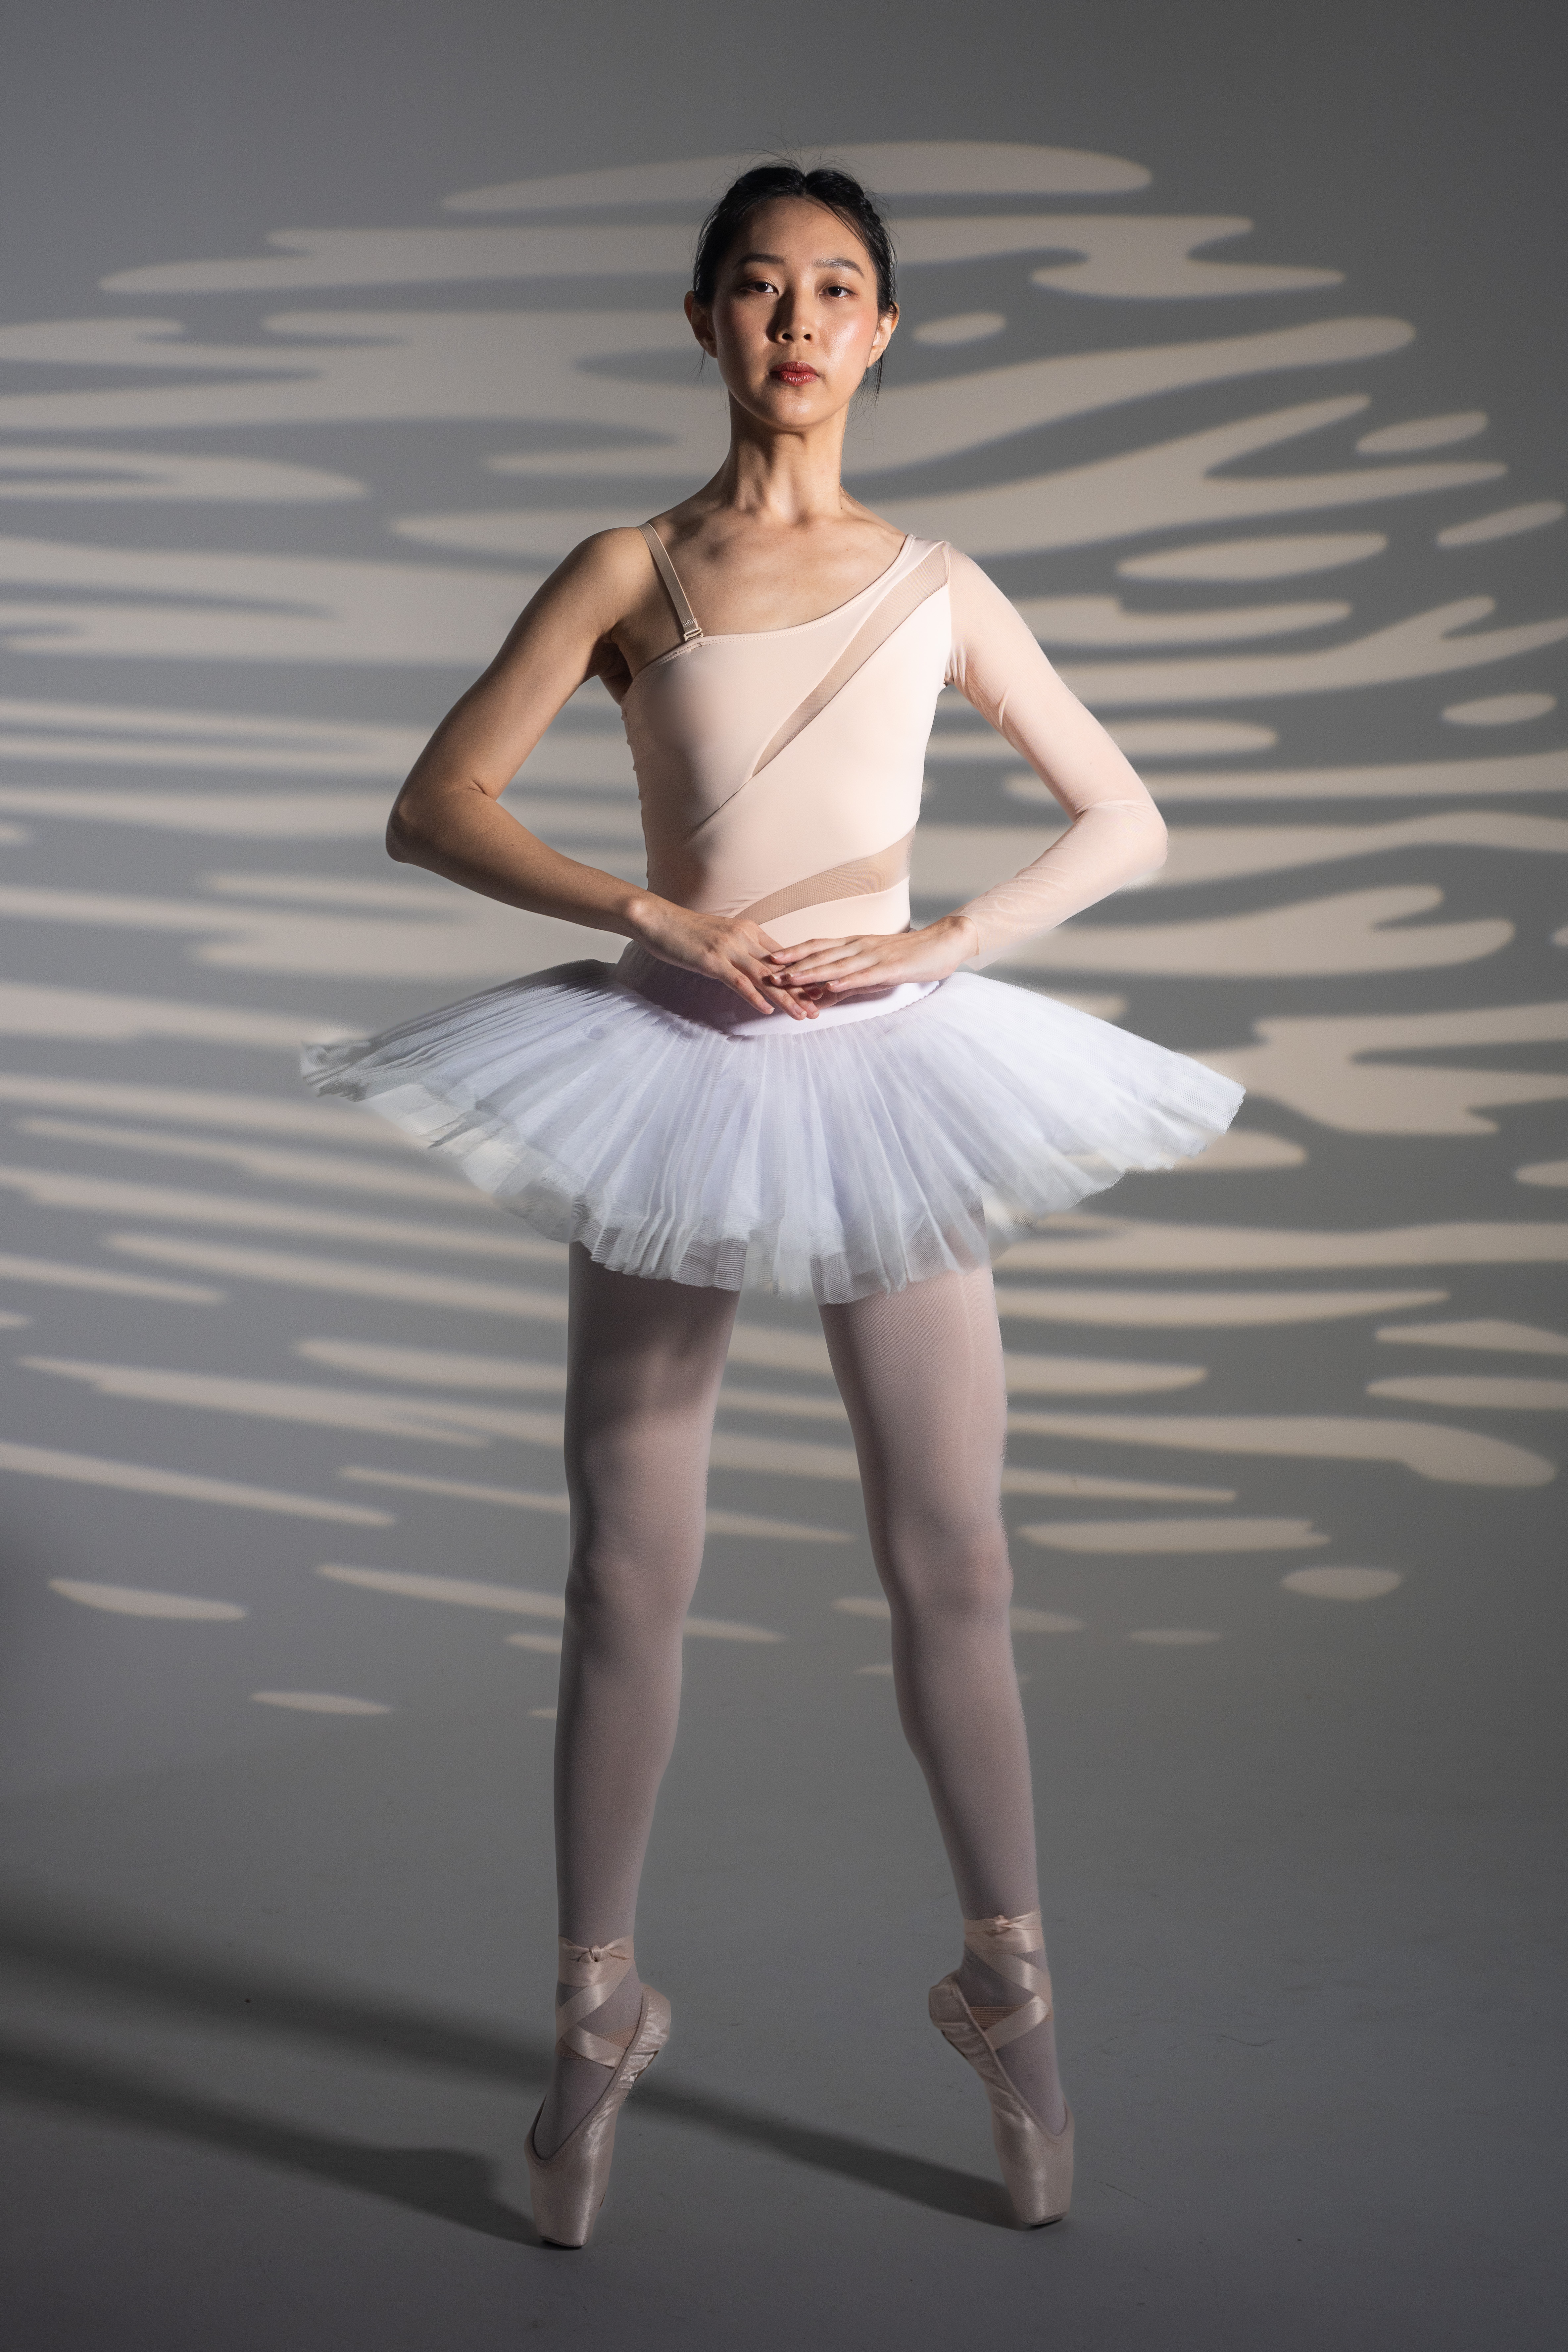
As for this shot, I used the Pano 60C as the key light to light her up. I made her stand much closer and away from the gobo pattern on the wall so that she would not be in the shadow. And yes she went on pointe! That leg strength is crazy!
Part 6: Chinese Dance, Slow Shutter
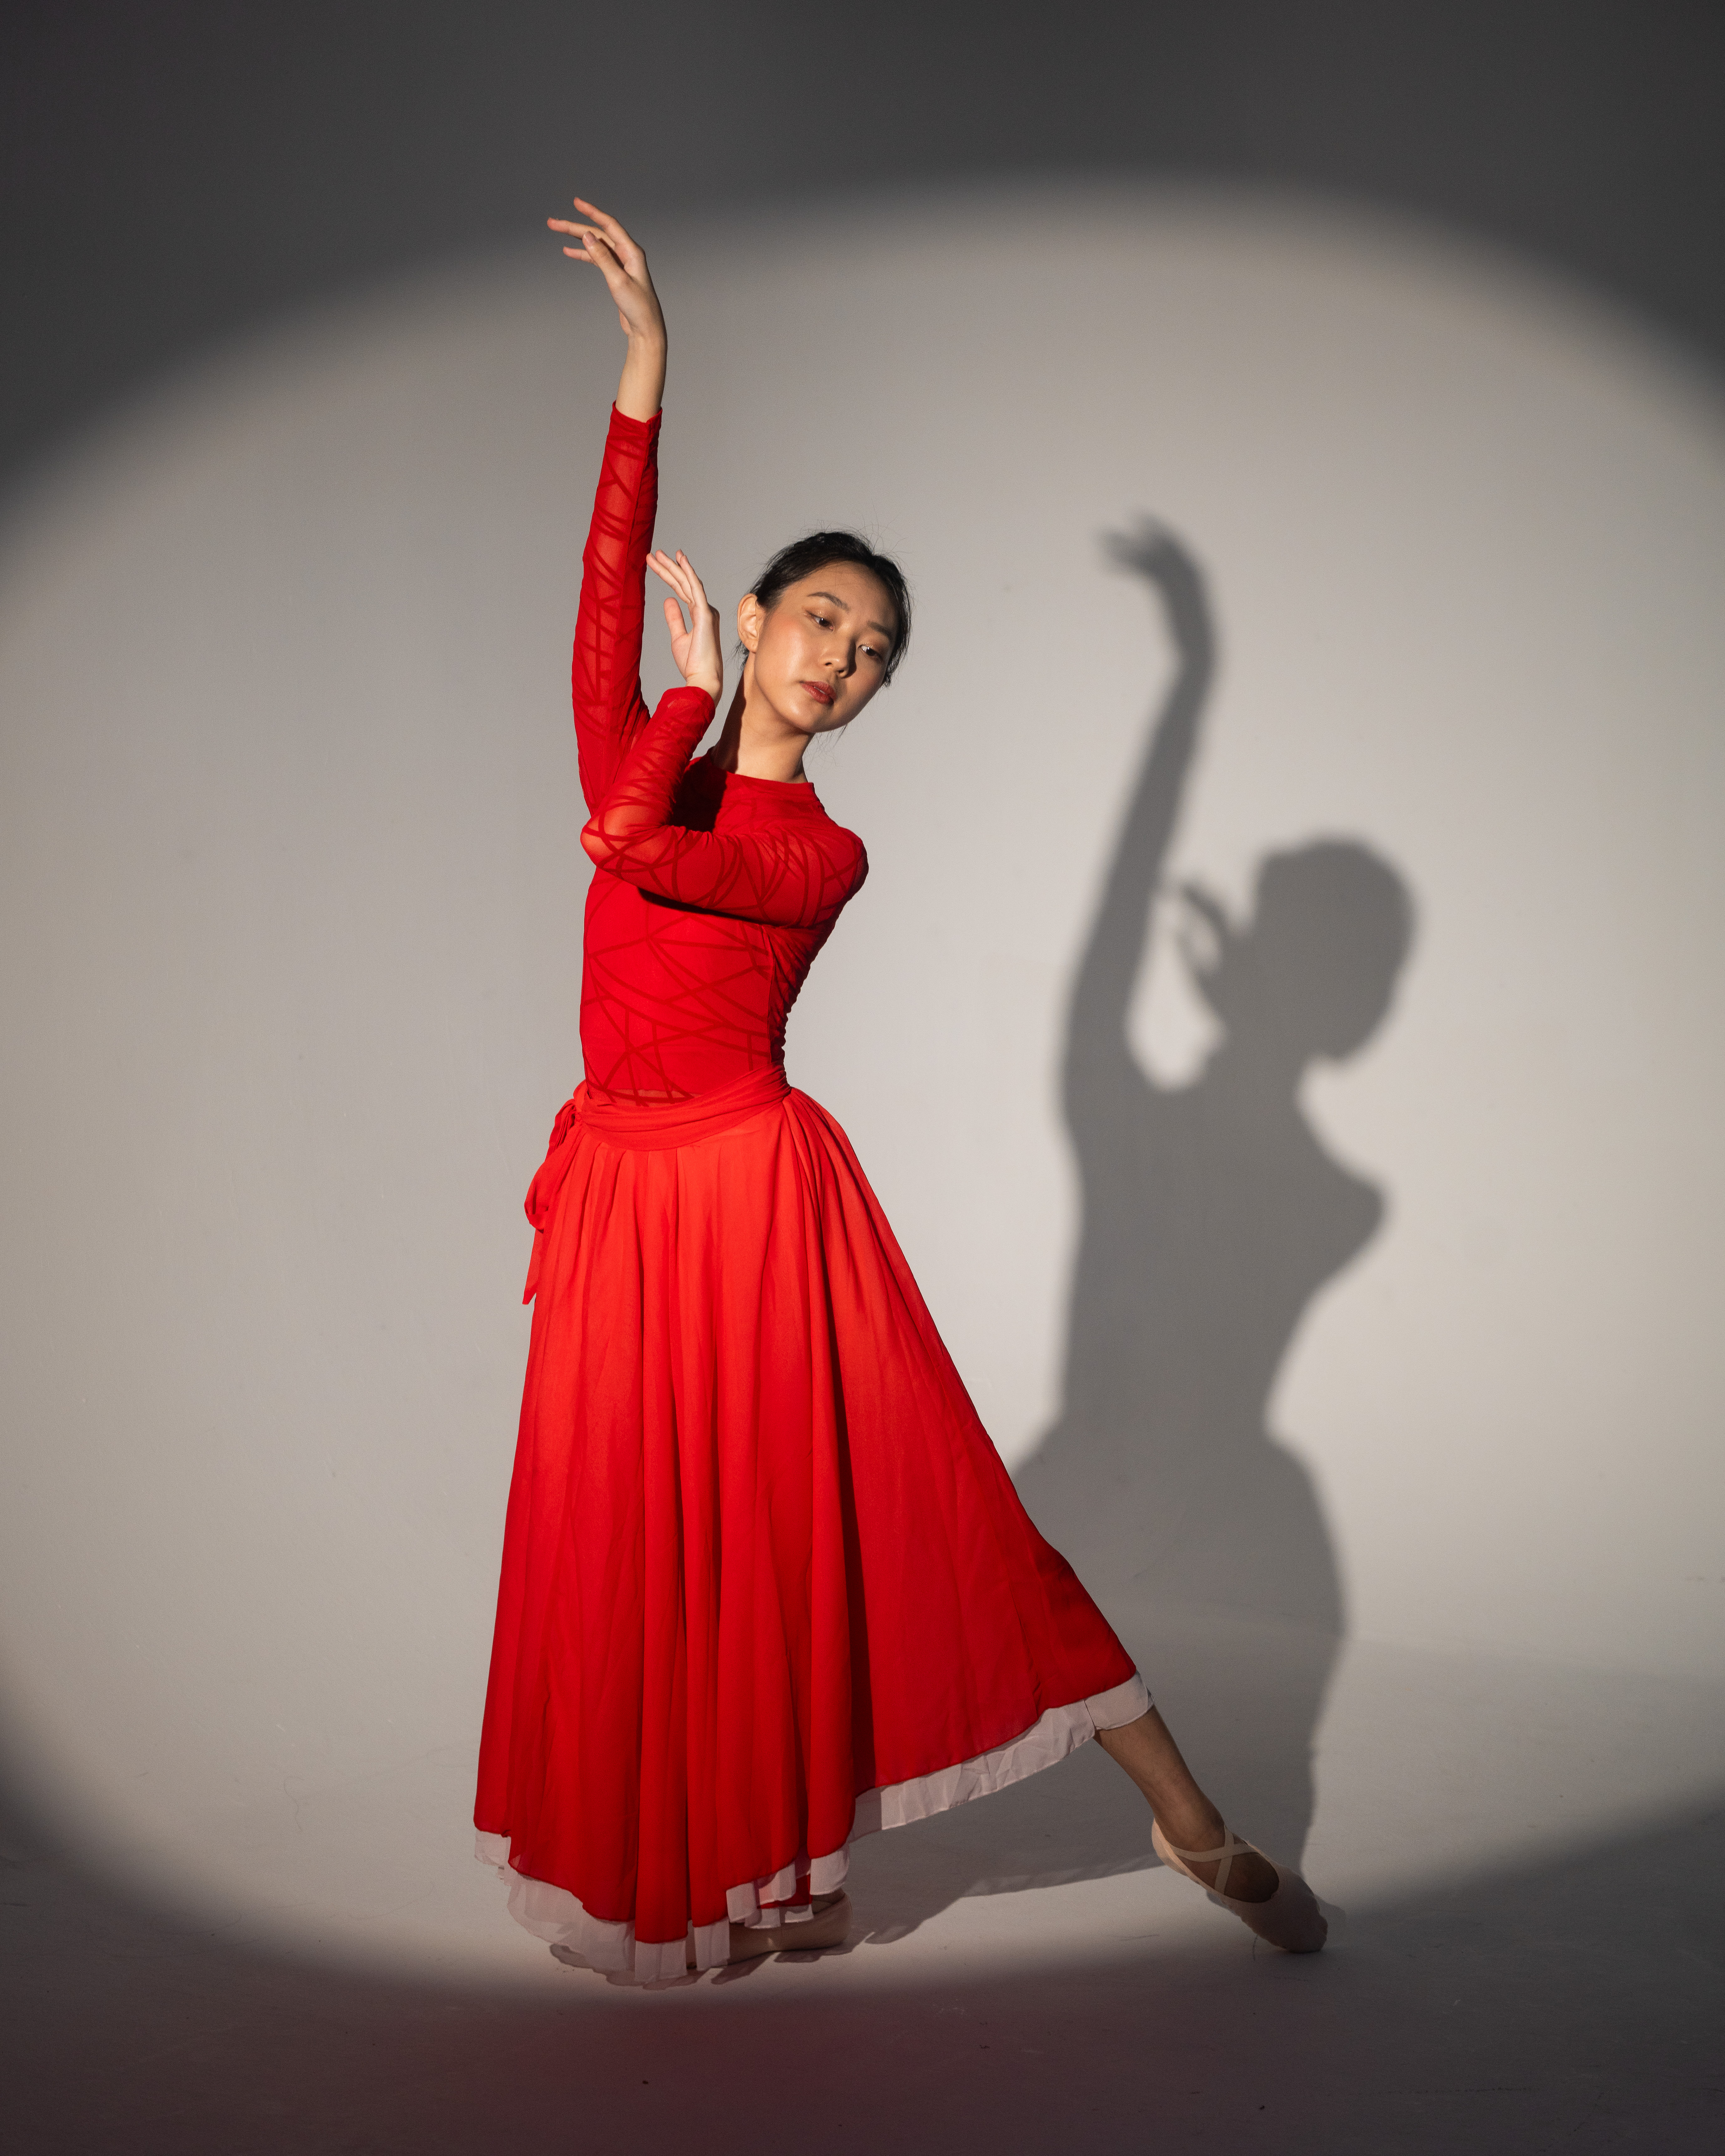
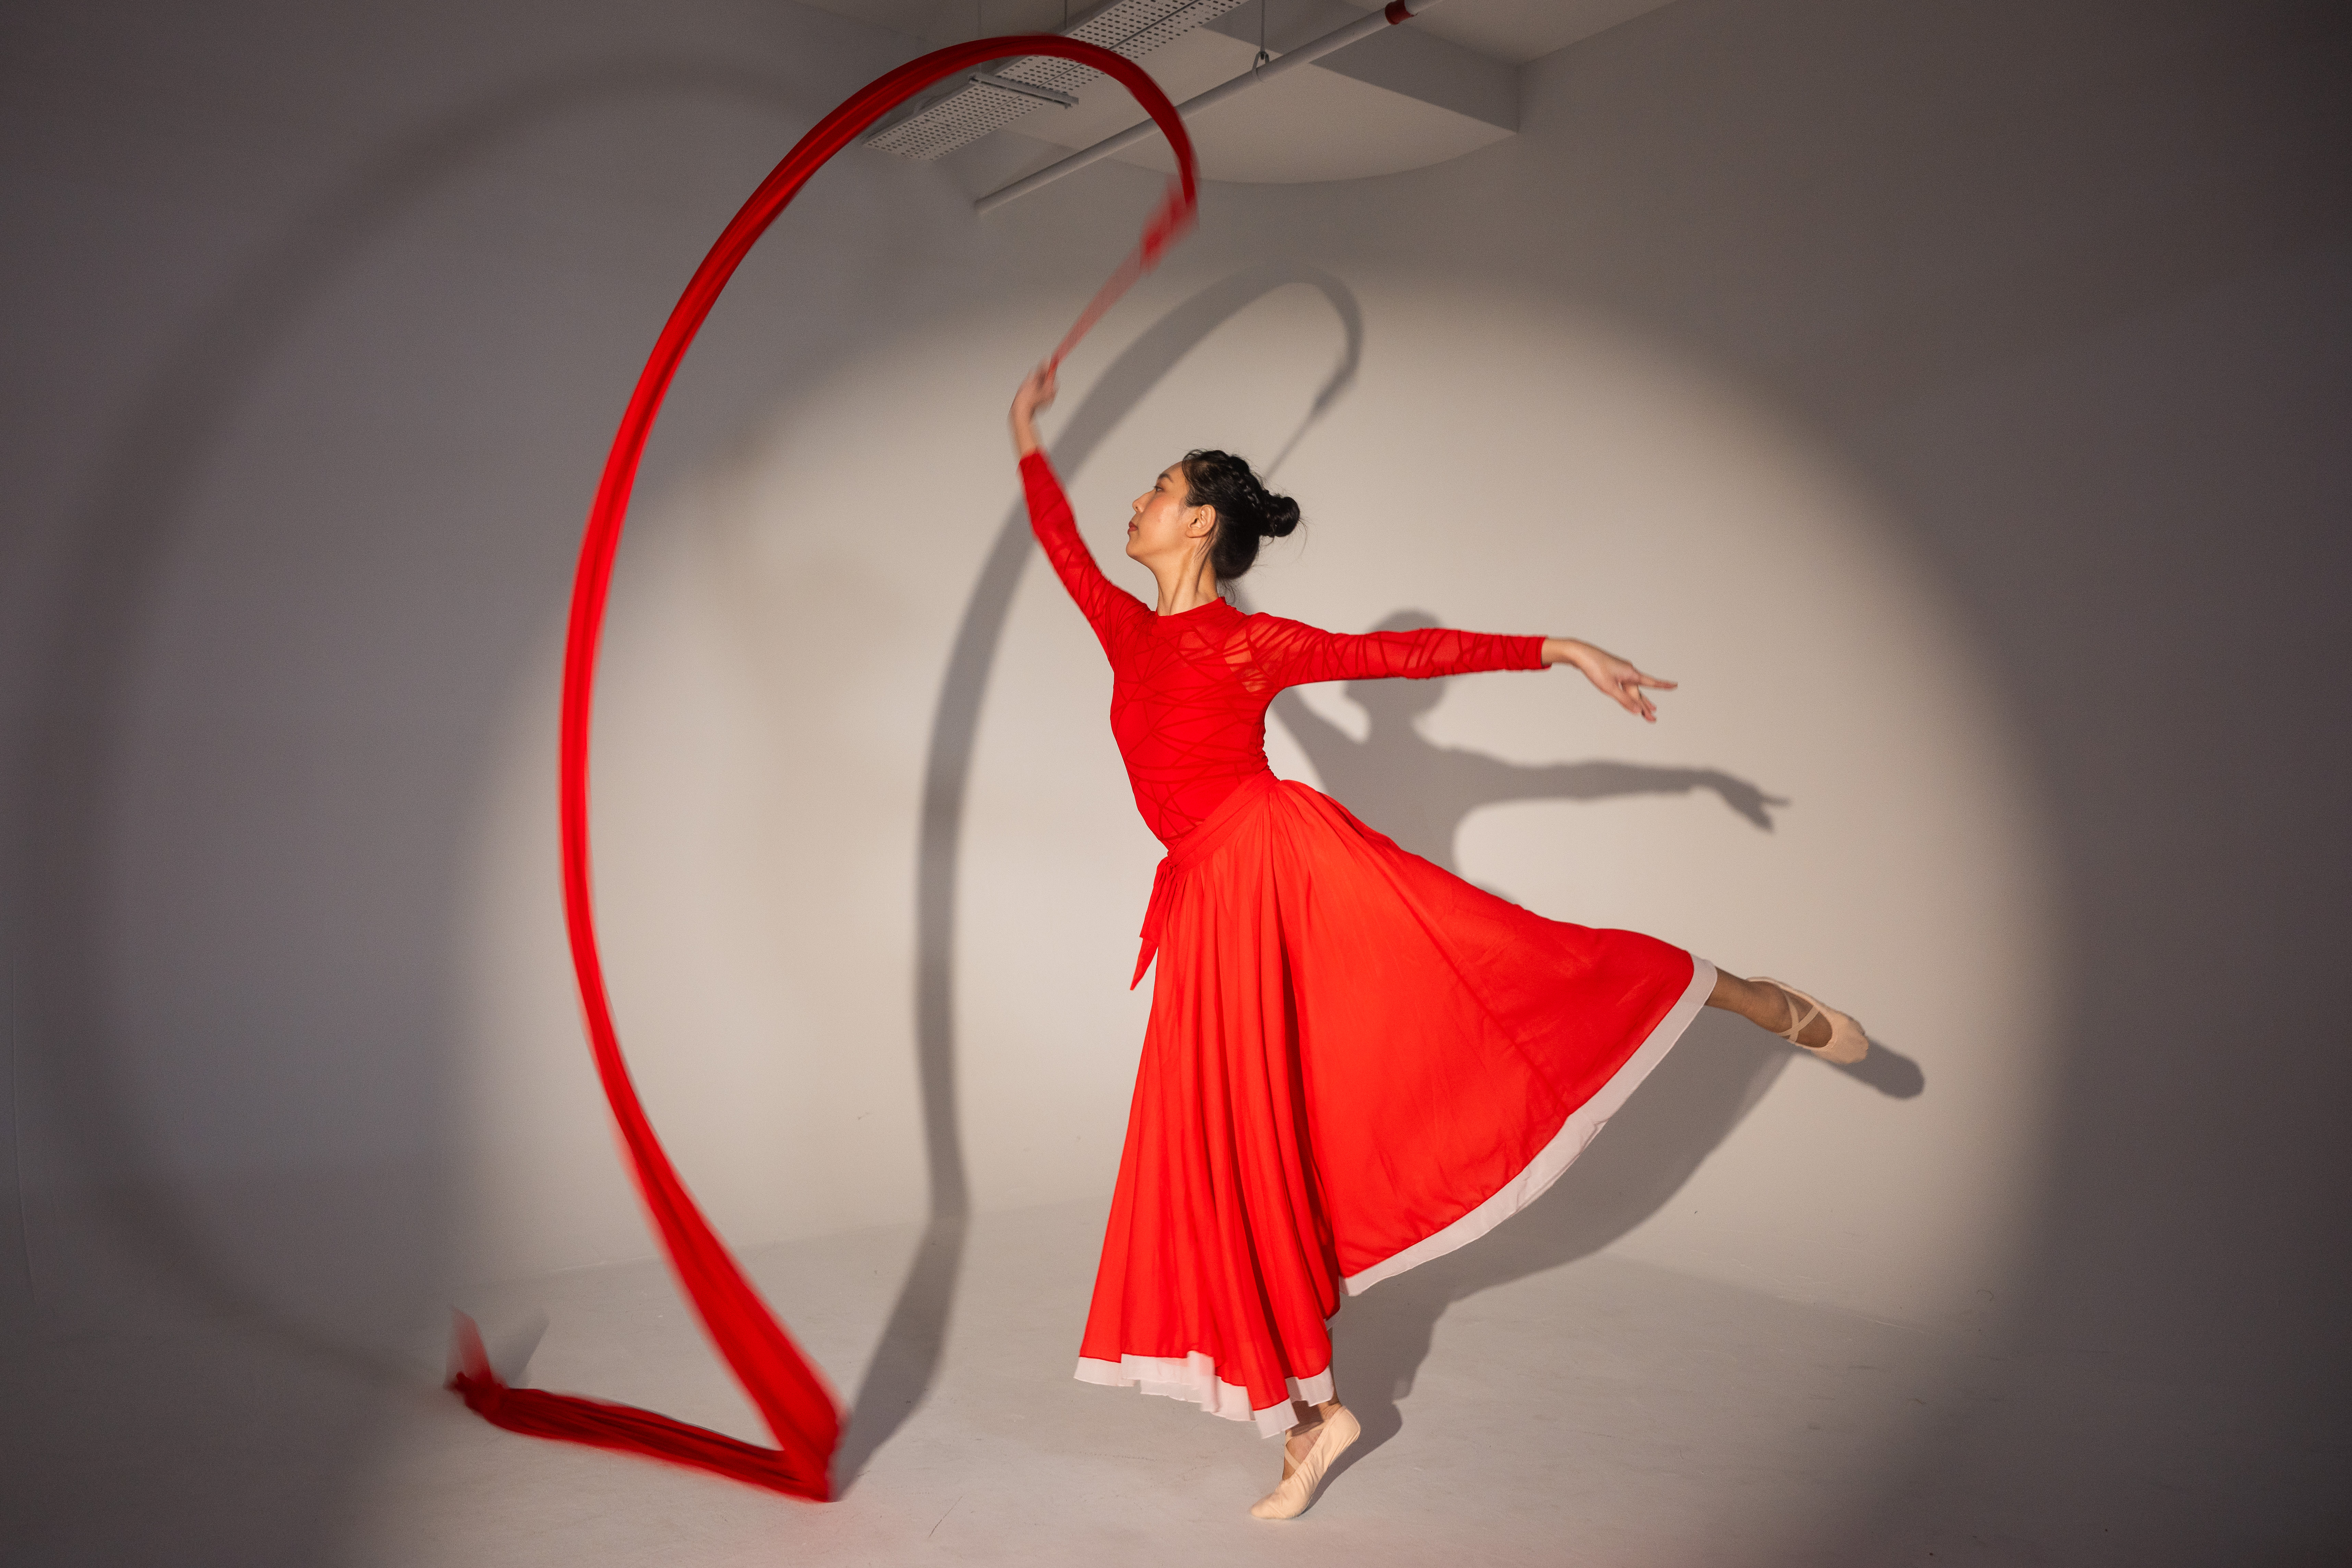
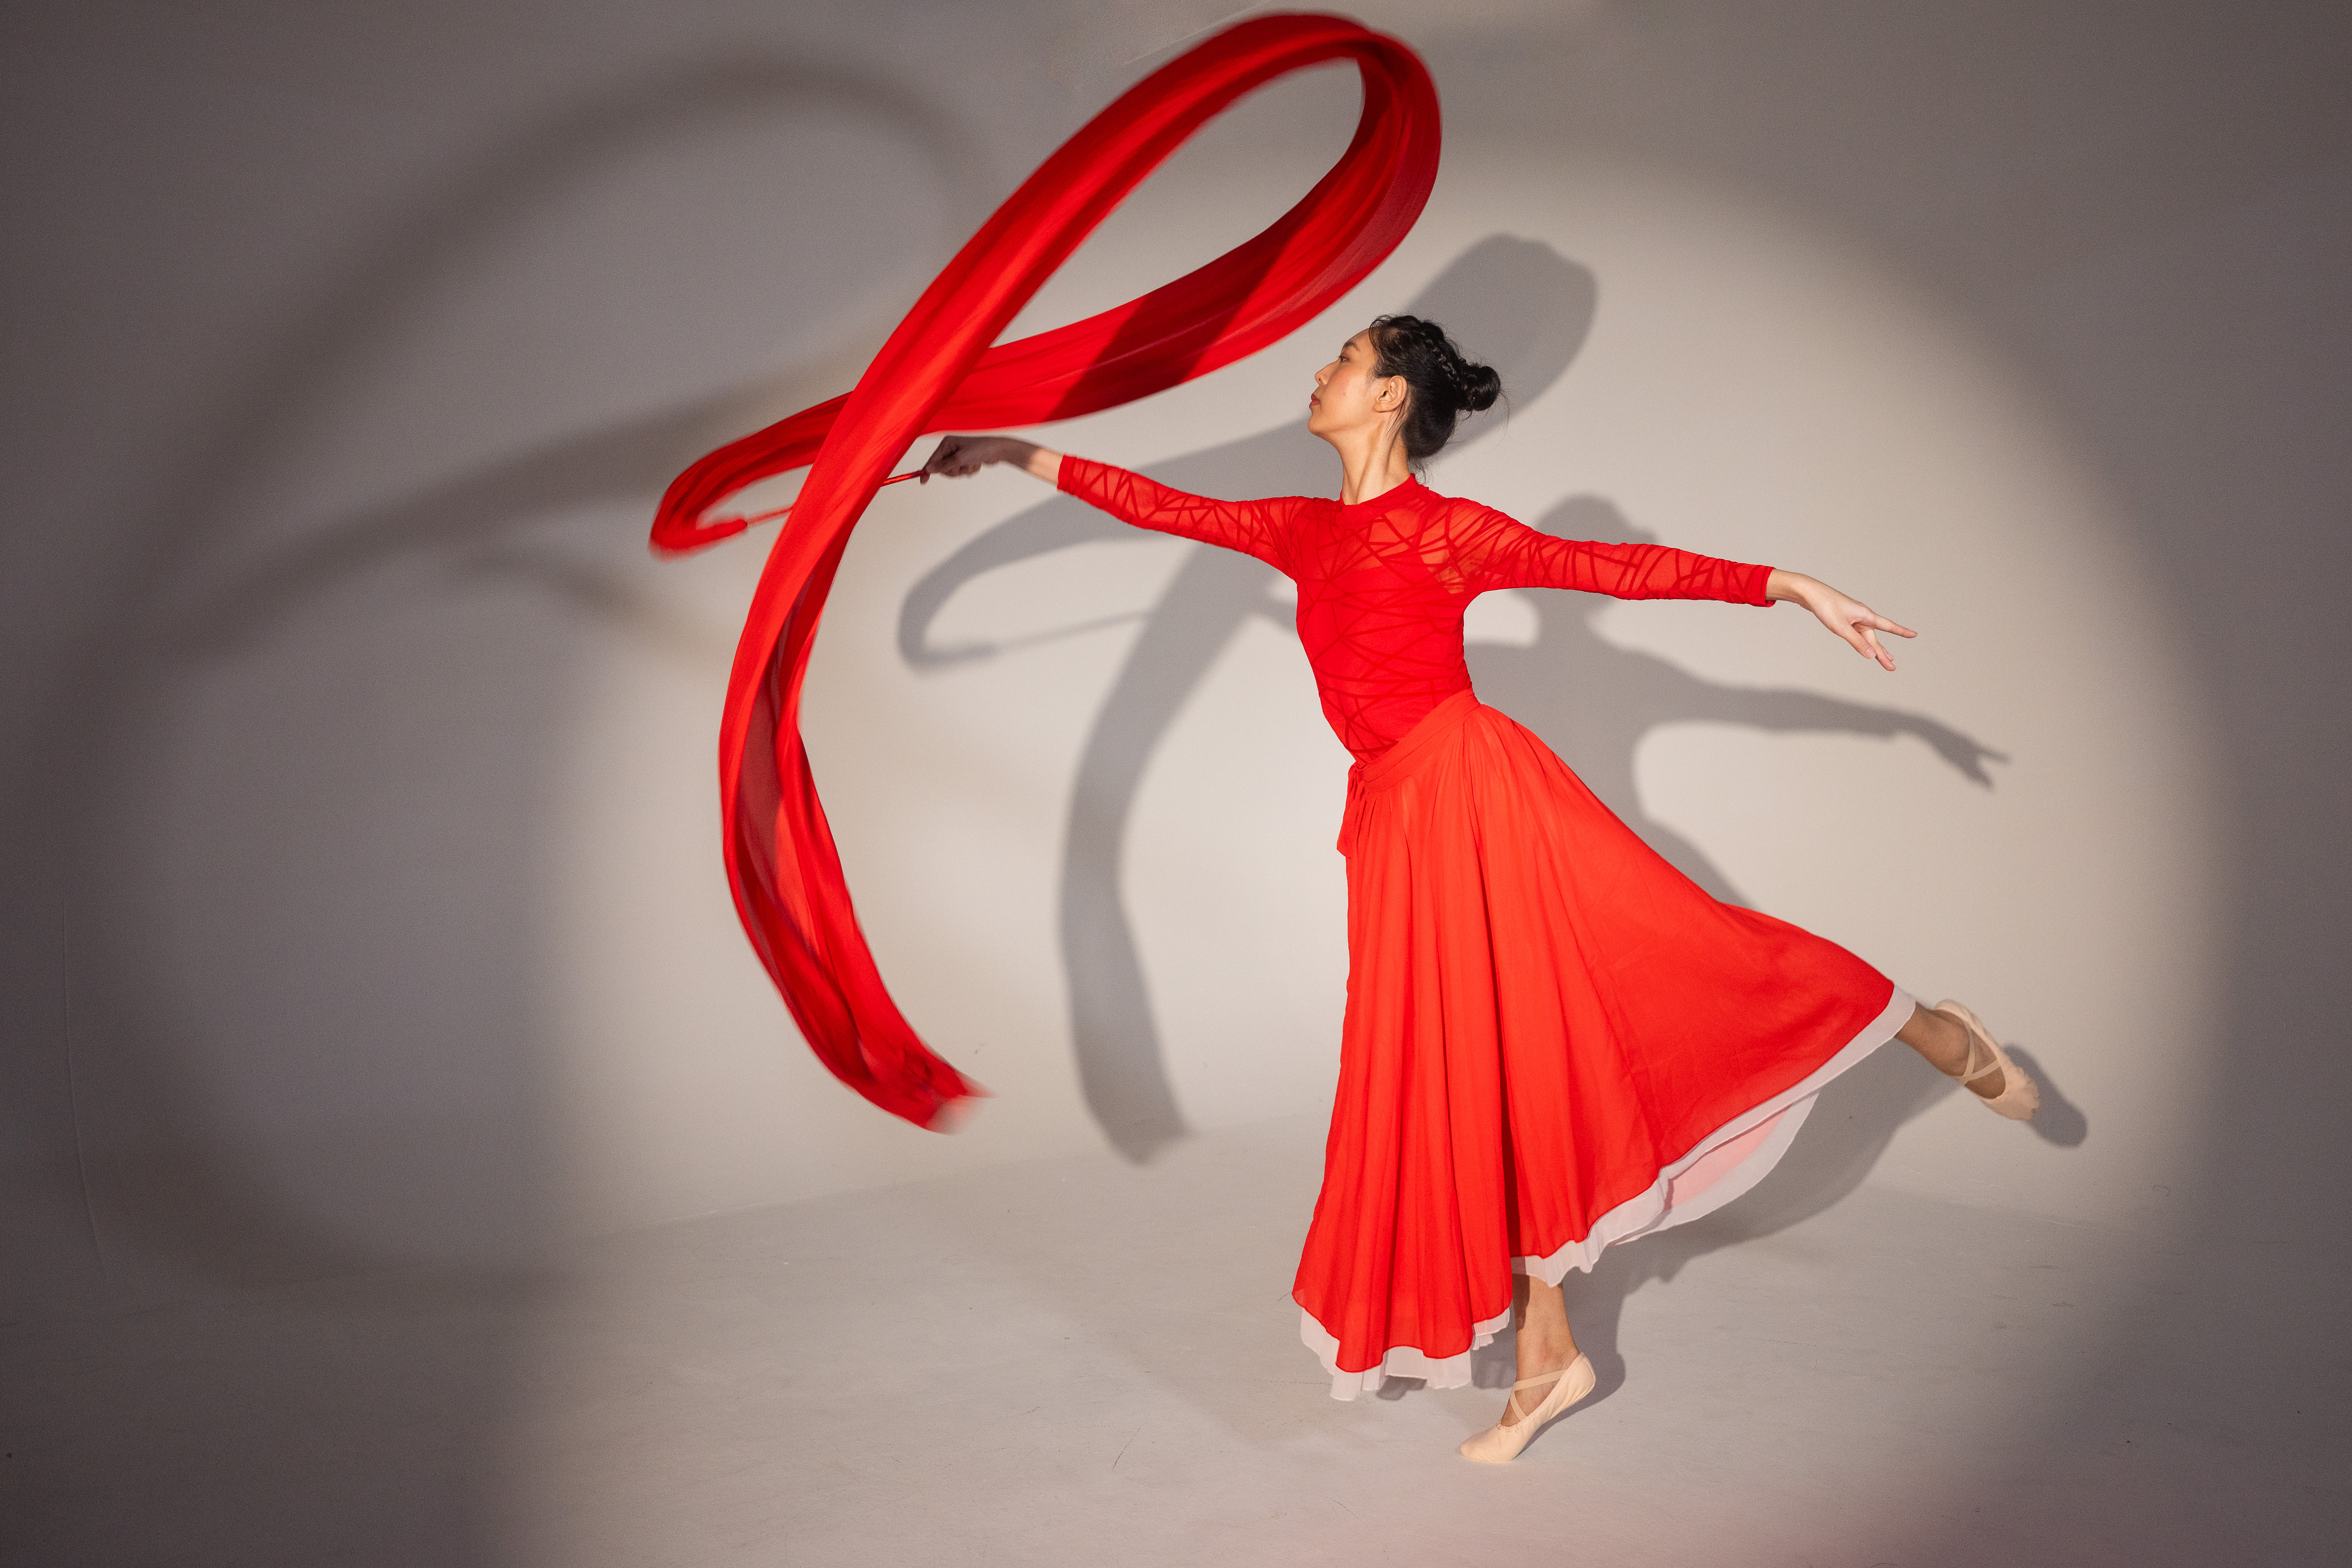
Decided it was time for an outfit change and so Anna changed to a more Chinese inspired dance outfit. And now I removed the gobo pattern. Essentially now I just created a circular spotlight on the wall.
The first shot I did was just to put Anna right in front of the gobo, creating a singular shadow behind on the wall. I dont know how to describe it but I really like this kind of very simplistic shots.
Let us now try some slow shutter effect. I used a Godox V1 pointed directly at her, I actually don't remember the flash settings, but really its about experimentation. I lowered my shutter speed to roughly 1/15s and took a few bursts each round. Anna was kind enough to hold a pose while waving the Chinese ribbon around. You can see the motion blur from the ribbon twirling around in the air, while she remains relatively still.
Conclusions
I really enjoyed being able to pull off a mini-shoot like this, having dreamt of doing it for quite a number of months. Really thankful for the support of Amaran to allow me to come in and experiment and learn in the process.
I really love their lights and in my honest opinion they are the best for continuous lighting in the market at this point. Yes they are pricey, but the quality of fixtures from them are top-notch. Especially their new Pano RGB panel lights. Man they are small, light, easy to travel with while being super bright.
Do feel free to check out their products! I have linked them in my bio as well :)
Definitely looking forward to up my game even more with future shoots. Stay tuned. Many more exciting things in the works.
#amarancreators
Concepts: @ykteoactioncaptures (myself)
Model: @annayang_mehmeh @thefashionandbeyond
Lighting: @amarancreators
Studio: @stylehausstudio @chaoxangel
Camera: @nikonsg @nikonasia
Get the Amaran lights using these links! (Especially during sale periods)
Amaran Pano 60C - https://s.lazada.sg/s.cqhyA?cc
Amaran Pano 60C 2 Light Kit - https://s.lazada.sg/s.cDLUY?cc
Amaran Pano 120C - https://s.lazada.sg/s.cDoz8?cc
Amaran 150C COB - https://s.lazada.sg/s.cqSMA?cc
Amaran Spotlight SE 19/36° (only one lens per kit) - https://s.lazada.sg/s.cq7J3?cc
Thanks for making it thus far into this post, it means a lot to me.
P.S. This is my FIRST ever post on here, so thank you, really.
Stay happy and healthy!
Captures by Ykteo
Note: Some of the above links may be affiliate links and I may earn a small commission from every purchase made through the links, at no extra cost to you. All these are invested back into my craft, ensuring I can keep making better content for everyone.