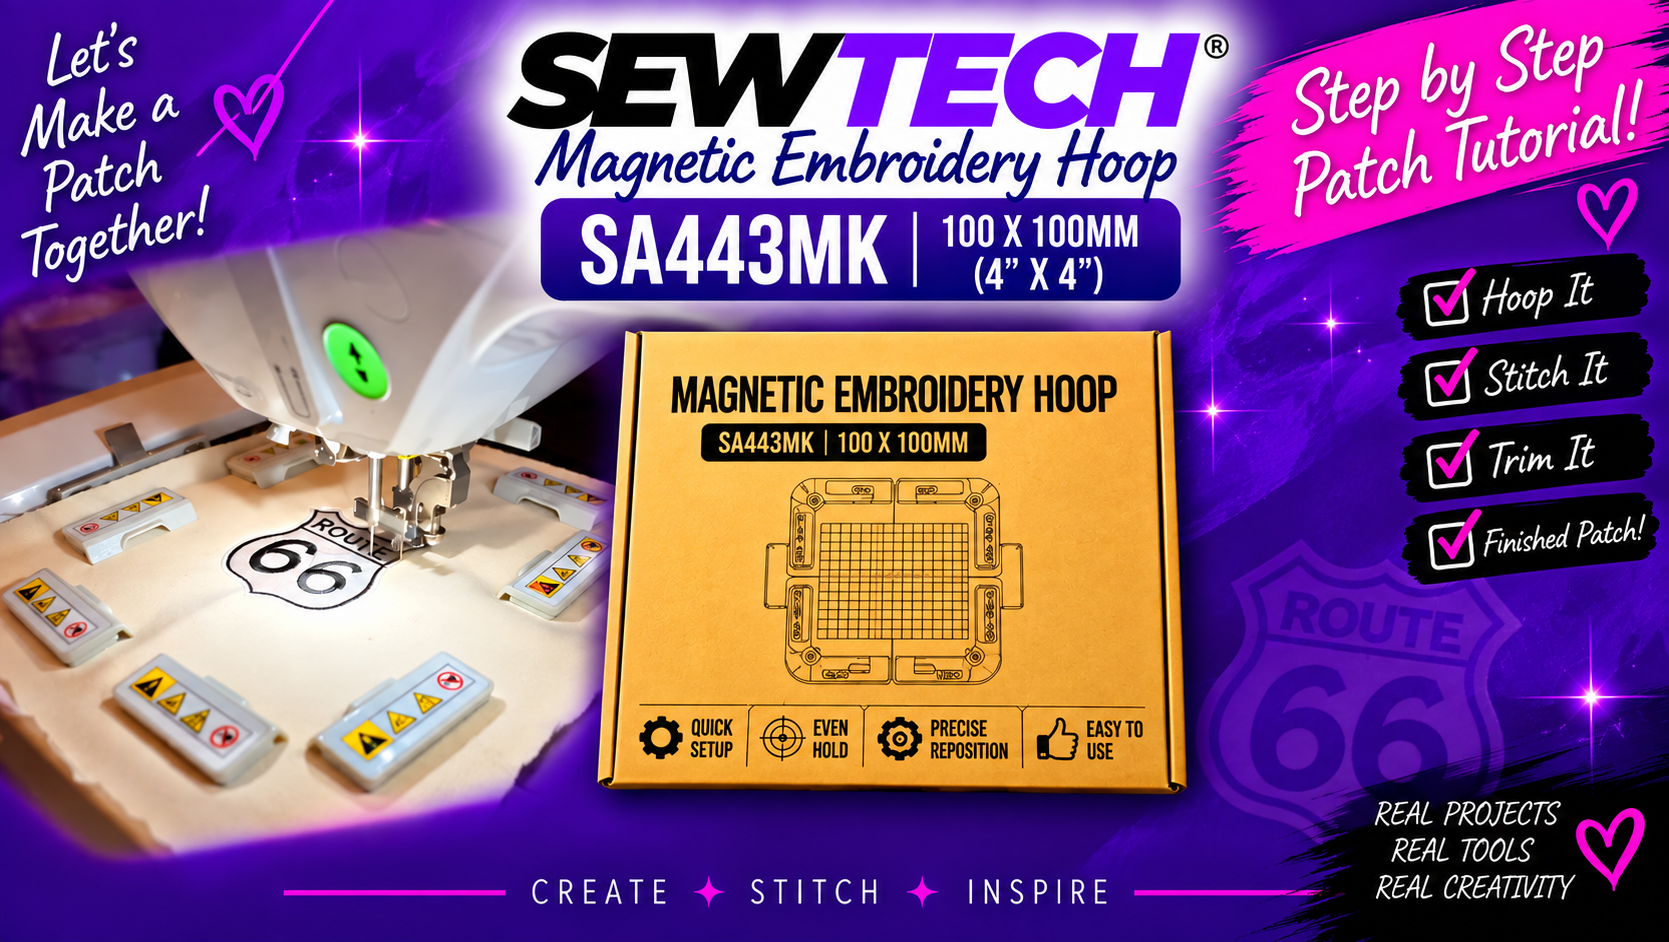
Come make an embroidered patch with me! 🧵💜 In today’s video, I’m using the SEWTECH SA443MK 100 x 100mm (4" x 4") Magnetic Embroidery Hoop to create a Route 66 patch step-by-step.
We’re going through the process together—from hooping it, to stitching it out, trimming it, and seeing the finished patch! 🙌🏽
One thing I love about sharing my embroidery journey is that we get to learn together. I’m showing the real projects, the process, what works, what doesn’t, and everything I learn along the way.
✨ REAL PROJECTS. REAL MISTAKES. REAL GROWTH. ✨
If you’re learning machine embroidery, thinking about trying magnetic hoops, or just love watching embroidery projects come together, you’re in the right place! 💜
🧵 SEWTECH Magnetic Embroidery Hoop
Model: SA443MK
Size: 100 x 100mm / 4" x 4"
🛍️ Shop SEWTECH:
My SEWTECH Affiliate Link https://sewtechstore.com?bg_ref=...
💜 Discount Code: SEWTECHBRANDY27
This video features a product provided to me by SEWTECH. Some links may be affiliate links, which means I may earn a small commission if you purchase through my link at no additional cost to you.
If you enjoy crafting, embroidery, small-business content, and learning right along with me, SUBSCRIBE and join the Simply Created & Designed LLC family! 🧵💕
SEWTECH, SEWTECH magnetic hoop, SEWTECH SA443MK, SA443MK, 4x4 magnetic hoop, magnetic embroidery hoop, embroidery hoop, how to make an embroidered patch, embroidered patch tutorial, how to make a patch, machine embroidery tutorial, embroidery tutorial, patch embroidery, Route 66 patch, Route 66 embroidery, magnetic hoop tutorial, embroidery for beginners, beginner machine embroidery, Brother PE800, PE800 embroidery, embroidery projects, embroidery tips, embroidery business, craft business, small business owner, Simply Created and Designed LLC