

A corner half lap joint is an excellent starting point for anyone learning woodworking. It’s simple, versatile, and helps build foundational skills for more advanced joints later on. In this step-by-step guide, I’ll show you how to cut a corner half lap joint using only hand tools.
Tools and Materials Needed
Tools:
Tenon saw
Combination square
Marking gauge
Bench hook
Chisel (preferably wide and inexpensive for beginners)
Sandpaper
Materials:
Two pieces of timber (e.g., 44mm x 33mm or similar dimensions)
Step 1: Marking the Face and Edge Sides
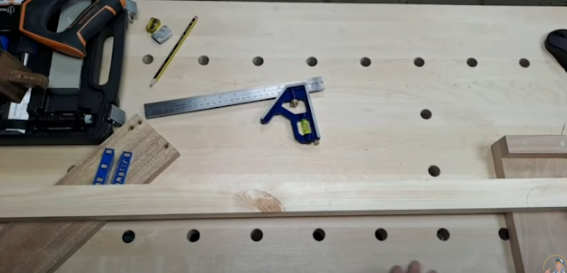
Before you start cutting, you’ll need to properly mark your timber. This helps avoid confusion later on.
Inspect your timber: Choose timber with smooth, square edges and avoid knots unless they are part of your design. Ensure both pieces are of equal length.
Choose face and edge sides: The smoothest side of the timber will be your "face" side, while the adjacent side will be your "edge."
Label your timber: On each visible side, mark one as the “Face” and the other as the “Edge.” This simple step makes sure everything stays organized throughout the process.
Step 2: Cutting the Timber to Length
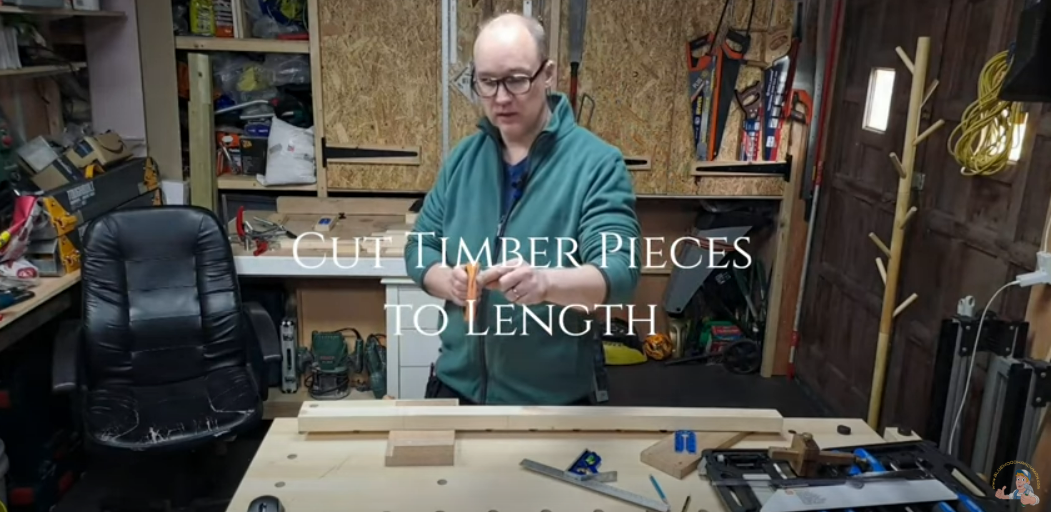
Now that your timber is marked, it’s time to cut it to the correct length.
Measure and mark: Measure 220mm from one end of the timber and mark this as your cutting line.
Draw a line around the timber: Use the combination square to mark this length on all four sides of the timber.
Cut the timber: Use the tenon saw to cut along the waste side of the line, ensuring a straight and clean cut. Secure the timber with a bench hook to prevent it from moving while you cut.
Repeat: Cut the second piece of timber to the same length, ensuring both pieces are equal.
Step 3: Marking the Half Lap Joint
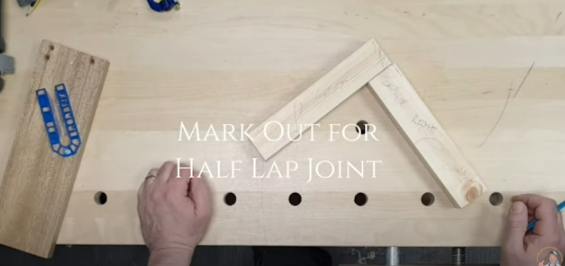
Now it’s time to mark where the overlap will happen for the half lap joint.
Position the pieces: Arrange the two pieces of timber in an "L" shape with the faces up and edges aligned.
Label the pieces: Label one piece as "Right" and the other as "Left" so you can keep track of them.
Mark the overlap: Place the "Right" piece on top of the "Left" piece. Measure and mark the width of the overlapping timber. Leave a 5-8mm overhang to allow for adjustment later.
Square the lines: Use the combination square to draw lines across the face and edges where the timber will be removed.
TIP: It’s easier to cut more off than to try adding timber back on later, so be cautious about how much you cut.
Step 4: Cutting the Waste
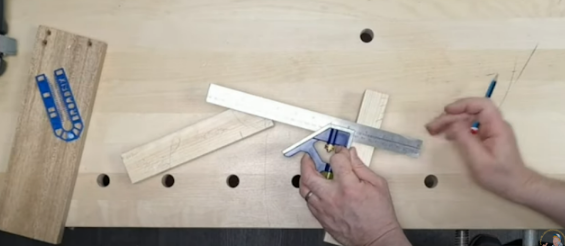
Next, you’ll cut out the excess material where the overlap will be.
Measure the depth: Using the marking gauge, measure the halfway point of the timber’s thickness and mark this on all sides of the waste area.
Cut the waste area: Use your tenon saw to make two straight cuts down to the marked depth—one on each side of the waste area.
Create kerfs: Make additional saw cuts within the waste area to loosen the material.
Remove the waste: Use a chisel to carefully remove the remaining material. Work slowly and ensure you’re following the depth marks for a clean removal.
Step 5: Cleaning and Checking the Joint
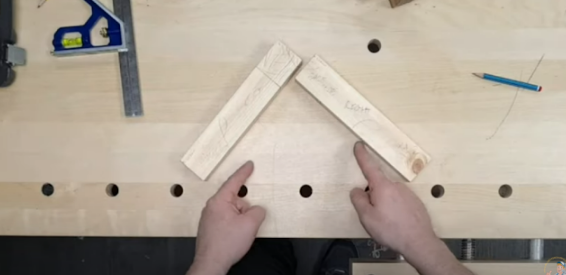
Now that the waste is removed, you’ll need to clean up the joint and check that everything fits.
Clean the joint: Use a chisel to remove any rough edges and ensure the surfaces are smooth.
Sand the ends: Sand the timber for a finer finish and to smooth out any imperfections.
Check the fit: Assemble the joint to check for square alignment and to ensure the two pieces fit together flush. Make adjustments as needed with your chisel or sandpaper.
Step 6: Finishing the Joint
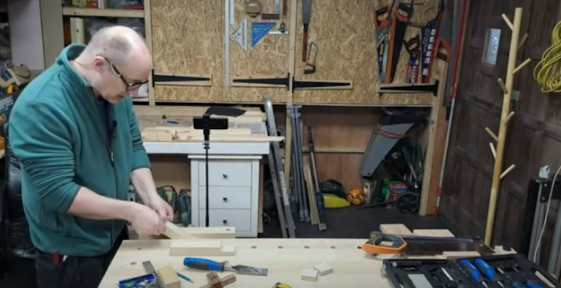
Your corner half lap joint is almost complete—now it’s time to refine and finish the joint.
Final sanding and planning: Give the joint a final sanding and planning for a smooth, professional finish.
Optional: Glue and clamp: If you want a permanent joint, apply wood glue to the surfaces and clamp the joint until the glue dries. This step will provide additional strength to the connection.
Practical Uses for a Corner Half Lap Joint
This joint is commonly used in a variety of woodworking projects, including:
Wall plates and basic structures
Boxes and frames
Beginner woodworking projects
Watch the Full Tutorial
For a detailed walkthrough, watch my video tutorial on YouTube: Corner Half Lap Joint Tutorial. I’ll guide you through every step, so you can perfect your skills and create beautiful projects with confidence!
Happy woodworking! 👷♂️✨