
Betrayal! Settle in for a story of lost trust. Trust of the most precious kind. The trust between a mother-crafter and son-pouch-artisan.
First, the pouch.
Big dreams for this one! Armed with my new sewing machine skills, and my mom by my side, I decided make my most impressive pouch yet. This one was going to be double lined, stitched perfectly, and here's the big news: eyelets!
Instead of punching a hole through the fabric and hoping that it never decides to fray against the drawstring, I wanted to attach eyelets which would add extra strength. This is exactly what they're for!
And my mom had some!
Both of us excited, I began sewing.
Doing the face-to-face-stitching-(sewing!)-and-then-pull-inside-out trick worked a treat! However, it still then meant I had to do that dreaded ladder stitch. "I have a trick," shrieked my mom. And she did! Because the sewing machine is so consistent, you can have some stitches be exposed and call it decorative. Instead of the ladder stitch, you just stitch right over it.
I still plan to learn a ladder stitch at some point, but we were running short of time, so the trick was well welcome.
"Now, the eyelets!" But just then, my sister phoned to say she could very helpfully give me a lift home. "Well," my mom said, thoughtfully, "I can let you borrow the tool." Digging around her vast supplies she picked out the two-part eyelet tool and a bunch of eyelets.
"Do I need some grommets?"
This is it, ladies and gentlefolk, the peak of drama in our story. Watch this. You'll never guess what's coming.
"No," she said. "You can probably just hit two eyelets together really hard."
Forsaken! Forsaken! By my own mother. Thrown to the crafting wolves.
A few days later I head into the Hackspace to finish the pouch and begin on my hammering. A very masc way of crafting a pouch. I could get into this!
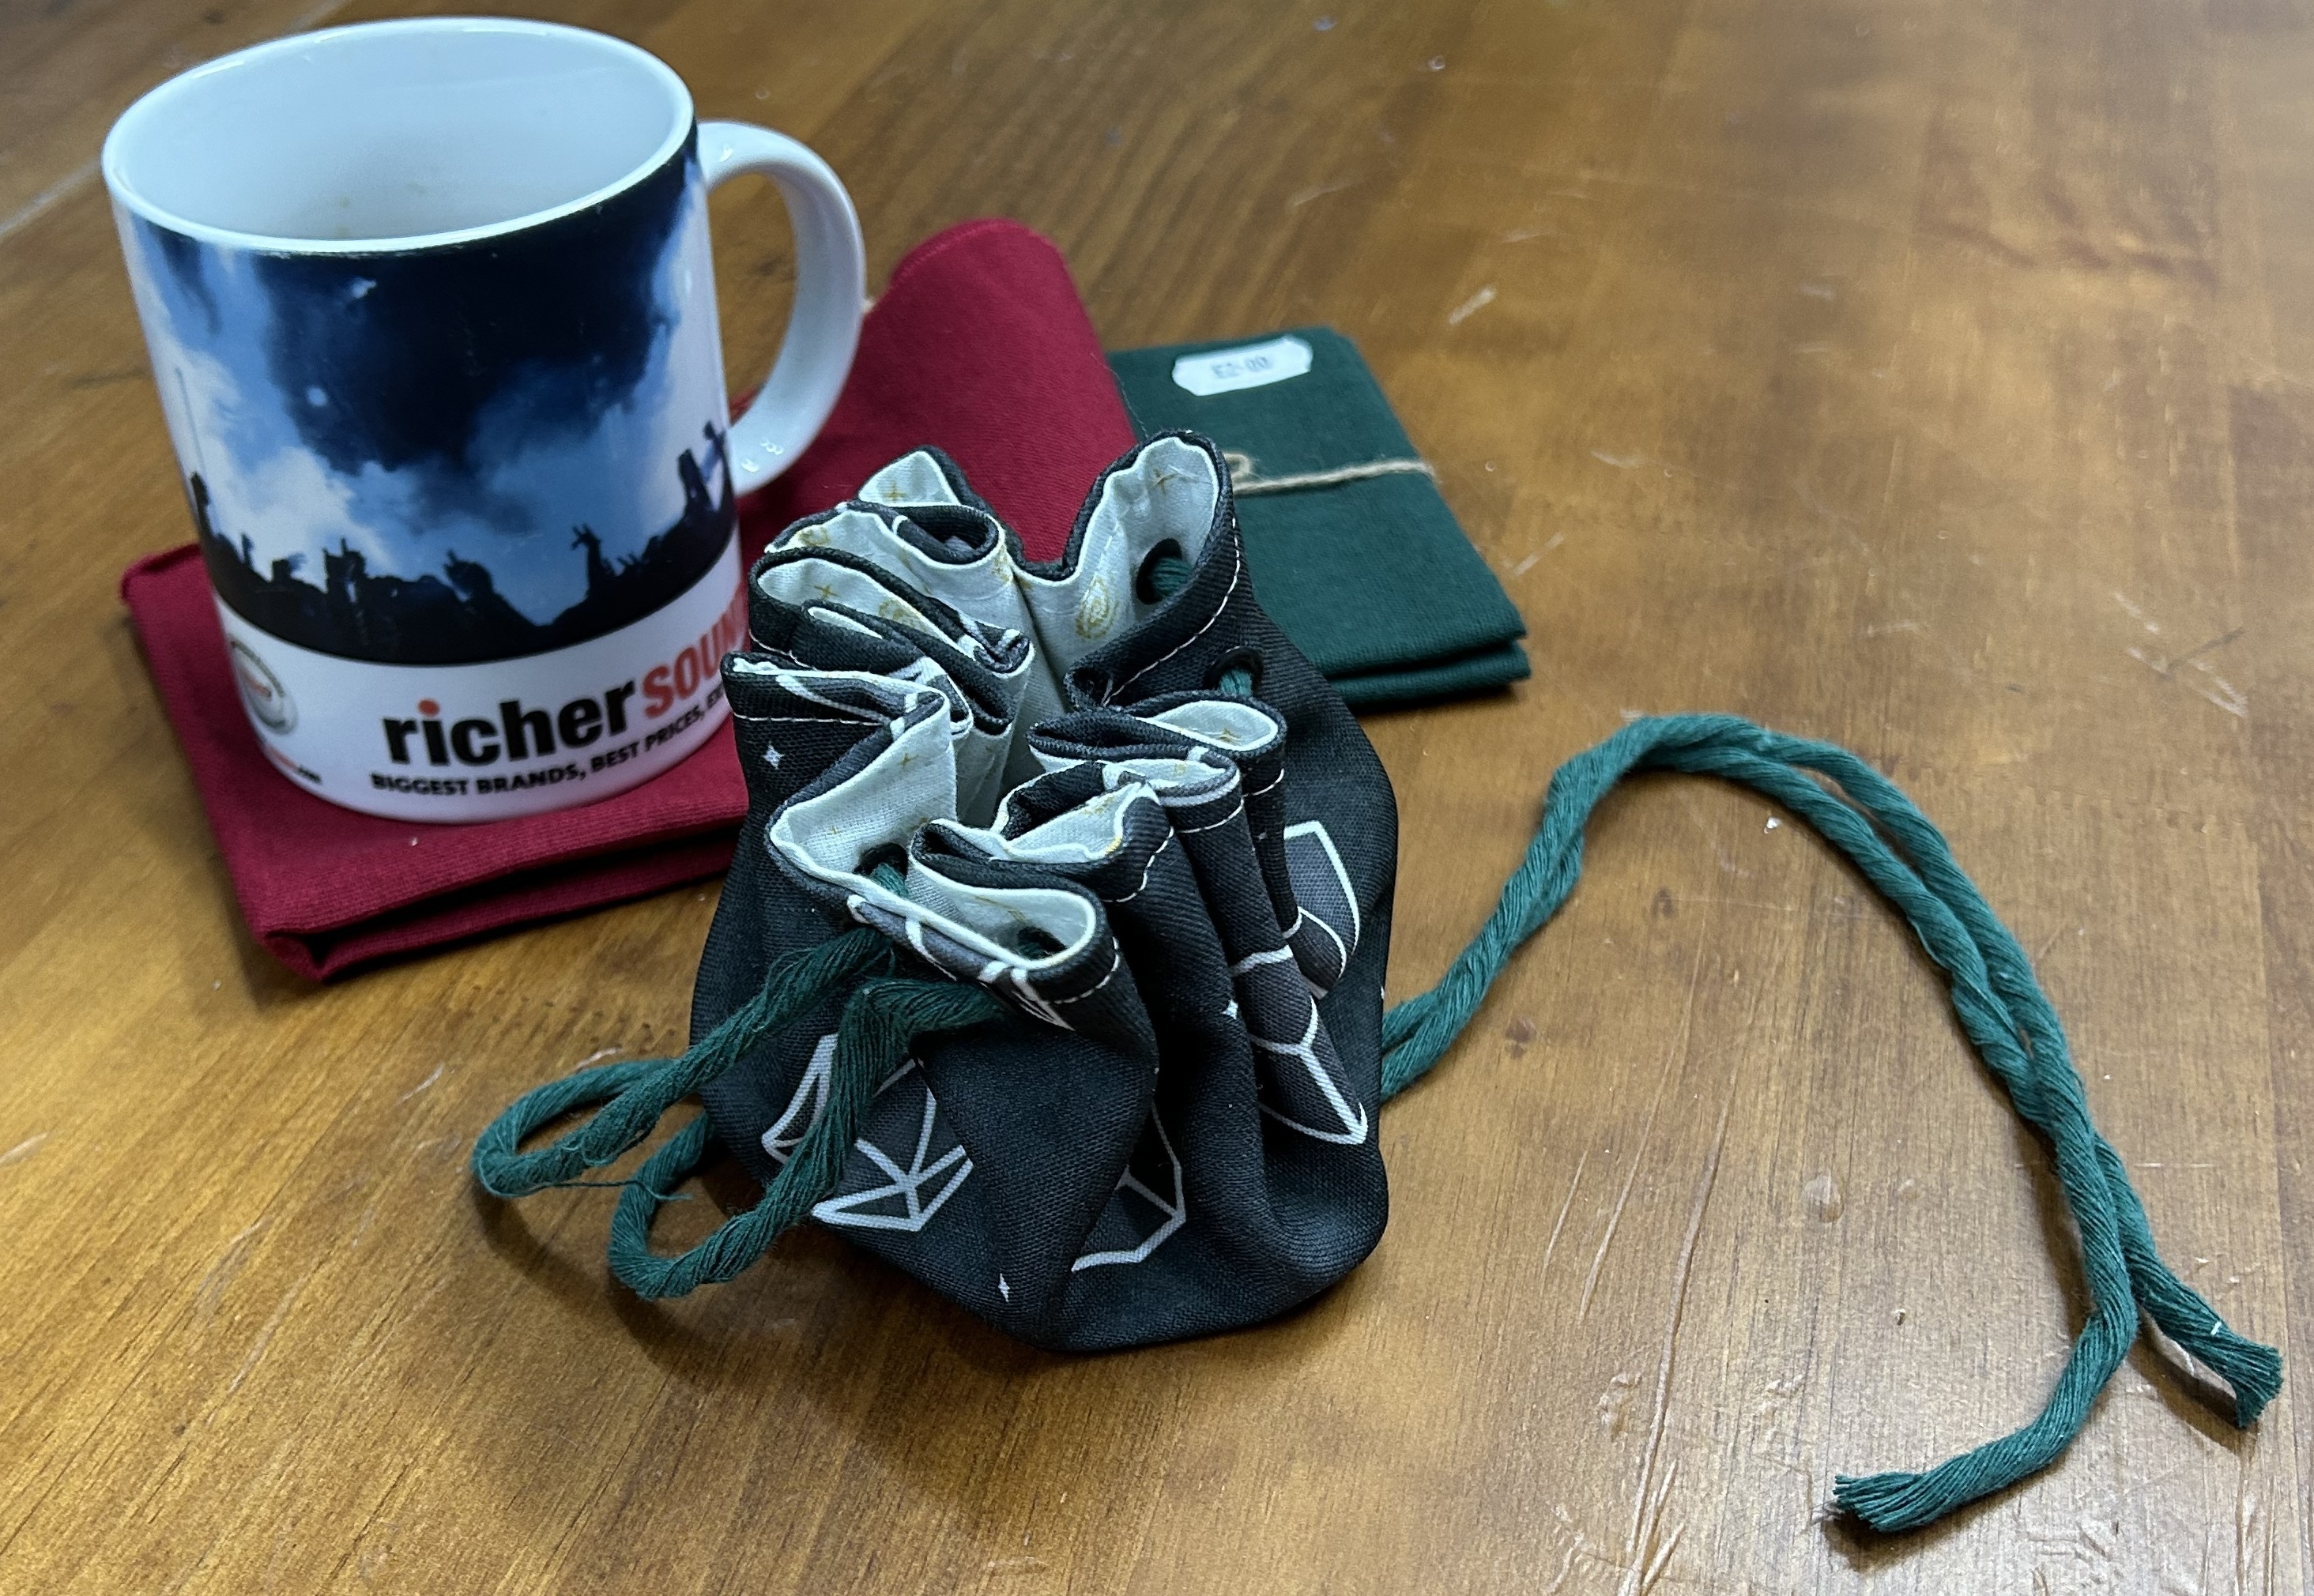
It all sort of seems to be working. The eyelets do affix to themselves. However, I was noticing that the metal was snagging on the table. The gap between the two pieces is huge.
It does sort of work though! I need to figure out the correct distance to keep the eyelets for optimal scrunching. The fundamentals work though.
Steps:
1. Follow the initial steps for Pouch 3.
1. Important alterations: Use a sewing machine.
2. Instead of a ladder stitch, just stitch around the whole perimeter, sealing it together.
3. As per Pouch 3, you should still have punched some holes.
2. Force your eyelet through the bottom
3. Refuse grommets.
4. Place an eyelet on top of the fabric.
5. SMASH.
6. Thread the fabric through.
7. Pouch!
Destination of this pouch: Away from other bags because it'll catch and tangle up with them. You can have it, if you like!
Life expectancy: Probably the longest lasting yet. The eyelets will get really annoying though, and that'll be the limiting factor, I bet.
Relationship with mom: Recovering, but I'm telling you, shook.