

A Marketing Cloud app refers to an application hosted outside of Marketing Cloud but integrated into it via an iframe. These apps can be custom-built by your organization or acquired from the AppExchange. To access an app, you use the app menu within Marketing Cloud.
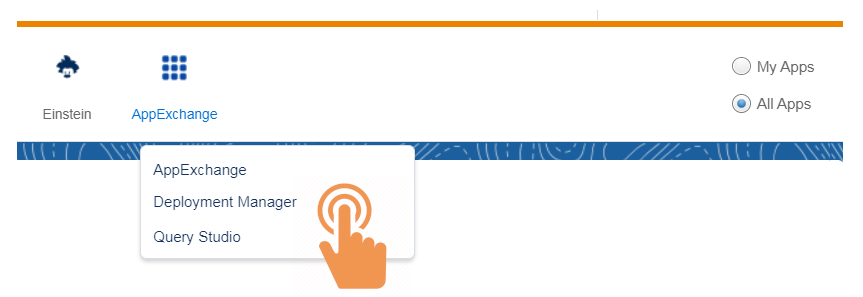
Familiar Marketing Cloud app within the SFMC such as Query Studio and Deployment Manager, are products of Salesforce Labs. These apps are readily accessible and can be downloaded at no cost from the AppExchange.
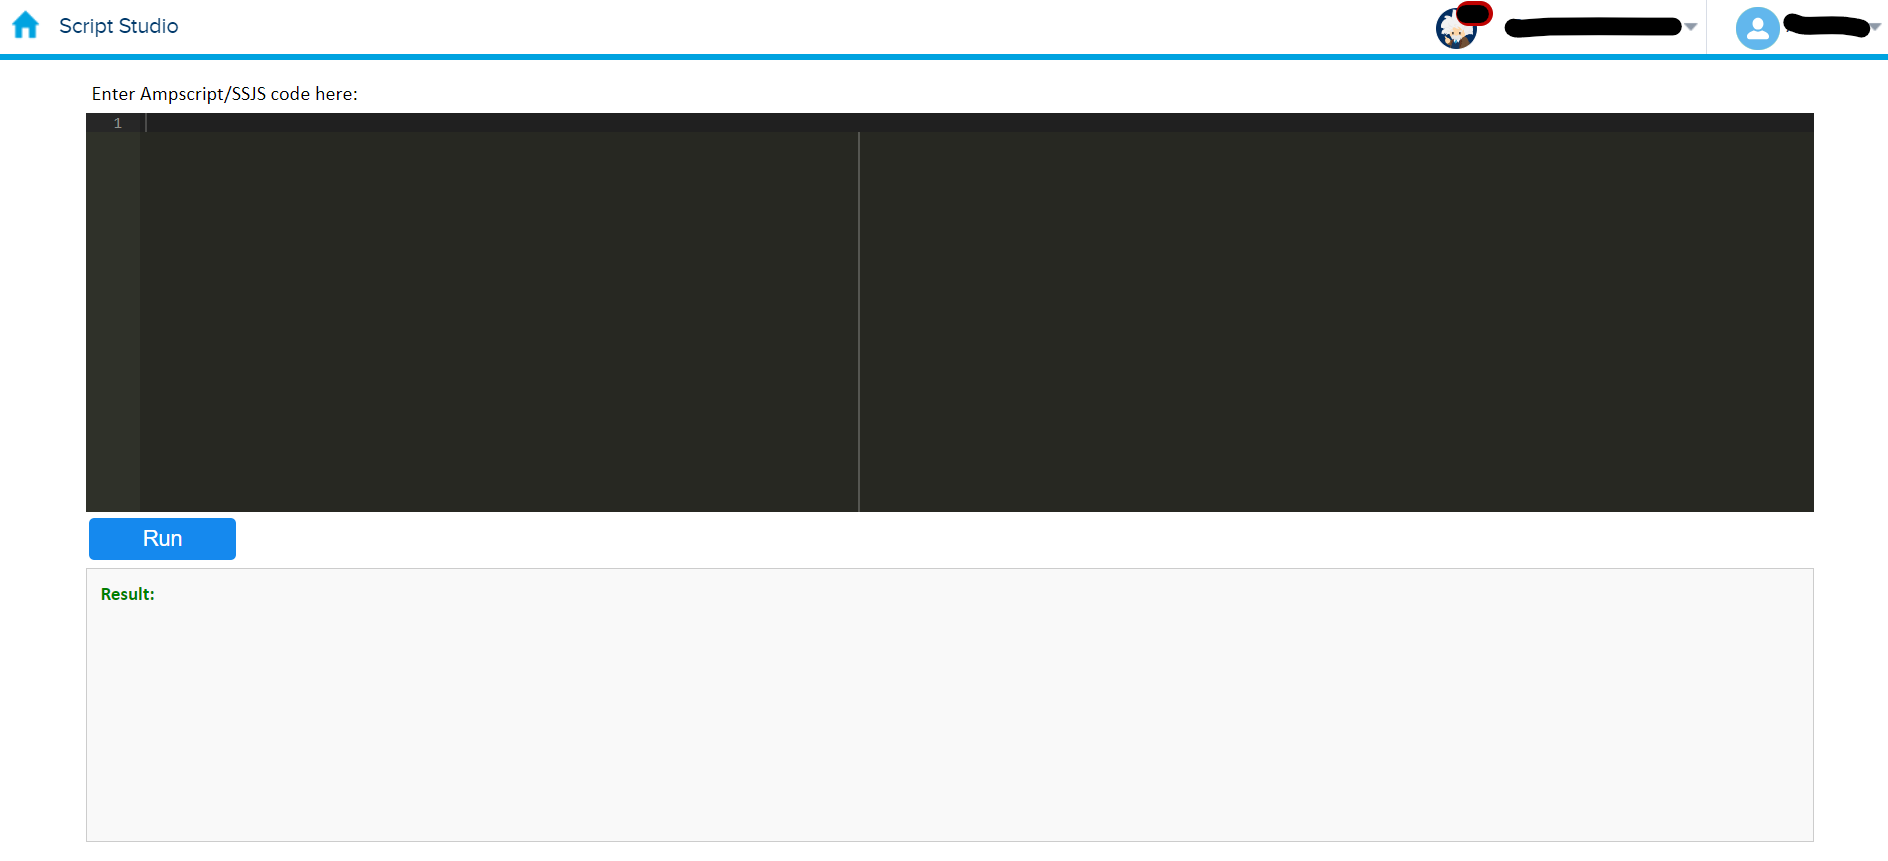
Let’s develop an internal solution called ‘Script Studio’, which serves as an IDE similar to Query Studio. However, instead of executing SQL queries, it will handle AMPSCRIPT and SSJS.
Developing an Application within a CloudPage
Let’s start by creating a simple app on a CloudPage by proceeding following steps:
Open Web Studio and navigate to CloudPages.
If necessary, create a new collection by clicking the “Create Collection” button in the top-right corner. Alternatively, use an existing collection.
Within the collection page, click the “Add Content” button.
From the dropdown menu, select “Landing Page” and provide a name (e.g., “Script Studio”) along with a site key.
Choose the “Blank” layout and click “Save”.
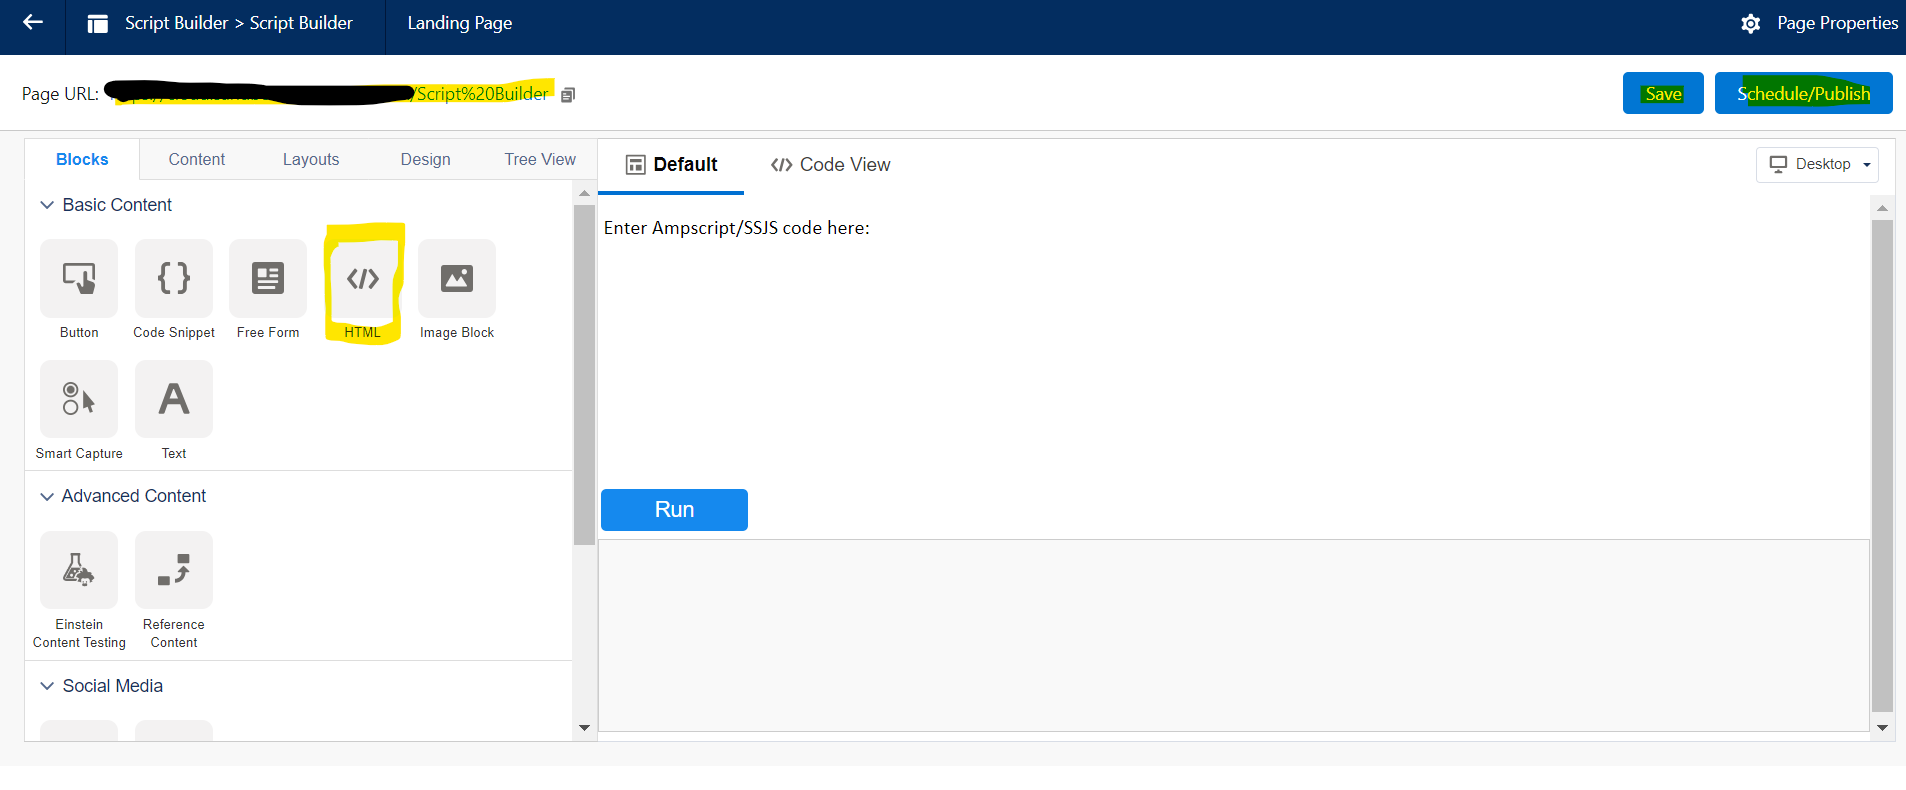
A landing page with the specified name will be created. Drag and drop an HTML block from the left side.
Paste the full code into this HTML block: You can refer the article by Matheswaran Kanagarajan (click here for the article) for the complete code; or contact me for the updated code with much more UI changes, then click “Save” followed by “Schedule/Publish”.
To view the cloud page, either click the “URL” in the top-left corner of the UI or copy the URL and open it in a separate tab.
Constructing an App for Marketing Cloud
Navigate to the main Setup and then to Platform Tools > Installed Packages.
On the page displaying all packages, click “New” to create a new package.
Provide a name for the package and describe its function. Keep in mind that this name and description will only be visible to administrators who have access to the setup in Salesforce Marketing Cloud (eg: Script Studio)
In the Components section, click “Add Component” and select a Marketing Cloud App.
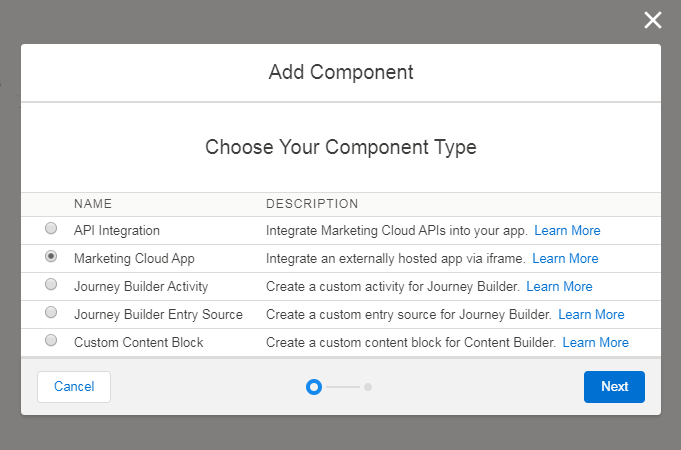
Now you will need to Set Marketing Cloud App Properties:
Name – the name of your app which will be visible for all users
Description – description of what your app does
Login Endpoint – the external URL of the CloudPage you created and published earlier, eg. https://pub.s10.exacttarget.com/xzy
Logout Endpoint – use the same URL as above
Once your app is saved, log out of Marketing Cloud and log back in, to see your app in the main menu, under the AppExchange icon, from where you can launch it:
Access and Sharing
Similar to other advanced packages, you have the ability to authorize the use of packages installed from the main business units to various other units within your organization. Additionally, you can select which users have the app access and from which business units they can use it. In essence, with just a few simple steps, you can:
Grant app access to every user across all Business Units,
Specify particular Business Units to automatically allow access for all their current and future users,
Or identify specific users and determine the Business Units where they are permitted to use the app.
Here’s a step-by-step guide on Licensing for Enhanced Packages:
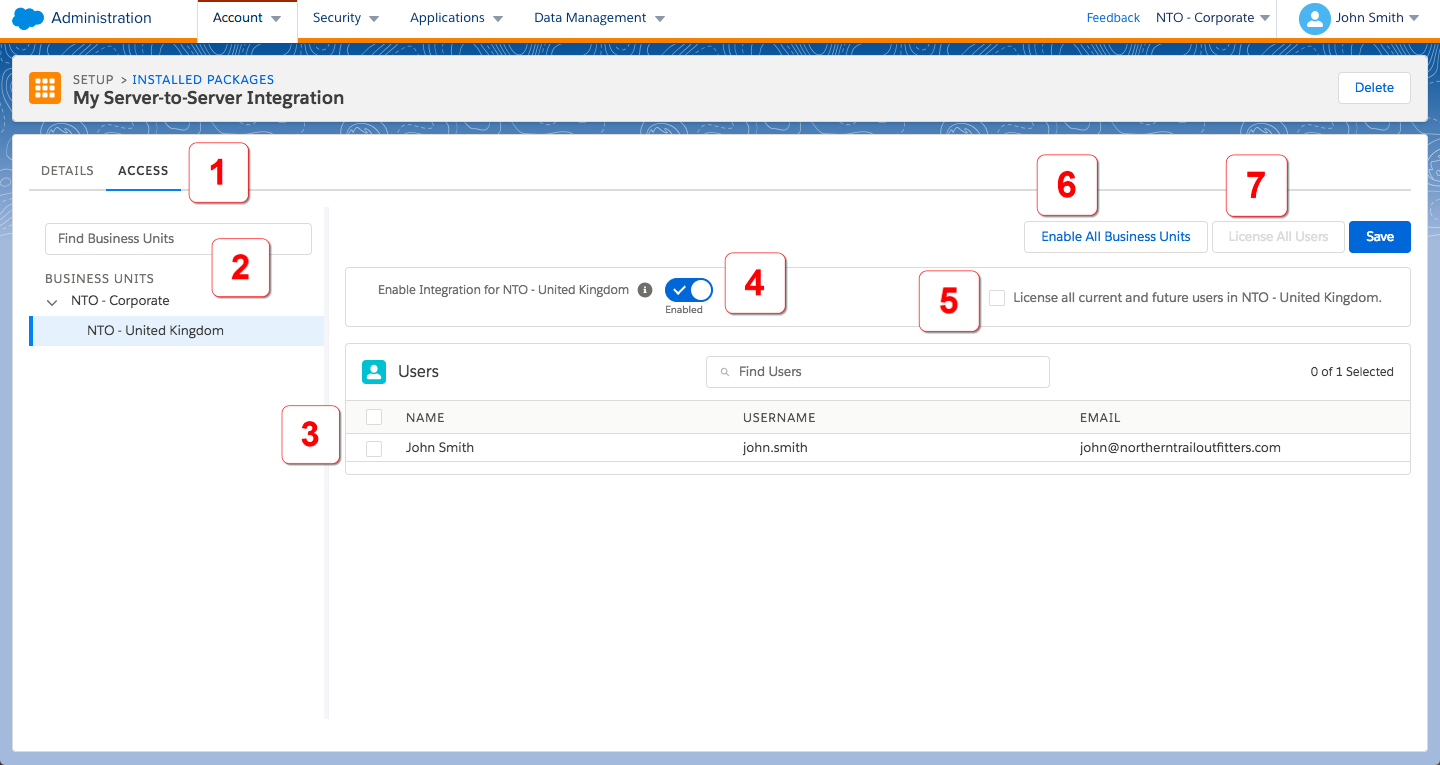
To manage user licensing for any package:
Access Tab: In the detailed view, click the “Access” tab.
Search Business Unit: Locate the business unit to grant or restrict licensing. If you have only one business unit, the search field and tree are hidden.
License Specific Users: Add licensing for users within the selected business unit.
Server-to-Server Integrations (if applicable):
To assign licenses or make API requests on behalf of this business unit, enable the package’s server-to-server integration.
Note: You can assign licenses only if the package contains another component in addition to the server-to-server API integration.
License All Users: Choose to license all current and future users in the business unit.
Global Integration (Server-to-Server):
Enable the package’s server-to-server integration for all business units in your account.
This option isn’t shown for other integration types.
Account Permissions:
If the option isn’t shown, you lack permission to administer installed packages in all business units. Contact your account administrator for access.
Reference:
https://sfmarketing.cloud/2020/04/15/simple-marketing-cloud-app-hosted-on-a-cloudpage/
https://medium.com/@mathes.btech/ampscript-ssjs-coscripting-ide-in-cloud-page-7f58a077a30e
#happycoding!