About Neon Labs :
Neon Labs is an EVM (ETH Virtual Machine) that allows developers to use Ethereum tools to scale and gain access to Solana. Neon EVM is a synergetic solution for anyone looking to scale Ethereum dApps on Solana in a developer-friendly manner and tap into Solana’s vibrant ecosystem.

Quick Look At Neon EVM

How It Works
Neon raised $40 million from Jump Capital, Solana Capital, Three Arrows and others, while Coin98. You can have a look at their docs here.
Steps To Take Part In Neon Labs Retroactive Airdrop :
First of all, let’s add the network to our Metamask wallet. Go to Chainlist.org and toggle enable the testnet button. After that search Neon EVM DevNet and connect wallet. After this, click on Add to Metamask and approve in MetaMask.


2. Let’s claim some tokens from their faucet. Head over to https://neonfaucet.org/ and click on Connect Wallet.

3. Choose Neon token and click on Send Test Tokens.


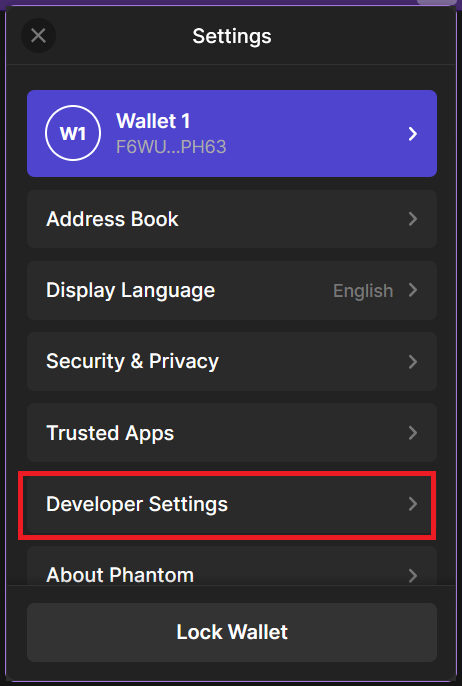
4. Switch to Devnet in Phantom Wallet.


5. Now, go to https://neonpass.live/ and click on Switch button and then Connect Wallet. Approve in Metamask.

6. Now, select a coin and enter 100 as amount. After that click on Next.

7. You’ll be asked to connect your Solana wallet too. Click on Connect Wallet.

After this, click on Next.

8. Next, click on Confirm and Confirm transaction in your MetaMask wallet.

9. Your transfer will be completed. Click on View on Neonscan to view your transaction.

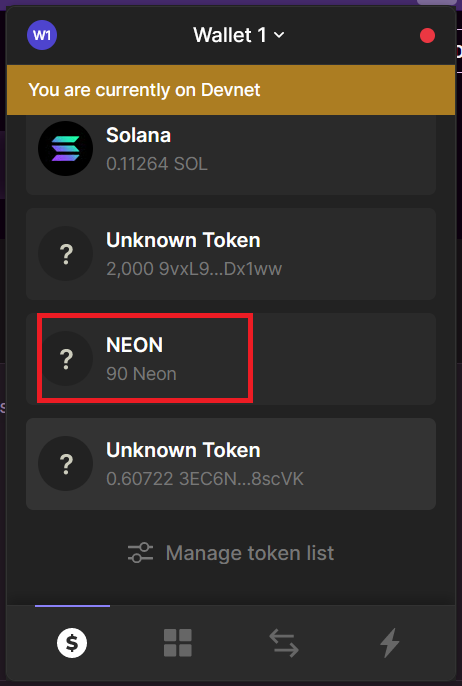
10. You can see your tokens in your Phantom Wallet.

11. Let’s head over to https://moraswap.com/exchange/swap to make some swaps.
12. Choose tokens, enter amount and click on Swap. Click on Confirm Swap to confirm your swap. Next, confirm in Metamask.


13. Now, Let’s add some liquidity. Head over to https://moraswap.com/exchange/pool and then click on Add.

Enter amount and click on Approve MORA. And confirm transaction in your Metamask wallet.

Click on Confirm Adding Liquidity and confirm transaction in your Metamask wallet.

14. Let’s stake some MORA. Go to https://moraswap.com/stake , enter amount and click on Approve. Confirm it in MetaMask.

Now, click on Confirm Staking and approve in MetaMask.

15. Now, get some other tokens from faucet and repeat all the above steps. Make swaps, Bridge Tokens, Add Liquidity, Stake, ETC.
