

Beginner C2C Crochet Pattern
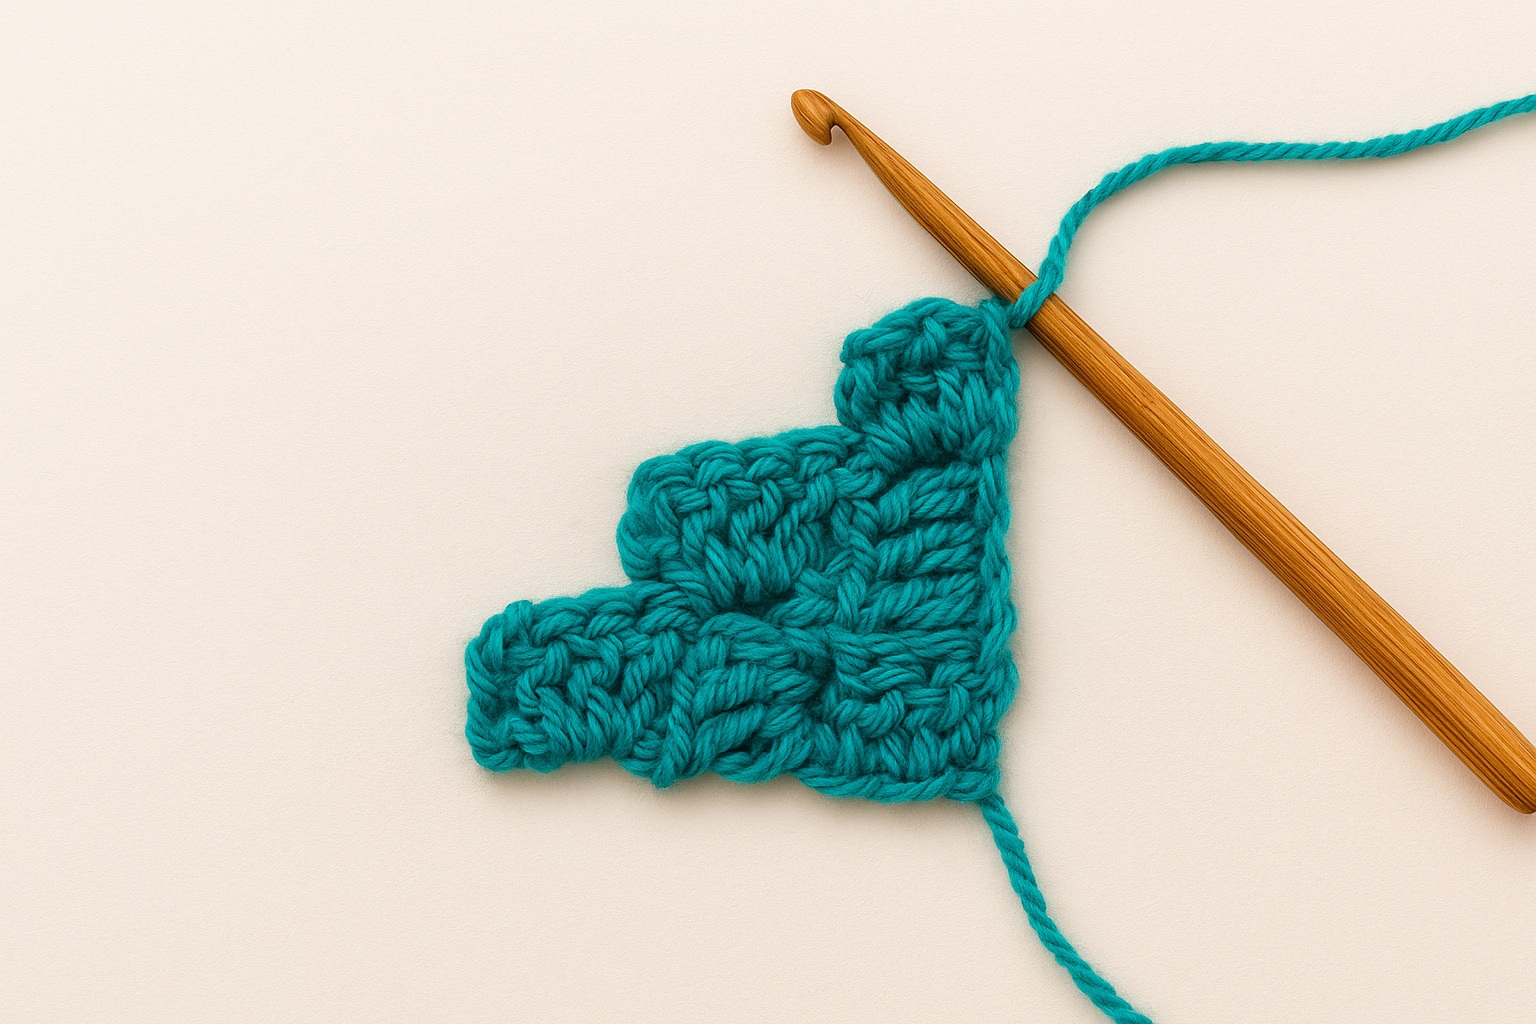
This Pattern is so simple and Fast Work Up. The Size can be Easily adjusted to your liking.
Pattern Note: Crocheted Corner to Corner using the crochet diagonal box stitch. You will then prepare the edge of the blanket by adding a simple single crochet all round if you want. Any border of your liking can be easily added.
Color: Which Ever Color you like
Yarn: Which Ever yarn type you like. Just keep in mind the Bulkier the Yarn the faster Work Up it will be.
Normally for this project a medium weight works well.
Stitches ( US Terms )
> Chain ( CH )
> Double Crochet ( DC )
> Slip Stitch ( SL ST )
> Space ( SP )
Abbreviations
> BLOCK is a set of < ch3+3dc >
* Let's Start *
Row 1
CH 6 ( Chain )
DC ( Double Crochet ) in the 4th chain from the hook. DC in the remaining 2 chains. < This a BLOCK >
Row 2
Turn your work, CH 6. DC in the 4th chain from the hook and in the next 2 chains. You should now have 2 Blocks
SL ST ( Slip Stitch ) in the Chain 3 Space from the Previous Row. This will align your BLOCKS
Row 3
Turn, CH 6, DC into 4th CH from hook and in next 2 chains. [ SL ST in the Chain 3 Sp. from Previous Row. CH 3, 3 DC in same SP ] one more time 3 BLOCKS Total. SL ST in last Ch 3 SP. TURN
Row 4
> Row 4 and after will follow the instructions for generic C2C Increase. Your project will continue to get longer and wider.
Turn, CH6, DC into 4th CH from hook and in nxt 2 CH.
*SL ST into CH 3 SP, [CH 3, 3 DC into same SP] * Continue to Row End.
+ Once you Determined the Width of your Project we will start the Decrease, or your project will keep growing into a bigger triangle 🔺and never become the Square or Rectangle
NOTE: If you start the Decrease on either end of your project it will be a Square 🟥
If you like to have the Rectangle traditional Blanket Shape. You will decrease 1 Side of your project first and continue on that same side till you determined the length of your project. For the Rectangle I did 12 BLOCKS on one side.
*THE DECREASE *
Instead of (( CH6, dc in 4th CH and next 2 CH )) and the start of a row. You will
Step 1: Turn, SL ST into the 3 DCs and into the CH 3 SP. This lets you work across the tile without adding any height. You have officially started decreasing. ( CH 3, 3 DC in same SP )
Continue as normal, SL ST into CH 3 SP across.
The difference between increasing and decreasing is Step 1 – either you increase the height or keep it at the same height.
Ending: Onced you determined the height of your Project you want to start the Decrease STEP 1 On the opposite side of your project till you reach the end of the conder to 1 BLOCK
Congratulations your Finished :D