

Before You: A Simple Guide to Bringing Your MacBook Back to Life
A few months ago, I was ready to give up on my old MacBook. Every time I tried to update the OS, the App Store blocked me, leaving me stuck on outdated software. Using basic apps meant resorting to clunky web versions, and frustration was an understatement. Around this time, a teammate mentioned her own struggle with an even older Mac—an 8-year-old model that wouldn’t connect to Wi-Fi. Worse, she’d lost her iTunes password, which meant she couldn’t attempt any updates. We both felt defeated by our tech until I found a way to revive my Mac.
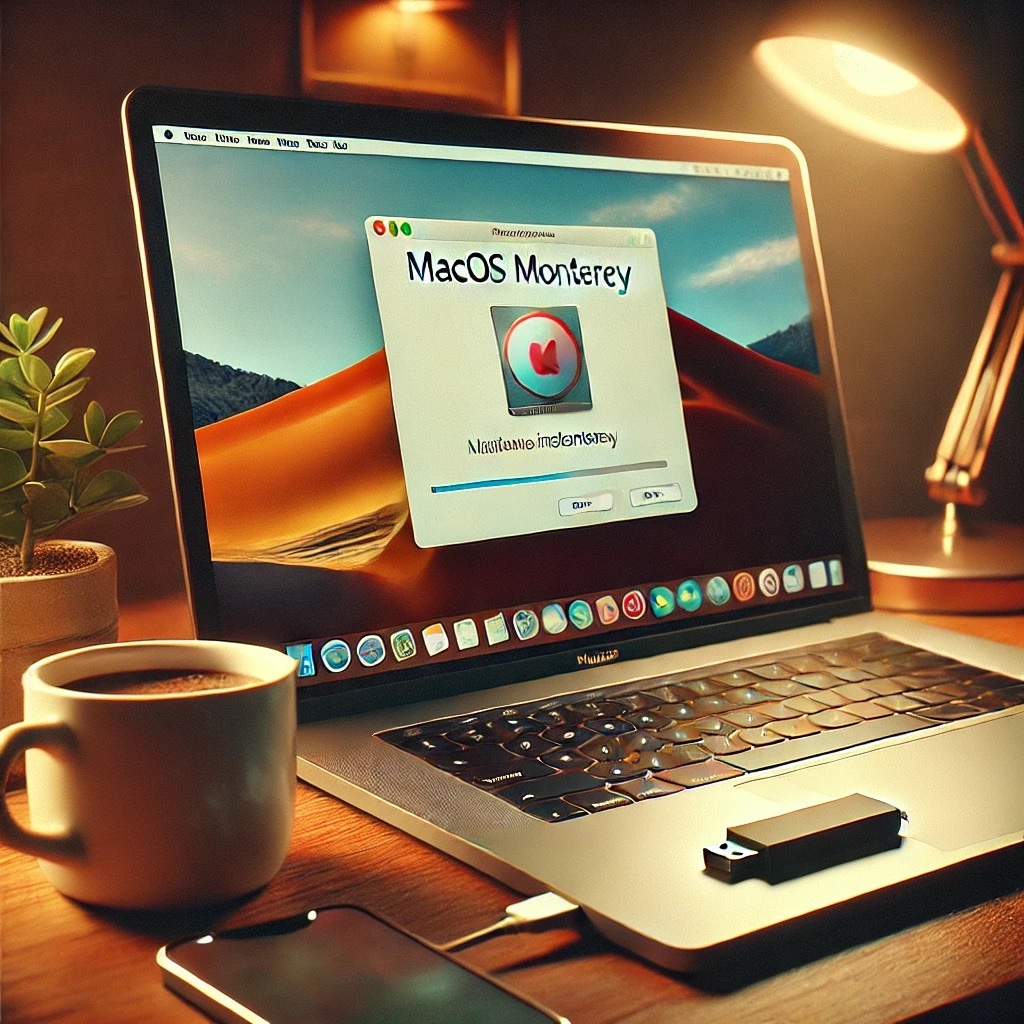
With a little research and a few easy steps, I was able to bring my MacBook back to life. My teammate followed the same process and soon had her device working like new. This guide will show you how to do the same. Even if you’re not tech-savvy, you can get your older Mac running smoothly with just a USB drive and some patience.
Step 1: Check If Your Mac Can Handle a Newer OS
For a big boost, we’re aiming to install macOS Monterey, which is compatible with many older Macs. To check your model’s compatibility:
1. Open the Apple menu (top-left corner) and select About This Mac.
2. If your Mac is from 2015 or later, you can update to Monterey.
Step 2: Back Up Your Files
Before making any changes, back up your files. Use Time Machine or an external drive to ensure your important documents are saved.
Step 3: Restore to Factory OS Using Recovery Mode (If Connected to the Internet)
If your Mac can connect to the internet, try restoring it to the factory OS through Recovery Mode:
1. Restart your Mac and hold down Command (⌘) + R to boot into Recovery Mode.
2. Choose Reinstall macOS and follow the steps to install your original OS (like OS X Yosemite on older models).
Once restored, you’re ready to use your USB drive to upgrade directly to macOS Monterey.
Step 4: Create a Bootable macOS Monterey USB Installer on a Windows PC
If you want to skip directly to Monterey or your Mac isn’t connecting to Wi-Fi, you’ll need to create a bootable USB installer from another computer, ideally a Windows PC.
What You’ll Need:
• A USB drive (16 GB or larger).
• The macOS Monterey installer as a DMG or ISO file.
• BalenaEtcher (free tool for creating bootable drives on Windows).
Steps:
1. Download macOS Monterey in DMG or ISO format from a trusted site.
2. Install BalenaEtcher on your Windows PC.
3. Open BalenaEtcher and select:
• The macOS installer file as your source.
• Your USB drive as the target.
4. Click Flash to create the bootable USB installer. This can take a few minutes.
Step 5: Use the Bootable USB to Install macOS Monterey
With the USB ready, it’s time to install Monterey:
1. Insert the USB into your Mac and power it on.
2. Hold down the Option (⌥) key immediately to access the boot menu.
3. Select the USB drive as the startup disk.
4. Follow the on-screen prompts to install macOS Monterey. You can use Disk Utility in the setup if you need to erase your disk first.
Step 6: Update All Apps and Enjoy Your Refreshed Mac
Once Monterey is installed, you’ll have full access to the App Store, updated apps, and modern features—all without buying new hardware.
Before You, Explore What’s Possible
This guide is part of our “Before You” series, which explores ways to make the most of devices, gadgets, and tools you might think are past their prime. Sometimes, a little effort and know-how can make your tech feel like new again.
Give these steps a try and see what your Mac can do before you consider an upgrade. You might just be surprised at the results!
#ReviveYourMac #TechHacks #BeforeYou #MacBookRevival #TechTips #MacOS #DIYTech #UpgradeYourTech #ProductivityHacks #MacBook #TechBants #FridayTechTalk #FutureOfTech