
A few days ago, I released a project on itch. It's a tool for creating sprites by using layered images. Since I suck at naming things, I'm calling it a Portrait Creator, but you can use for anything you like.
Like many other sprite generators out there, Portrait Creator comes with a few pre-made assets so that all the work you have to do to make a sprite is press a few buttons. However, those assets might not be enough for your needs. In this post, I will show you how to create assets and load them into the generator.
Making the assets
Create a new file in your software of choice with the same resolution as the other items. The application works best with square images, but you can use any resolution you want. I'm using the default portrait as a reference. 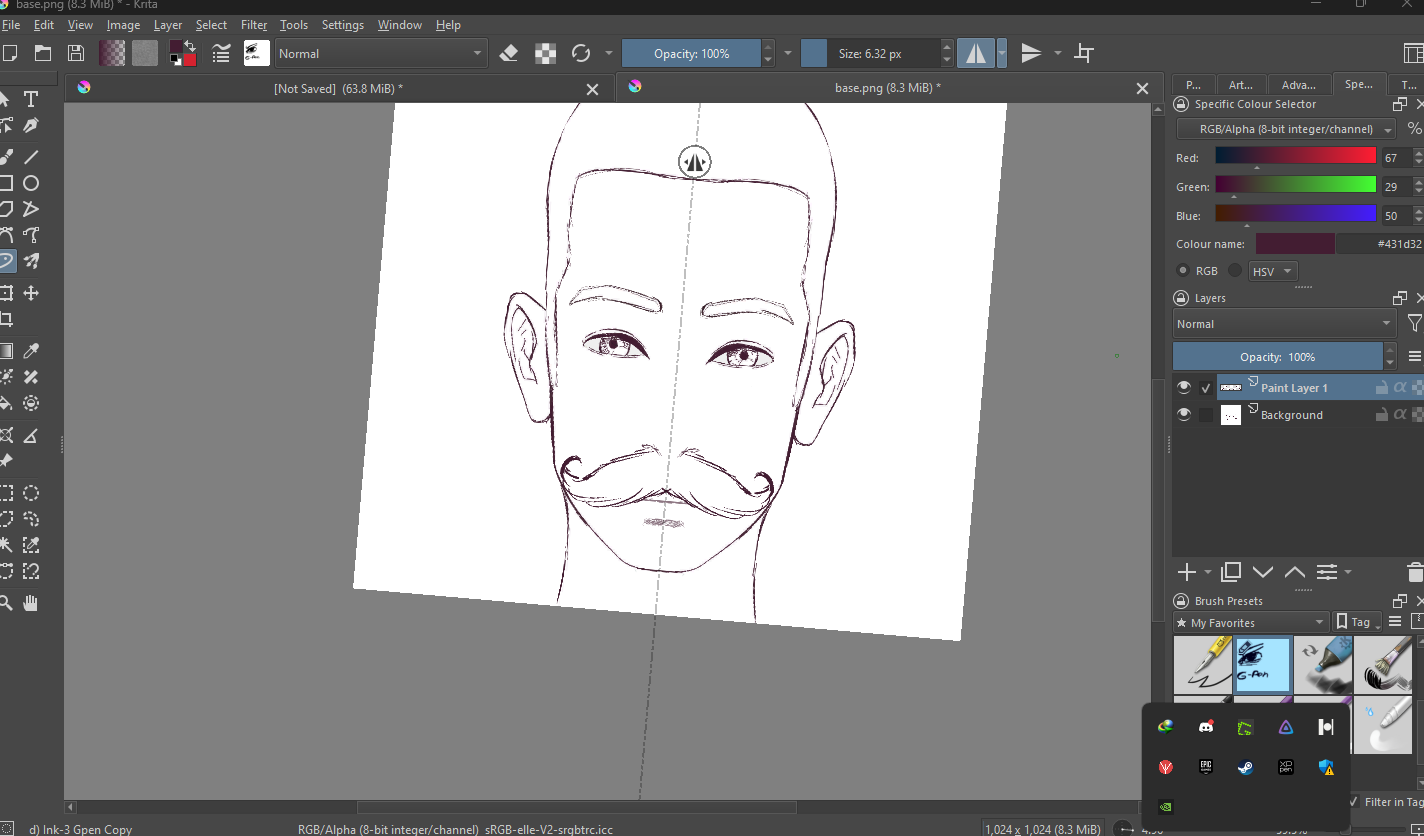
For this example, I've decided to draw a cool moustache. The symmetry tool is very helpful for things like this.
This is the important bit, colour the drawing using pure white. Otherwise, picking colours will be very difficult.
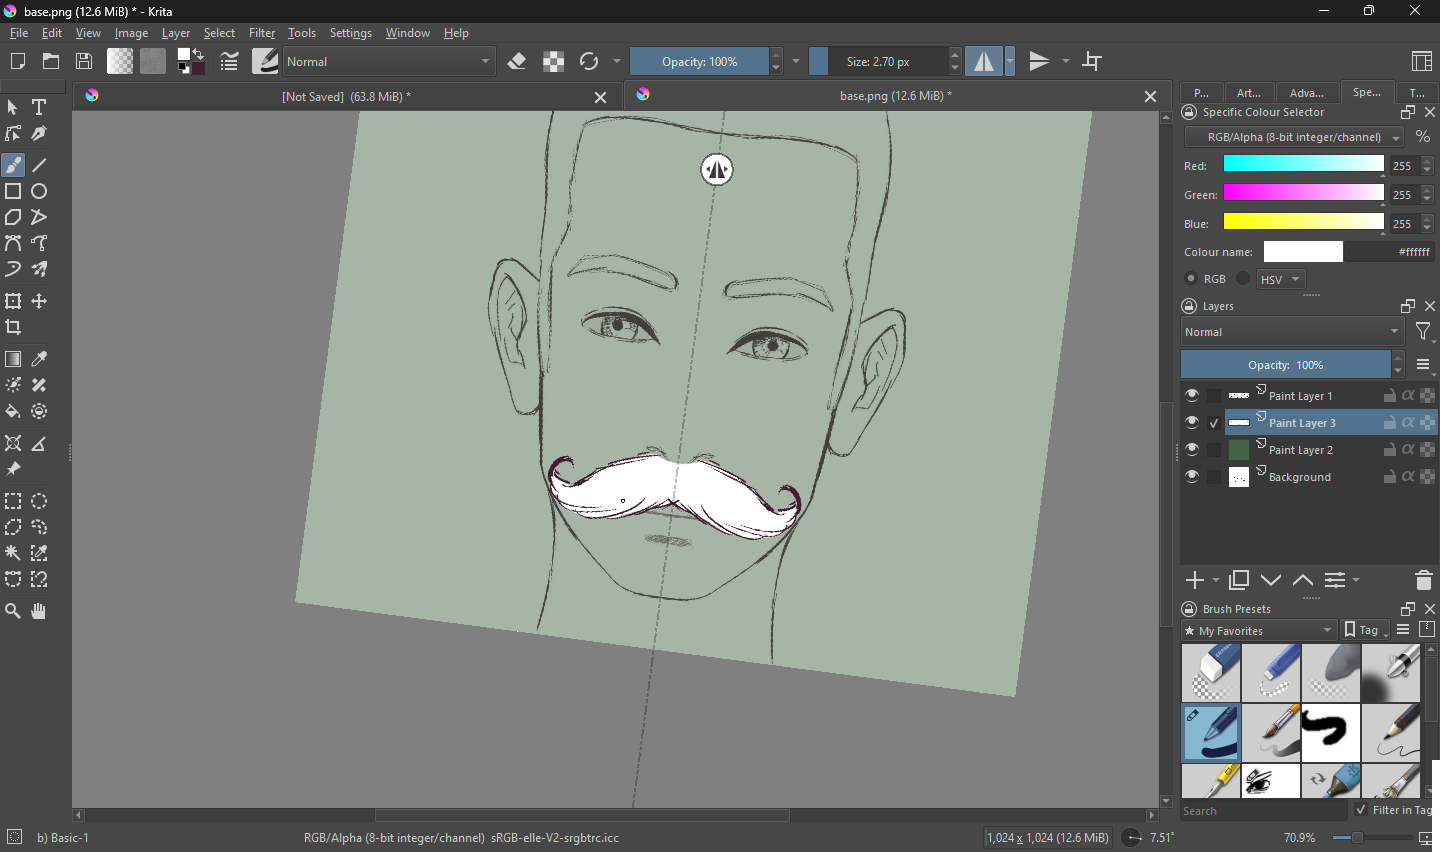
If you're satisfied with your creation, hide all the unnecessary layers and export it as a PNG file.
Adding the assets
Open Portrait Creator and click add layer. The new layer should be automatically selected. Click edit layer.
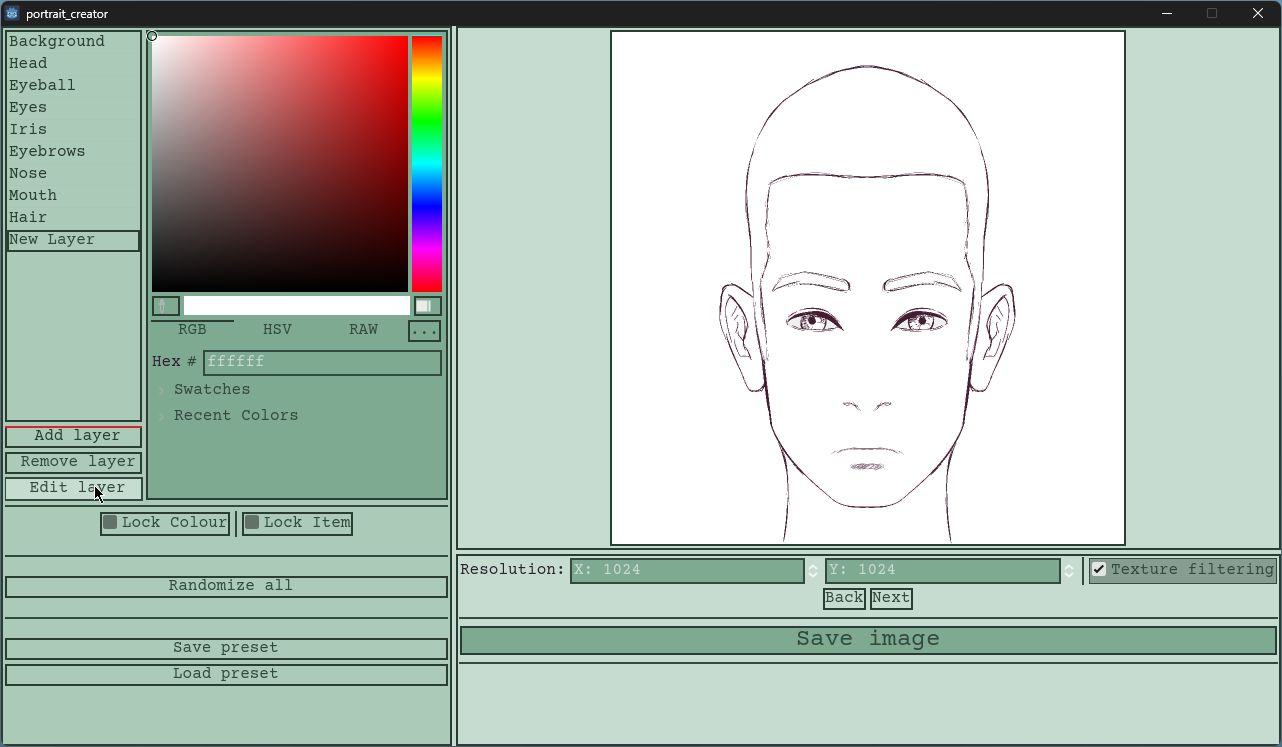

Give it a cool name but don't forget to hit enter (I did). Enabling colour source allows you to link the colour of another layer to this one. If I choose hair as the source, whenever I change the hair colour, it will automatically change the moustache.
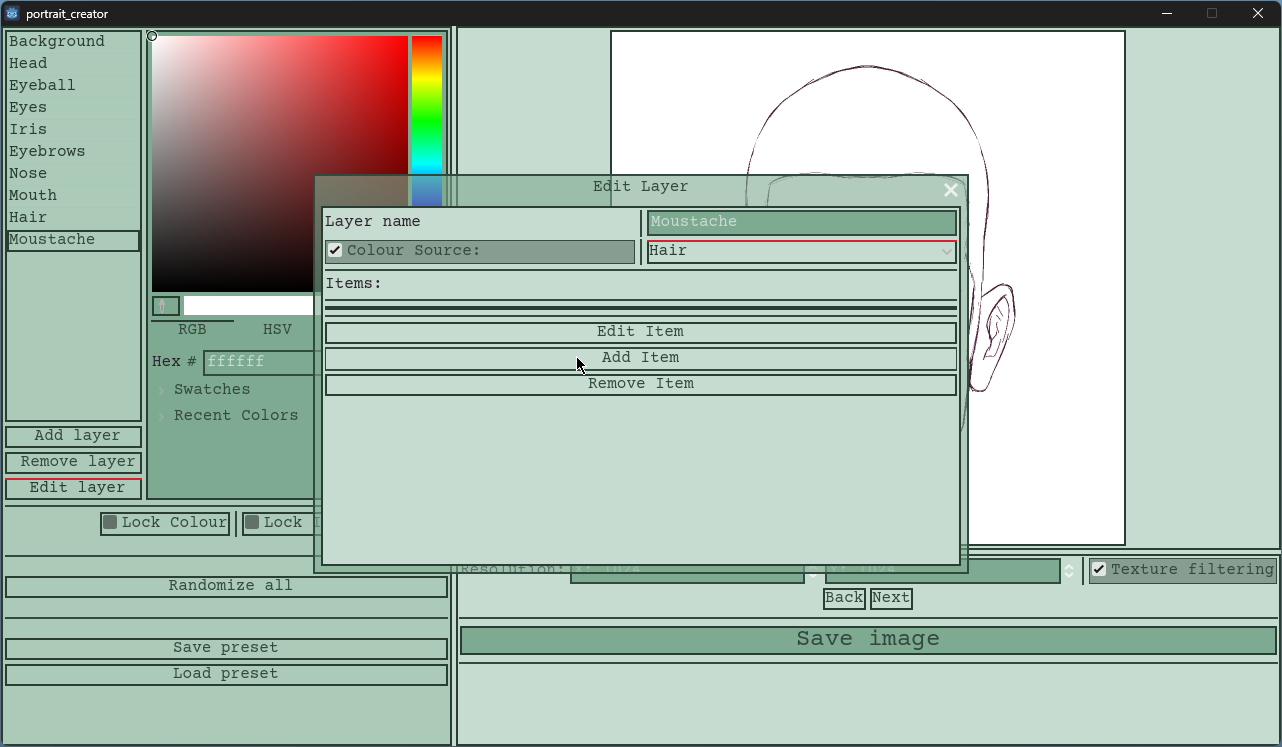
Now we have an empty layer, not very useful. To be able to select items, we first need to add them. Click add Item. The added item will work just fine, but it won't have an image. Considering we are on the moustache layer, that would be like having a clean-shaven option.
To add a image, click edit layer.
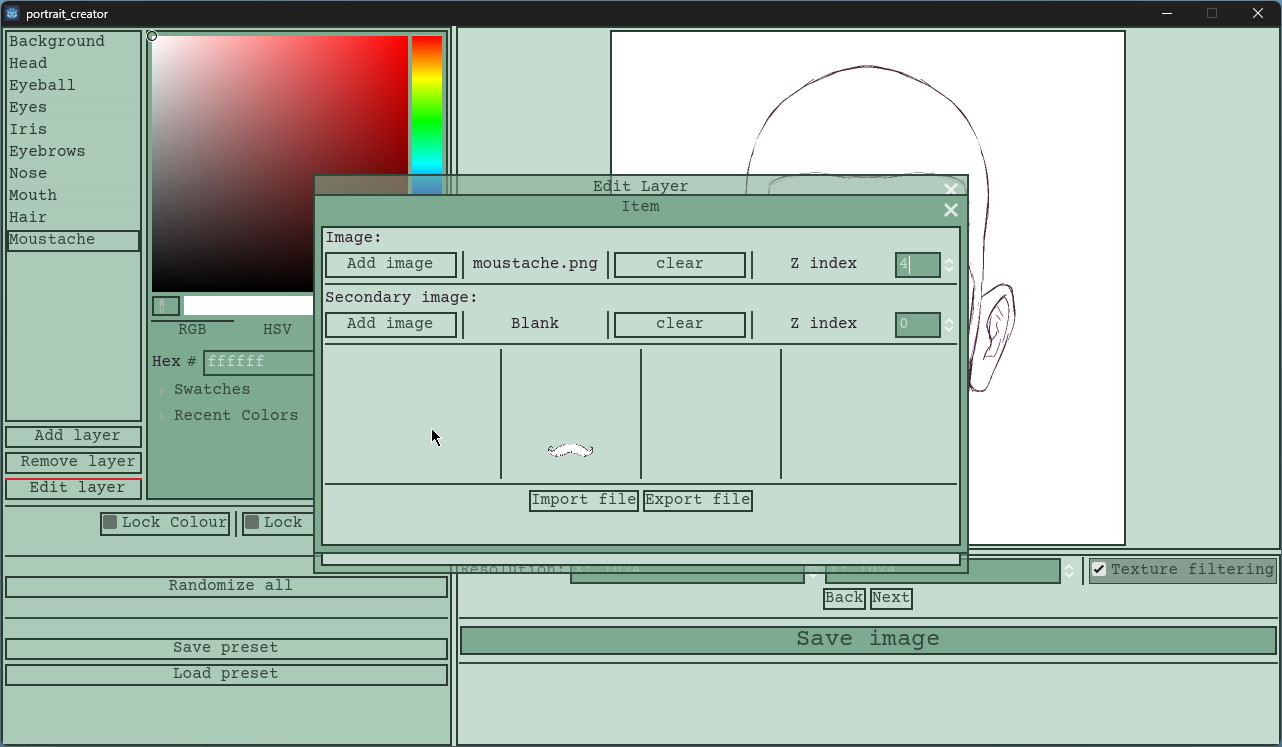

Click on the first add image to load your file.
There are a few things to note on this window.
The z index affects draw order. Images with a higher z index will be drawn in the front. I want the moustache to be drawn in front of everything, so I'll choose a higher number, like four.
The secondary image allows you to have a second image and change it's z index independently of the first one. Useful for things like hair or clothing.
The export/import buttons are for saving and loading the configuration. This allows you to share your creations with others.
Close all the windows if you're satisfied. I recommend pressing the randomise all button to see if everything is working properly.
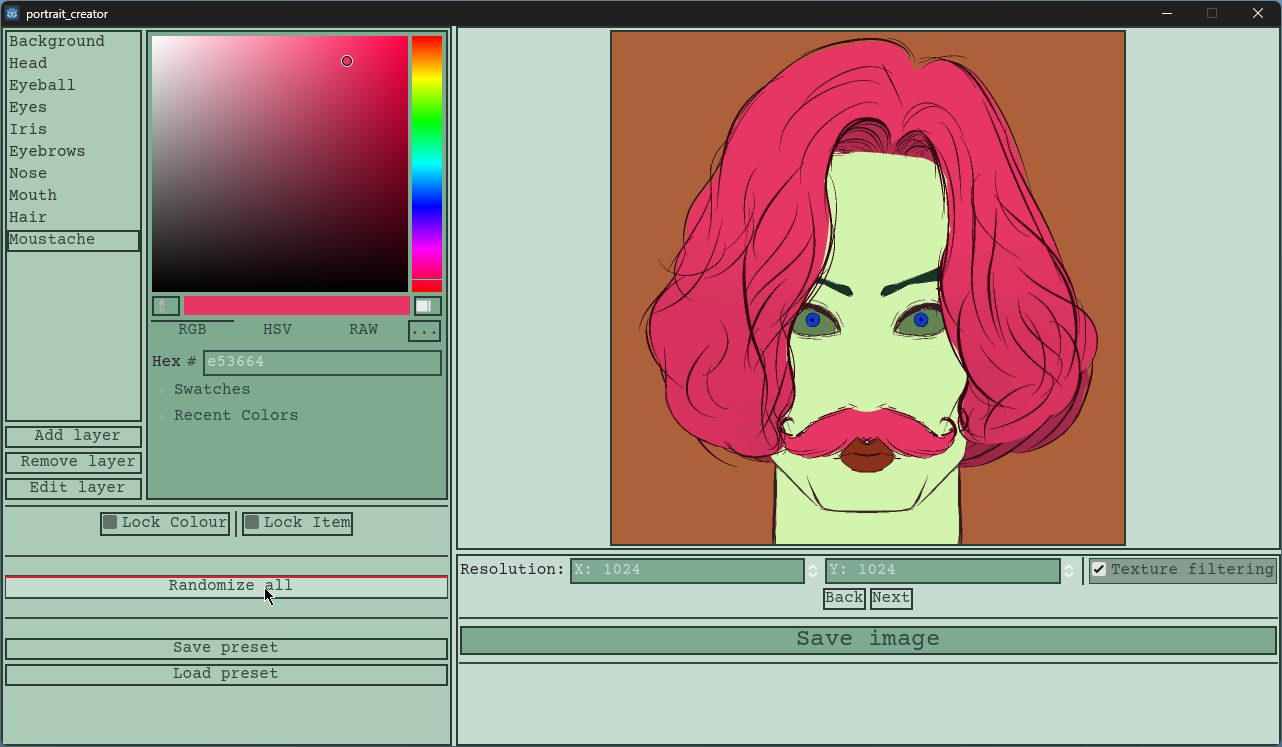

And that's it. Now you can create and add your own items.
Thank you for reading. Have a nice day.