Ripple Radios
1,879 supporters
Login
Login
Ripple Radios
Posts
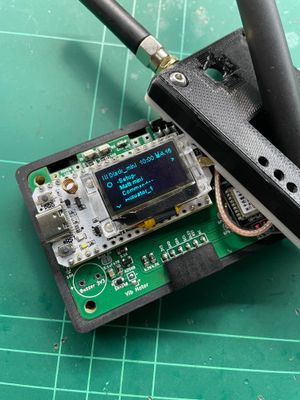
Sensor Guide: Trip Sensor
Sensor Guide: Trip Sensor
Jan 08, 2025
1 like
1
Share
Enjoy this post?
Buy Ripple Radios a coffee
Support
1 like
1
Share
1 comment
More from Ripple Radios
Item 1 of 1
English
English
Deutsch
Español
Italiano
Français
Українська
Privacy
Terms
Report
Start your Buy Me a Coffee page