

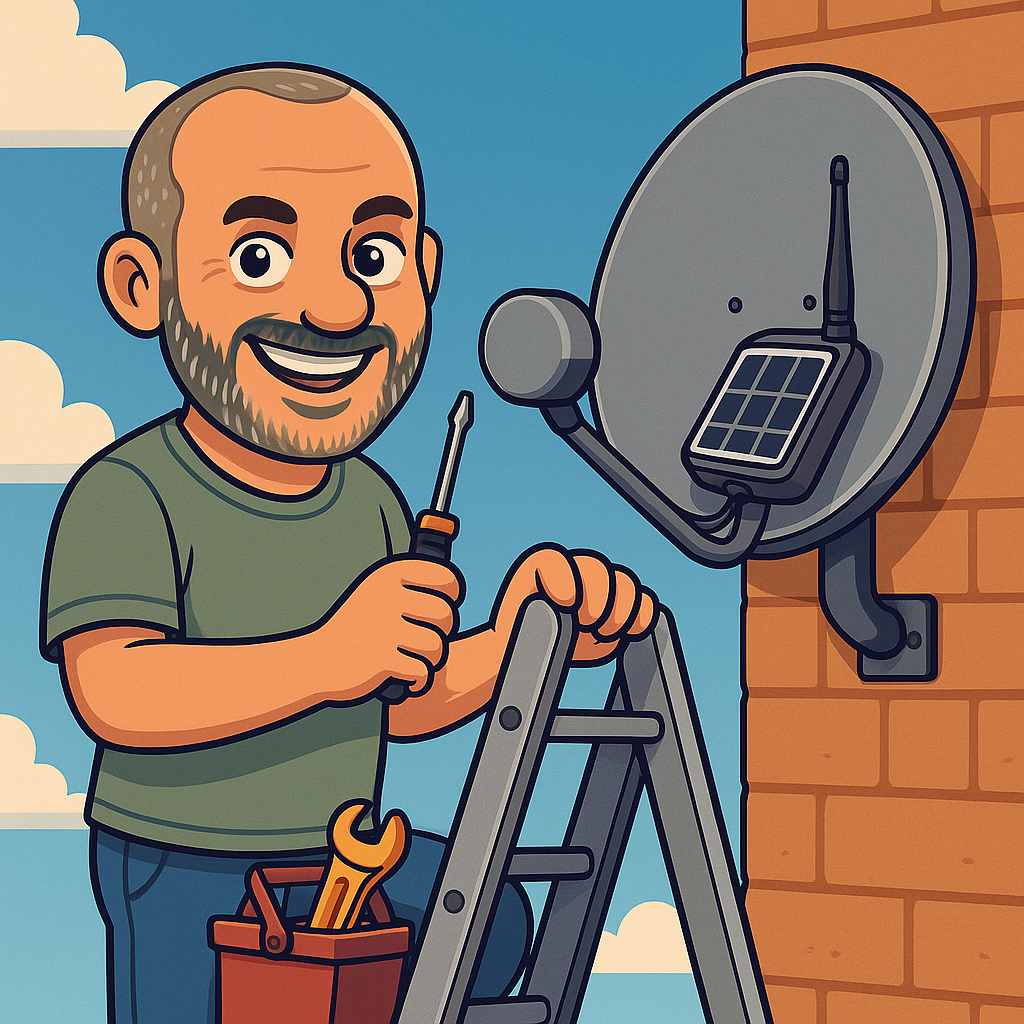
 If you’ve ever stared up at that sad, rusty Sky dish still bolted to your wall and thought:
“That thing hasn’t seen a signal since 2007…”
…same. Nobody has. And that’s exactly why it’s genius.
That forgotten chunk of 00’s tech is about to get a glow-up. Instead of being a spider Airbnb, we’re gutting it and stuffing it full of LoRa goodness. Congratulations: you now own the stealthiest mesh repeater on the street.
Why a Sky Dish?
Because it’s perfect.
Already bolted high up → free elevation.
Everyone ignores them → camouflage level: suburban ninja.
Looks like junk → but secretly your packet-forwarding death star.
Shopping List
1× Sky dish (bonus points if it’s already growing moss).
Seeed XIAO ESP32S3 + Wio-SX1262.
Cable ties + hot glue + maybe a 3D printer (for those who prefer CAD over chaos).
A sense of balance while climbing a ladder (seriously, don’t cheap out here).
The “Engineering” Bit (a.k.a. The Fun Part)
Step 1: Dish Prep
That little box at the end of the dish arm? That’s the LNB. Normally it slurps satellite signals. Today, it’s your new project box.
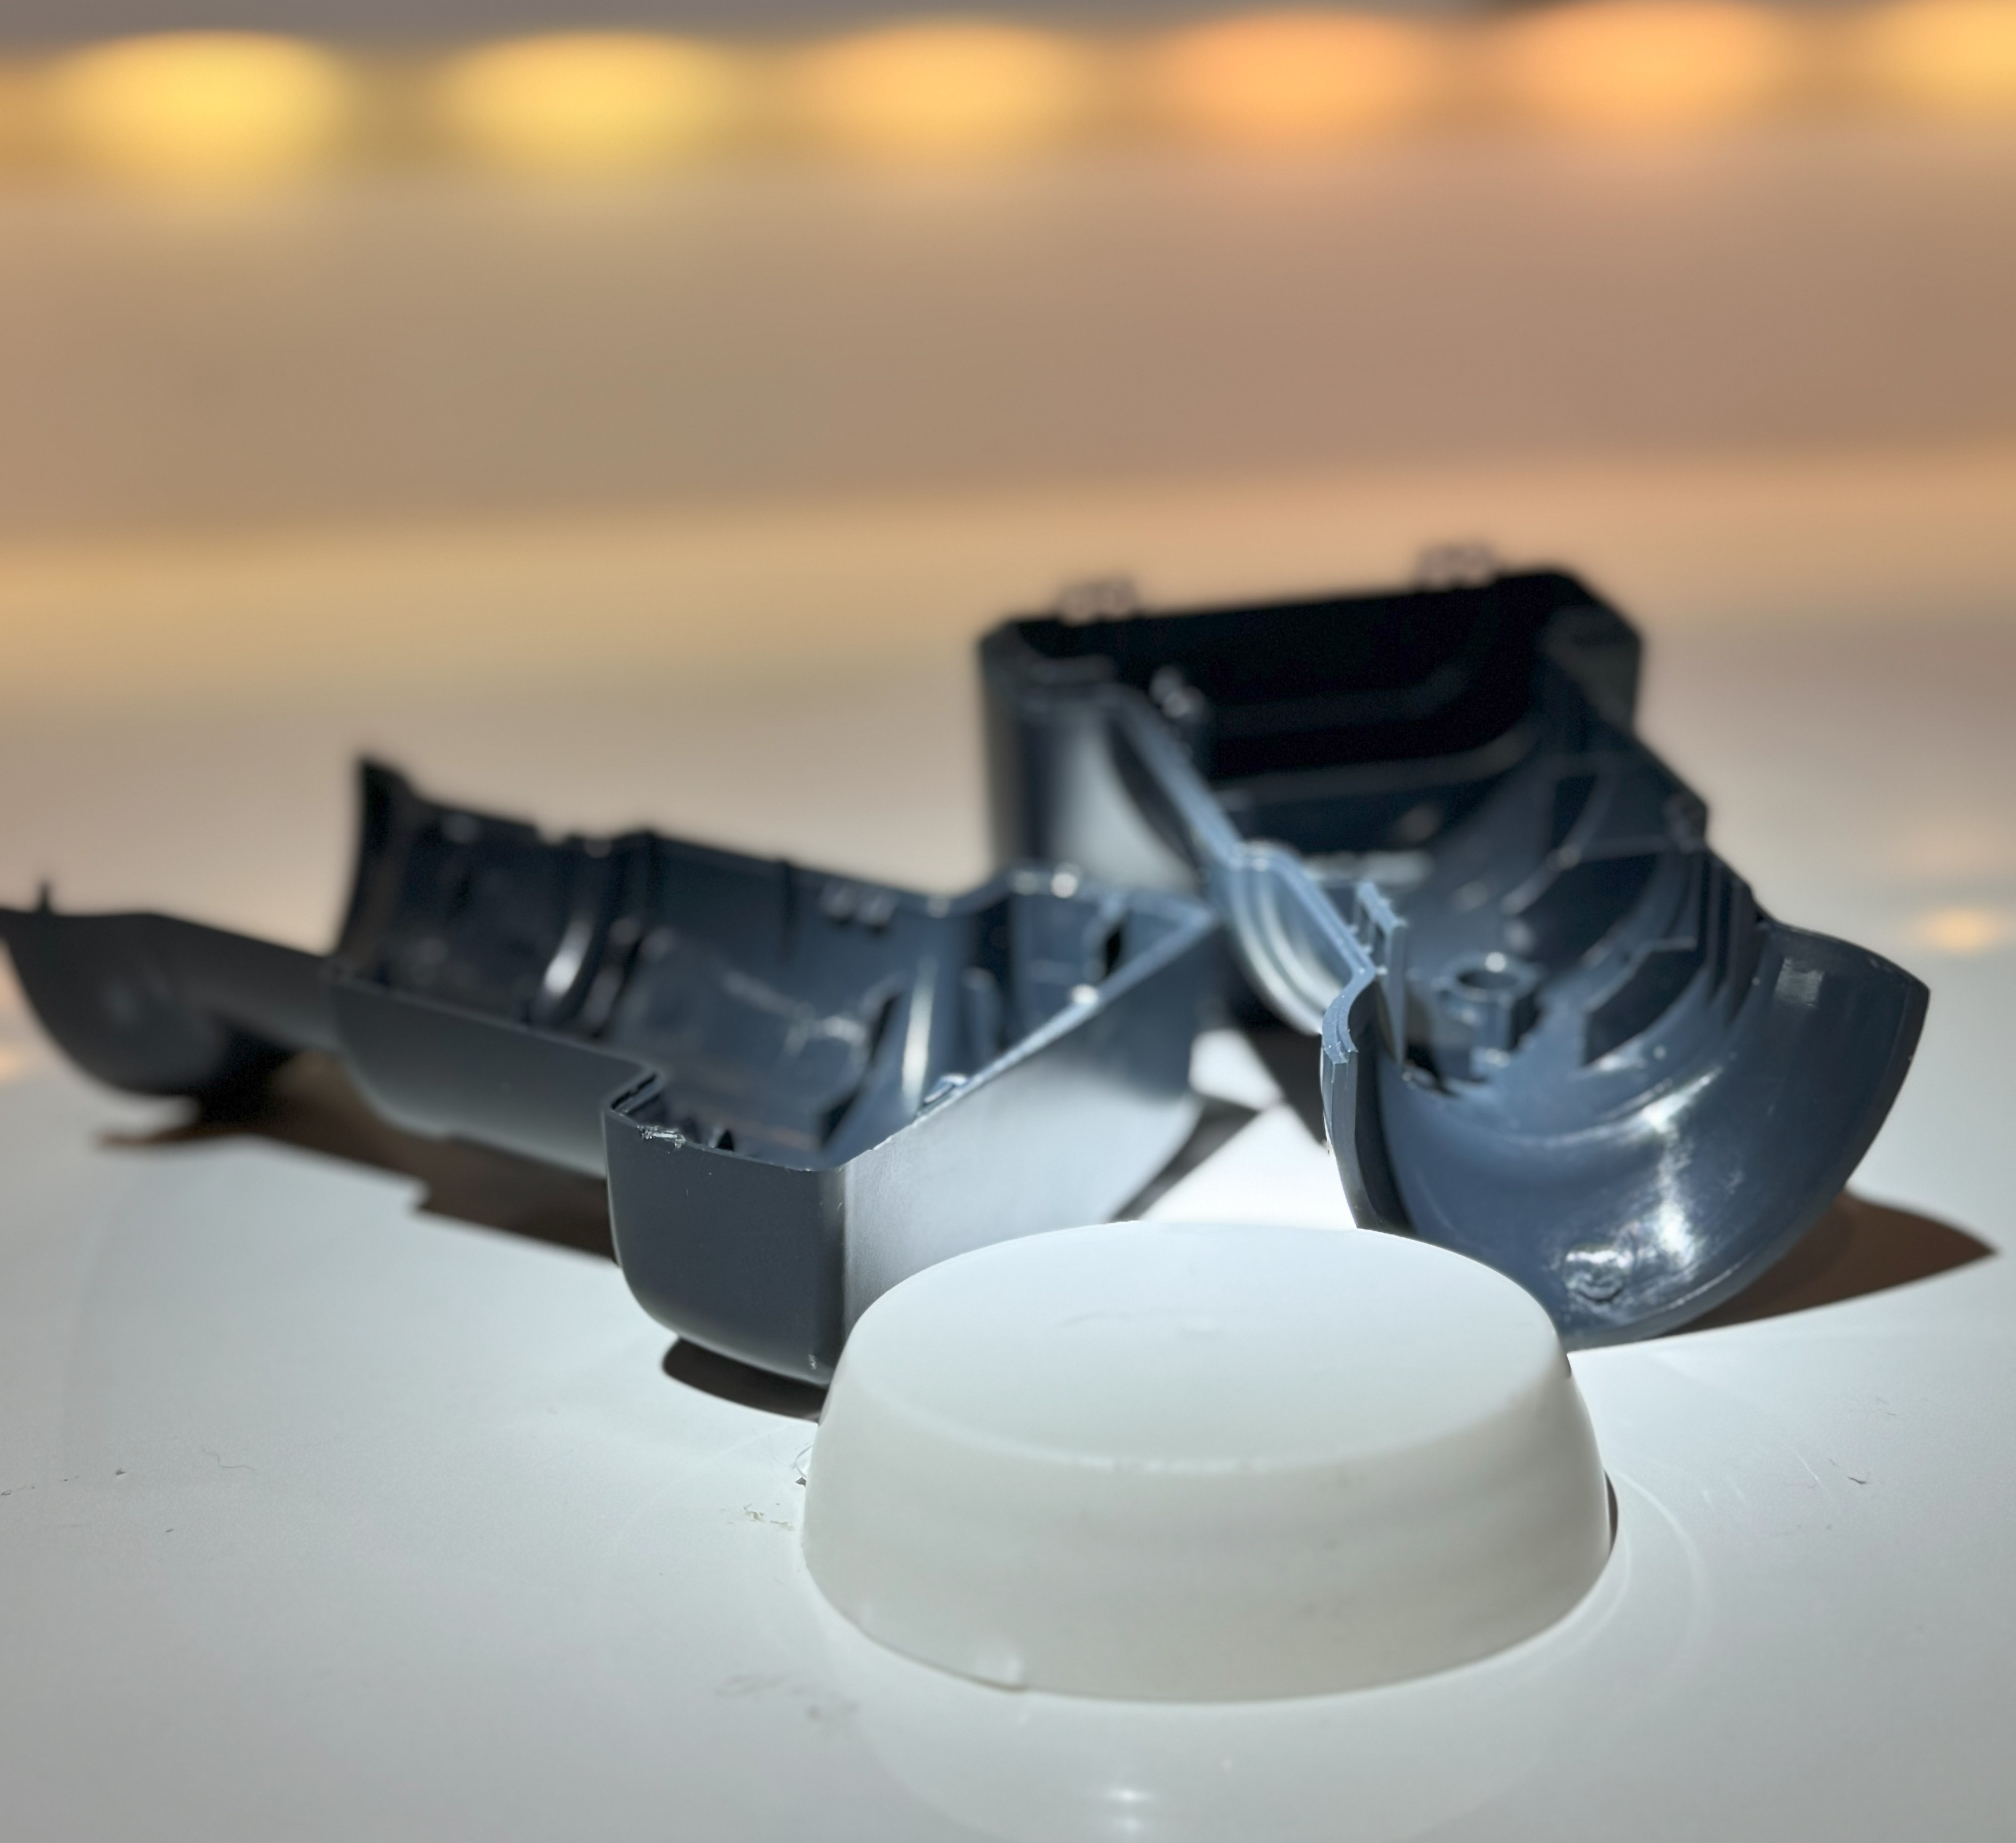
Crack it open.
Toss the Sky guts in the recycling bin.
Admire the surprisingly roomy plastic shell.
Boom — enclosure sorted.
Step 2: Power Over Coax (POC)
Here’s the party trick: reuse the existing coax cable already running into your house. No drilling, no dangling wires, no angry other half wondering why there’s coax taped to the window.
Shove 5V up the coax. Just remember, the longer the run, the droopier it gets — like trying to drink a pint through a 10-foot straw.
Fuse it or lose it.
If you’re shoving 5 V down a long coax (or any long cable run!) add a fuse at the PSU endYour XIAO + radio node will only sip about 0.25–0.5 A, even when it’s transmitting.
So a 1 A fuse is a sweet spot: plenty of headroom for normal operation, but it’ll pop long before the PSU can turn your coax into a heater.
Remember voltage drop is a thing
When the LoRa radio transmits, it doesn’t politely ask for power — it goes full toddler with a Ribena carton: straw in, cheeks puffed, the whole thing gone in half a second. Without capacitors buffering that sugar rush, your 5V rail just collapses in a sticky purple mess.
Math says ~200 µF will do.
Paranoid brain says: “Nah, chuck in 1000 µF just in case.”
So I did. Plus:
10 µF ceramic for medium wobbles.
100 nF ceramic for the angry fast spikes.
5V ----+----[1000µF electrolytic]---- GND
       |
       +----[10µF ceramic]----------- GND
       |
       +----[100nF ceramic]---------- GND
       |
      to XIAO 5V pin
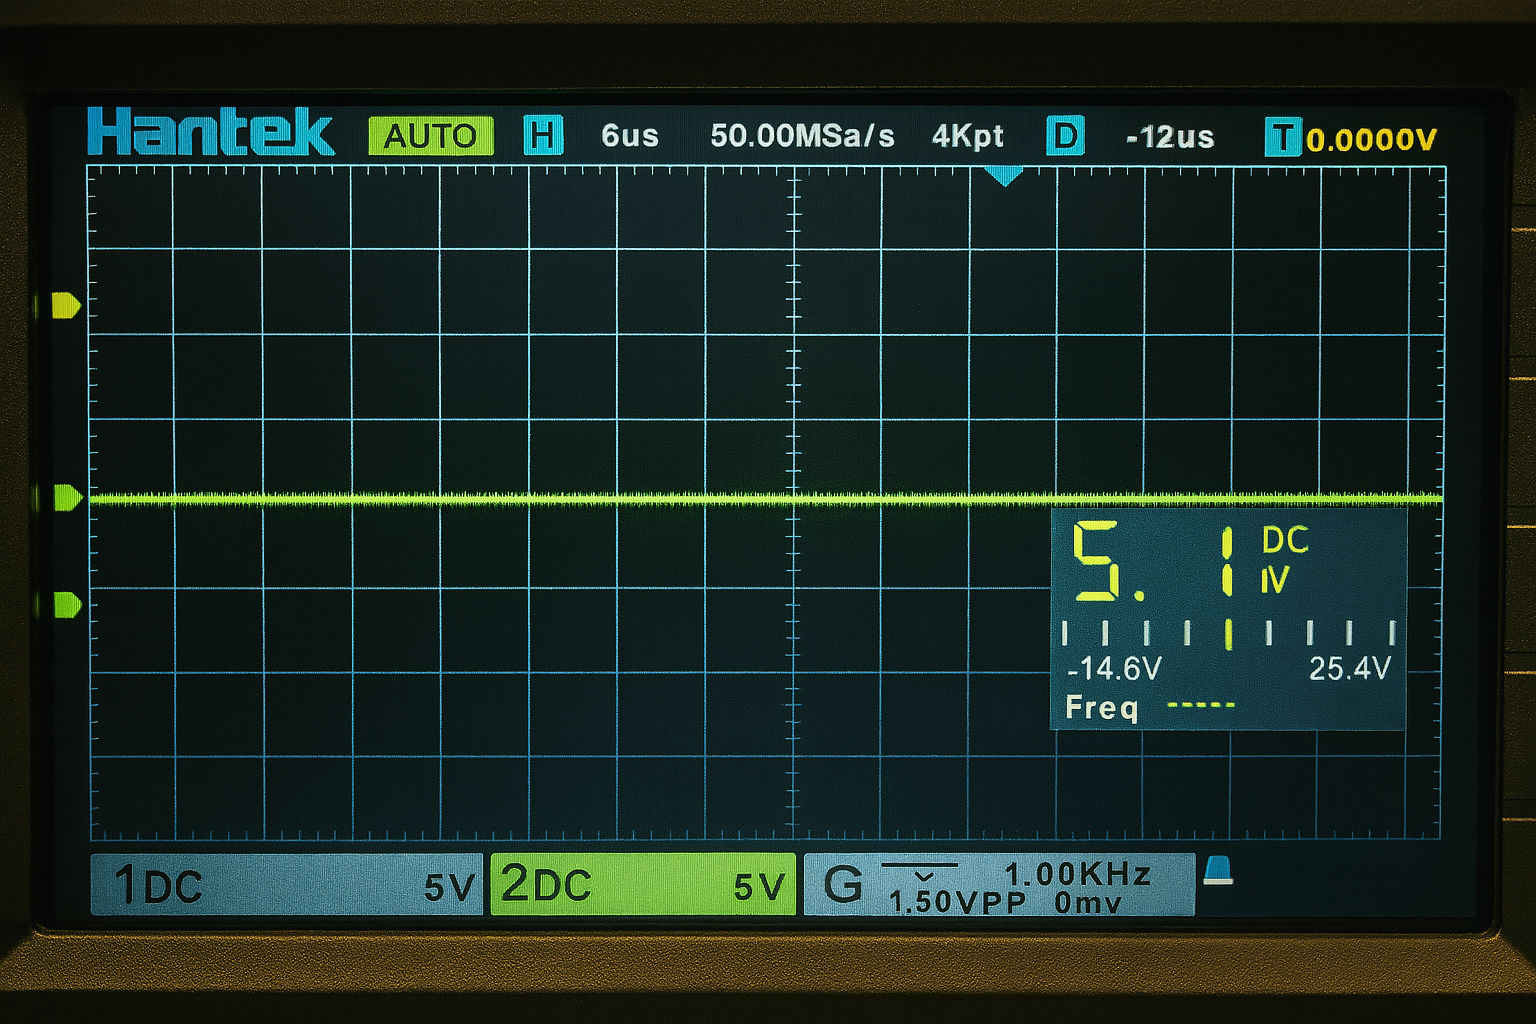
And because blog posts need receipts — here’s the scope trace.
Flat, steady 5.1 V. No brownouts, no wobbles. Proof that the caps are pulling their weight:
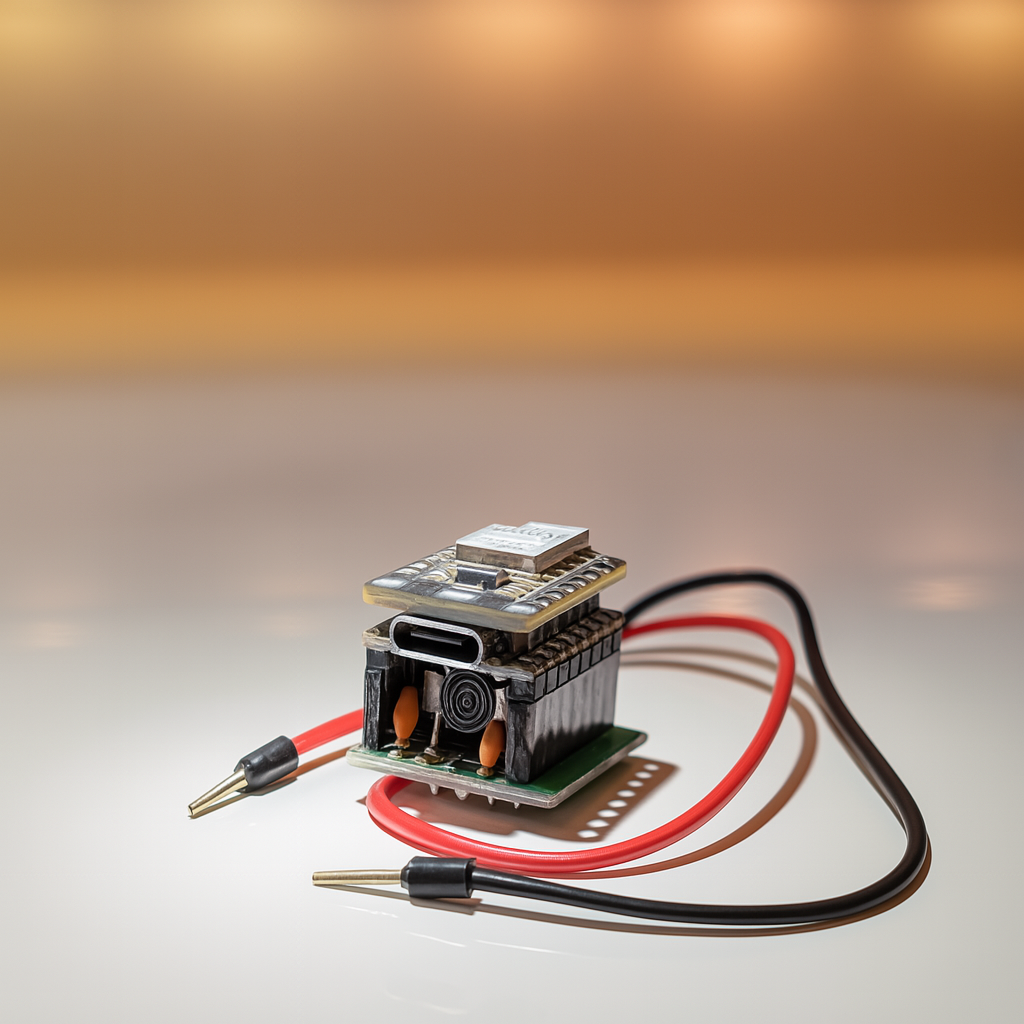
The stack: SX1262 (radio), XIAO ESP32S3 (brains) and a tiny PCB with bulk + ceramic caps (because the radio drinks current like a toddler with Ribena — though in reality it’s not that dramatic, and you’d probably get away without them!).
Step 3: Antenna
Stick the antenna right in the top of the LNB. Use an SMA + IPEX pigtail. I found one with a nice little rubber seal that squishes tight when screwed in. Bonus waterproofing, zero effort.
Step 4: Enclosure Magic
Could you just hot glue the board in and call it done? Sure. Would it feel deeply unsatisfying? Absolutely.
So I CAD’d up a neat little model that hugs the XIAO + PCB perfectly. Snug fit, proper protection, and more fun to show off in screenshots.
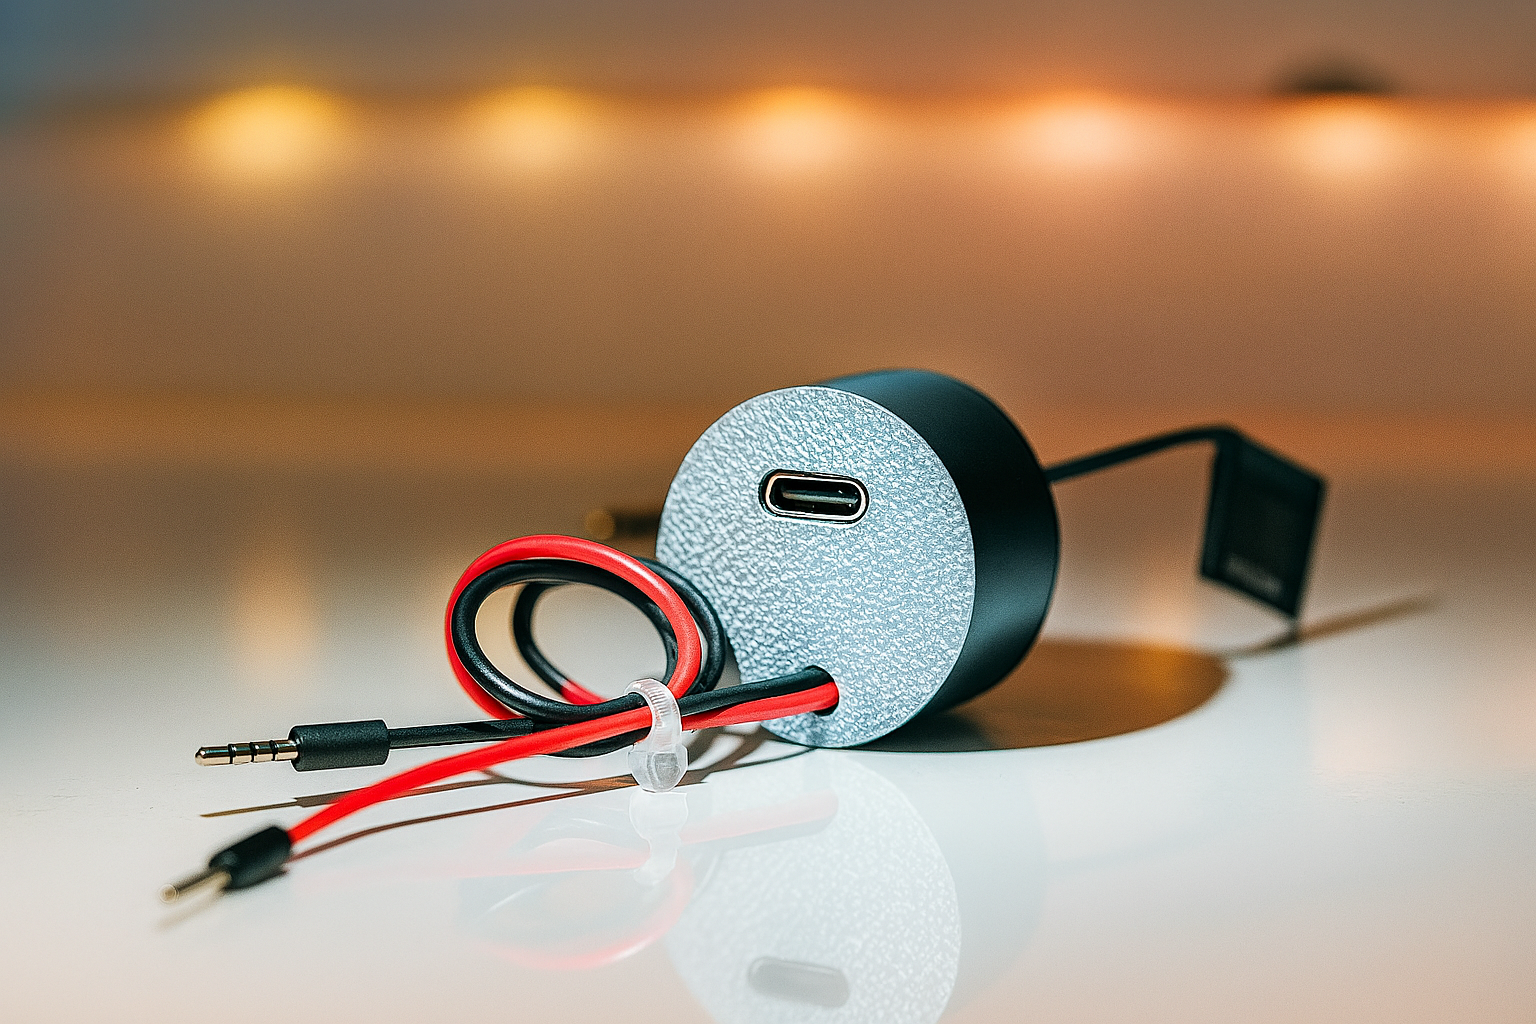
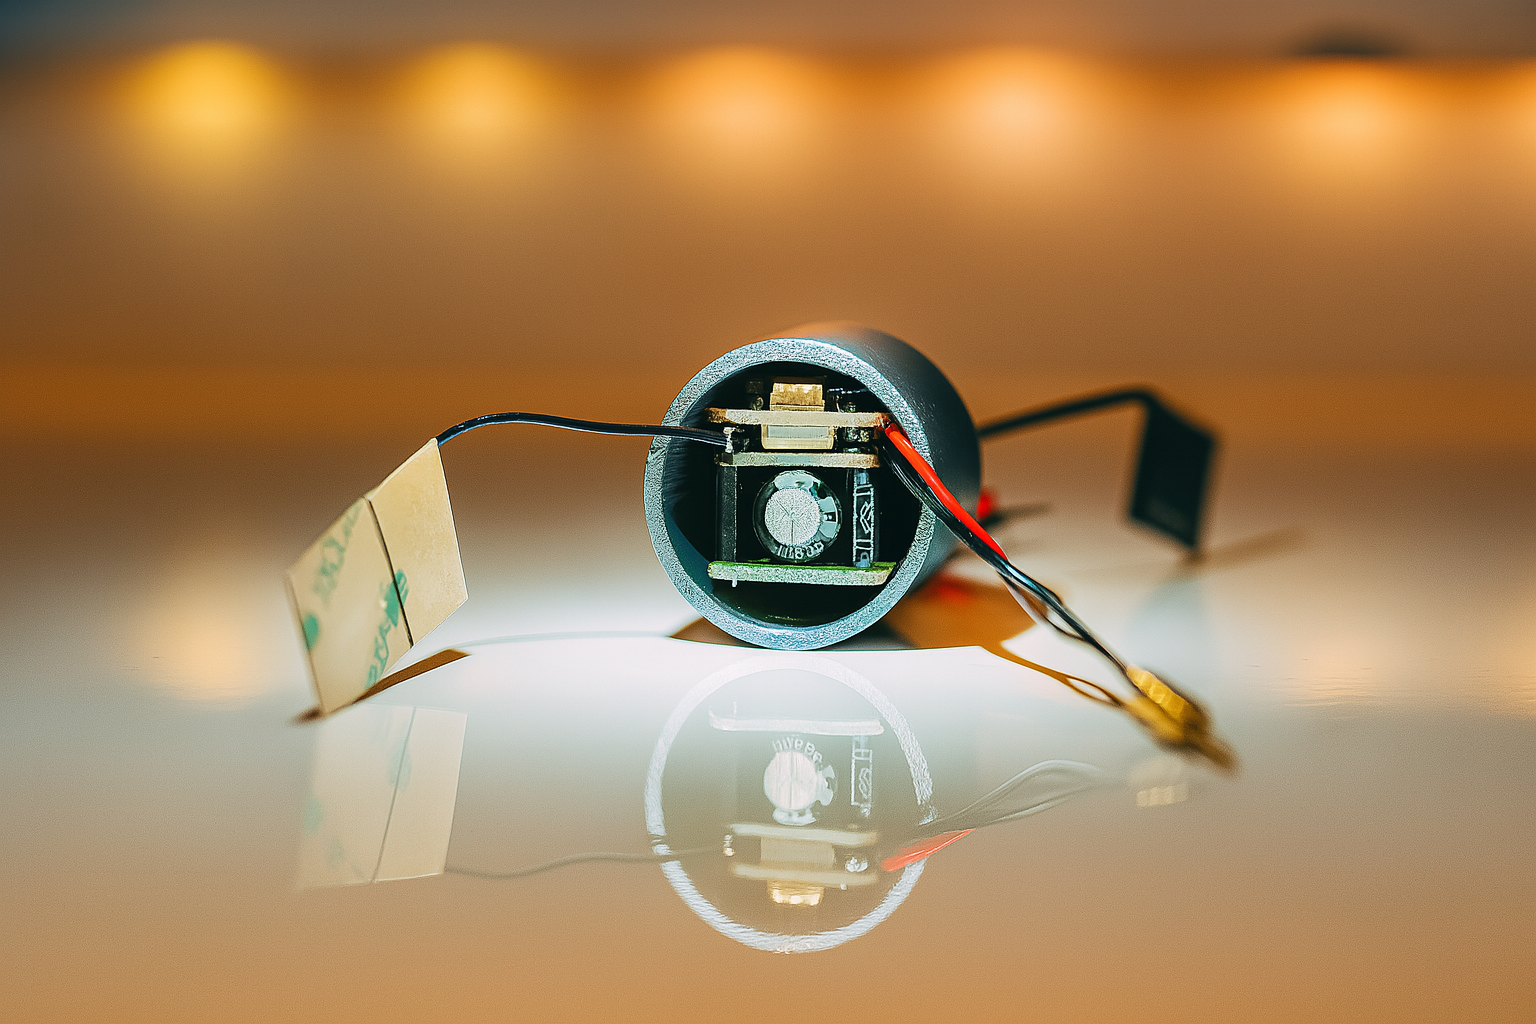
Step 5: Firmware install
Credit where it’s due — the MeshCore team made setup ridiculously easy.
Fire up the MeshCore - webflasher and you’ll be running before your coffee’s gone cold.
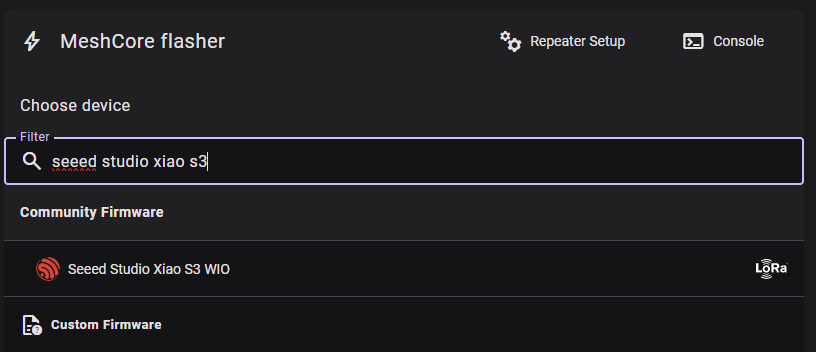 Select the board you have.
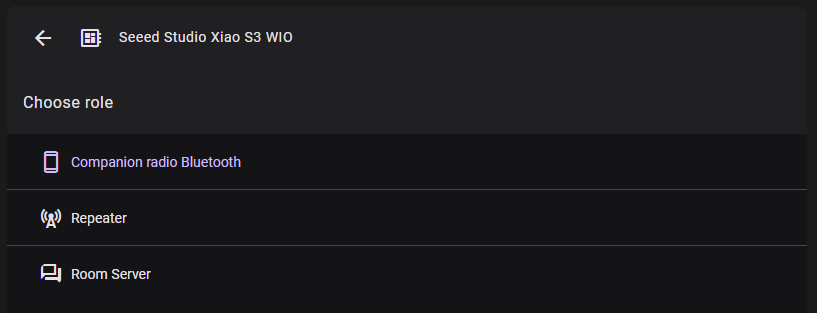 Select Repeater.
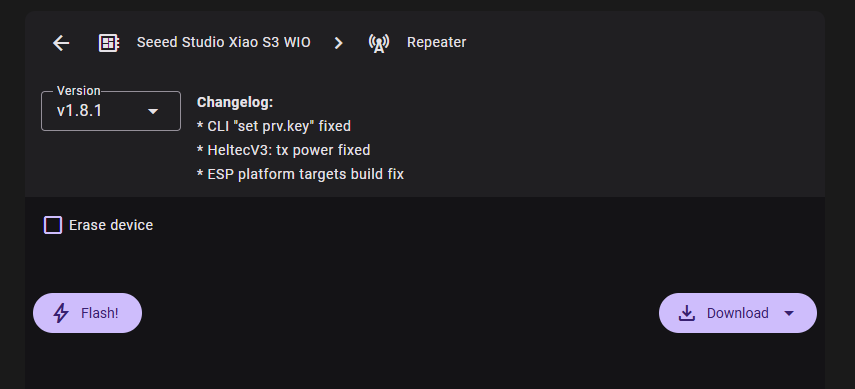 Then click Flash, Easy as 1-2-3!
The Setup
Firmware’s on — nice one. While it’s still on the bench, Lets use our keyboard and mouse and knock out the last tweaks. Way easier here than dangling off a ladder later.
Fire up the MeshCore Configurator and set up the basics:
Repeater Name (something cooler than LoRaNode42).
Location (so you remember which roof you left it on).
Passwords (make them strong-ish, not password123).
Radio Settings (the important bit — get this right or it’s just a very expensive wall decoration).
And don’t forget to click Save! Otherwise, you’ll be climbing back up!
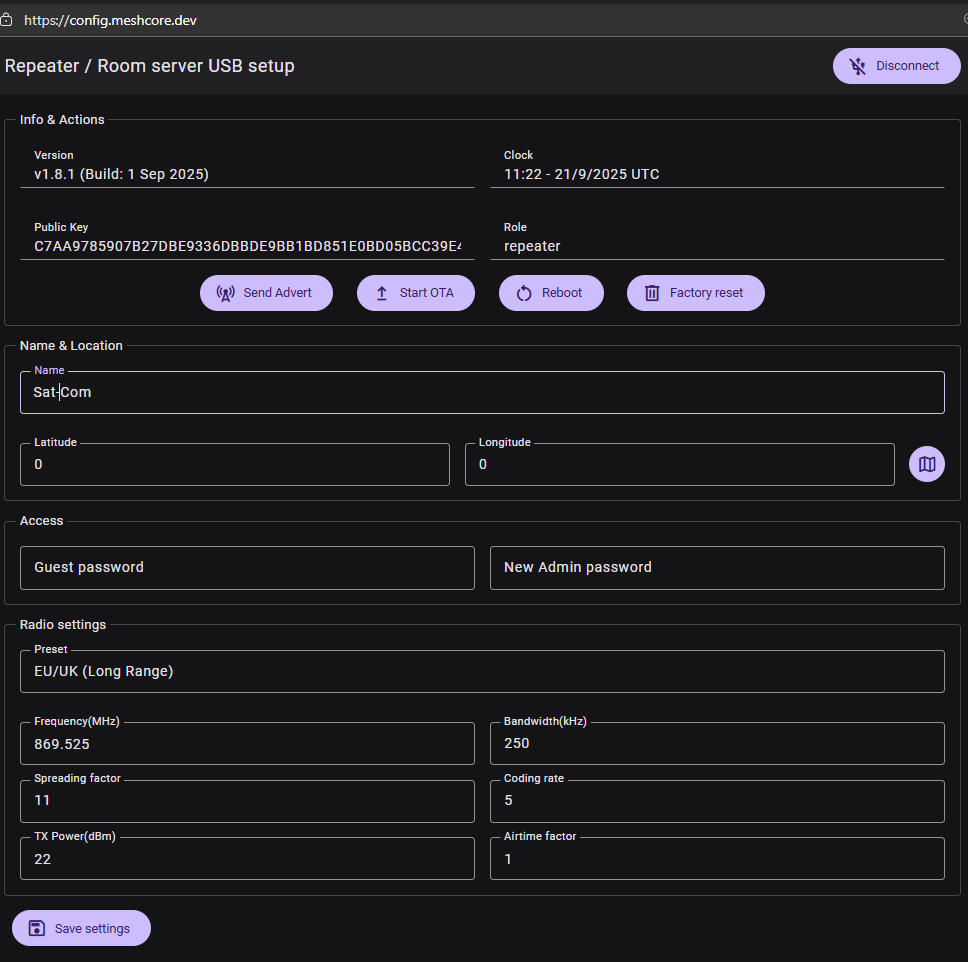 Give it a test run on the bench first. Debugging while clinging to a ladder adds unnecessary “excitement".
Final Touches
Seal the edges with silicone. It doesn’t need to survive a submarine voyage, just the usual British mix of sideways rain and spiders. The LNB case is already your first shield, the silicone’s just the raincoat over the jumper — together they’ll keep the electronics snug and dry.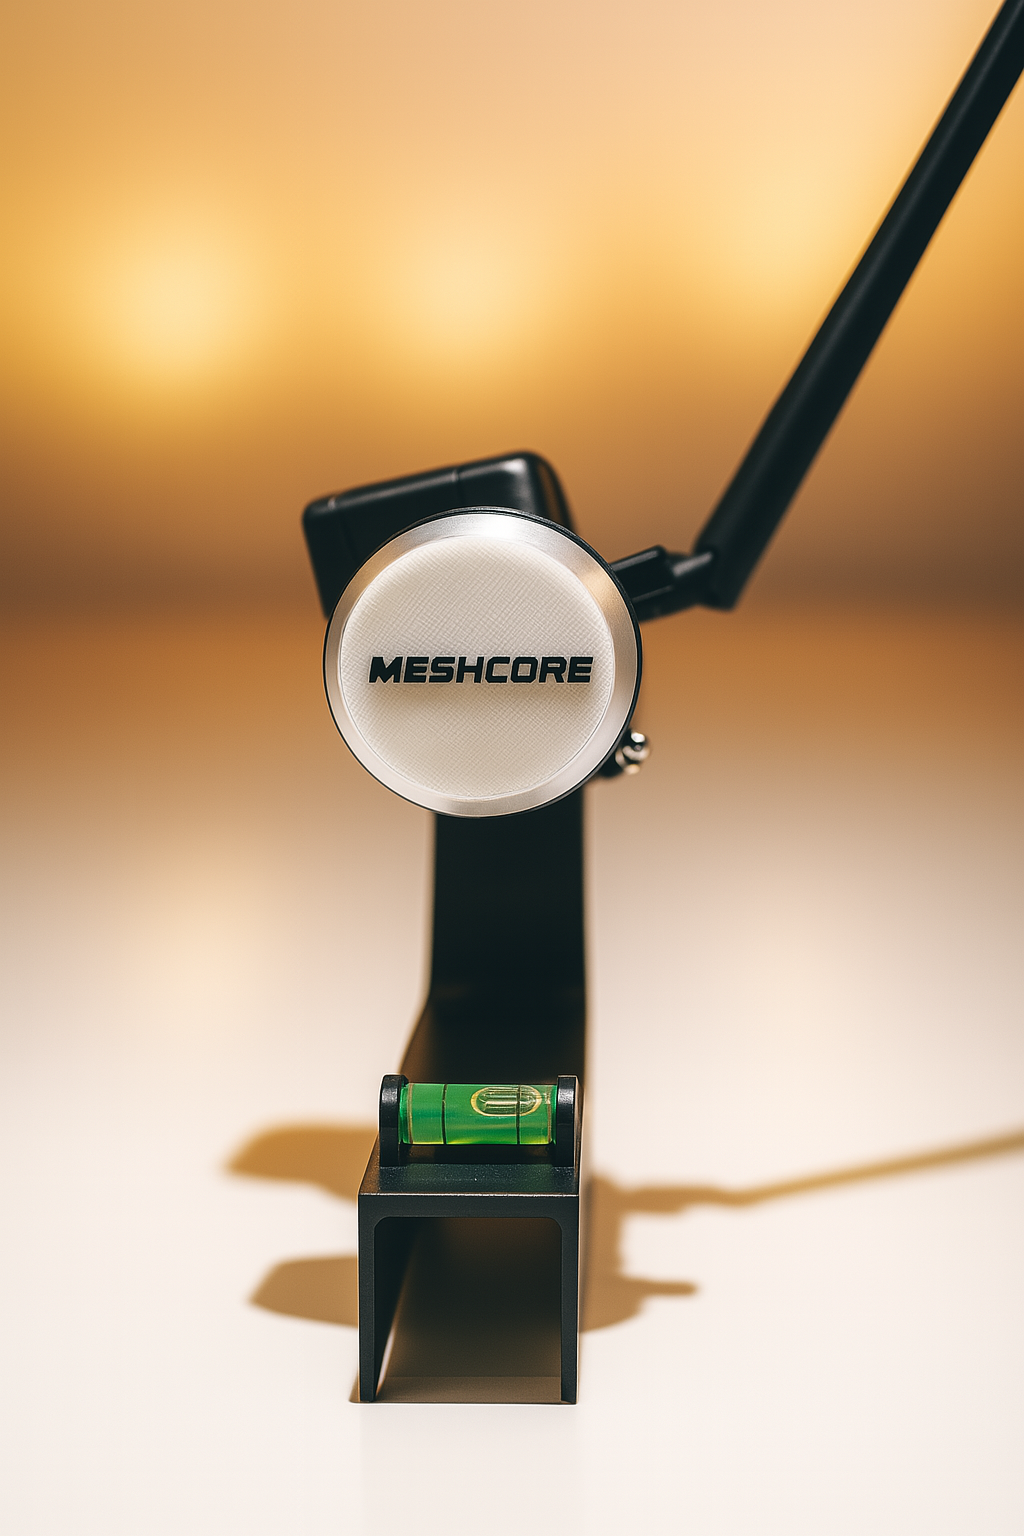 Yep, bench is tilted. Adds +5 character, -10 precision
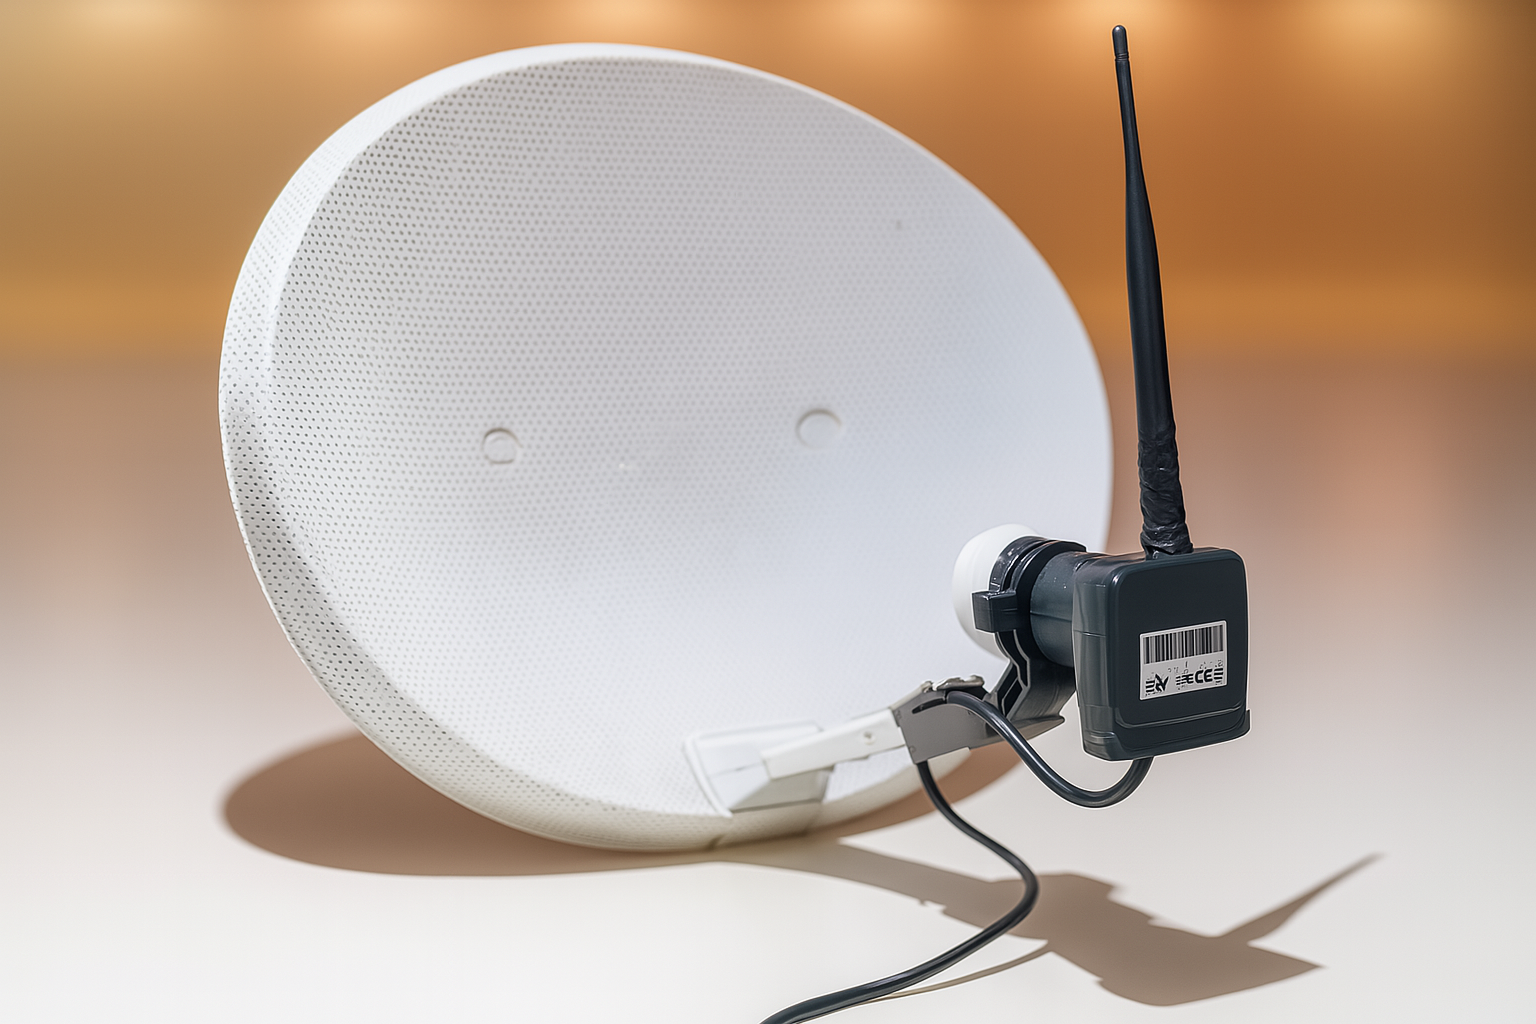 Use self-amalgamating tape on all joints and connections. Think of it as electrical duct tape that went to the gym and now refuses to let go.
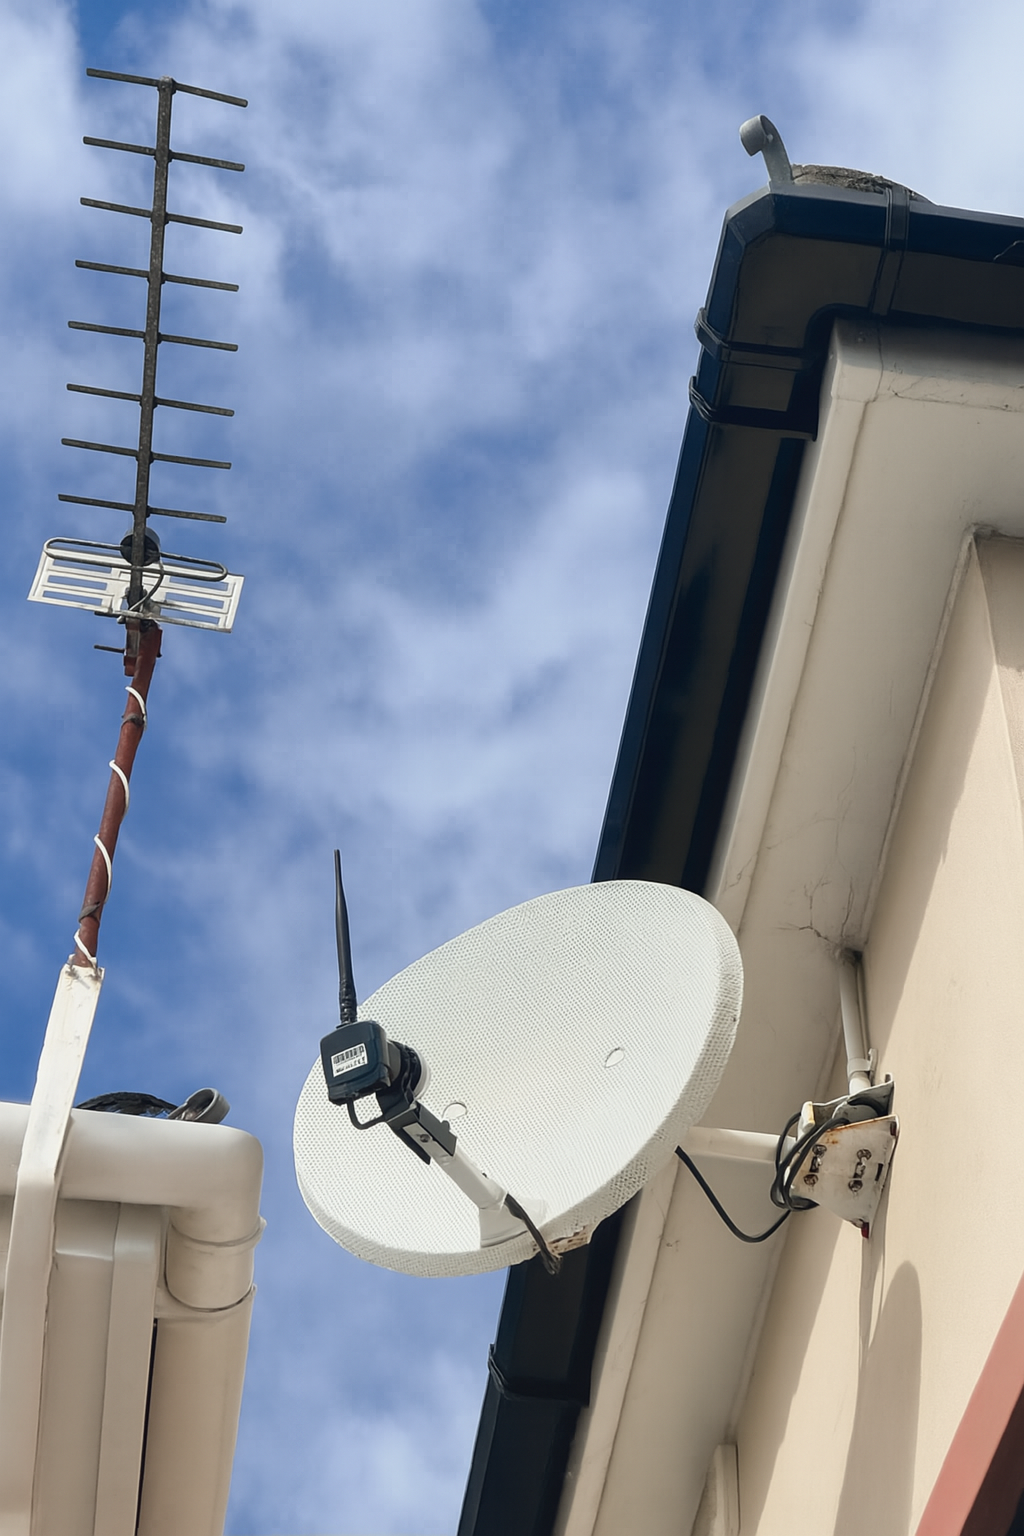 In hindsight, I probably should’ve cleaned the cobwebs while I had the ladder out — but that would’ve ruined the authentic abandoned-dish aesthetic.
Why This Trick Works
Dish arm = ready-made mount.
LNB = free waterproof(ish) box.
Whole dish = camouflage nobody questions.
Closing Thoughts
Mesh networks thrive on resilience and creativity. A Sky dish repeater nails both:
Resilient → bolted to your wall since forever.
Creative → Rupert Murdoch’s trash, your network treasure.
So don’t rip that dish down. Hack it. Hide it. Give it a new job. Basically retirement — but instead of gardening and sudoku, it’s flinging packets across town like a caffeinated carrier pigeon.
Your neighbourhood mesh will thank you — silently, in tidy little packets.