

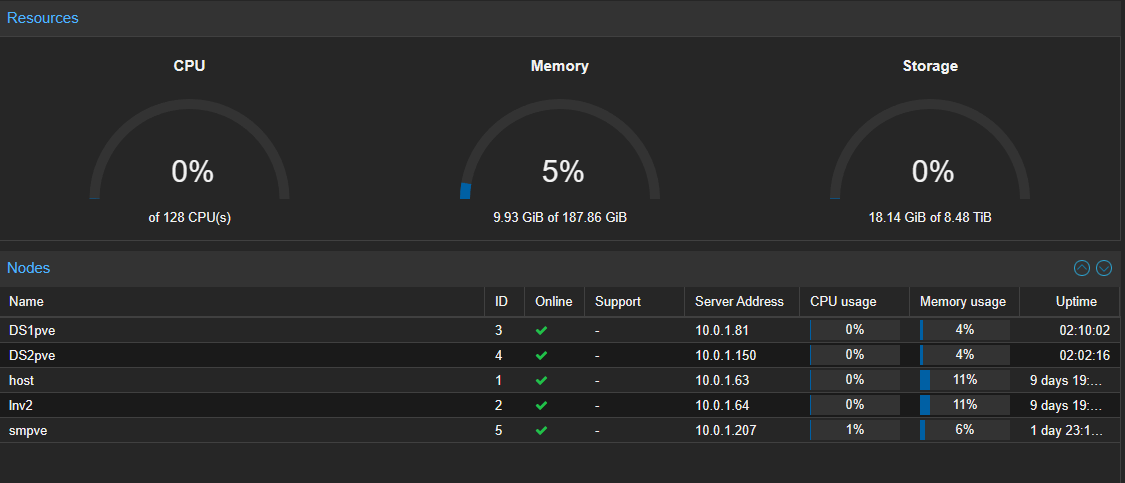
Setting Up ProxMox VE:
Installation & Free Edition Configuration
ProxMox Virtual Environment (VE) is a powerful open-source virtualization platform that combines KVM virtualization and LXC containers on a single platform. Whether you're building a homelab or deploying enterprise infrastructure, ProxMox offers enterprise-grade features without the enterprise price tag.
In this guide, we'll walk through the essential steps for installing ProxMox and configuring it for the free edition, including the crucial repository fixes that every non-subscription user needs to know.
Pre-Installation: Prepare Your Storage
Before diving into the ProxMox installation, proper storage preparation is critical for optimal performance and reliability.
Format Drives and Configure RAID
Important: Complete all drive formatting and RAID configuration before starting the ProxMox setup process.
Here's why this step matters:
Performance: Properly configured RAID arrays provide better performance and redundancy
Reliability: Hardware RAID controllers or software RAID (mdadm) should be configured at the system level
Flexibility: ProxMox works best when installed on a clean, optimized storage foundation
Recommended approach:
Boot from a live Linux USB (Ubuntu, Debian, or similar)
Use
fdisk,parted, orgpartedto partition drives as neededConfigure RAID arrays using your hardware controller or
mdadmVerify RAID health and performance before proceeding
Click Here For Our Server RAID Configuration/Setup & Server USB Boot Guide
ProxMox Installation
Once your storage is properly configured:
Download the latest ProxMox VE ISO from the official website
Create a bootable USB drive using tools like
dd, Rufus, or EtcherBoot from the USB and follow the installation wizard
Select your prepared storage configuration
Complete the network configuration and set admin credentials
The Free Edition Repository Fix
Here's where many new ProxMox users hit their first roadblock. By default, ProxMox is configured to use enterprise repositories that require a paid subscription. For home users and those evaluating ProxMox, you'll need to switch to the free repositories.
Why This Fix is Necessary
ProxMox comes pre-configured with enterprise repository sources that will generate errors during updates if you don't have a subscription. The solution is to disable these enterprise sources and enable the free, no-subscription alternatives.
The Commands
Run these commands as root on your ProxMox host:
# Disable enterprise ProxMox repository
sed -i 's/^deb/#deb/' /etc/apt/sources.list.d/pve-enterprise.list
# Disable enterprise Ceph repository
sed -i 's/^deb/#deb/' /etc/apt/sources.list.d/ceph.list
# Add free ProxMox repository
echo "deb http://download.proxmox.com/debian/pve bookworm pve-no-subscription" > /etc/apt/sources.list.d/pve-no-subscription.list
# Add free Ceph repository
echo "deb http://download.proxmox.com/debian/ceph-quincy bookworm no-subscription" > /etc/apt/sources.list.d/ceph-no-subscription.list
What These Commands Do
Command 1 & 2: Comment out the enterprise repository lines by adding # at the beginning. This prevents apt from trying to access subscription-only repositories.
Command 3: Adds the free ProxMox repository that provides the same packages without requiring a subscription.
Command 4: Adds the free Ceph repository for distributed storage functionality.
Verify the Configuration
After running these commands, update your package lists:
apt updateYou should no longer see subscription-related errors. If successful, you can proceed with system updates:
apt upgradePost-Configuration Steps
With repositories properly configured, consider these additional steps:
Configure backup storage for VM and container backups
Set up networking including VLANs if needed
Install additional packages like
htop,iotop, or monitoring toolsConfigure firewall rules for your specific use case
Set up SSL certificates for secure web interface access
Important Notes
Support Considerations: The no-subscription repositories are perfectly stable for production use, but official support requires a subscription
Update Frequency: Free repositories may receive updates slightly later than enterprise ones
Community Support: The ProxMox community forums are excellent for troubleshooting and advice
Conclusion
ProxMox VE offers incredible value for virtualization needs, and with proper installation and configuration, it provides enterprise-grade capabilities at no cost. The repository fix outlined here is essential for any free edition user and should be one of your first post-installation tasks.
Remember: proper storage preparation before installation and correct repository configuration afterward are the foundations of a reliable ProxMox environment. Take time with both steps, and you'll have a robust virtualization platform ready for years of service.
Have questions about ProxMox configuration or run into issues with these steps? The ProxMox community forums and documentation are excellent resources for additional troubleshooting and advanced configuration topics.
Created & Maintained by Pacific Northwest Computers

Pacific NW Computers