

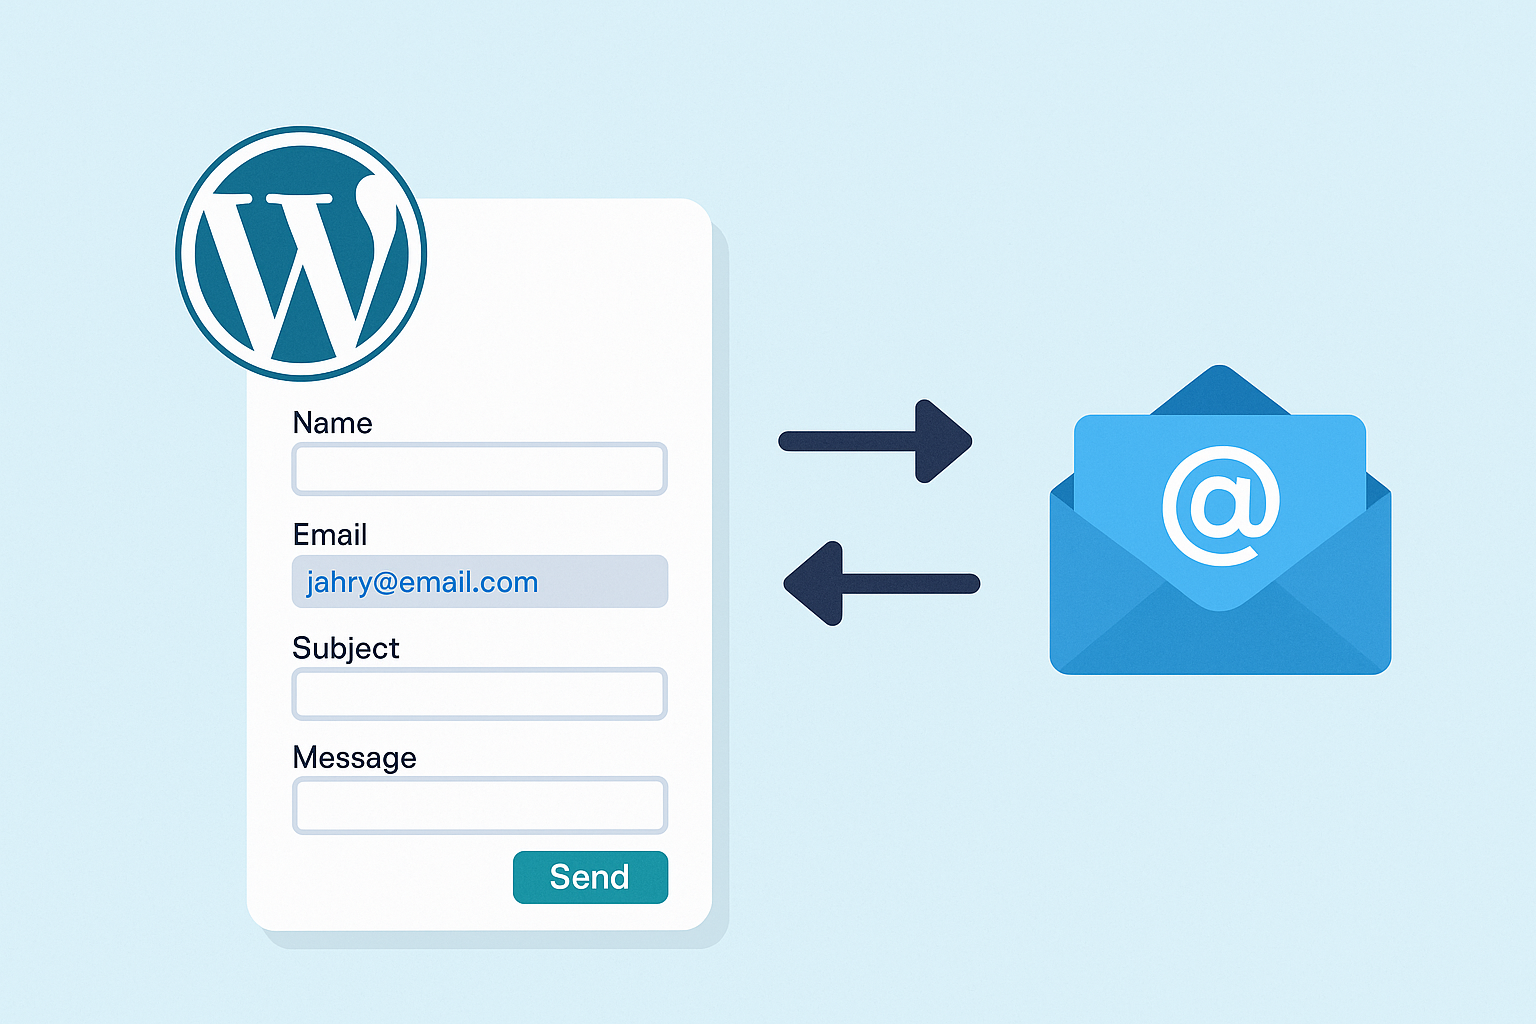
Contact Form 7 is one of the most popular and free WordPress plugins that lets you easily add contact forms to your site without writing any code!
In this article, you’ll learn:
How to install and set up Contact Form 7
How to create custom form fields using tags
What form tags are and how they work
How to assign the form to a page
How data is collected and used in email messages
🔧 Step 1: Install Contact Form 7 Plugin
Go to your WordPress Dashboard
Navigate to Plugins > Add New
Search for Contact Form 7
Click Install Now, then Activate
You’ll now see a new “Contact” menu in your dashboard.
📝 Step 2: Create Your First Contact Form
Go to Contact > Contact Forms
Click Add New
Give your form a name, like “Contact Us”
You’ll see a default form already created for you
Here’s an example of what the default form looks like:
[text* your-name]
[email* your-email]
[text your-subject]
[textarea your-message]
[submit "Send"]
🔖 Step 3: Understanding Contact Form 7 Tags
Contact Form 7 uses tags (shortcodes in square brackets) to create fields. Each tag defines what type of data to collect. Here's a breakdown:
Tag Purpose
text your-name]Single-line text input[email your-email]Email input field (validates email format)[textarea your-message]Multi-line text area[tel your-phone]Phone number input[checkbox your-choice]Checkbox field[radio your-option]Radio button selection[file your-file]File upload field[submit "Send"]Submit button
💡 What Do Tags Exactly Do?
These tags generate input fields in the form. They collect user data, like name, email, message, etc.
But they don’t store it in the database by default. Instead, they send the collected data to your email, using the email template.
💌 Step 4: Setting Up the Email Template
Under the "Mail" tab of your form, you'll find fields like:
From: [your-name] <[your-email]>
Subject: [your-subject]
Message Body:
Name: [your-name]
Email: [your-email]
Subject: [your-subject]
Message: [your-message]
Here, you're inserting the same tags used in the form. These tags are replaced with actual user input when someone submits the form.
✅ That’s the connection!
Form Tags = Input Fields
Mail Tags = Placeholder for Collected Data
📄 Step 5: Assign the Form to a Specific Page
Once your form is ready:
Copy the form’s shortcode (e.g.,
[contact-form-7 id="123" title="Contact Us"])Go to Pages > All Pages
Edit the page where you want the form (like "Contact")
Paste the shortcode into the editor (Classic or Block Editor)
Click Update or Publish
And boom — your form is now live!
🧠 Quick Recap
Form tags define what data you want from the user
When the form is submitted, these values are sent via email using mail tags
You place the form on any page using the shortcode
Contact Form 7 doesn’t save form entries in the database by default (but you can use addons for that, like Flamingo)
🎯 Final Thoughts
Contact Form 7 is lightweight, flexible, and perfect for creating simple to advanced forms. Once you understand how tags connect form inputs to email outputs, you can build custom forms for contact, quote requests, surveys, and more.