

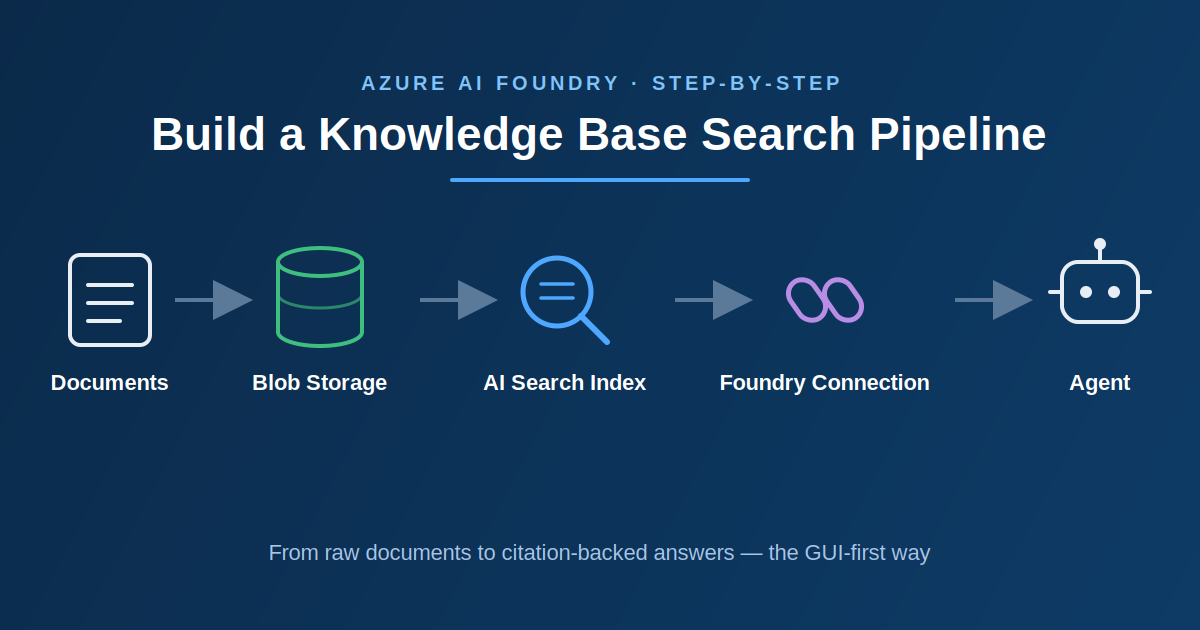
In this article we will learn about Building an AI Knowledge Base Search with Azure AI Foundry: Step-by-Step Guide. Think about the last time you needed some information from your team’s documentation. Maybe it was an API endpoint, a deployment step, or a troubleshooting guide. Chances are you had to search through multiple documents before finding the answer.
Azure AI Foundry makes this much easier. By combining it with Azure AI Search, you can create a knowledge base from your existing documents and ask questions in plain English. Instead of reading through pages of documentation, you get relevant answers along with references to the original documents.
In this article, we’ll build a simple knowledge base using Azure AI Foundry and Azure AI Search. We’ll go through the complete setup using the Azure Portal and Azure AI Foundry portal, so you don’t need to use the Azure CLI or write any code. By the end, you’ll have a working knowledge base that you can test directly in the playground.
Step 1 – Create an Azure AI Search service
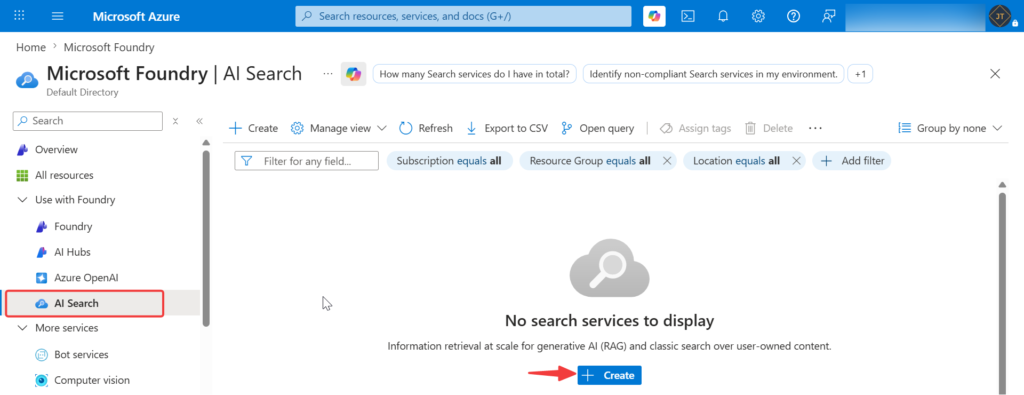
Follow these steps to create your Azure AI Search service:
Sign in to the Azure Portal, Click Create a resource and search for Azure AI Search.
Select Azure AI Search from the results, then click Create.
Choose your Subscription and Resource Group. If you don’t already have a resource group, create a new one.
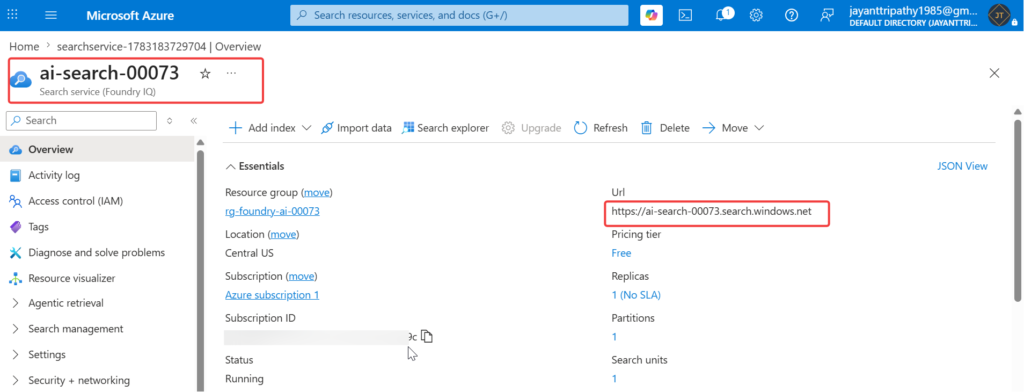
Enter a unique name for your search service. This name will be used in your search service endpoint.
Select the Azure region where you want to deploy the service. It’s a good practice to use the same region as your other Azure resources whenever possible.
Under Pricing tier, choose Basic or a higher tier. The Basic tier is the minimum required if you plan to use Managed Identity and role-based access later in this guide.
Click Review + Create, verify the settings, and then click Create to deploy the service.
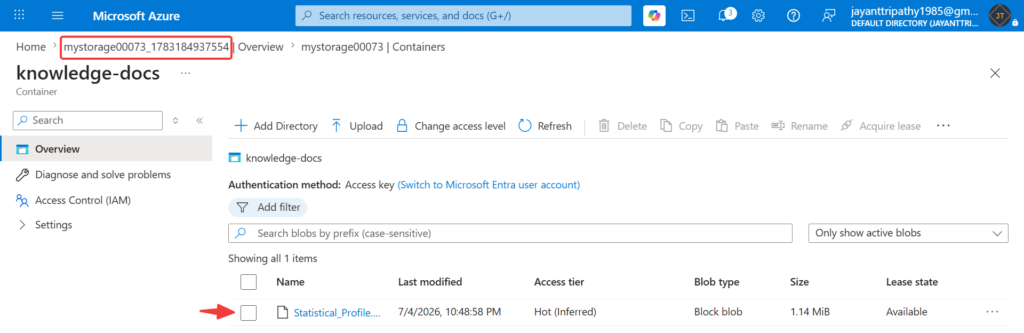
Step 2 – Upload your source documents
Before creating the search index, upload the documents you want Azure AI Search to index.
In the Azure Portal, create a new Storage Account, or use an existing one.
After the storage account is deployed, open it and select Containers from the left-hand menu.
Click + Container and create a new container (for example, knowledge-docs).
Open the container and click Upload.
Select the documents you want to include in your knowledge base, such as PDF, Word, or text files, and then upload them.
Step 3 – Build the index with the Import and vectorize data
Now it’s time to create a search index from the documents you uploaded to Azure Blob Storage. Azure AI Search automatically processes your files, generates vector embeddings, and builds a searchable index that can be used by Azure AI Foundry.
On the Overview page, click Import under Connect your data.
Open your Azure AI Search service in the Azure Portal.
On the Overview page, under Connect your data, click Import.
Select Azure Blob Storage as the data source.
Choose the storage account and container where you uploaded your documents.
In the Vectorize your text step, select an embedding model. If you already have an Azure OpenAI embedding model (such as text-embedding-3-small), select it. Otherwise, you can deploy a new embedding model during the setup.
Leave the default chunking settings unless you have specific requirements. Azure AI Search will automatically split your documents into smaller chunks for better search results.
If available, enable Semantic Ranking to improve the relevance of natural language queries.
Enter a name for the search index, review the configuration, and click Create.
Wait for the indexing process to complete. You can monitor its progress from the Search Management section.
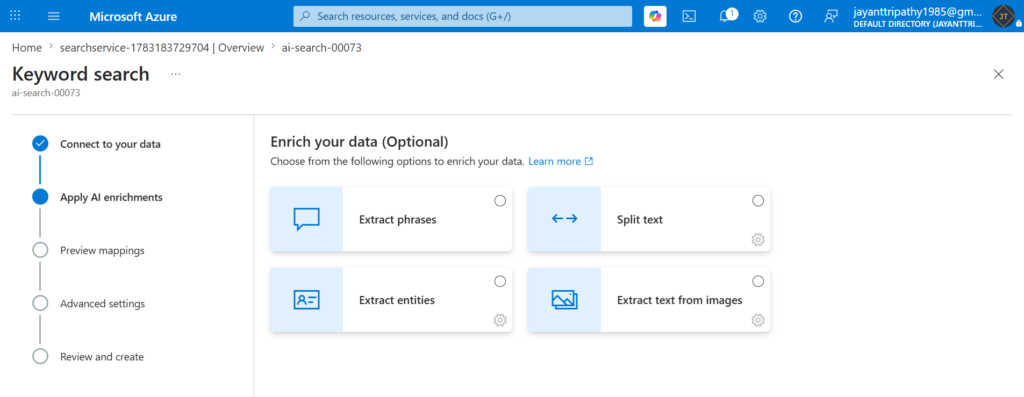
On the Apply AI enrichments page, select Split text. This divides large documents into smaller chunks, helping Azure AI Search return more accurate and relevant answers. Leave the other options unchecked unless your documents require additional processing, such as extracting text from images.
Step 4 – Create or open your Microsoft Foundry project
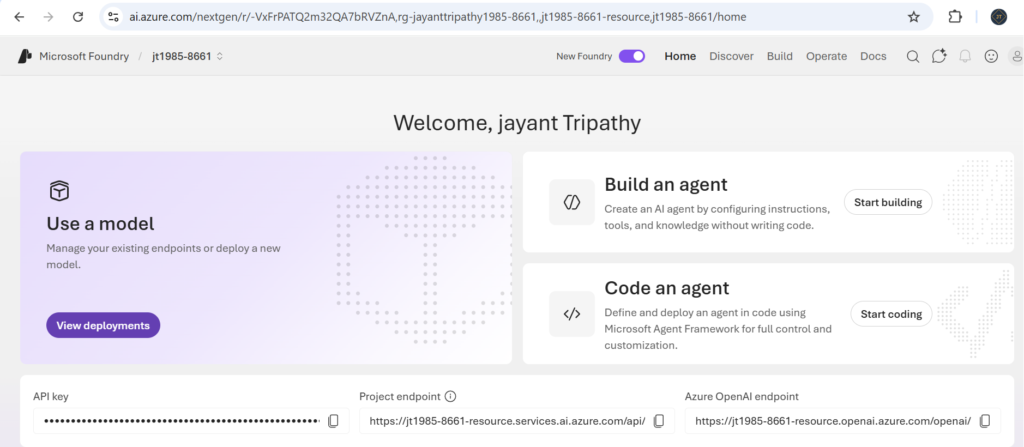
Now that your search index is ready, it’s time to create an Azure AI Foundry project. This project is where you’ll build and test AI applications and connect them to your search index. Once everything is set up, you’ll be able to ask questions about your documents and receive AI-generated answers.
Open Azure AI Foundry by visiting https://ai.azure.com and sign in with your Azure account.
Click Create Project and Enter a name for your project.
If prompted, select the Subscription, Resource Group, and Region. To avoid connectivity issues, it’s recommended to use the same region where you created your Azure AI Search service.
Click Create and wait a few minutes while Azure provisions the project.
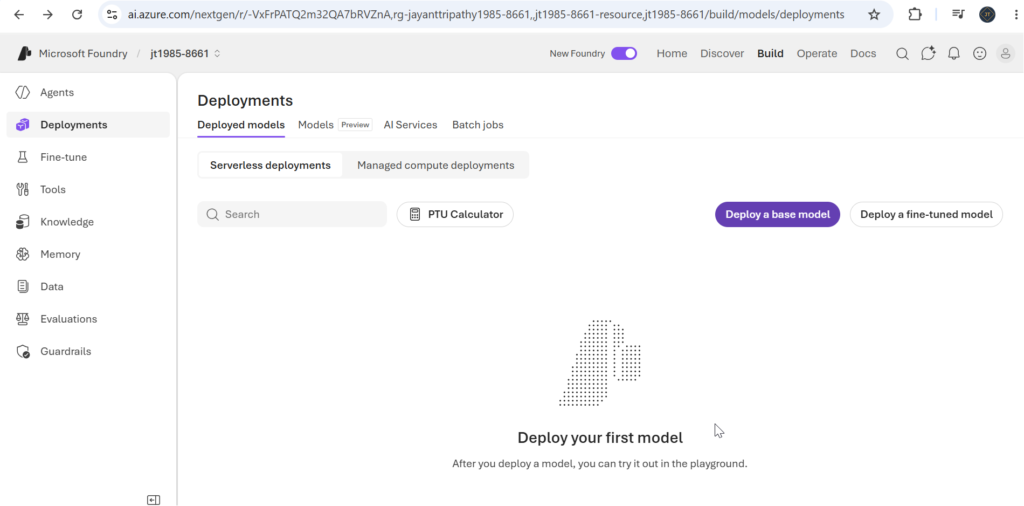
After the project is created, open the Models section and make sure a chat model, such as GPT-4.1 Mini, is available. If you don’t have a model deployed yet, deploy one before moving to the next step.
Your Azure AI Foundry project is now ready. In the next section, you’ll connect it to your Azure AI Search index and start querying your documents using natural language.
Step 5 – Connect Azure AI Search to your Foundry project
Now that your Azure AI Search index and Azure AI Foundry project are ready, it’s time to connect them. This allows the AI model to search your indexed documents and generate answers based on your knowledge base instead of relying only on its built-in knowledge.
Open your Azure AI Foundry project.
From the top menu, select Build and open your deployed chat model. If you haven’t deployed a model yet, deploy one such as GPT-5 or GPT-4.1 Mini before continuing.
In the Playground, scroll down to the Knowledge section.
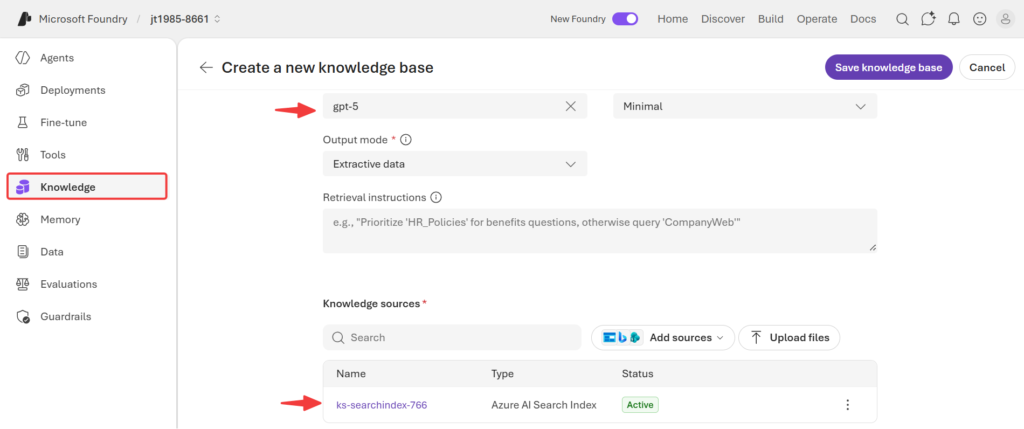
Click Add and select Azure AI Search as the knowledge source.
Choose your Azure Subscription, Azure AI Search service, and the search index you created earlier.
Save the configuration to connect the search index to your model.
Once the connection is complete, your model is ready to answer questions using your indexed documents.
Test the setup by asking questions related to the documents you uploaded. If everything is configured correctly, the responses will be generated from your knowledge base and include references to the source content when available.
Step 6 – Create an agent grounded in your index
Now that your knowledge base is ready, the final step is to create an AI agent that can answer questions using your indexed documents.
Open your Azure AI Foundry project.
From the left navigation menu, select Agents.
Click New Agent.
Enter a name for your agent and select the chat model you want to use, such as GPT-5.
In the Instructions section, provide clear guidance on how the agent should respond. For example:
“You are an AI assistant that answers questions only from the connected knowledge base. Always search the knowledge base before answering. If the required information is not available, respond with “The requested information was not found in the knowledge base.” Do not answer questions using your own knowledge.”
Under Knowledge, click Add Knowledge and select the knowledge base you created in the previous step.
Review the agent settings and click Create.
Once the agent is created, open the Playground and ask questions related to your uploaded documents to verify that the responses are generated from your knowledge base.
Step 7 – Test it in the playground
Open the Agent Playground and start asking questions about the documents you uploaded. The agent will retrieve the relevant information from your knowledge base and include citations to the source documents, making it easy to verify where the answer came from.
You can also test the agent by asking a question that isn’t covered in your documents. Since the agent is configured to answer only from the knowledge base, it should respond with:
“The requested information was not found in the knowledge base.”