

Objectives
This project aims to develop a prototype that automatically dispenses drinking water for small pets such as cats and dogs. This is intended to provide pets with constant fresh, clean water. It offers a convenient and practical solution for pet owners, particularly those who are frequently away from home or have busy schedules.
How it Works
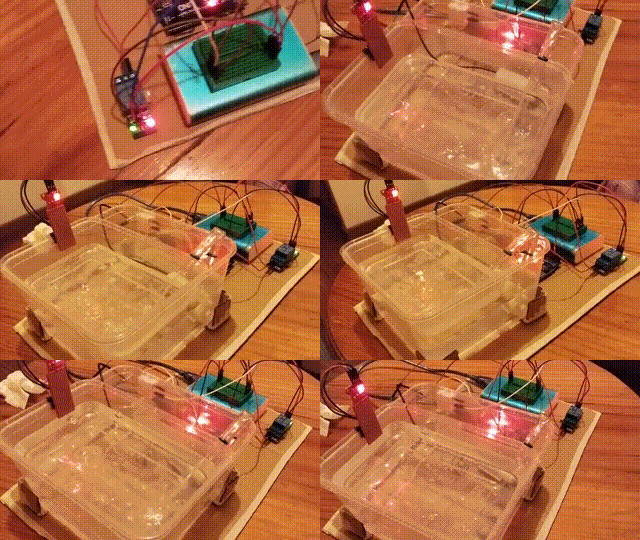
The device will have two containers: one for storing drinking water and the other for the pet to drink from. A submersible water pump will transfer water from one container to another. A water sensor will detect if enough water has been transferred and signal the pump to stop. If the water level in the pet drinks container dips, the pump will be signaled to turn on and refill the container.
How it will look like ...
Prerequisites
Setup
Cardboard
Water Sensor
Silicon Tube (5 millimeter diameter, Food Grade)
5v Submersible Water Pump
5v Relay Module
Arduino Uno Board
Breadboard
Jumper Wires
Power Bank
Metal Clip
Water Containers
Building the Base
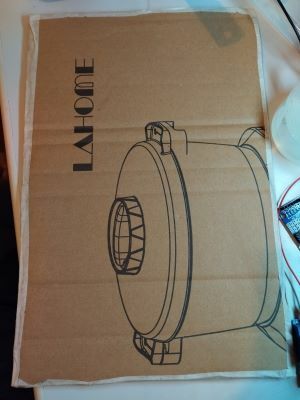
We will require cardboard that is sufficiently wide to accommodate all the components of the project. A rectangular cut-out piece of cardboard with a length of 30 centimeters and a width of 20 centimeters would suffice.
Creating a Placeholder for the Water Source
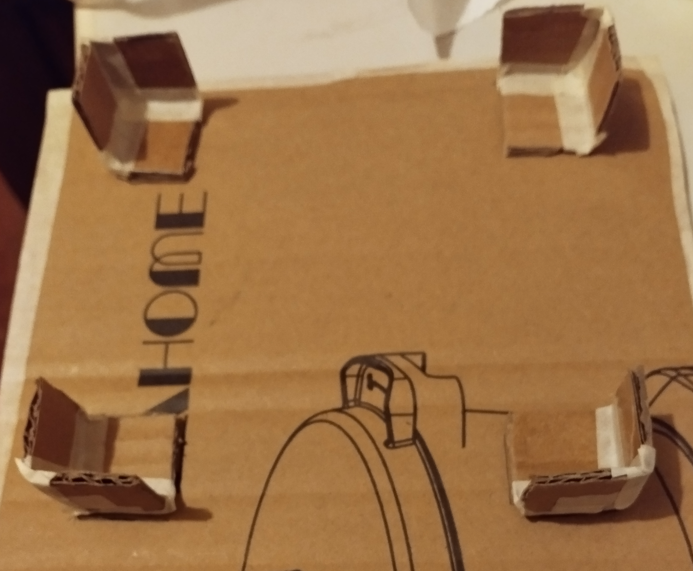
We require a placeholder to hold and secure the container containing the water source. We will not glue the container directly to the base as we need it to be detachable for cleaning purposes and other reasons.
Construct four half-open cubes and attach them to the base using tape or glue. Each of these cubes will support the corners of the container.
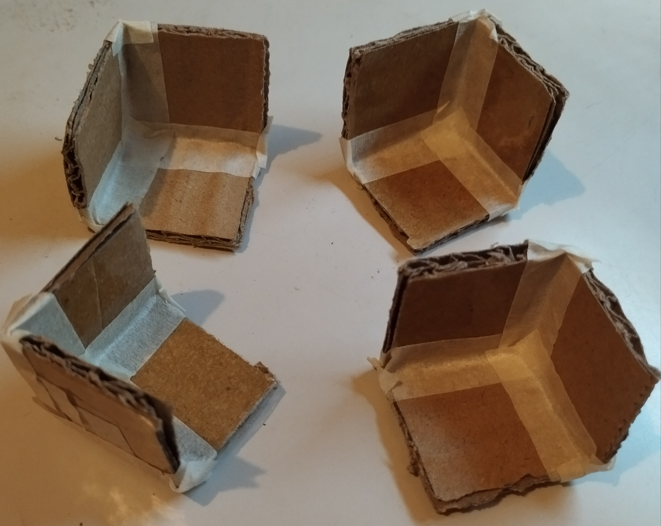
For reference, each cube is 1 inch in length, width, and height.
Adding the Water Source Container
The water source container for the project has dimensions of 13 centimeters in width, 13 centimeters in length, and 8 centimeters in height. A transparent water container is recommended to allow for visibility of the water level.
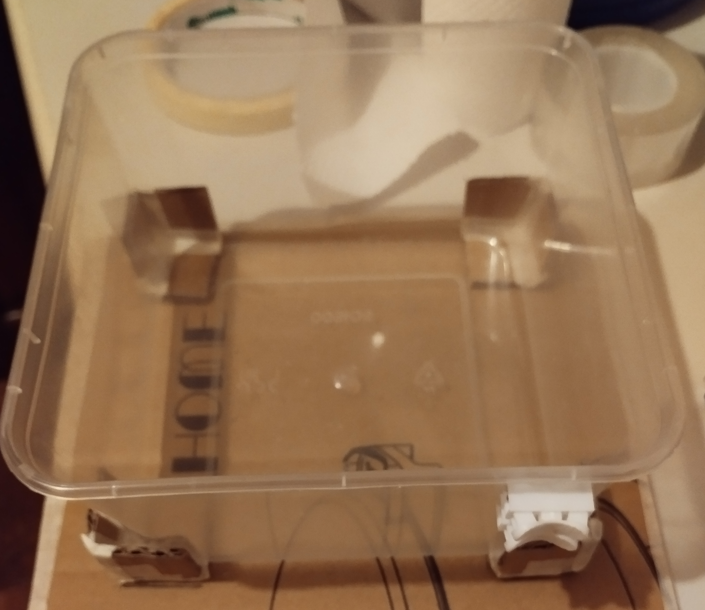
Adding the Water Drinking Container
The drinking container for the project measures 10 centimeters in width, 13 centimeters in length, and 4 centimeters in height. These dimensions ensure that we can confidently place the drinking container on top of the water source container without any issues.
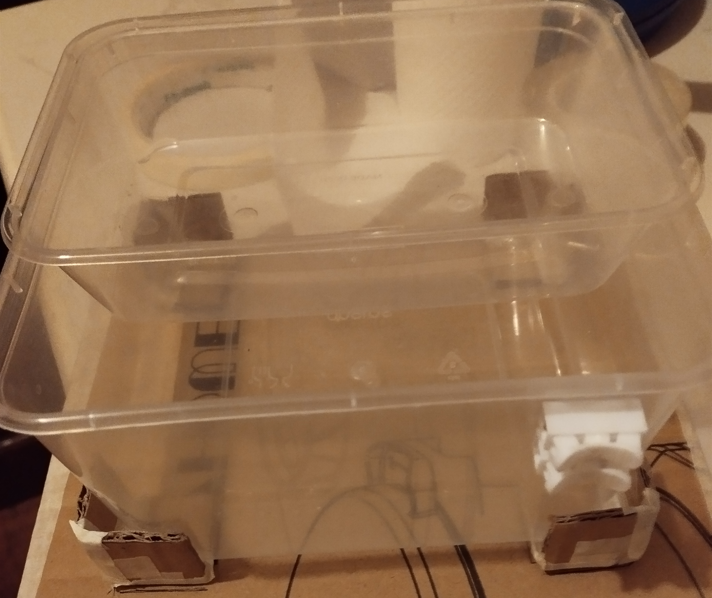
After adding the drinking container on top, a gap remains where we can refill water to the source if needed.
Adding the Water Sensor
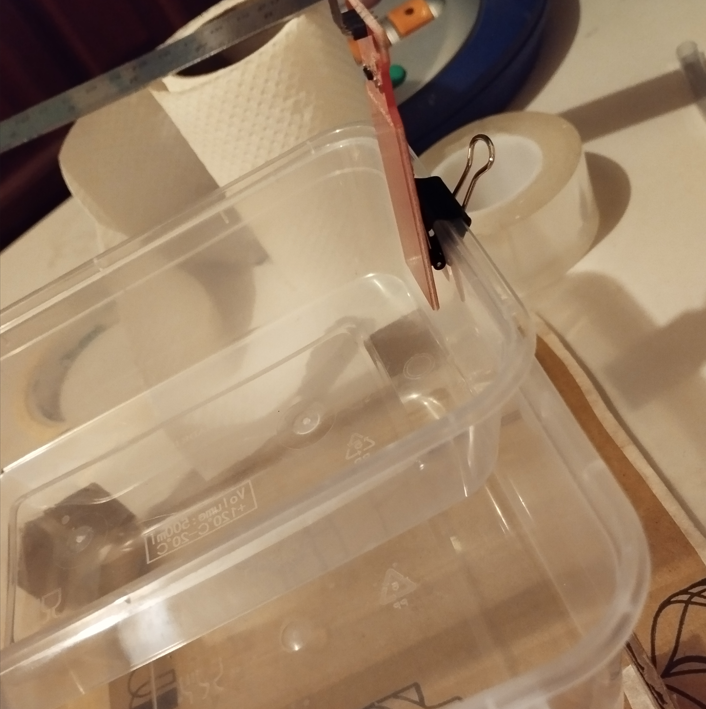
We're going to attach a water sensor to the drinking container. The water sensor measures the water level in the drinking container and signals to the pump when more water is needed or sufficient water is present.
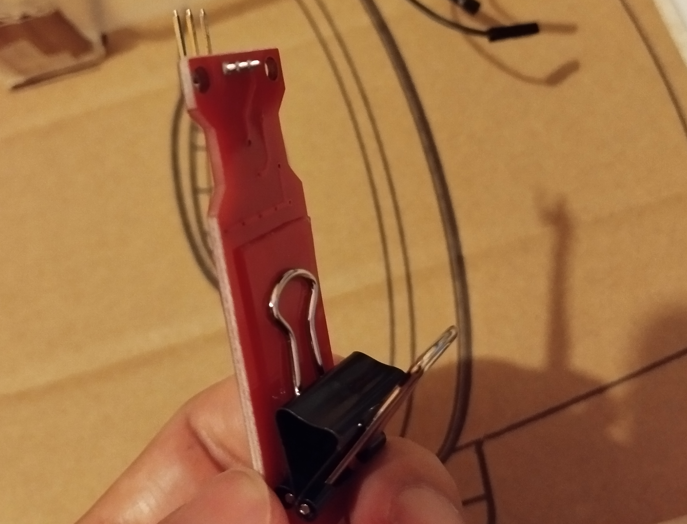
Securely attach the water sensor to a metal clip, then clip the metal clip to one side of the drinking container. It is advisable to use a metal clip to easily detach the water sensor from the drinking container for various reasons.
Adding the Water Pump
Connect a silicone tube to the outlet of the water pump. Ensure it is bent to facilitate the transfer of water from the source to the drinking container.
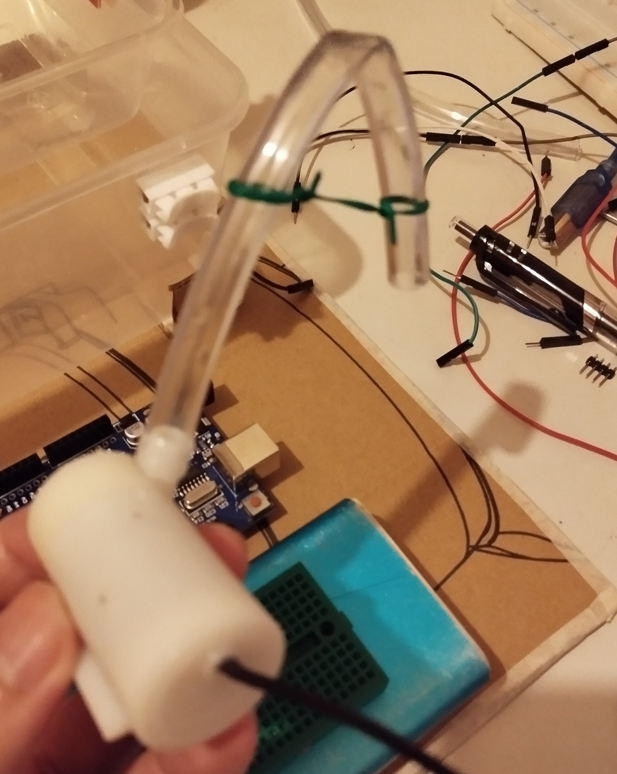
After securing the silicone tube to the water pump, place the water pump inside the water source container.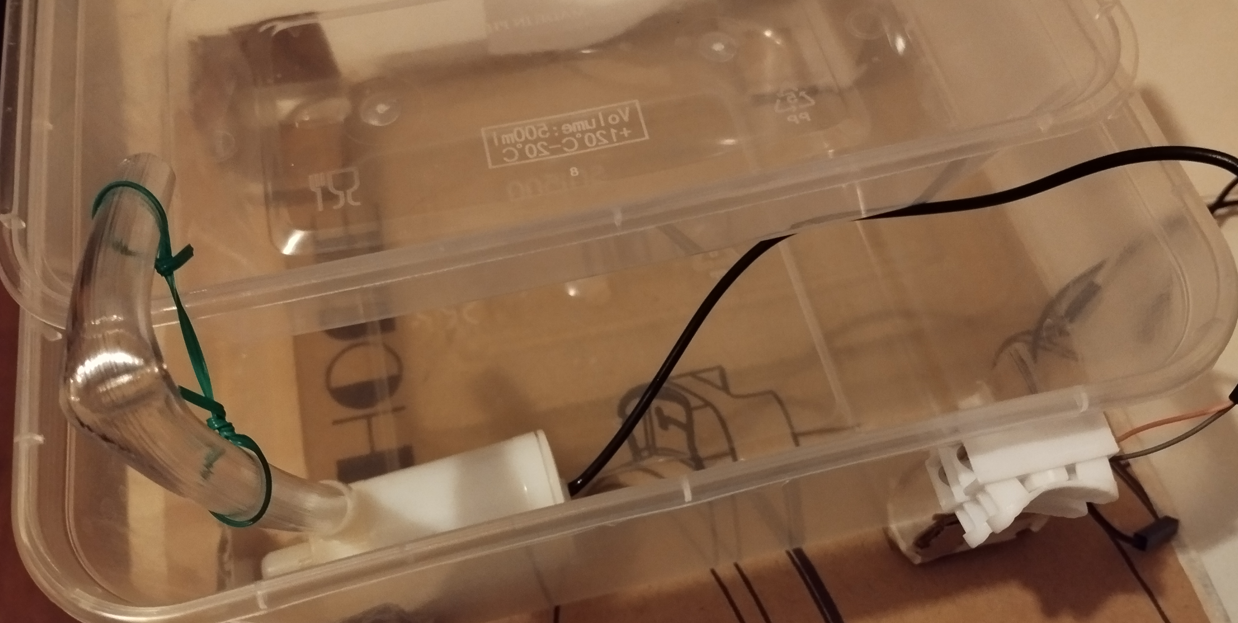
Adding the rest of the components...
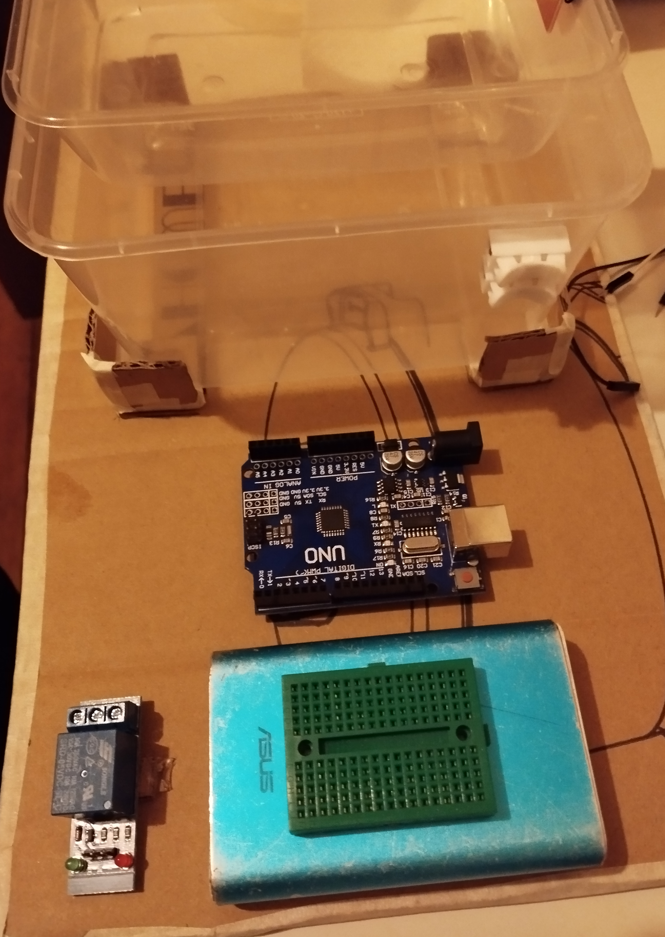
We will use the remaining space on the base for the relay module, power bank, Arduino Uno board, and breadboard. Ensure that the components are attached with glue or tape.
Adding the Jumper Wires
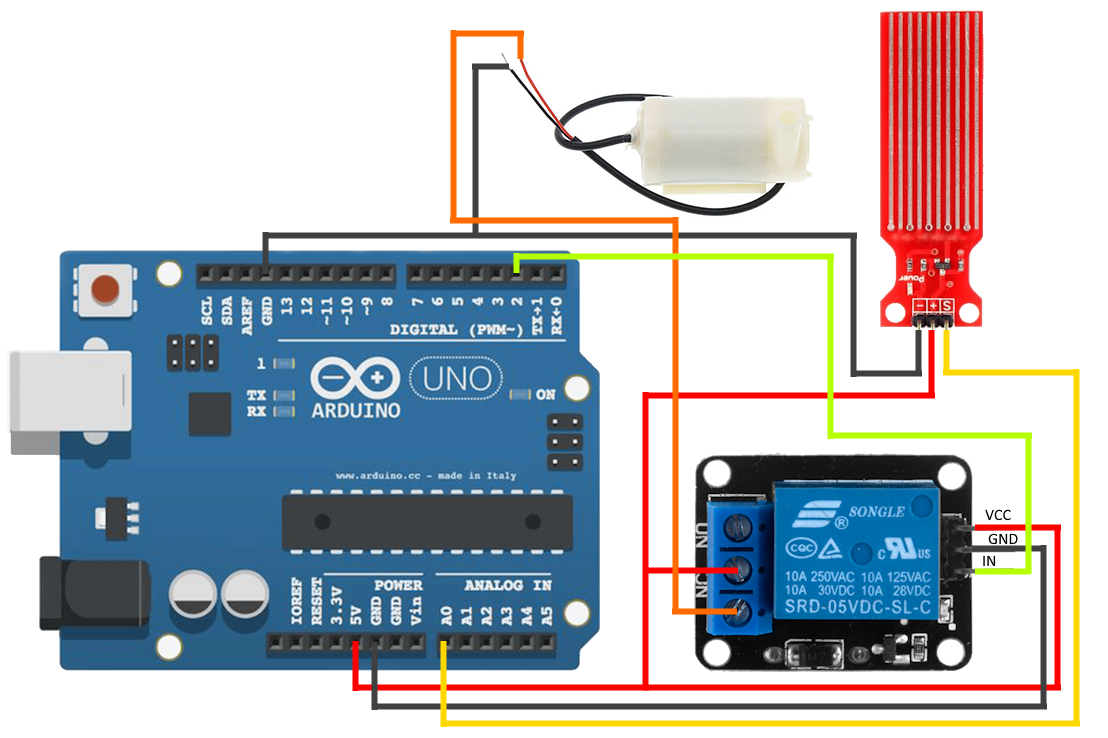
Refer to the diagram below to wire the components. It is recommended to use a breadboard, as connecting all the modules to the Arduino Uno board is not feasible due to the limited number of pinholes, particularly for the 5v power supply.
Notes to consider concerning the water pump:
The red wire connects to the NC (Normally Closed) slot of the relay module. This configuration allows the relay module to control the activation and deactivation of the water pump.
The black wire connects to a ground reference.
Notes to consider concerning the water sensor:
The signal pin connects to the analog pinhole "A0" of Arduino Uno. This connection enables us to programmatically detect the water level in the source code.
The VCC (Voltage Supply Connector) pin connects to a 5v power source. This will power up the water sensor.
The GND (Ground) pin connects to a ground reference.
Notes to consider concerning the relay module:
The COM (Common) slot is found between the NO (Normally Open) and NC (Normally Closed) slots. The COM slot connects to a 5v power source that flows power to either the NC or the NO slot. When the water sensor signals that it is time to refill the drinking container, the relay module will direct power to the NC slot, activating the water pump. Once the drinking container is filled, the relay module will cut power to the NC slot, stopping the water pump.
The VCC (Voltage Supply Connector) pin connects to a 5v power source. This will power up the relay module.
The GND (Ground) pin connects to a ground reference.
The IN (Input) pin connects to pinhole number 2 of Arduino Uno. This connection enables us to programmatically control the COM slot of the relay module, allowing to flow power to either the NO slot or the NC slot.
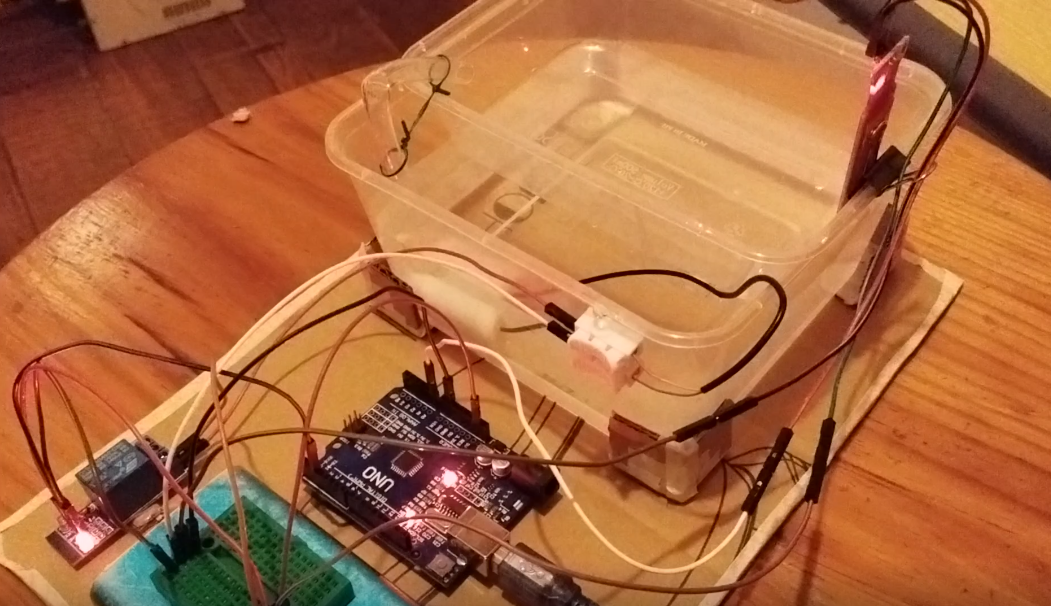
The Source Code
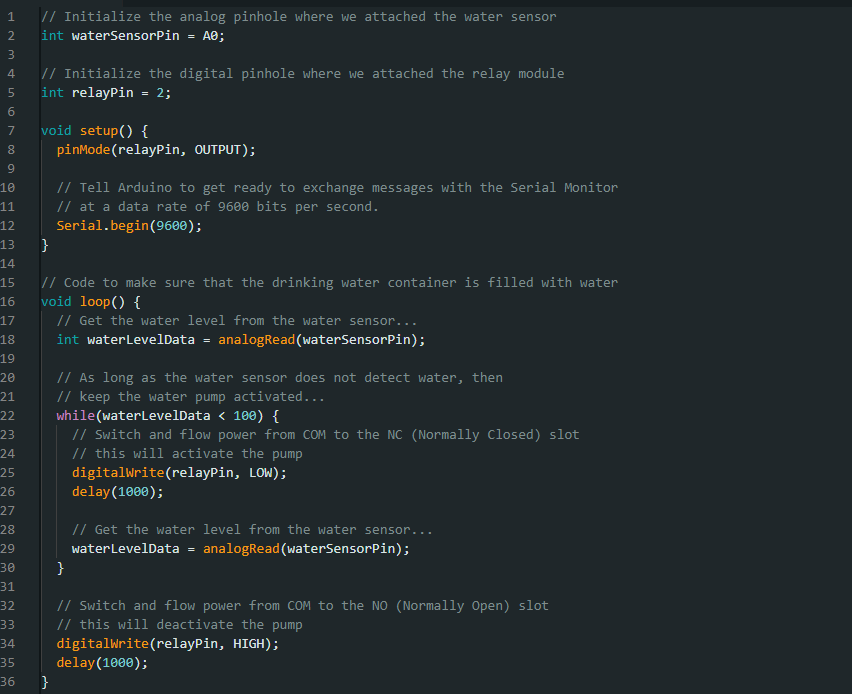
Source Code Key Points
To comprehend the source code, here is a simplified pseudocode explaining its functionality.
Retrieve water level data from the water sensor.
If the water level data is low (e.g. no water touching the water sensor), then:
Turn on the water pump
Retrieve updated water level data from the water sensor.
If the water level data has reached a threshold (e.g. water touching the water sensor), then to Step 3. Otherwise, go back to Step 2.
Turn off the water pump
Go back to Step 1.
Limitations
This pet dispenser project is suitable only for cats and small dogs. It is not recommended for pets, particularly dogs, that are messy drinkers. If the pet drinks water messily, water might spill onto the Arduino Uno or the water sensor, causing damage.