
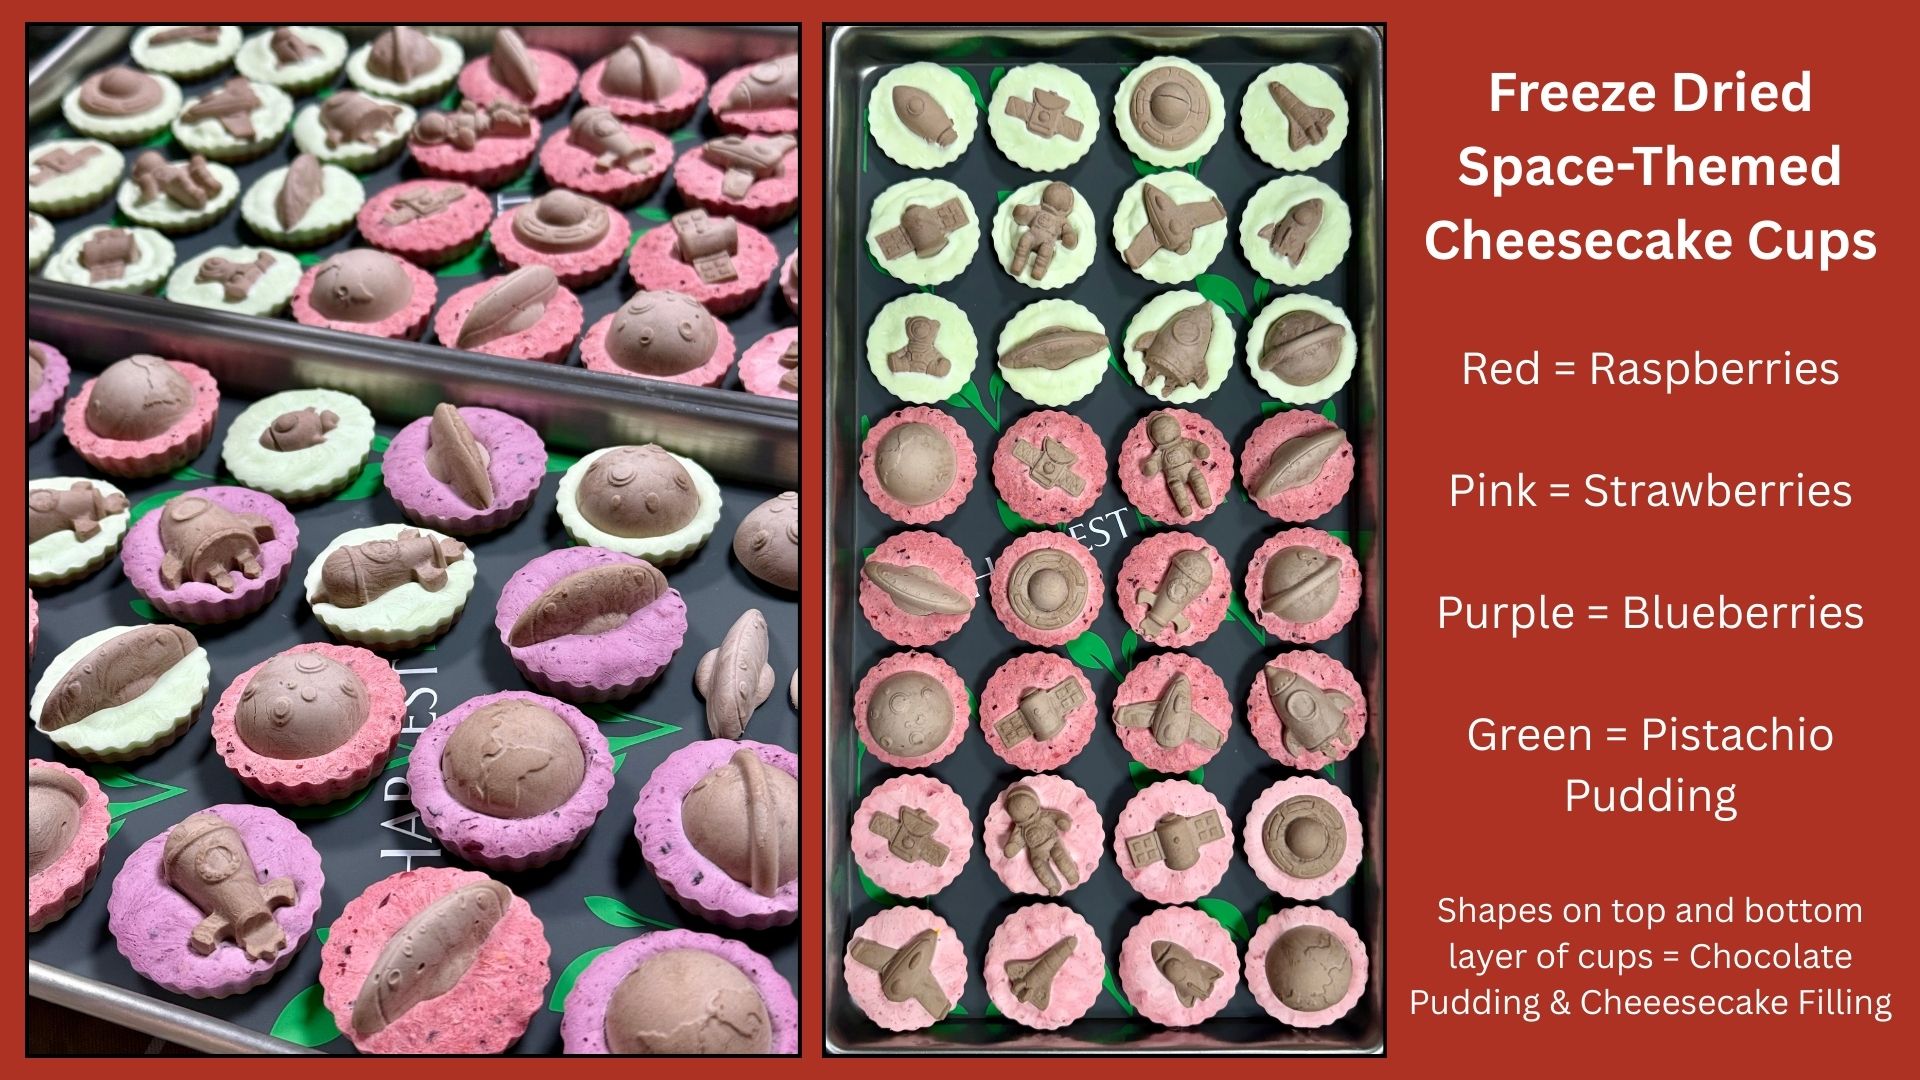
During the holidays I like to work on freeze drying projects for making delicious treats to share with Family and Friends. 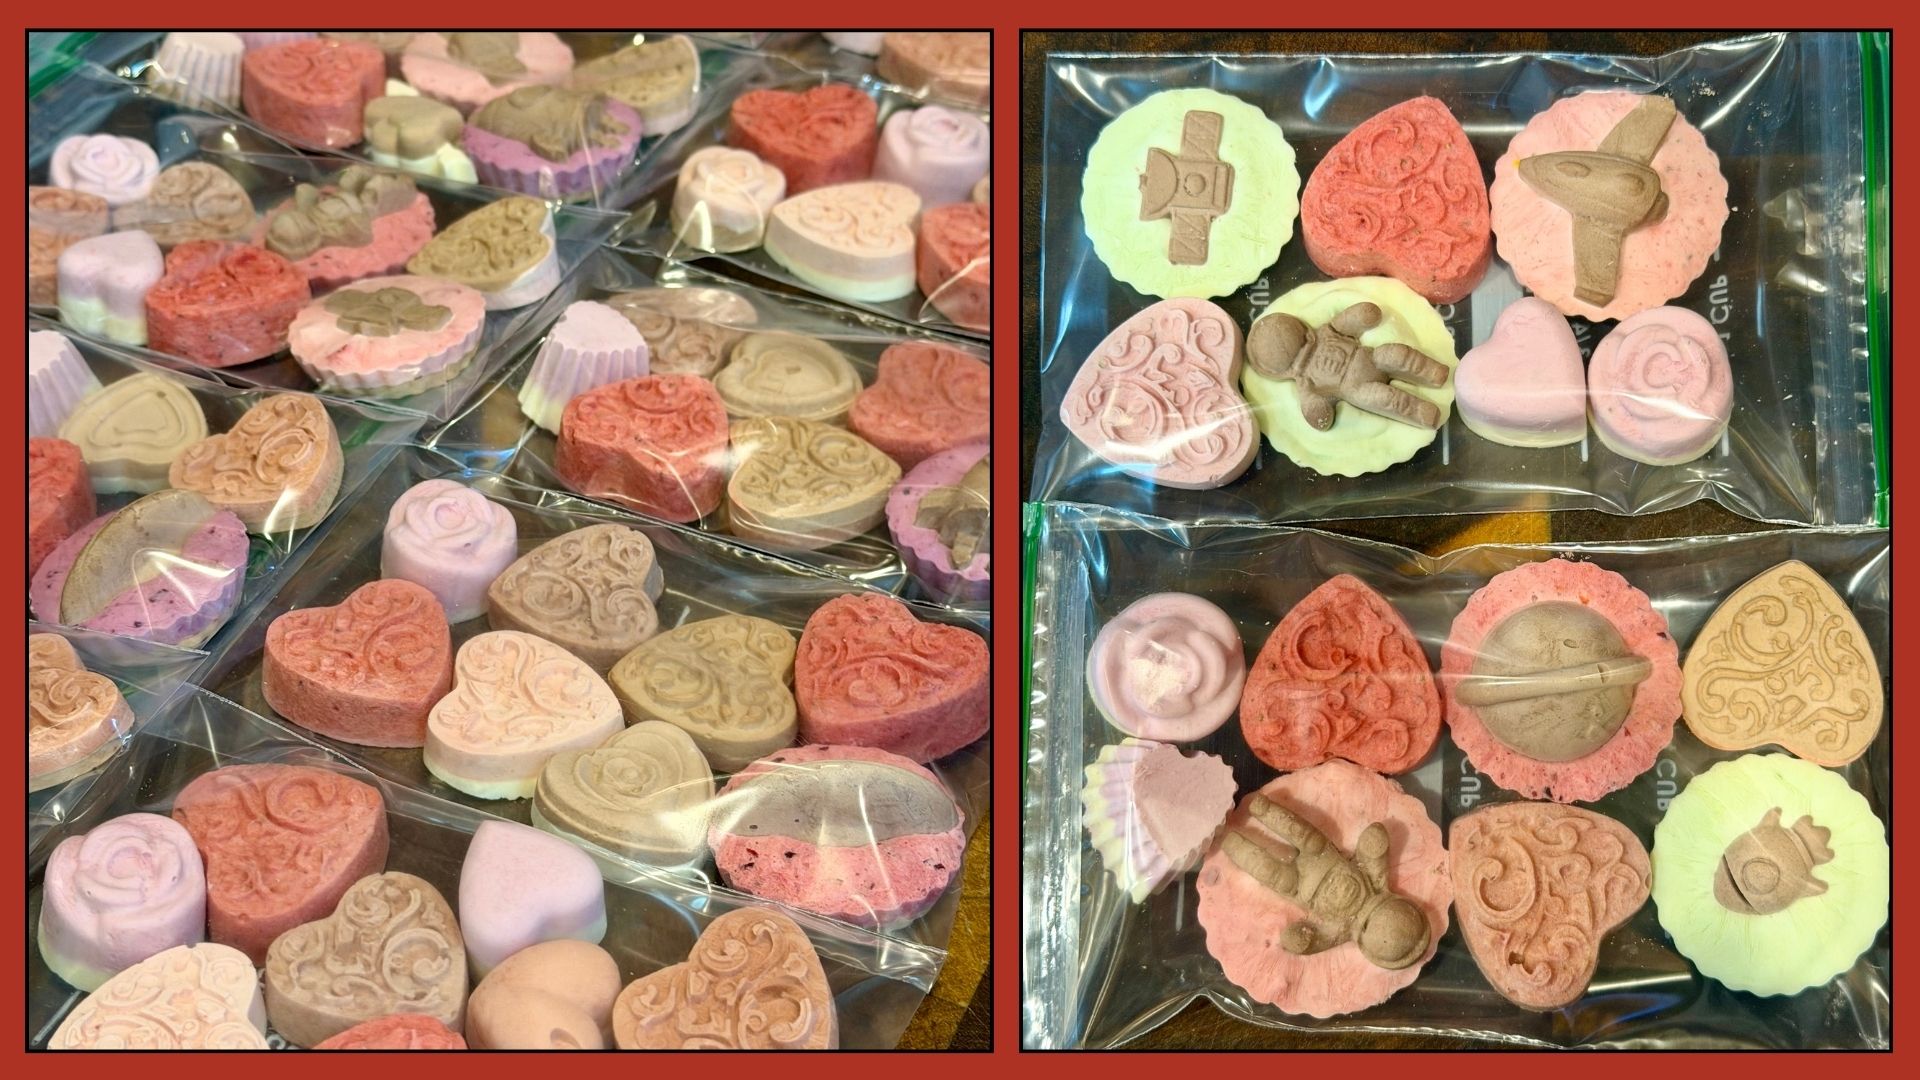 Our Son’s Space Force Squadron monitors everything that orbits our Earth so I thought it would be fun to make some cheesecake cups with space-themed shapes on top. I bought some fondant molds and chocolates molds for making satellites, rockets, saucers, moons, planets, etc.
  I love to experiment with various combinations of fresh fruits, puddings, and cheesecake filling to put together some unique desserts that can be freeze dried and then shipped to various locations without the worry of spoilage.
Here's What You'll Need:
Space-themed silicone food molds
A Set of Chef Squeeze Bottles with both narrow and wide tips
No-bake Plain Cheesecake Filling
Chocolate Fudge and Pistachio Pudding
Fresh Strawberries, Raspberries, Blueberries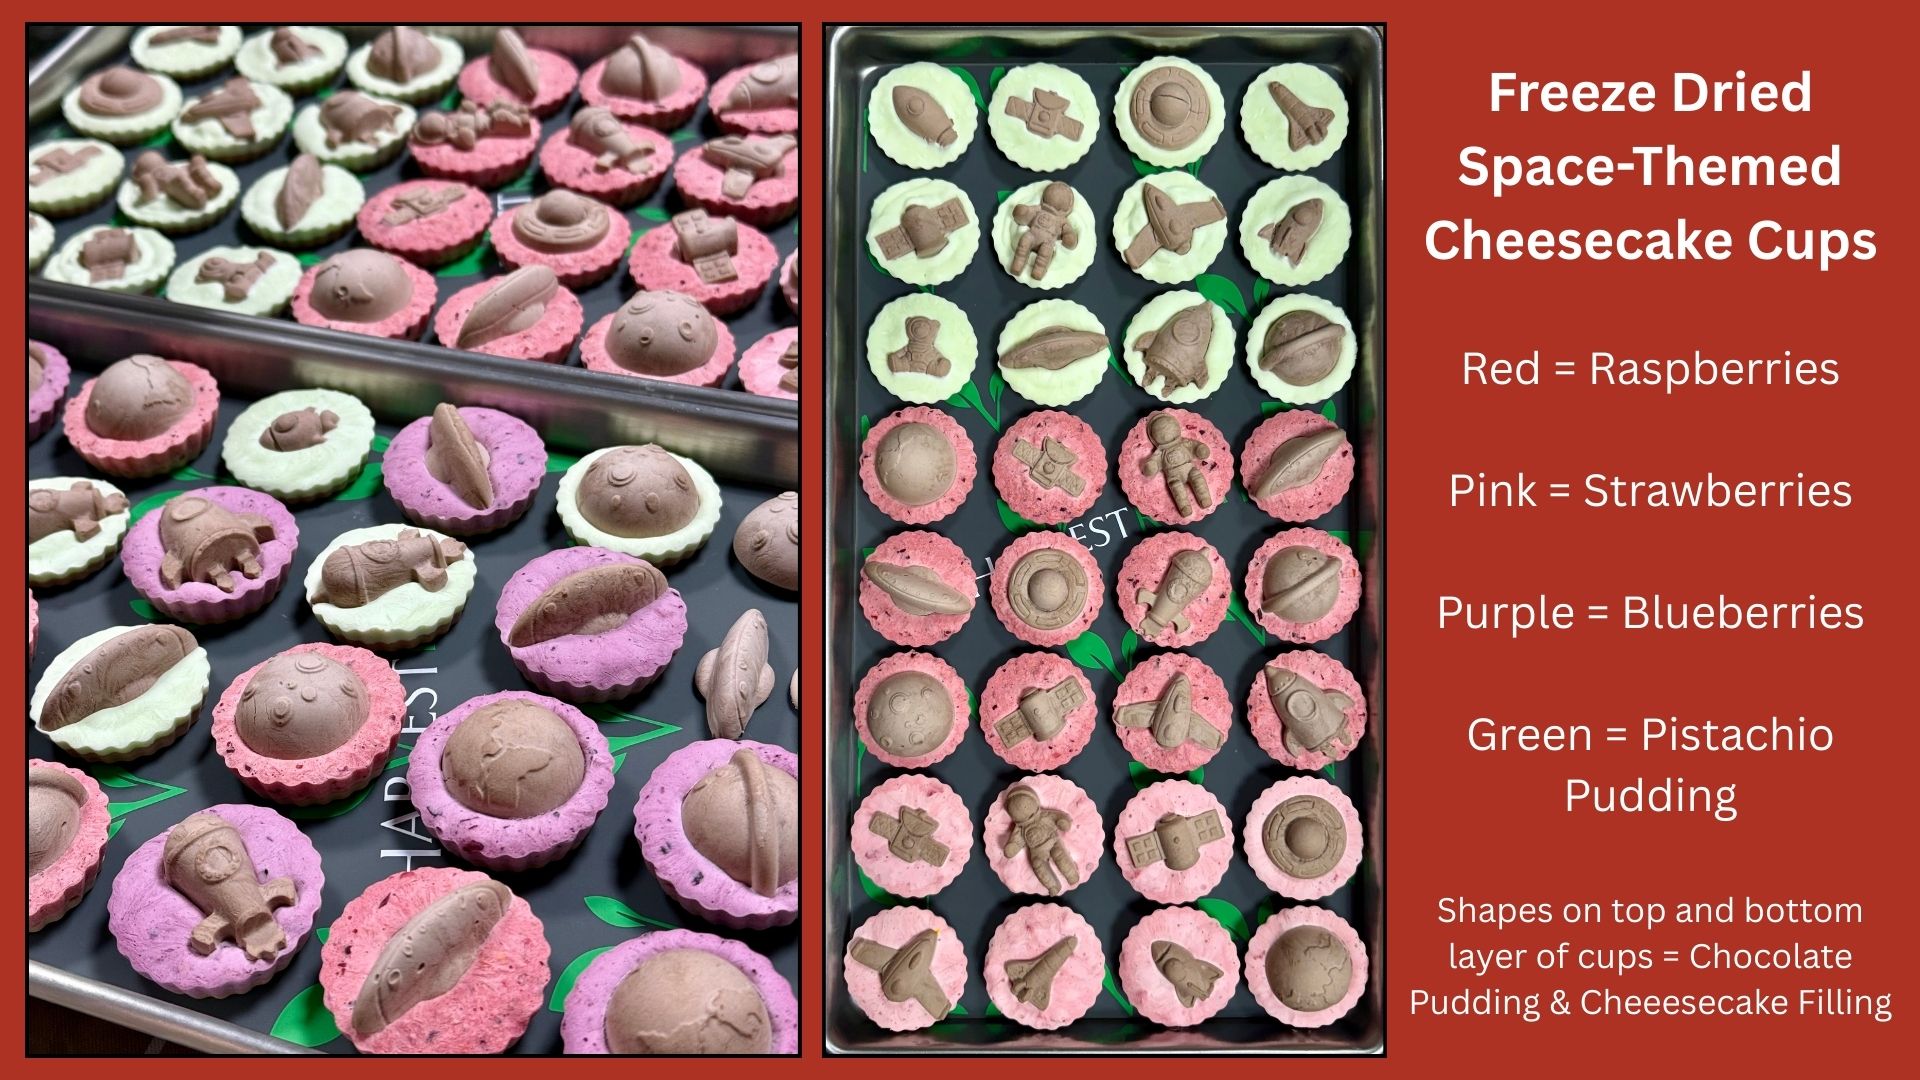 Recipe for the chocolate shapes on top and bottom layer of cups: 1 Cup No-bake Cheesecake Filling + 1/2 Cup Filtered Water + 2 Tablespoons Chocolate Fudge Instant Pudding Powder. Mix the pudding powder in warm water and whisk until dissolved. Combine with cheesecake filling and whisk about 30 seconds.
I used my Chef Squeeze Bottle with the narrow tip to pipe in the chocolate cheesecake filling into the space-themed molds.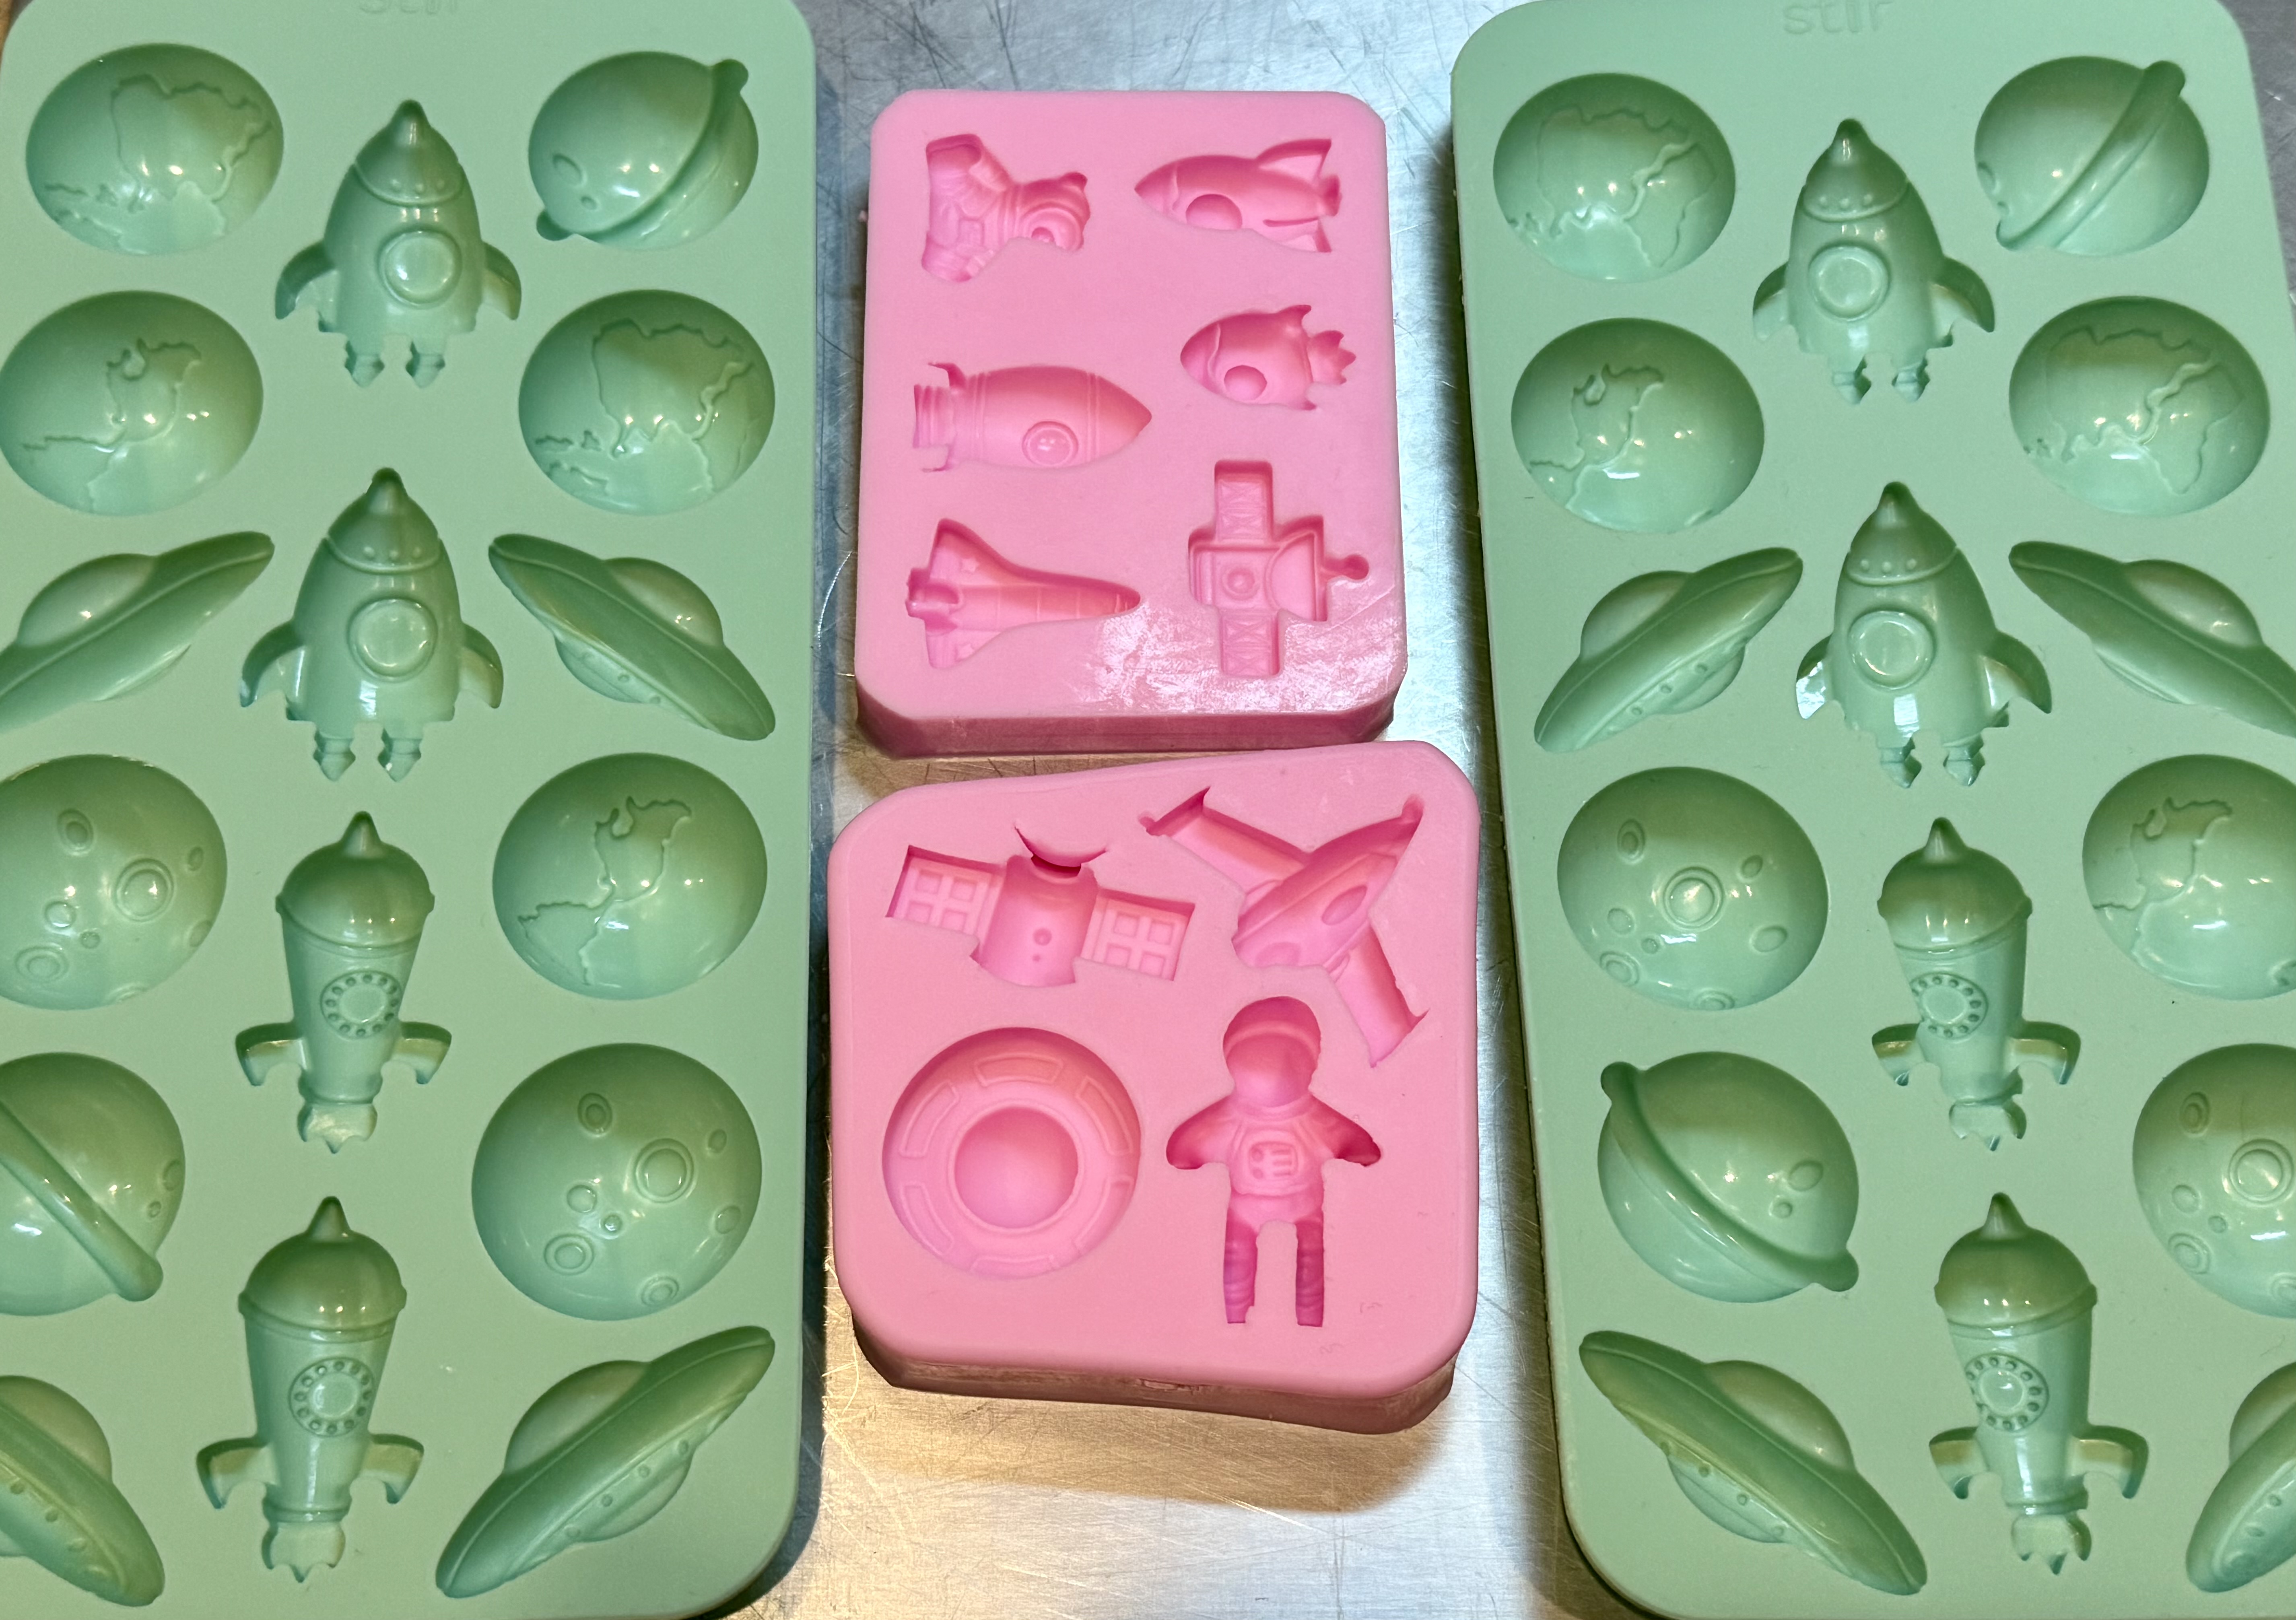 The narrow tip makes it easy to reach the finer, more detailed areas of the cavities and to pipe the mixtures into each shape. Using the squeeze bottles is much faster, easier, and more efficient compared to trying to spoon in the mixtures.
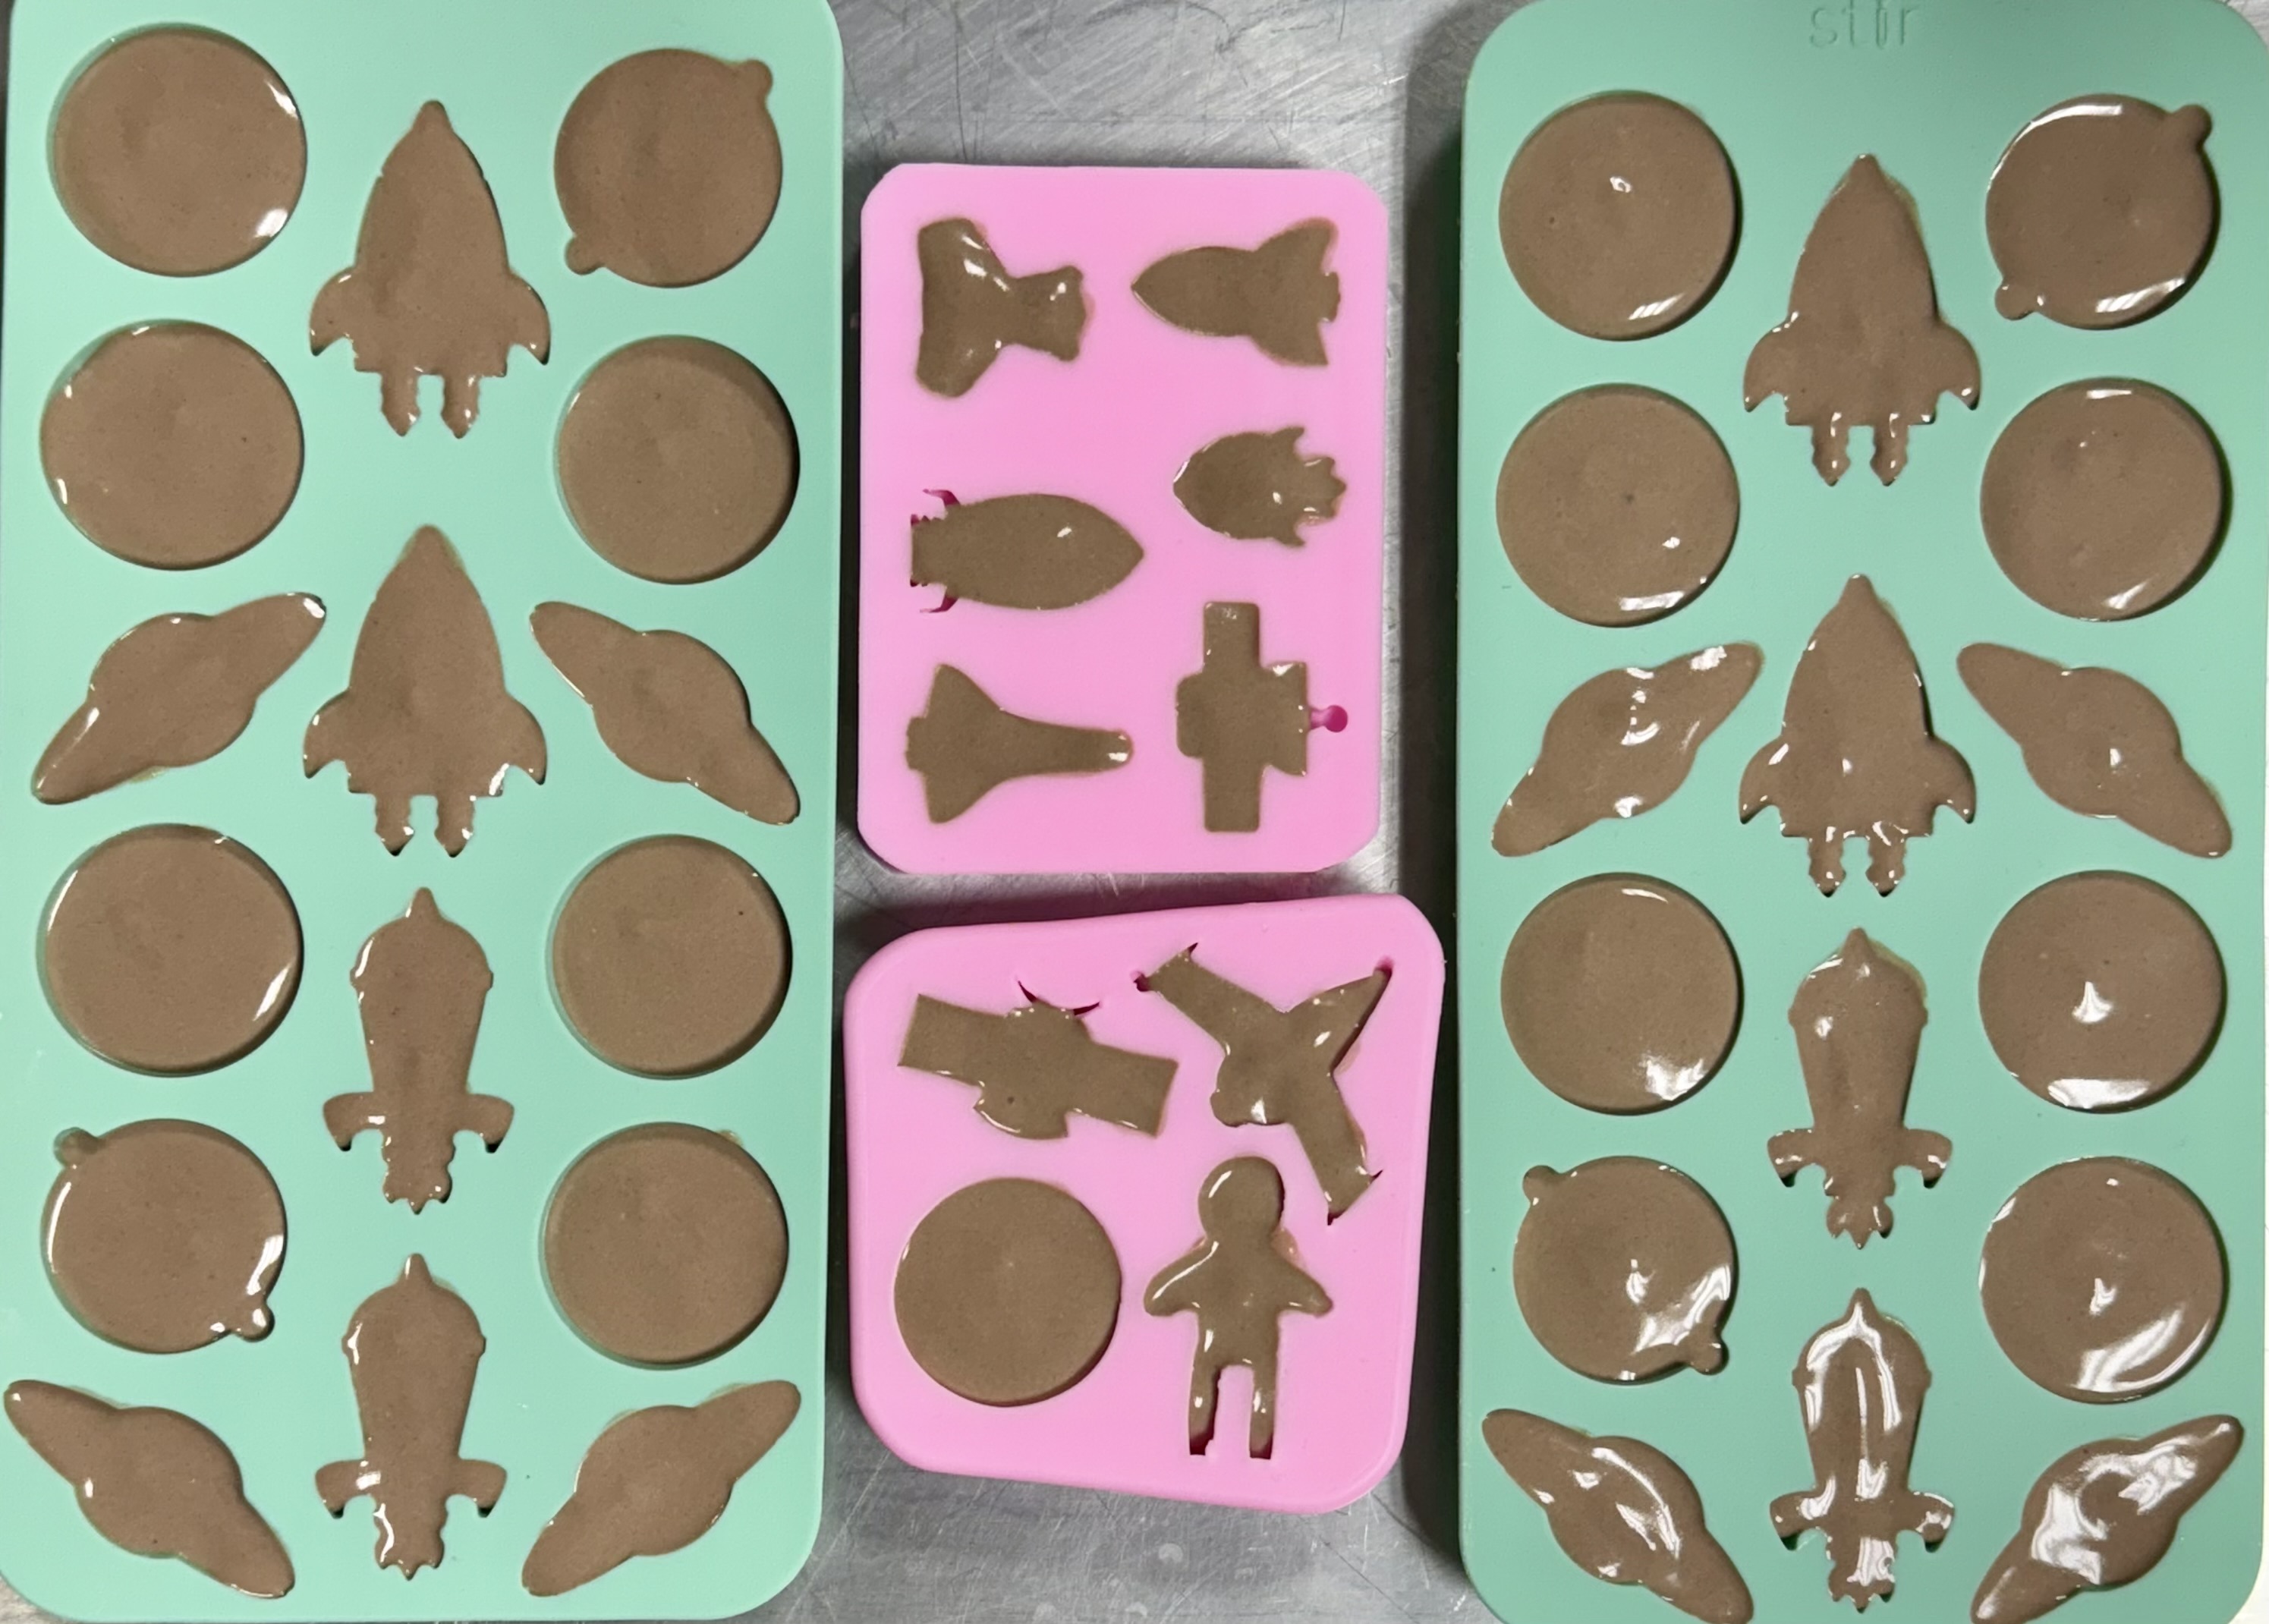 Once filled, I set these food molds into our zero-degree downstairs freezer to pre-freeze while I worked on the cheesecake cups next.
 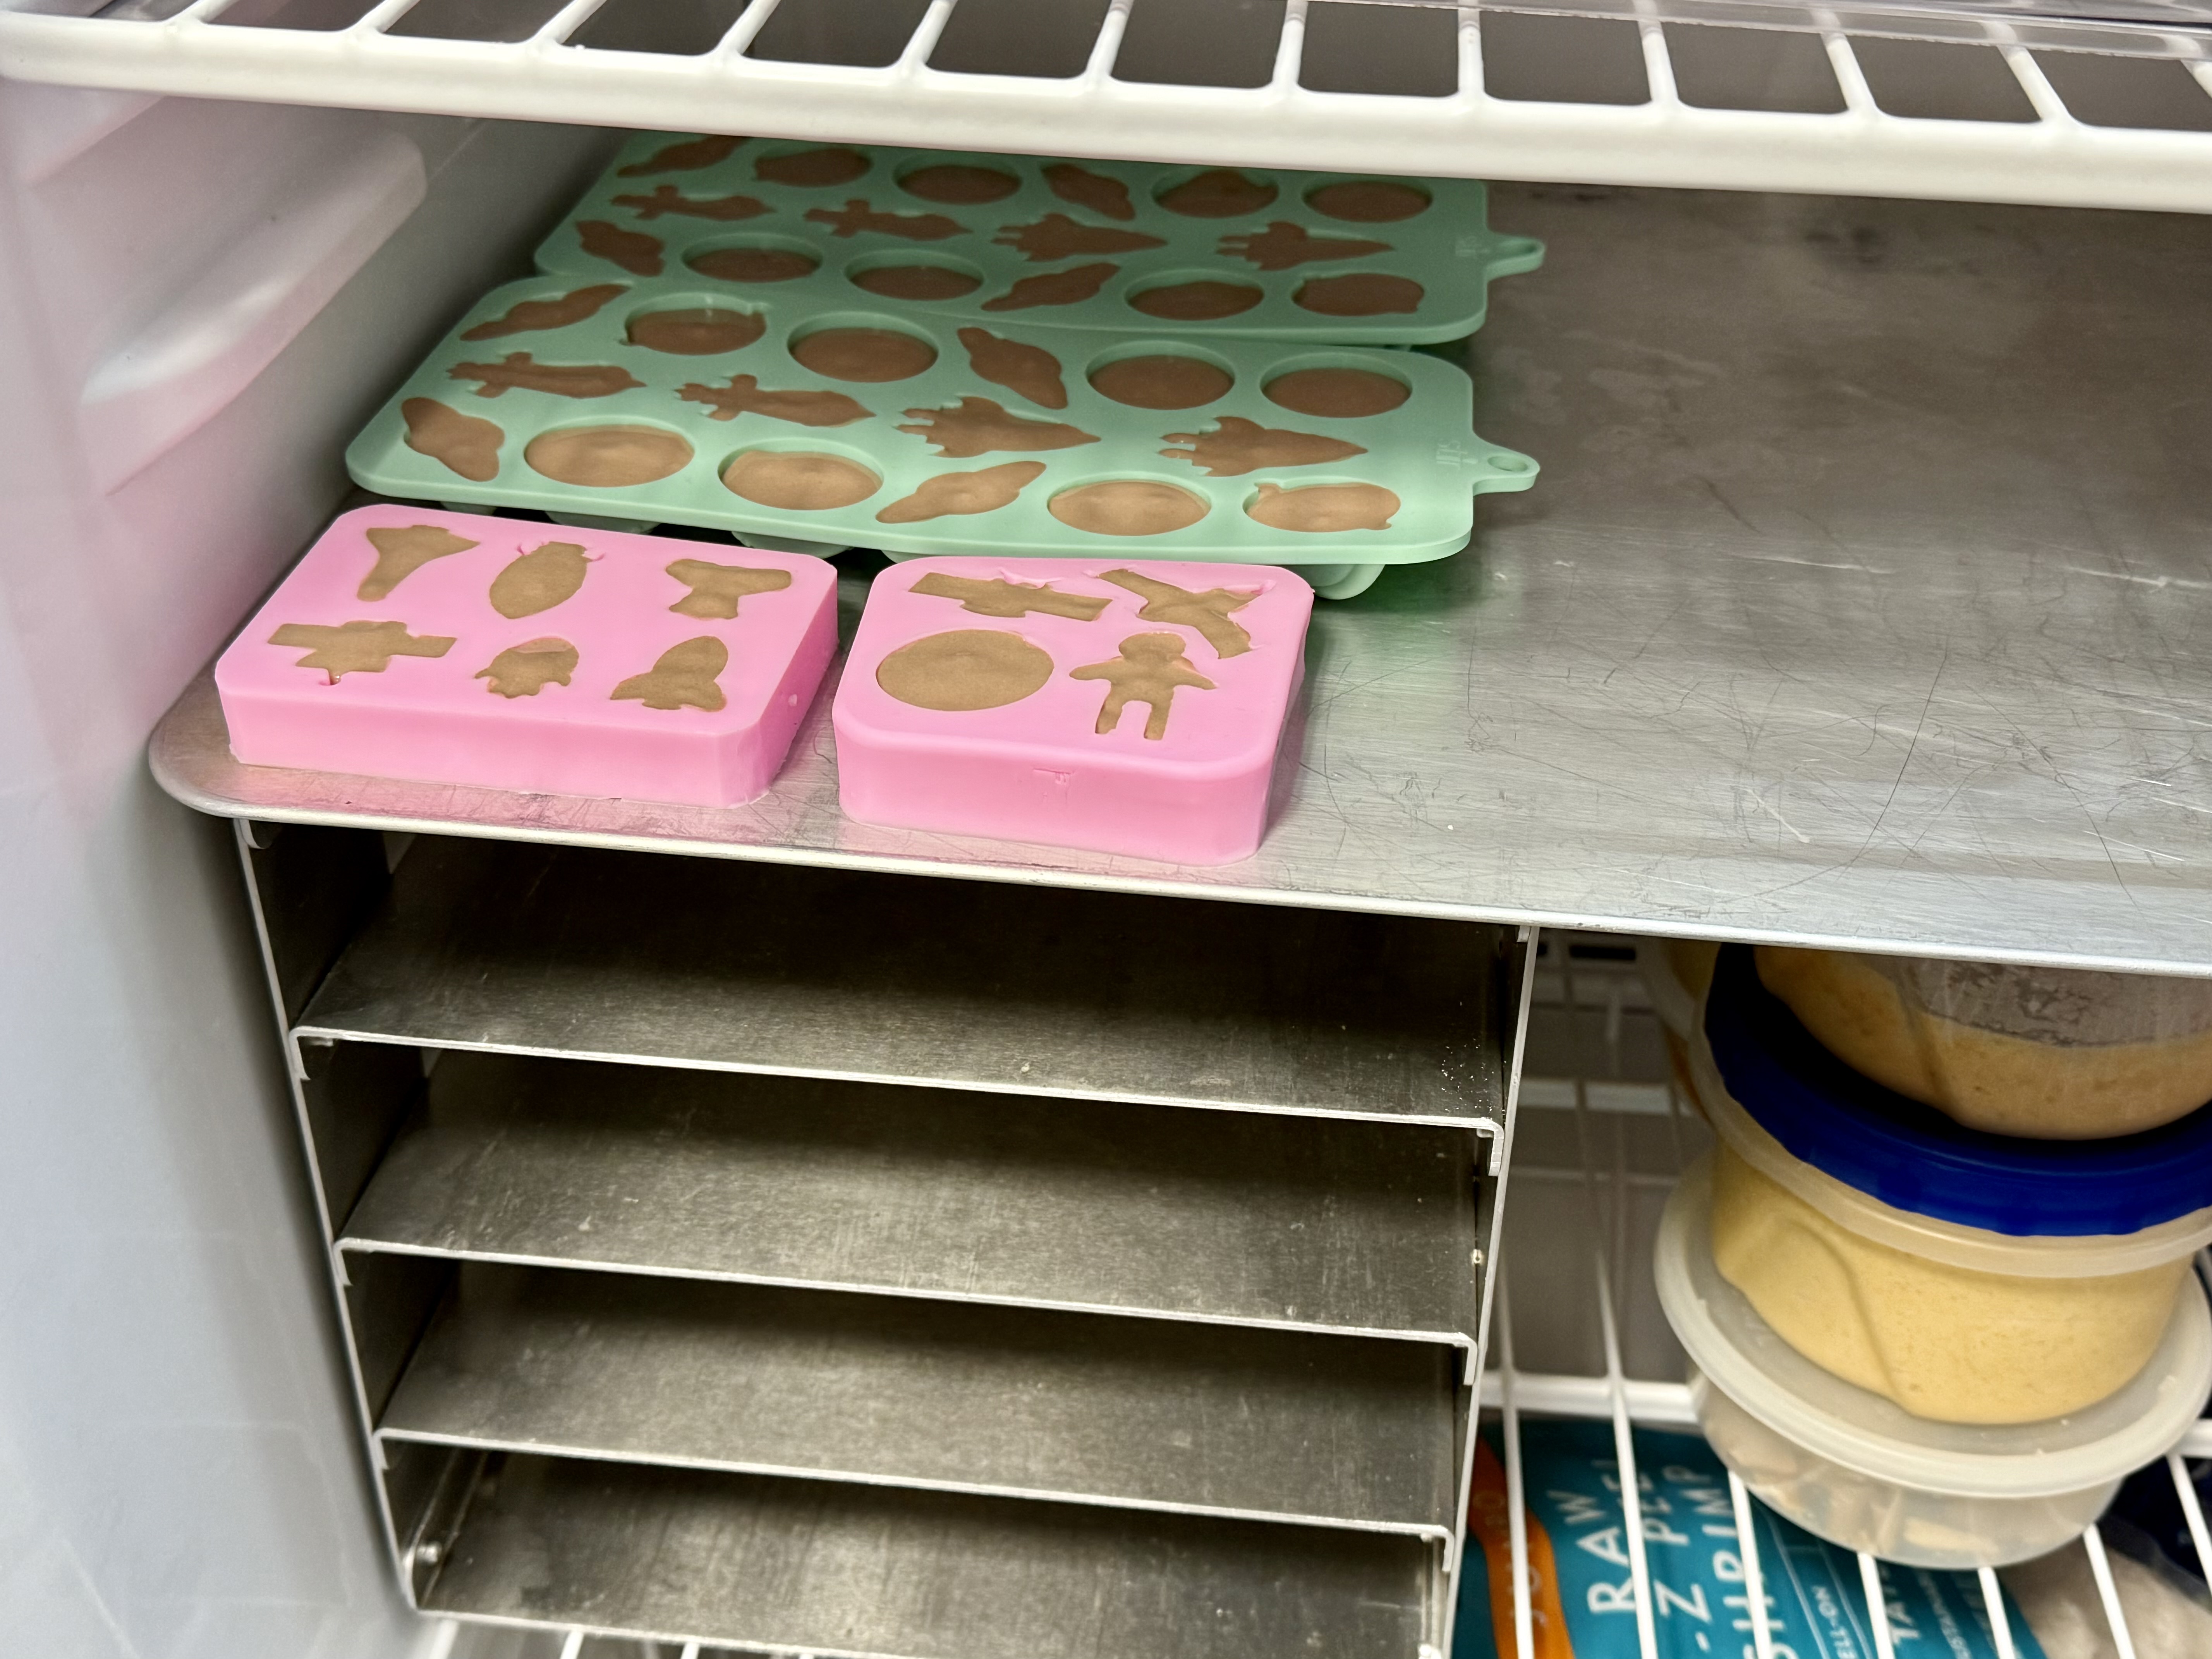 You can mix up additional amounts as needed to fill up your food molds.
Once the space shapes and the bottom of the cups were filled with the chocolate pudding cheesecake mixture, I then turned to mixing up the other combos for adding to the top of the cups cavities.
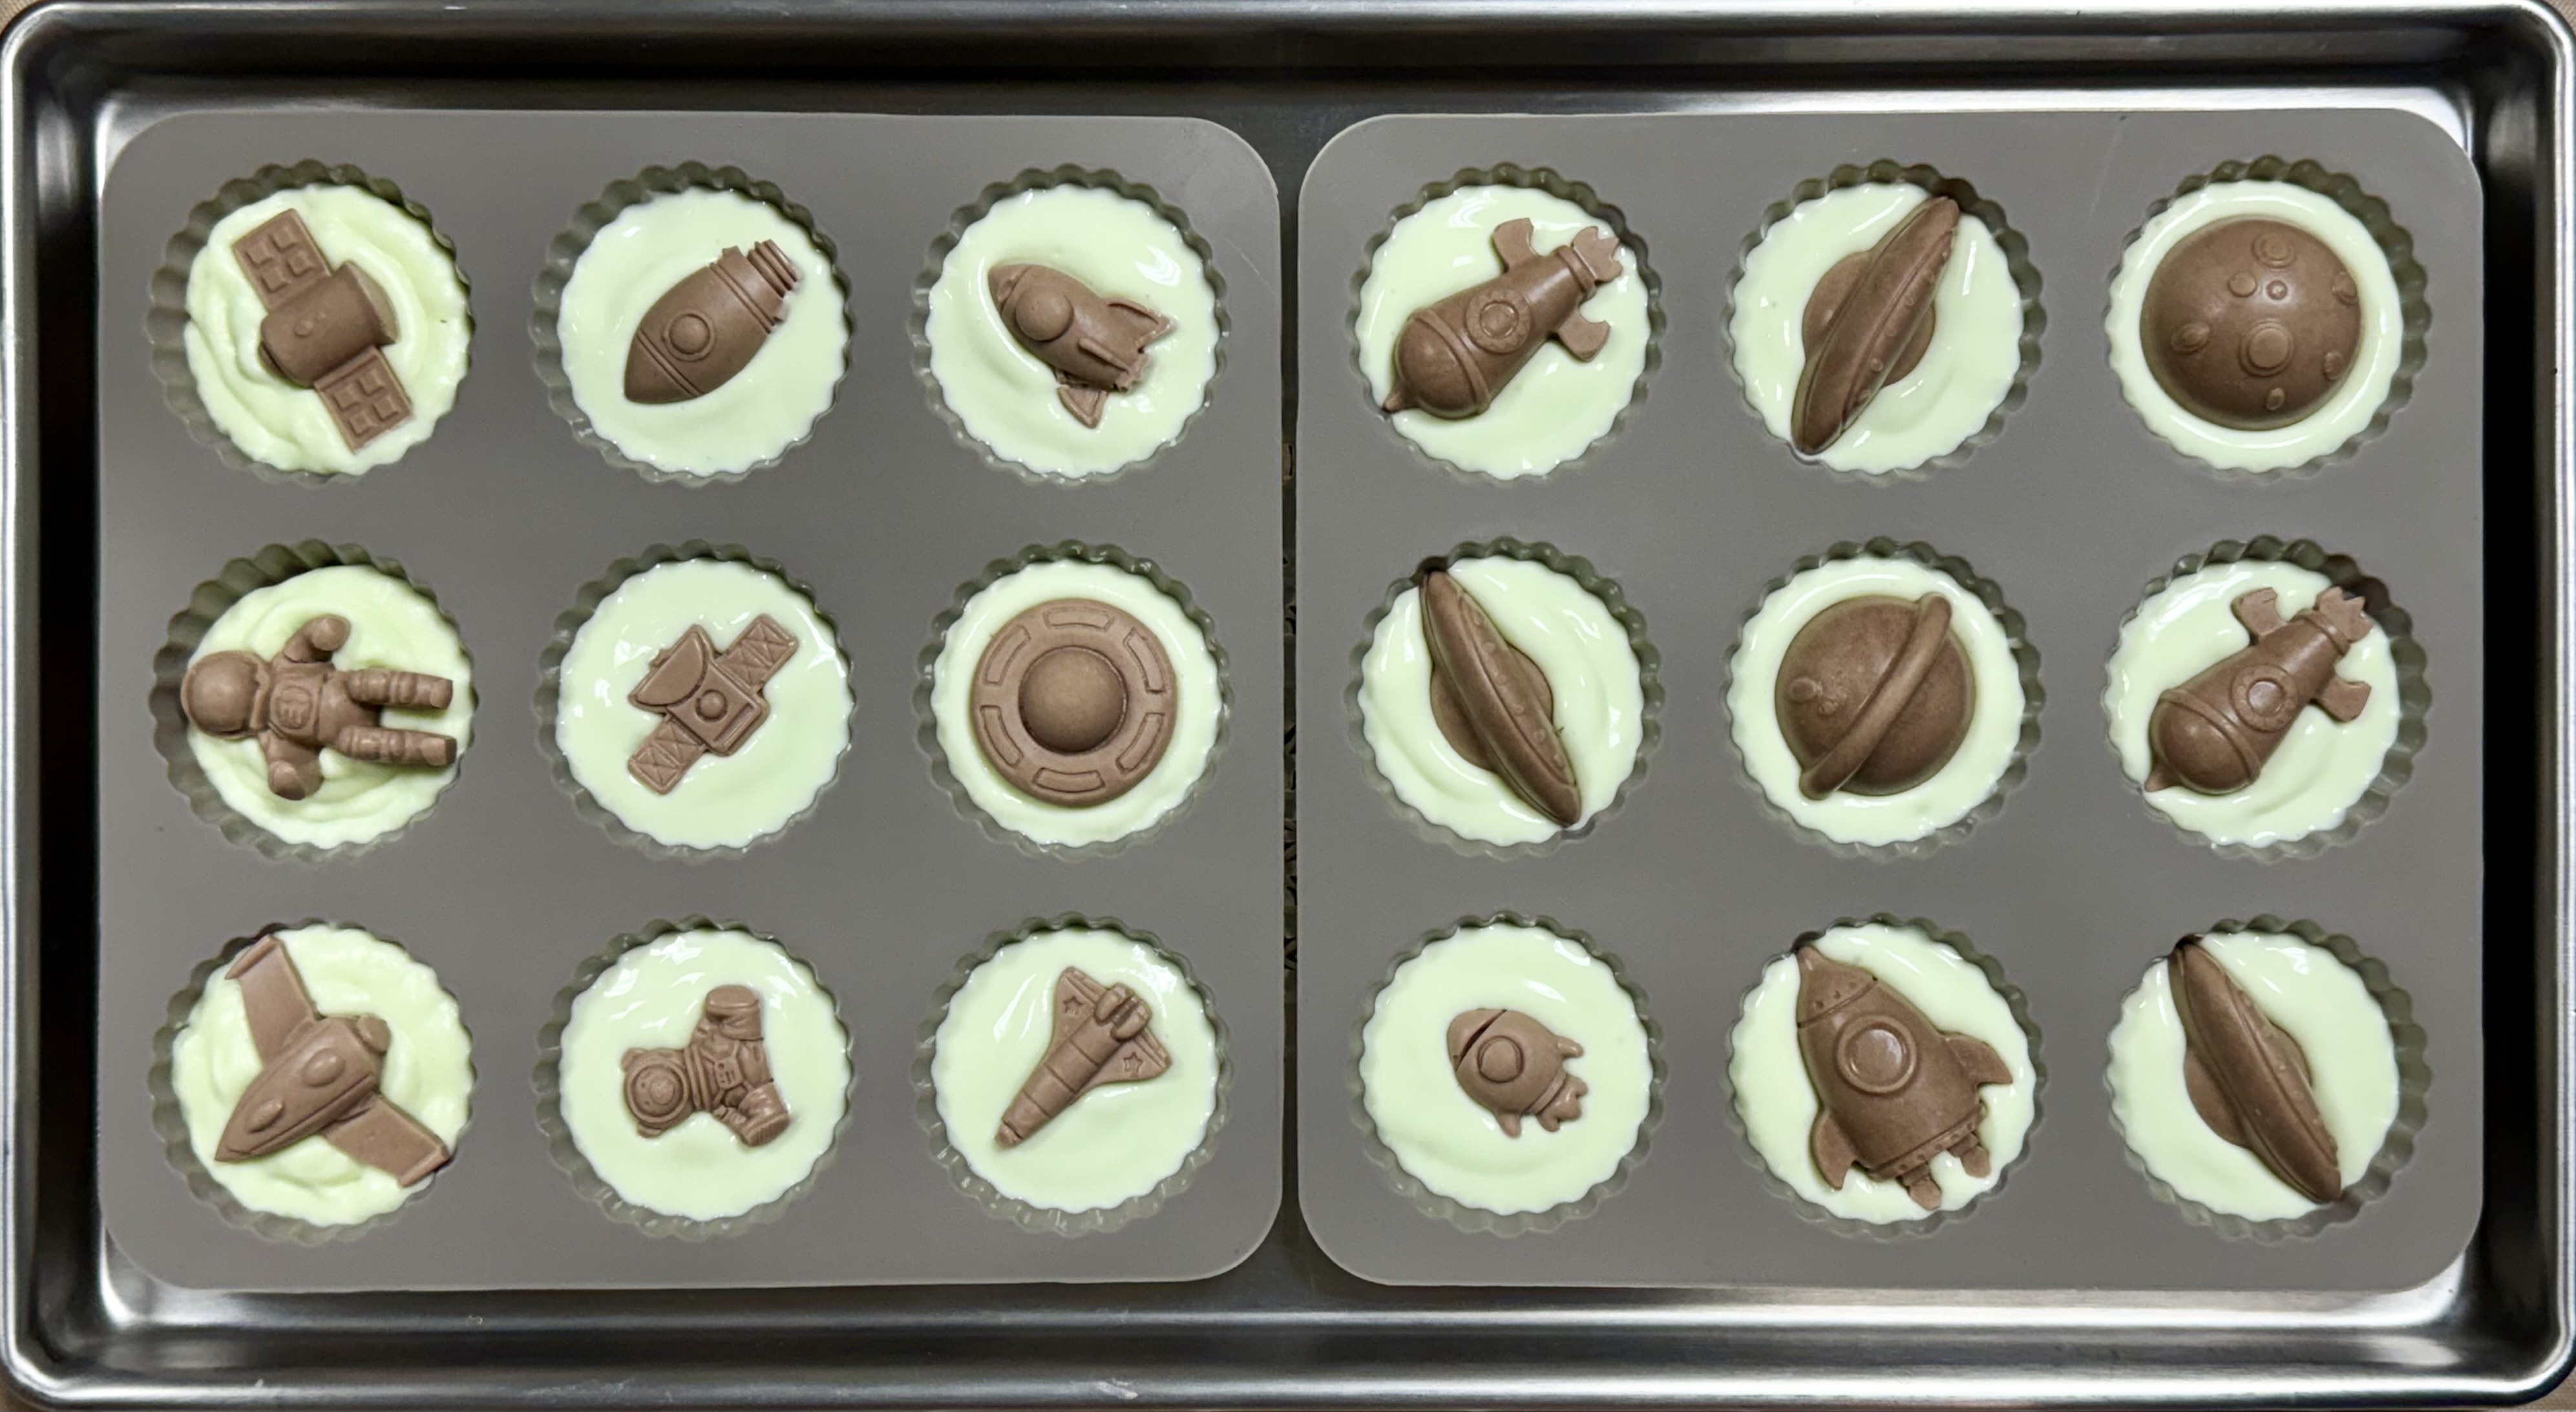
Recipe for the Pistachio Pudding Mixture: 1 Cup No-bake Cheesecake Filling + 1/2 Cup Filtered Water + 2 Tablespoons Pistachio Instant Pudding Powder. Mix the pudding powder in warm water and whisk until dissolved. Combine with cheesecake filling and whisk about 30 seconds.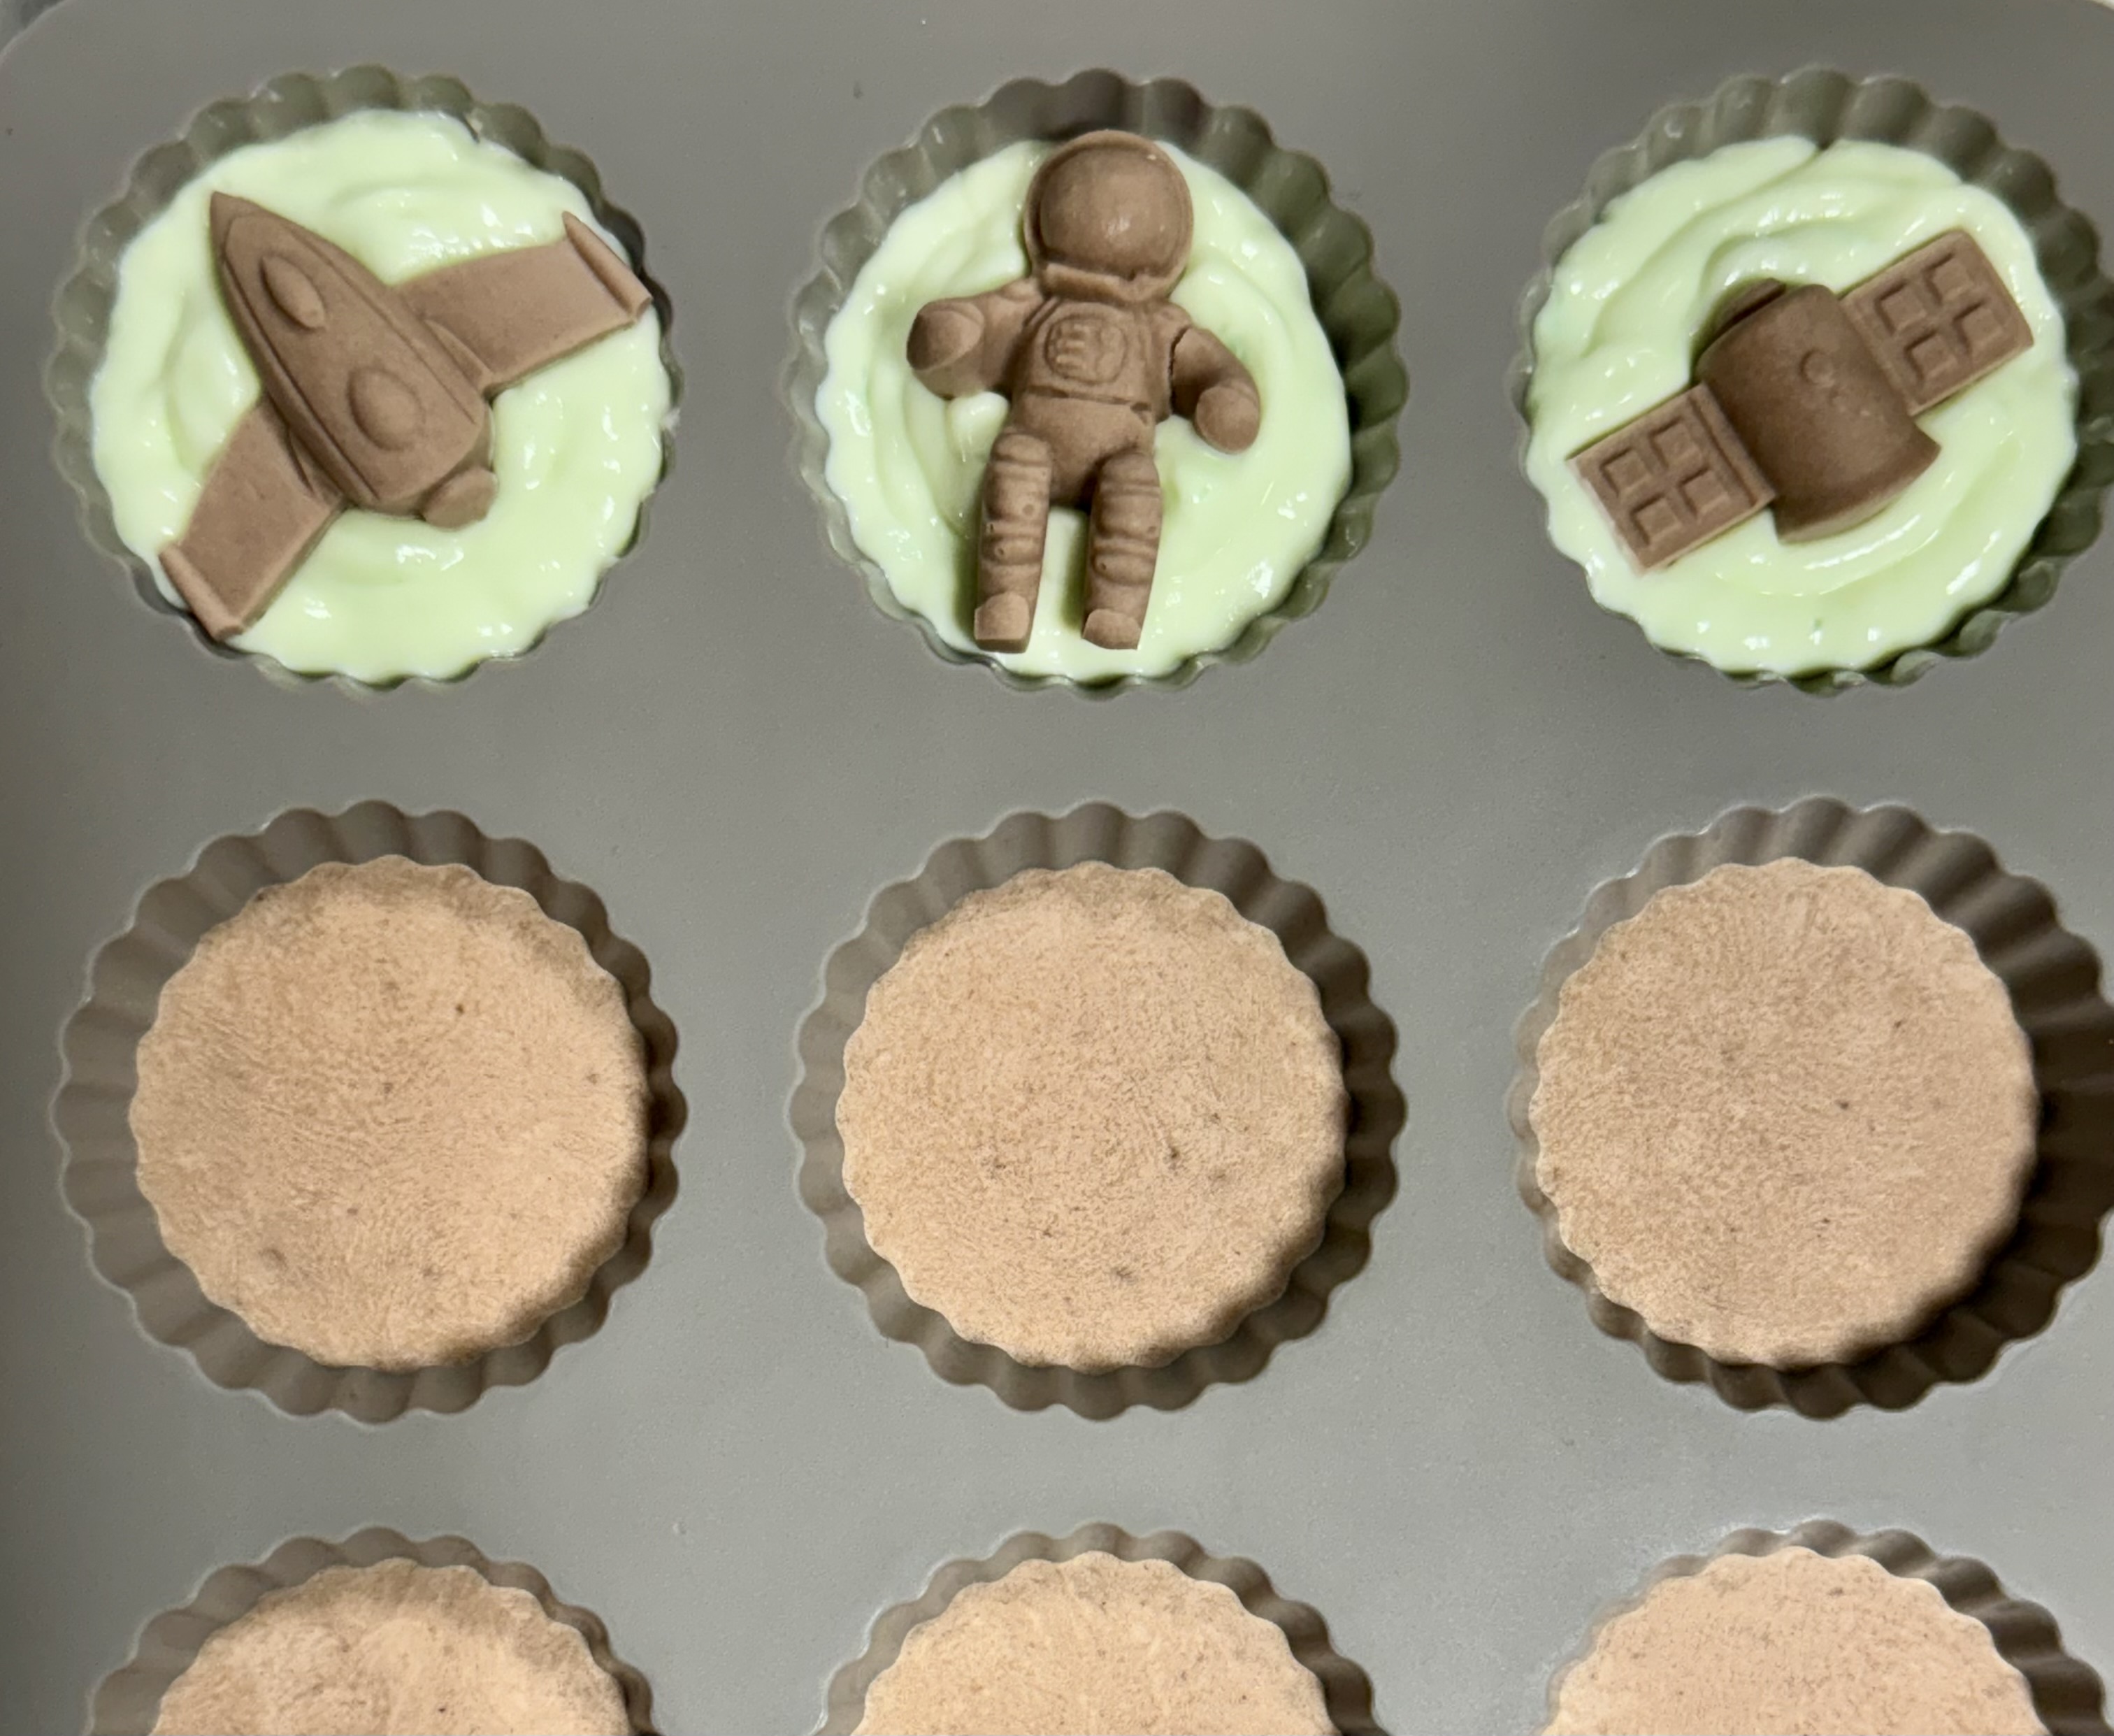 I used my Chef Squeeze Bottle with the narrow tip to pipe the cheesecake and pistachio pudding mixture into the cups molds on top of the pre-frozen chocolate layer. I then carefully removed the pre-frozen space shapes and placed them on top, pressing them gently into the pudding mixture to take hold.
 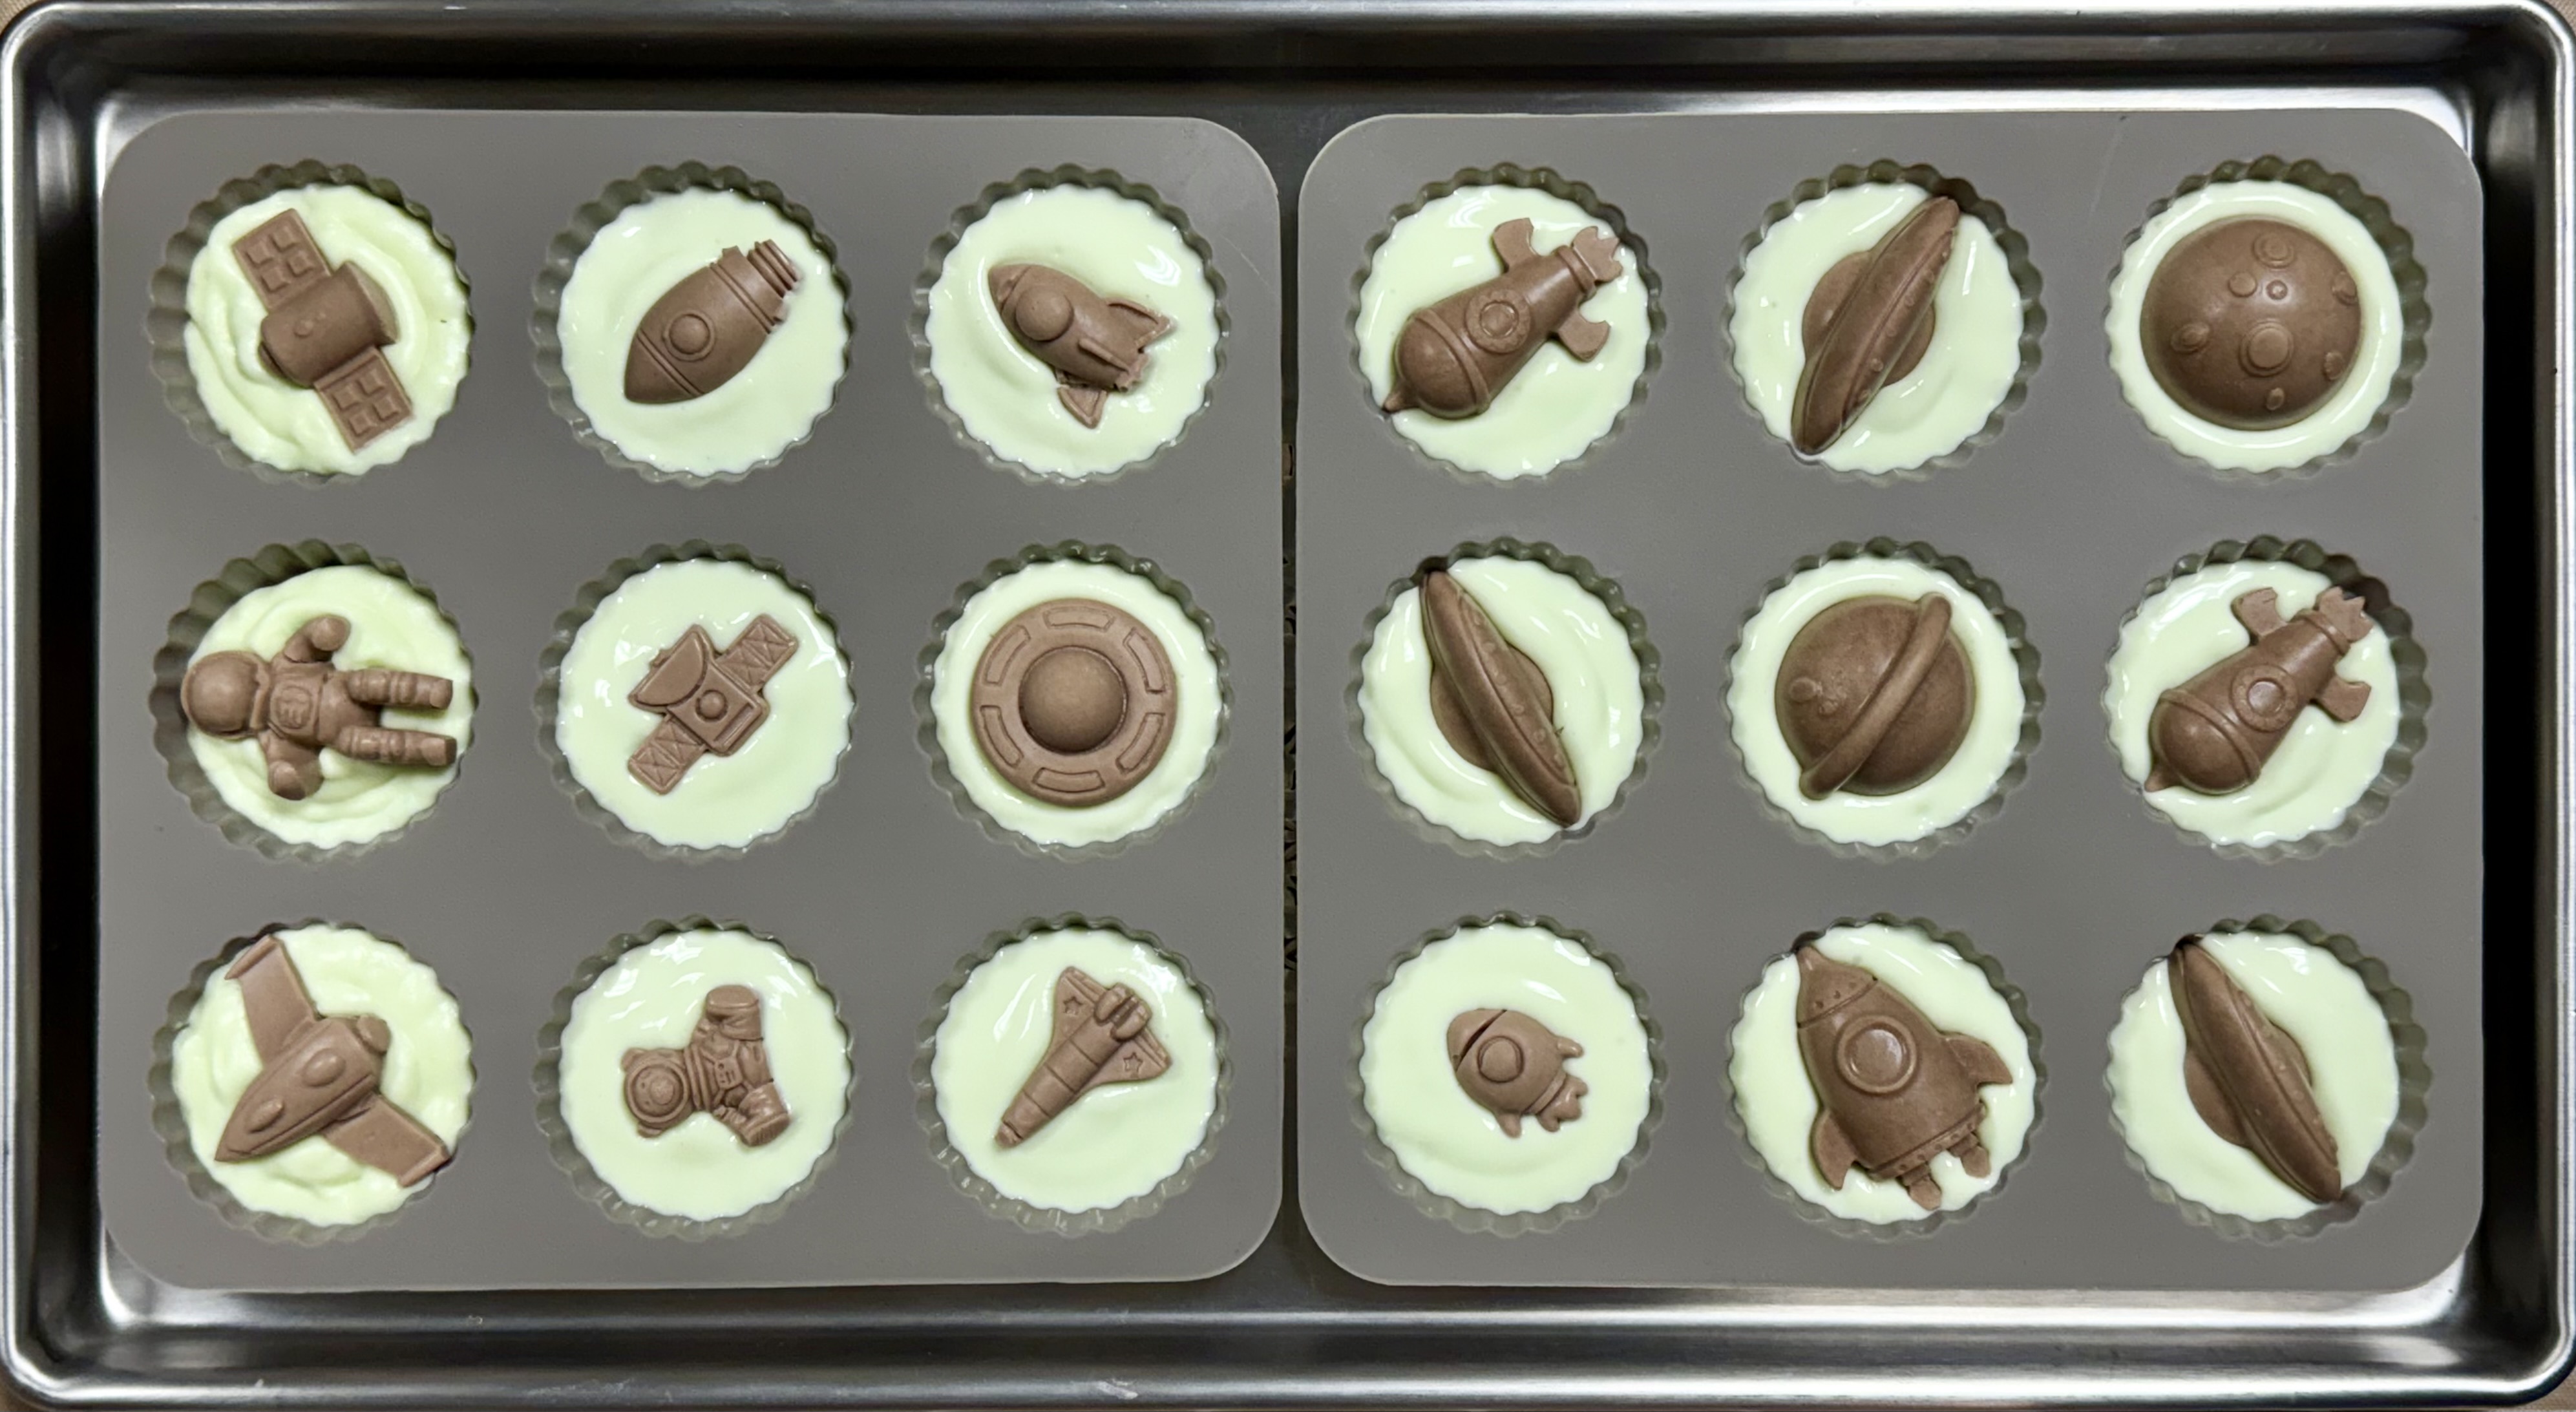 I set them into the freezer to pre-freeze while I worked on the next batches of fruits and cheesecake filling.
 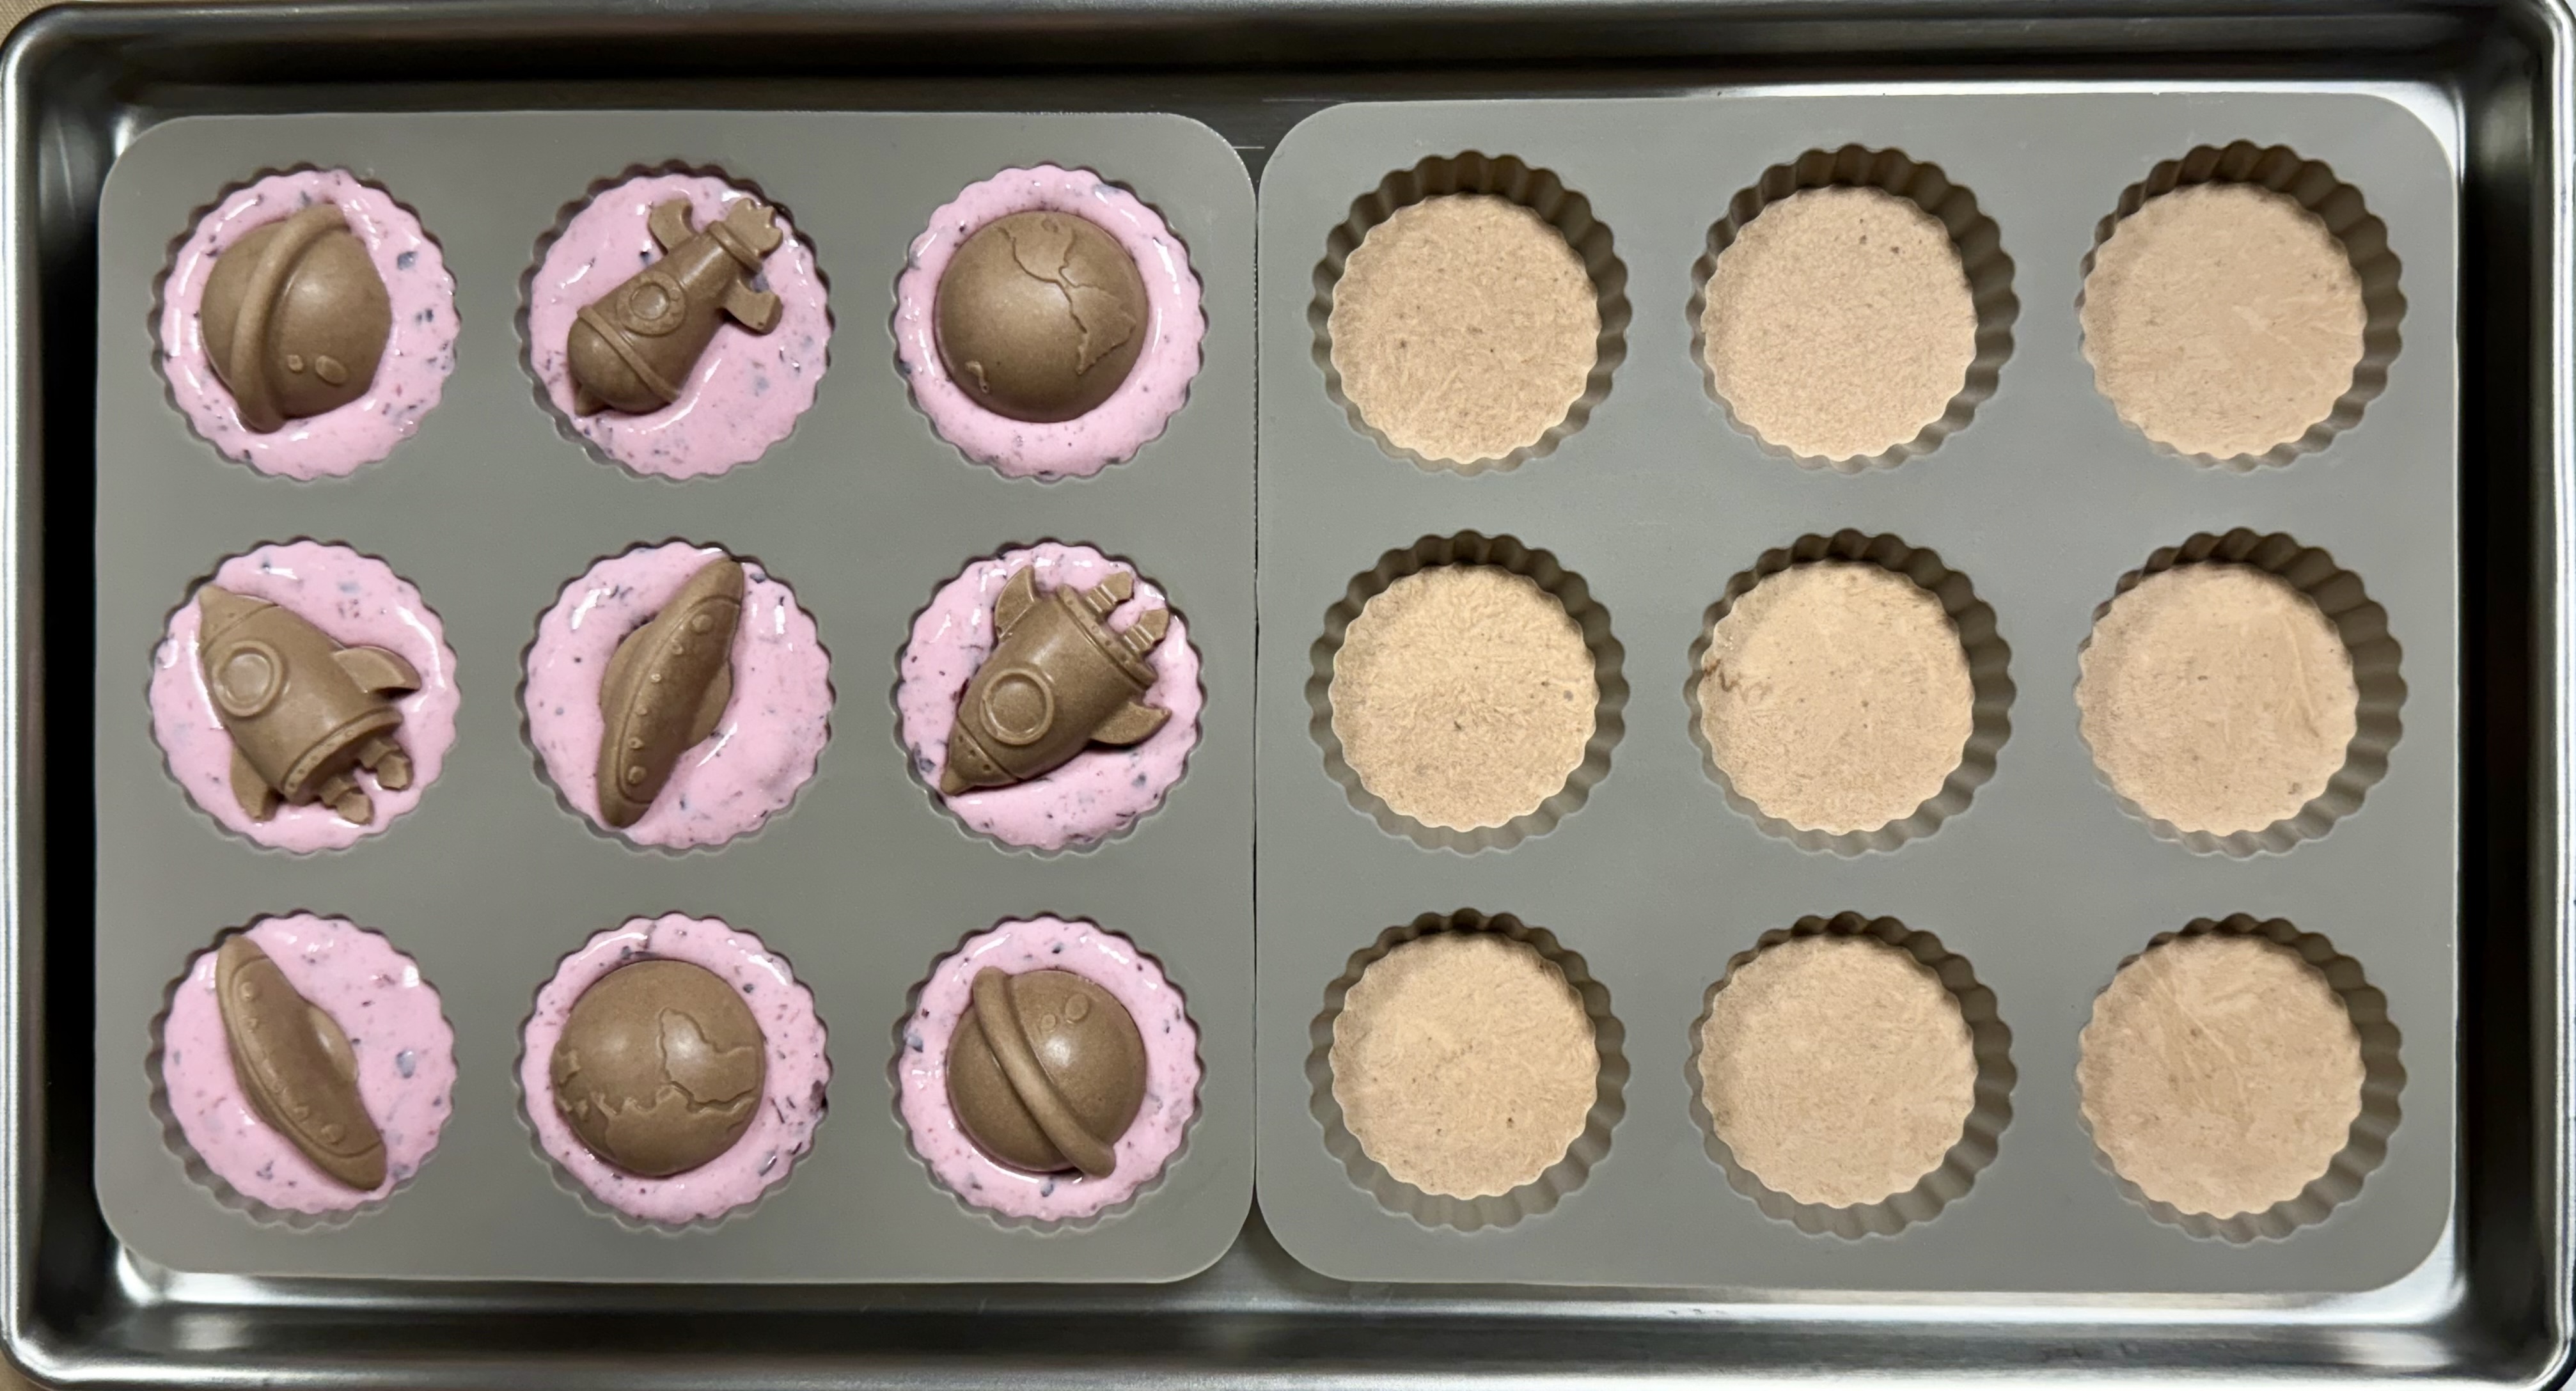 I used our Vitamix to blend up Strawberries, Raspberries, Blueberries, and then added the cheesecake filling and water as needed to thin each mixture.
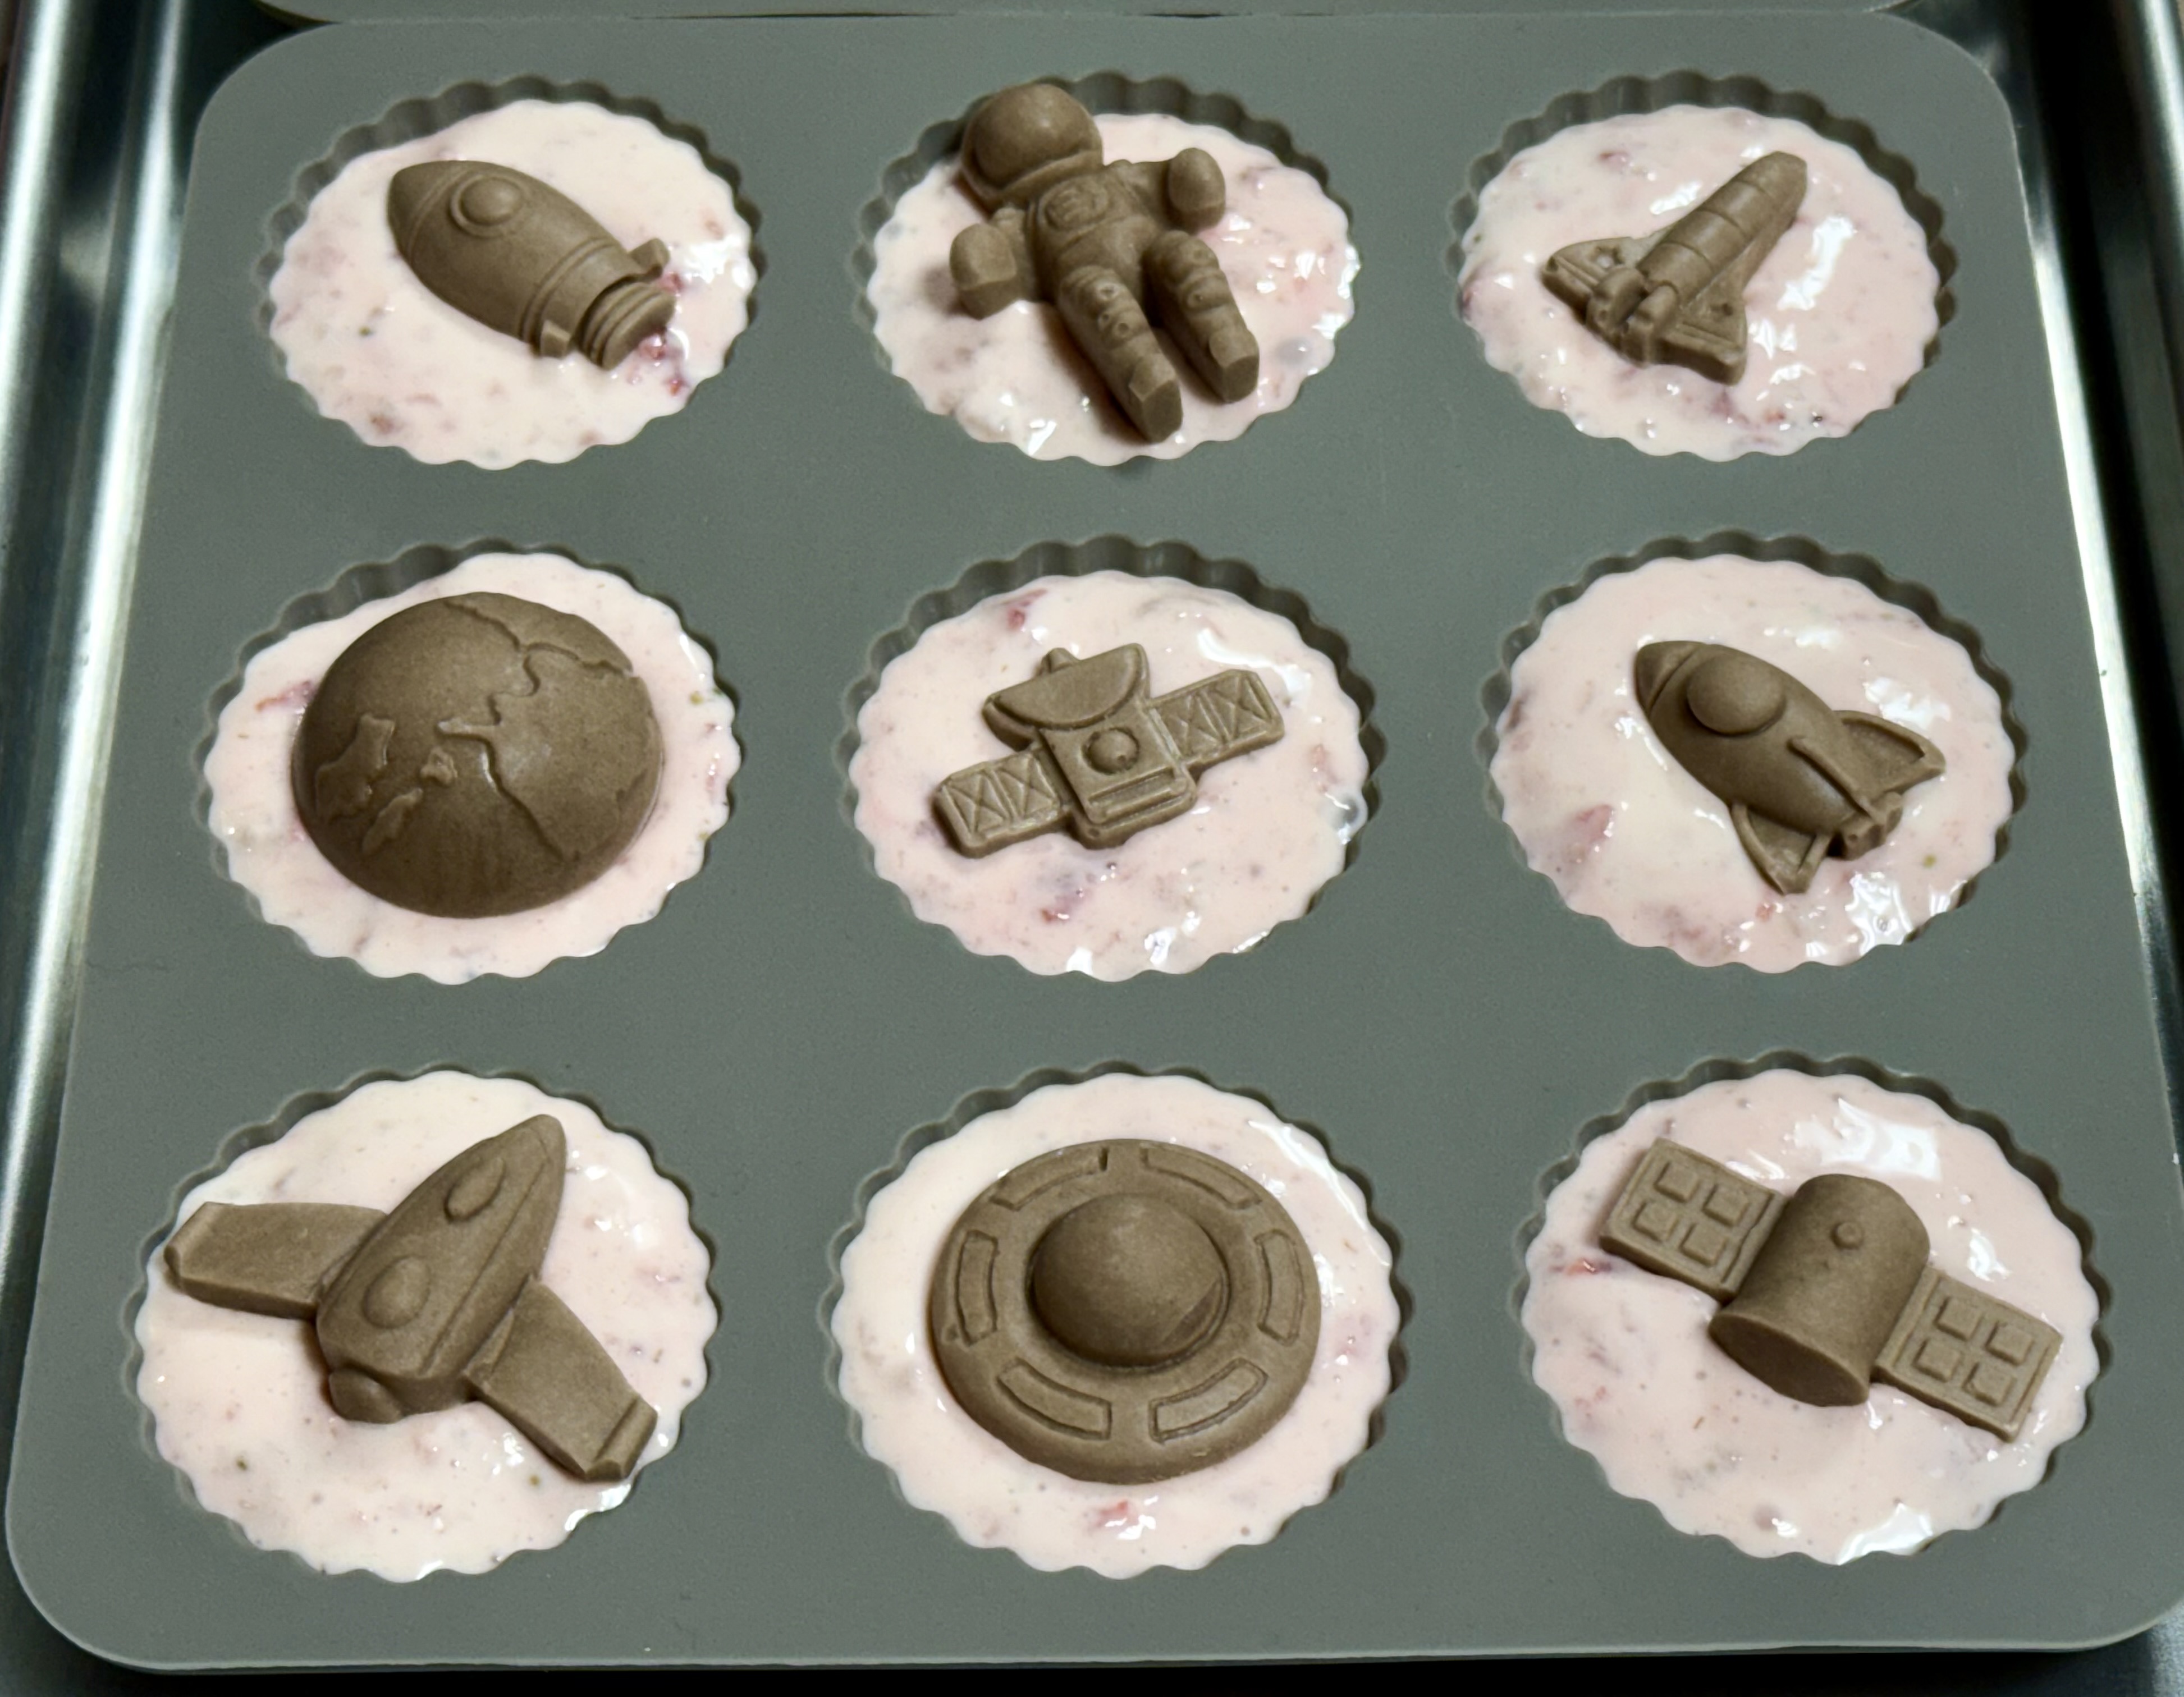 Photo above shows the Strawberry and Cheesecake mixture added on top of the chocolate layer in the cups cavities, and then the space-shaped pieces on top.
Photo below shows the Raspberry and Cheesecake mixture added on top of the chocolate layer in the cups cavities, and then the space-shaped pieces on top.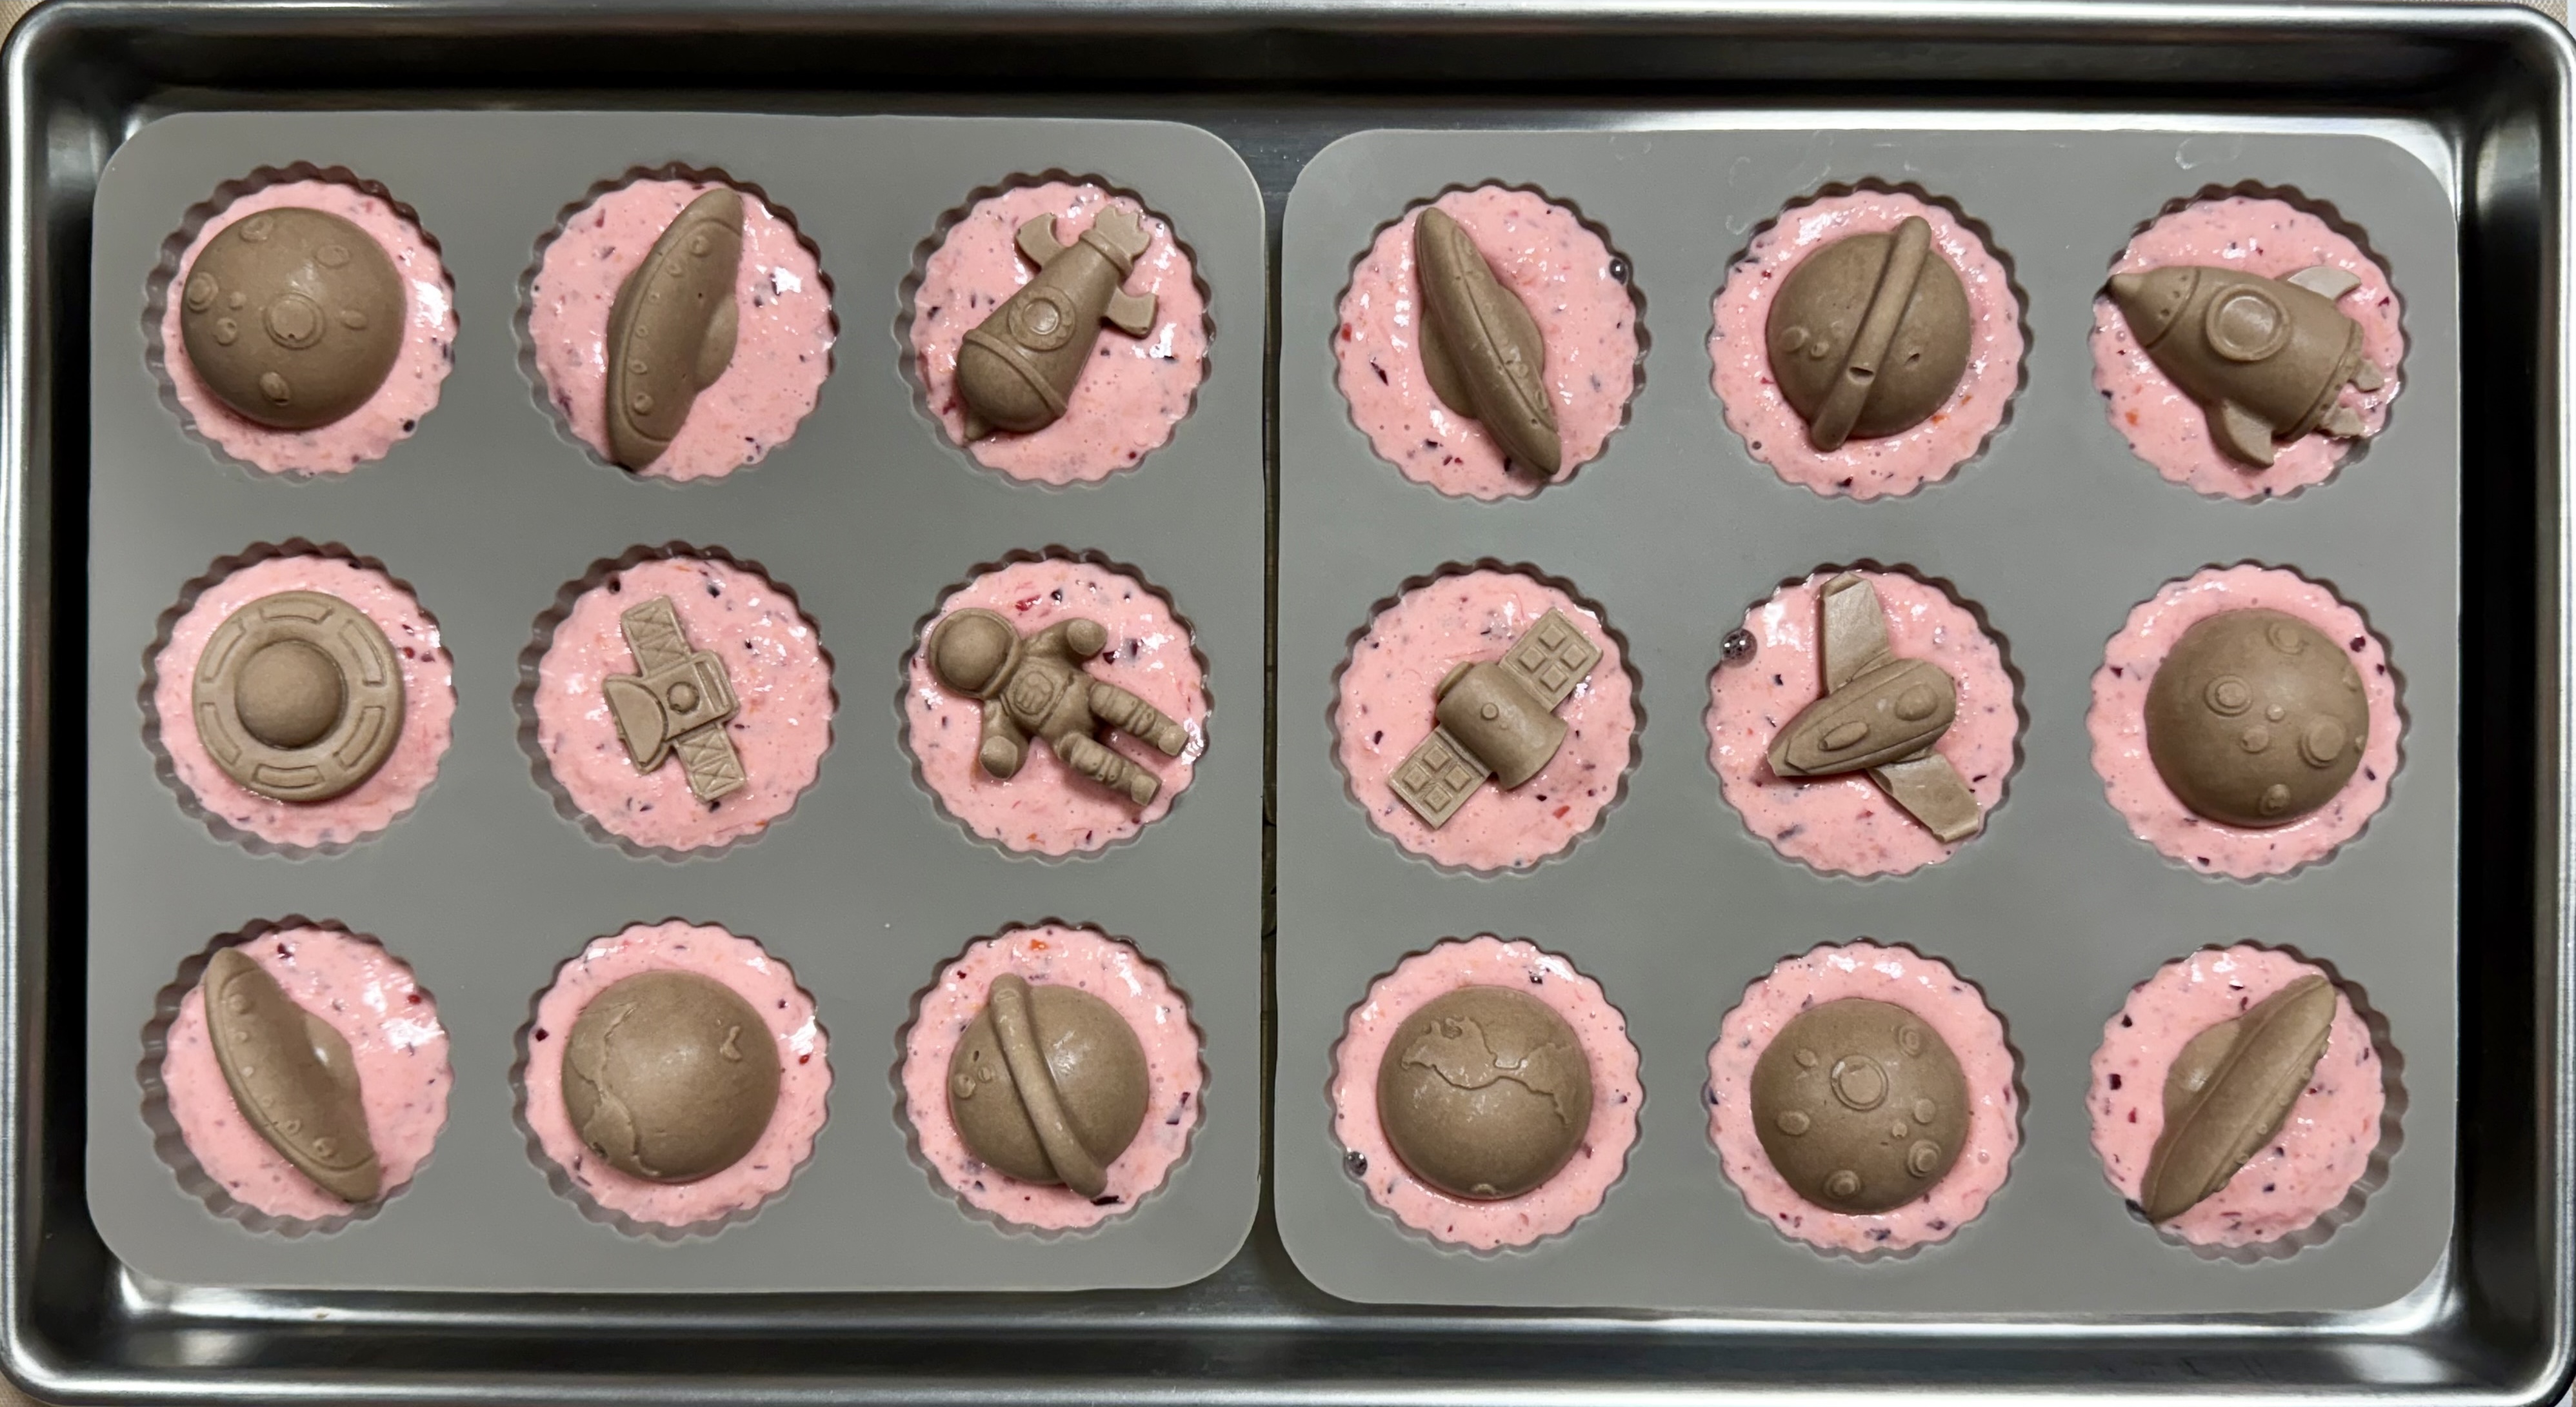 Photo below shows the Blueberry and Cheesecake mixture added on top of the chocolate layer in the cups cavities, and then the space-shaped pieces on top. Depending on the blueberries you use, and the concentration you mix up, the blueberry cups can range in color from dark to light purple.
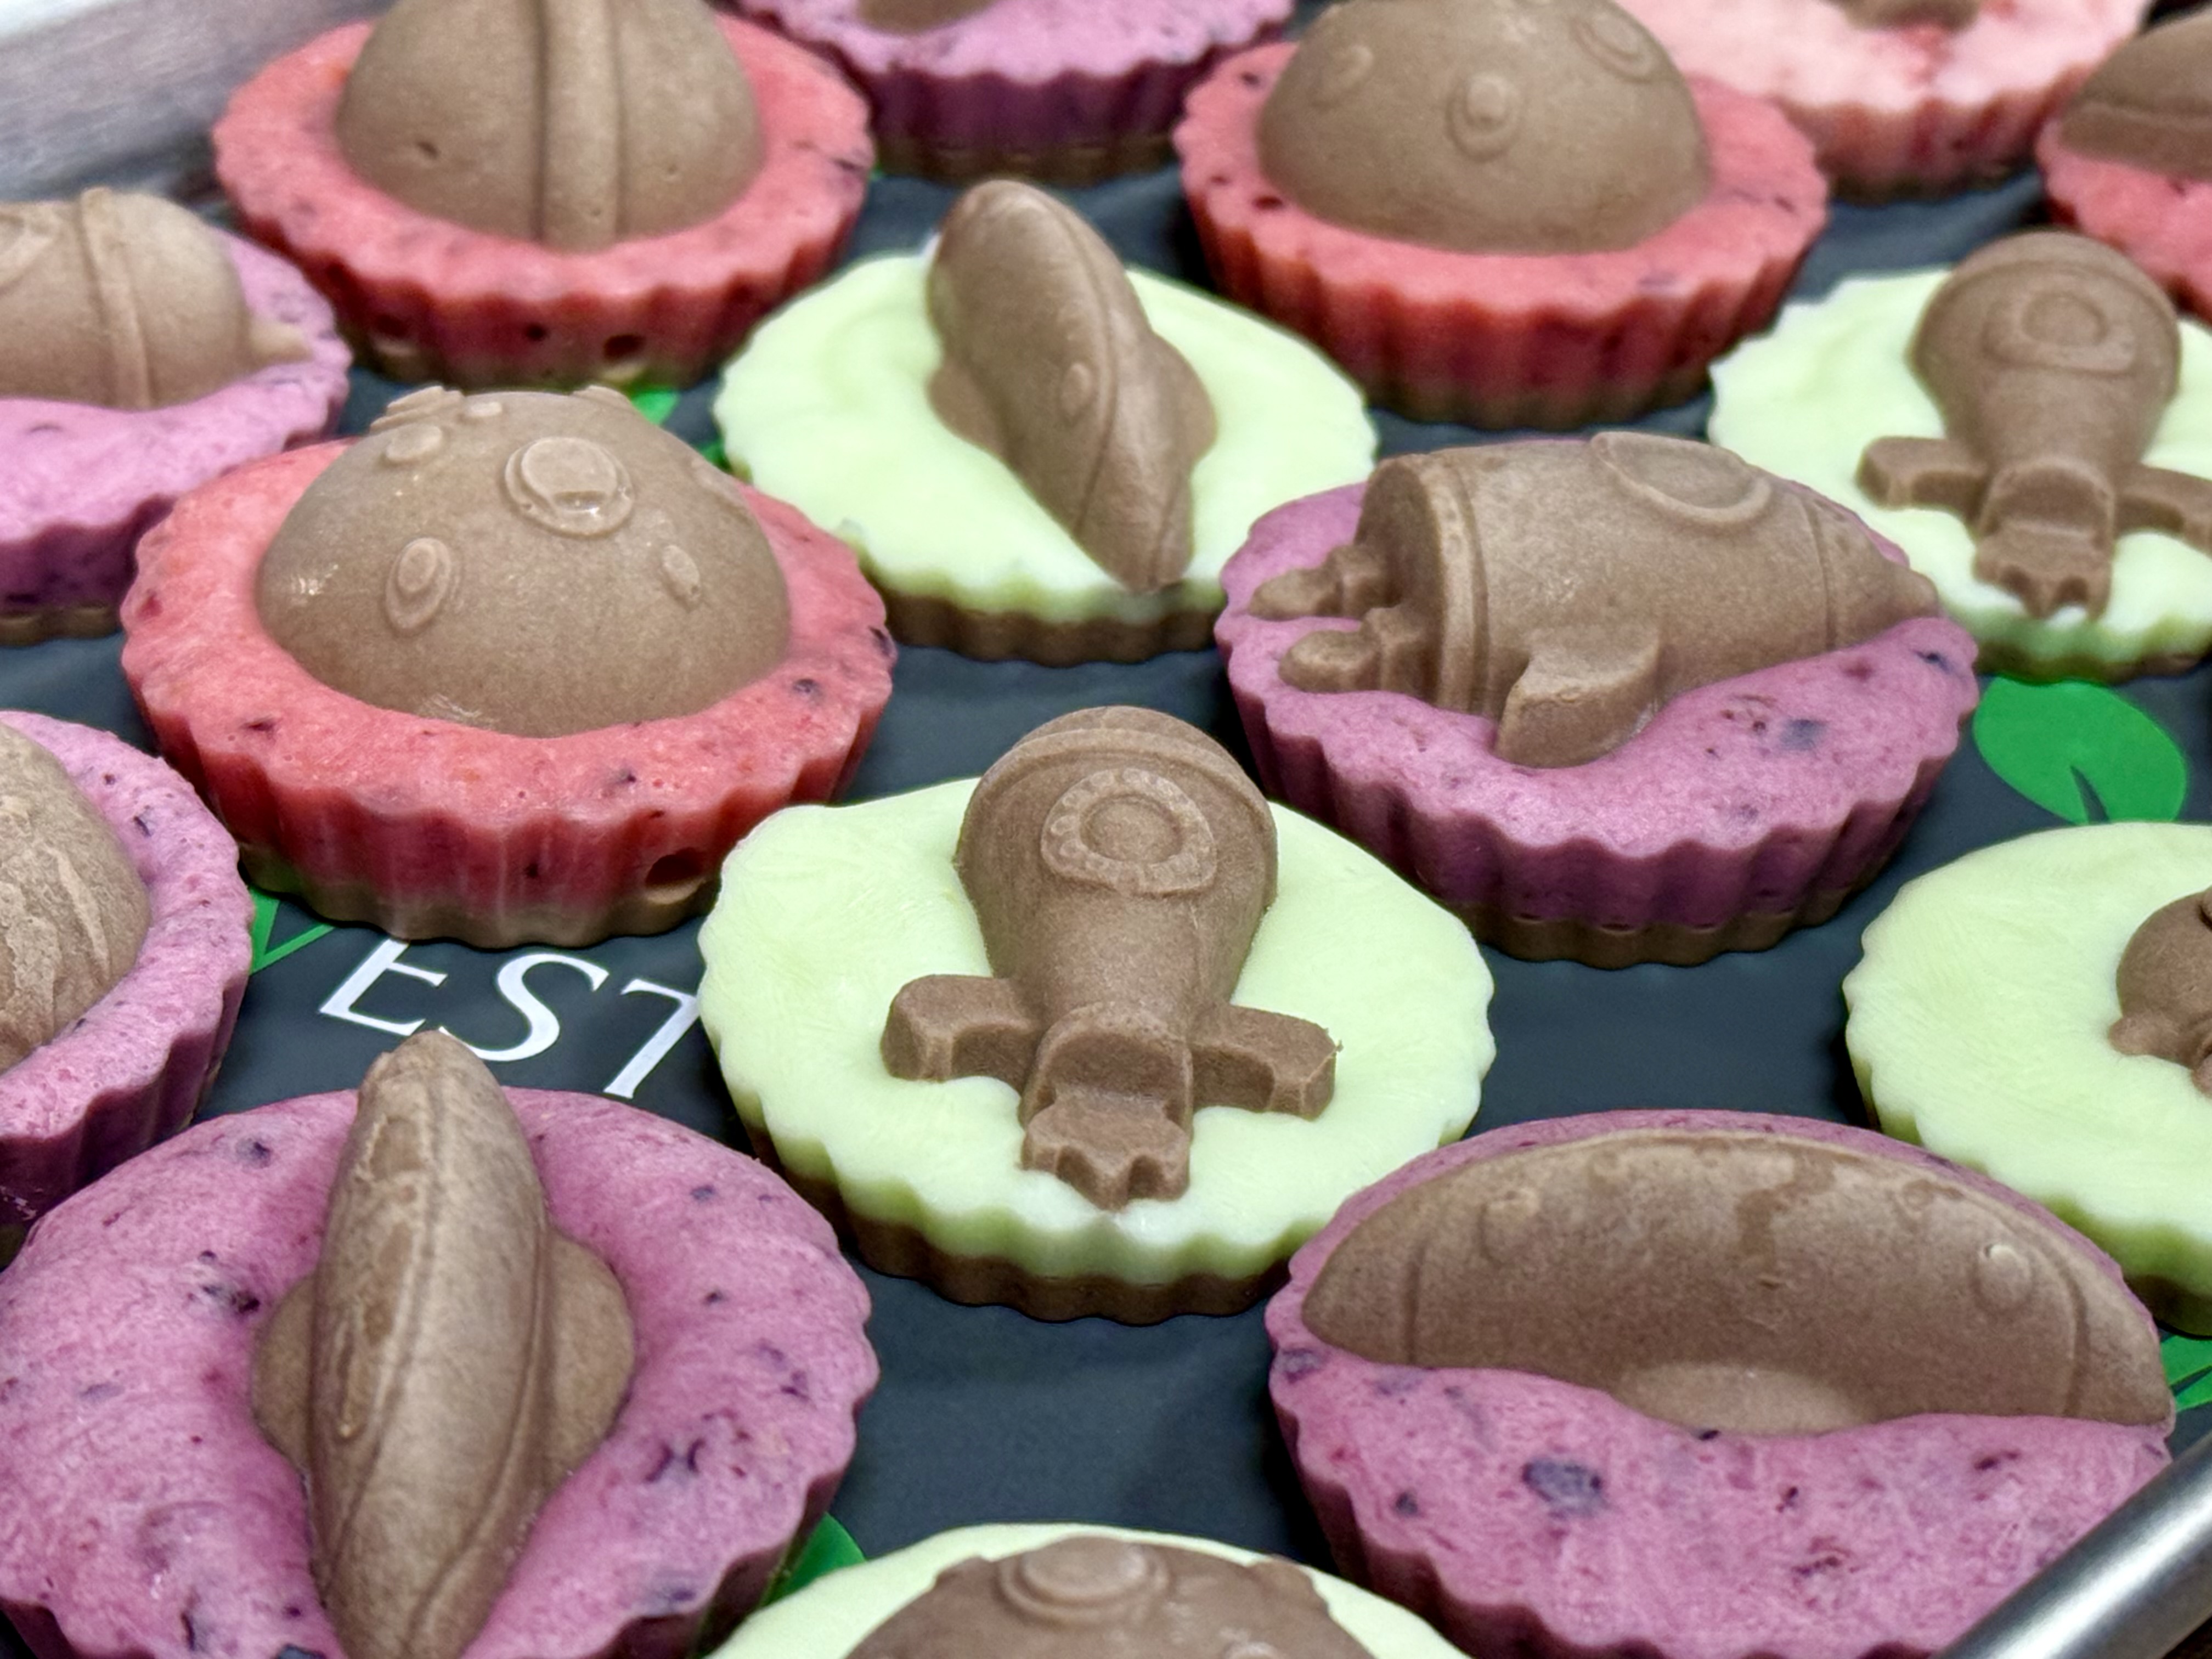 Recipe for Cheesecake and Fruit Mixtures: Generally, I take 1 Cup of Cheesecake Filling + 1/4 Cup Water + 1/4 Cup Pureed Fruit. If the fruits are particularly watery then I don't add the additional water. If the fruits are ripe and dark then I may add a little less to achieve the color I'm going for. For example, with strawberries sometimes I like a nice light pink color and sometimes I like a darker pink color. I adjust the amount of pureed fruit accordingly.
 FD Tip: Diluting cheesecake mixtures with water makes the pieces easier to bite into and to chew once freeze dried. If you’ve ever made cheesecake bites and thought they were way to hard then try this trick. It also works well when making FD Pie Bites! Filtered, Distilled, or Bottled water tastes better than tap water too.
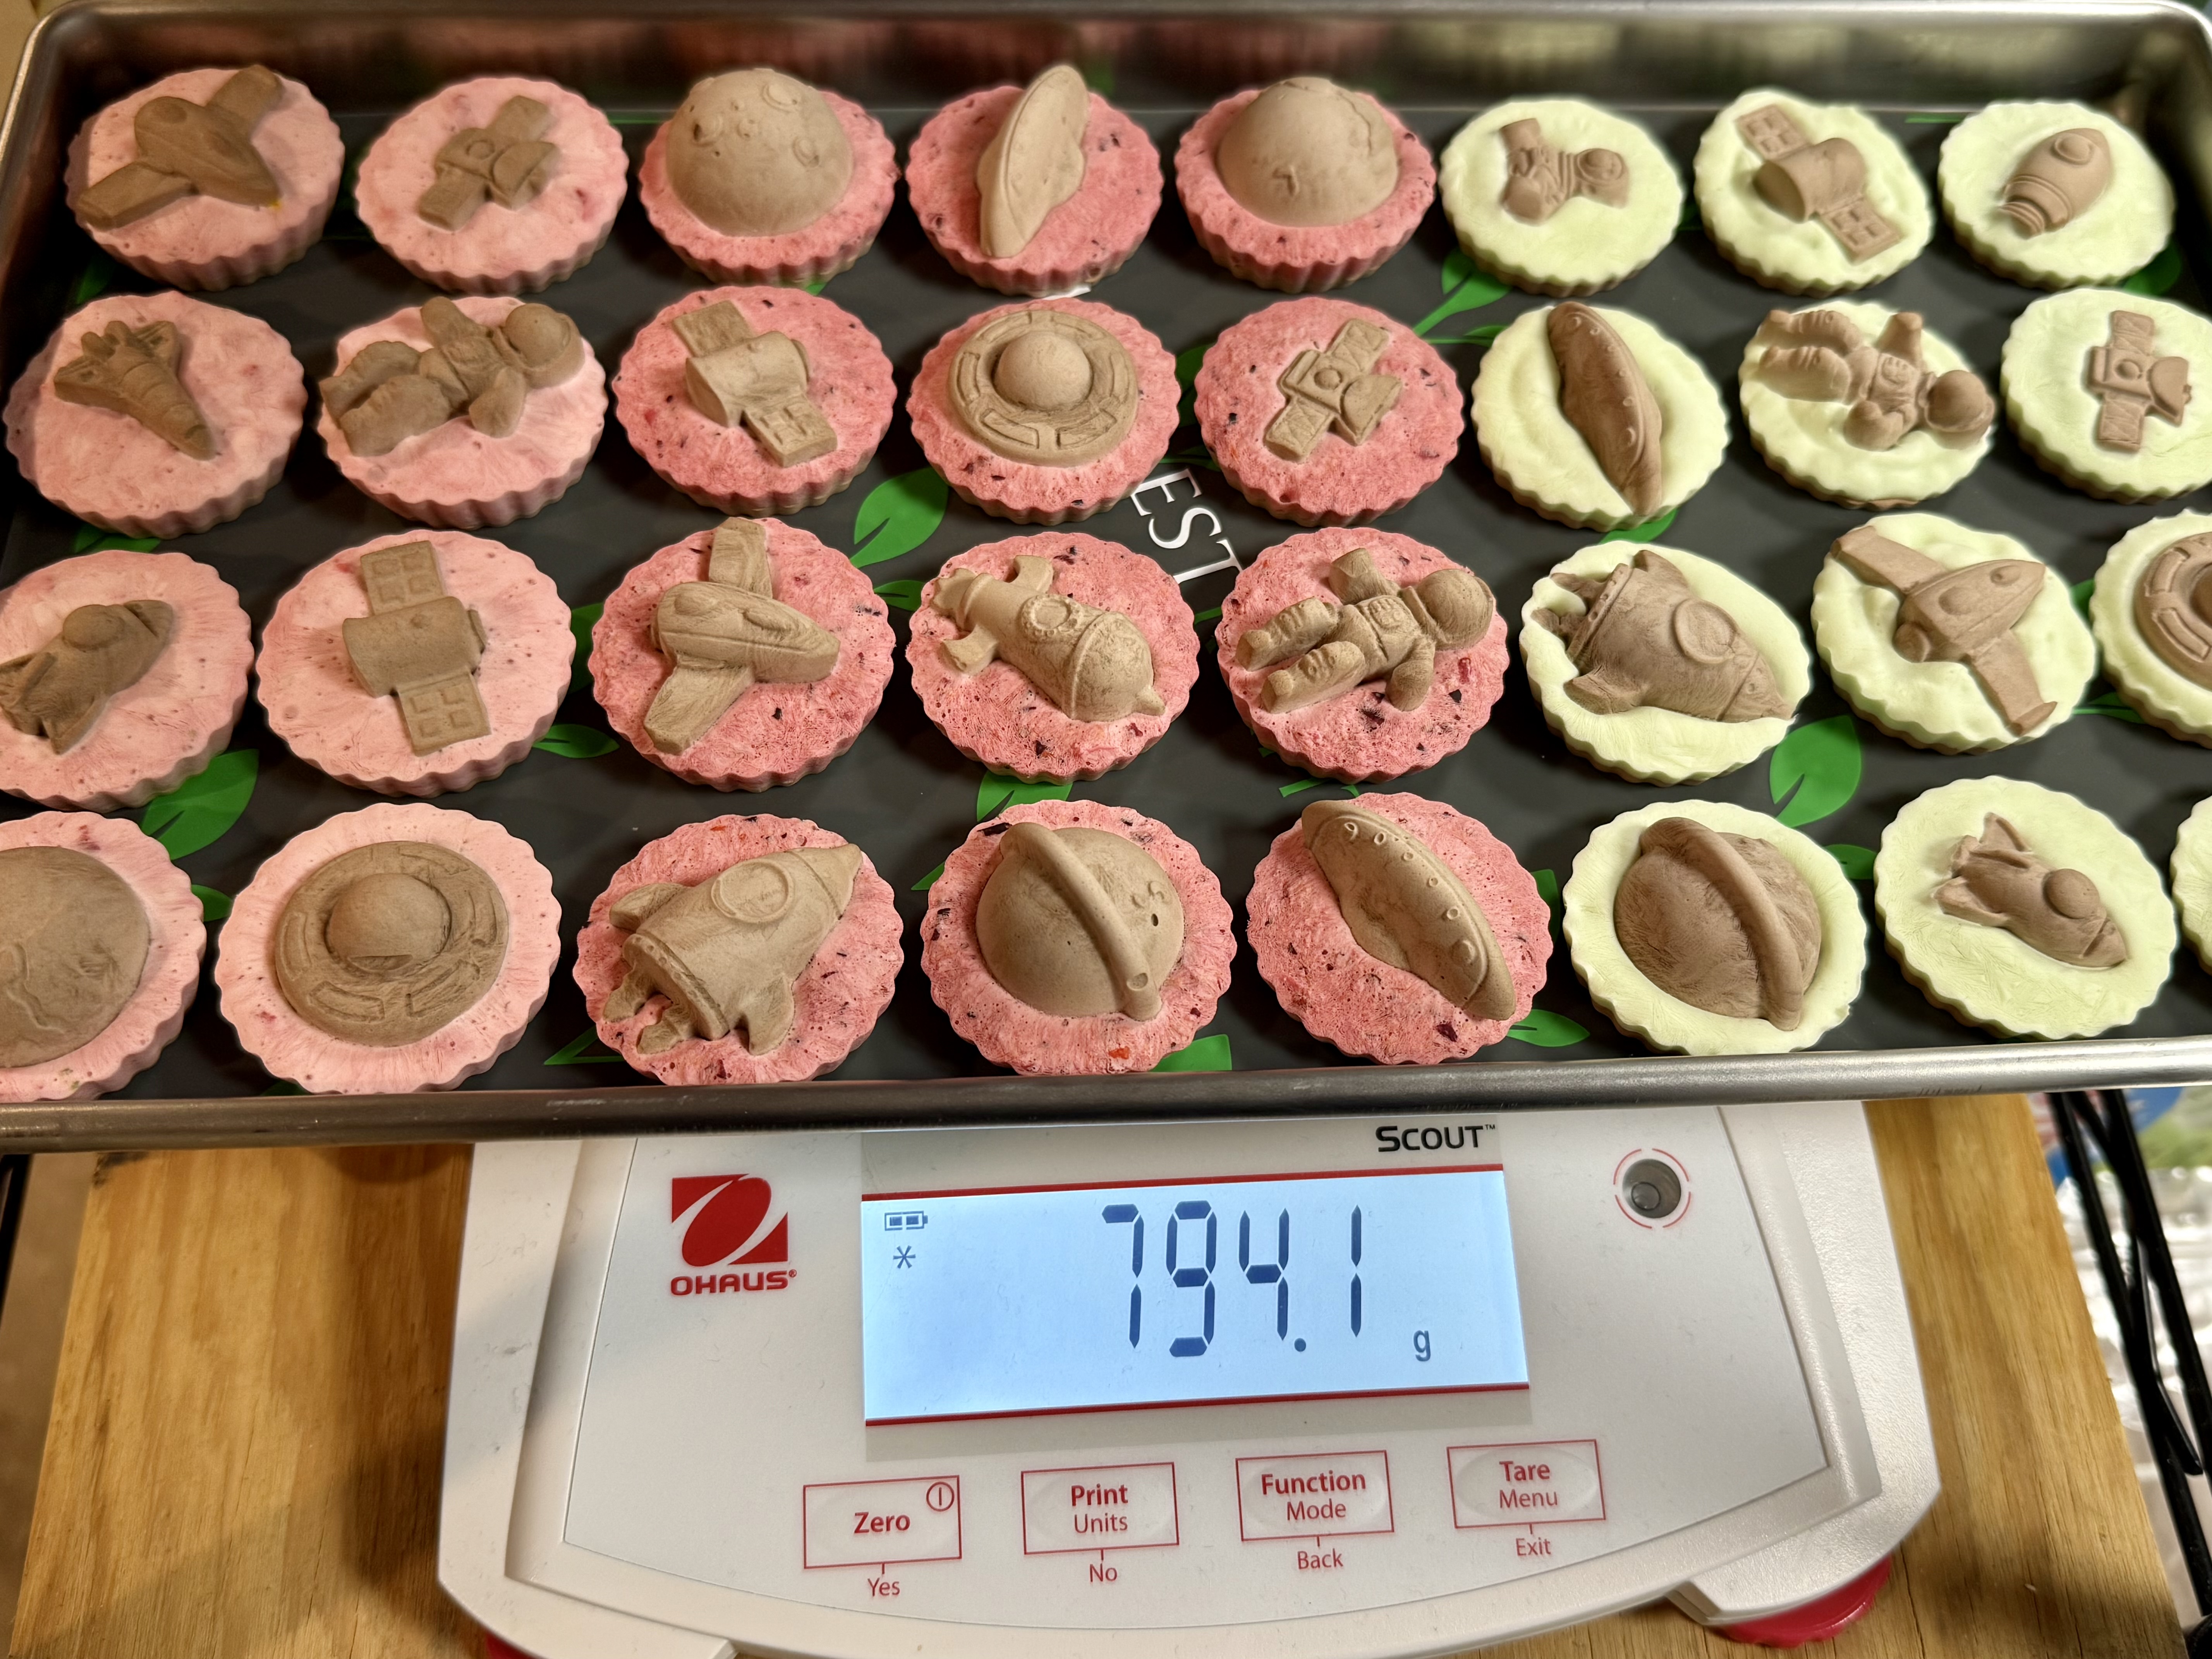
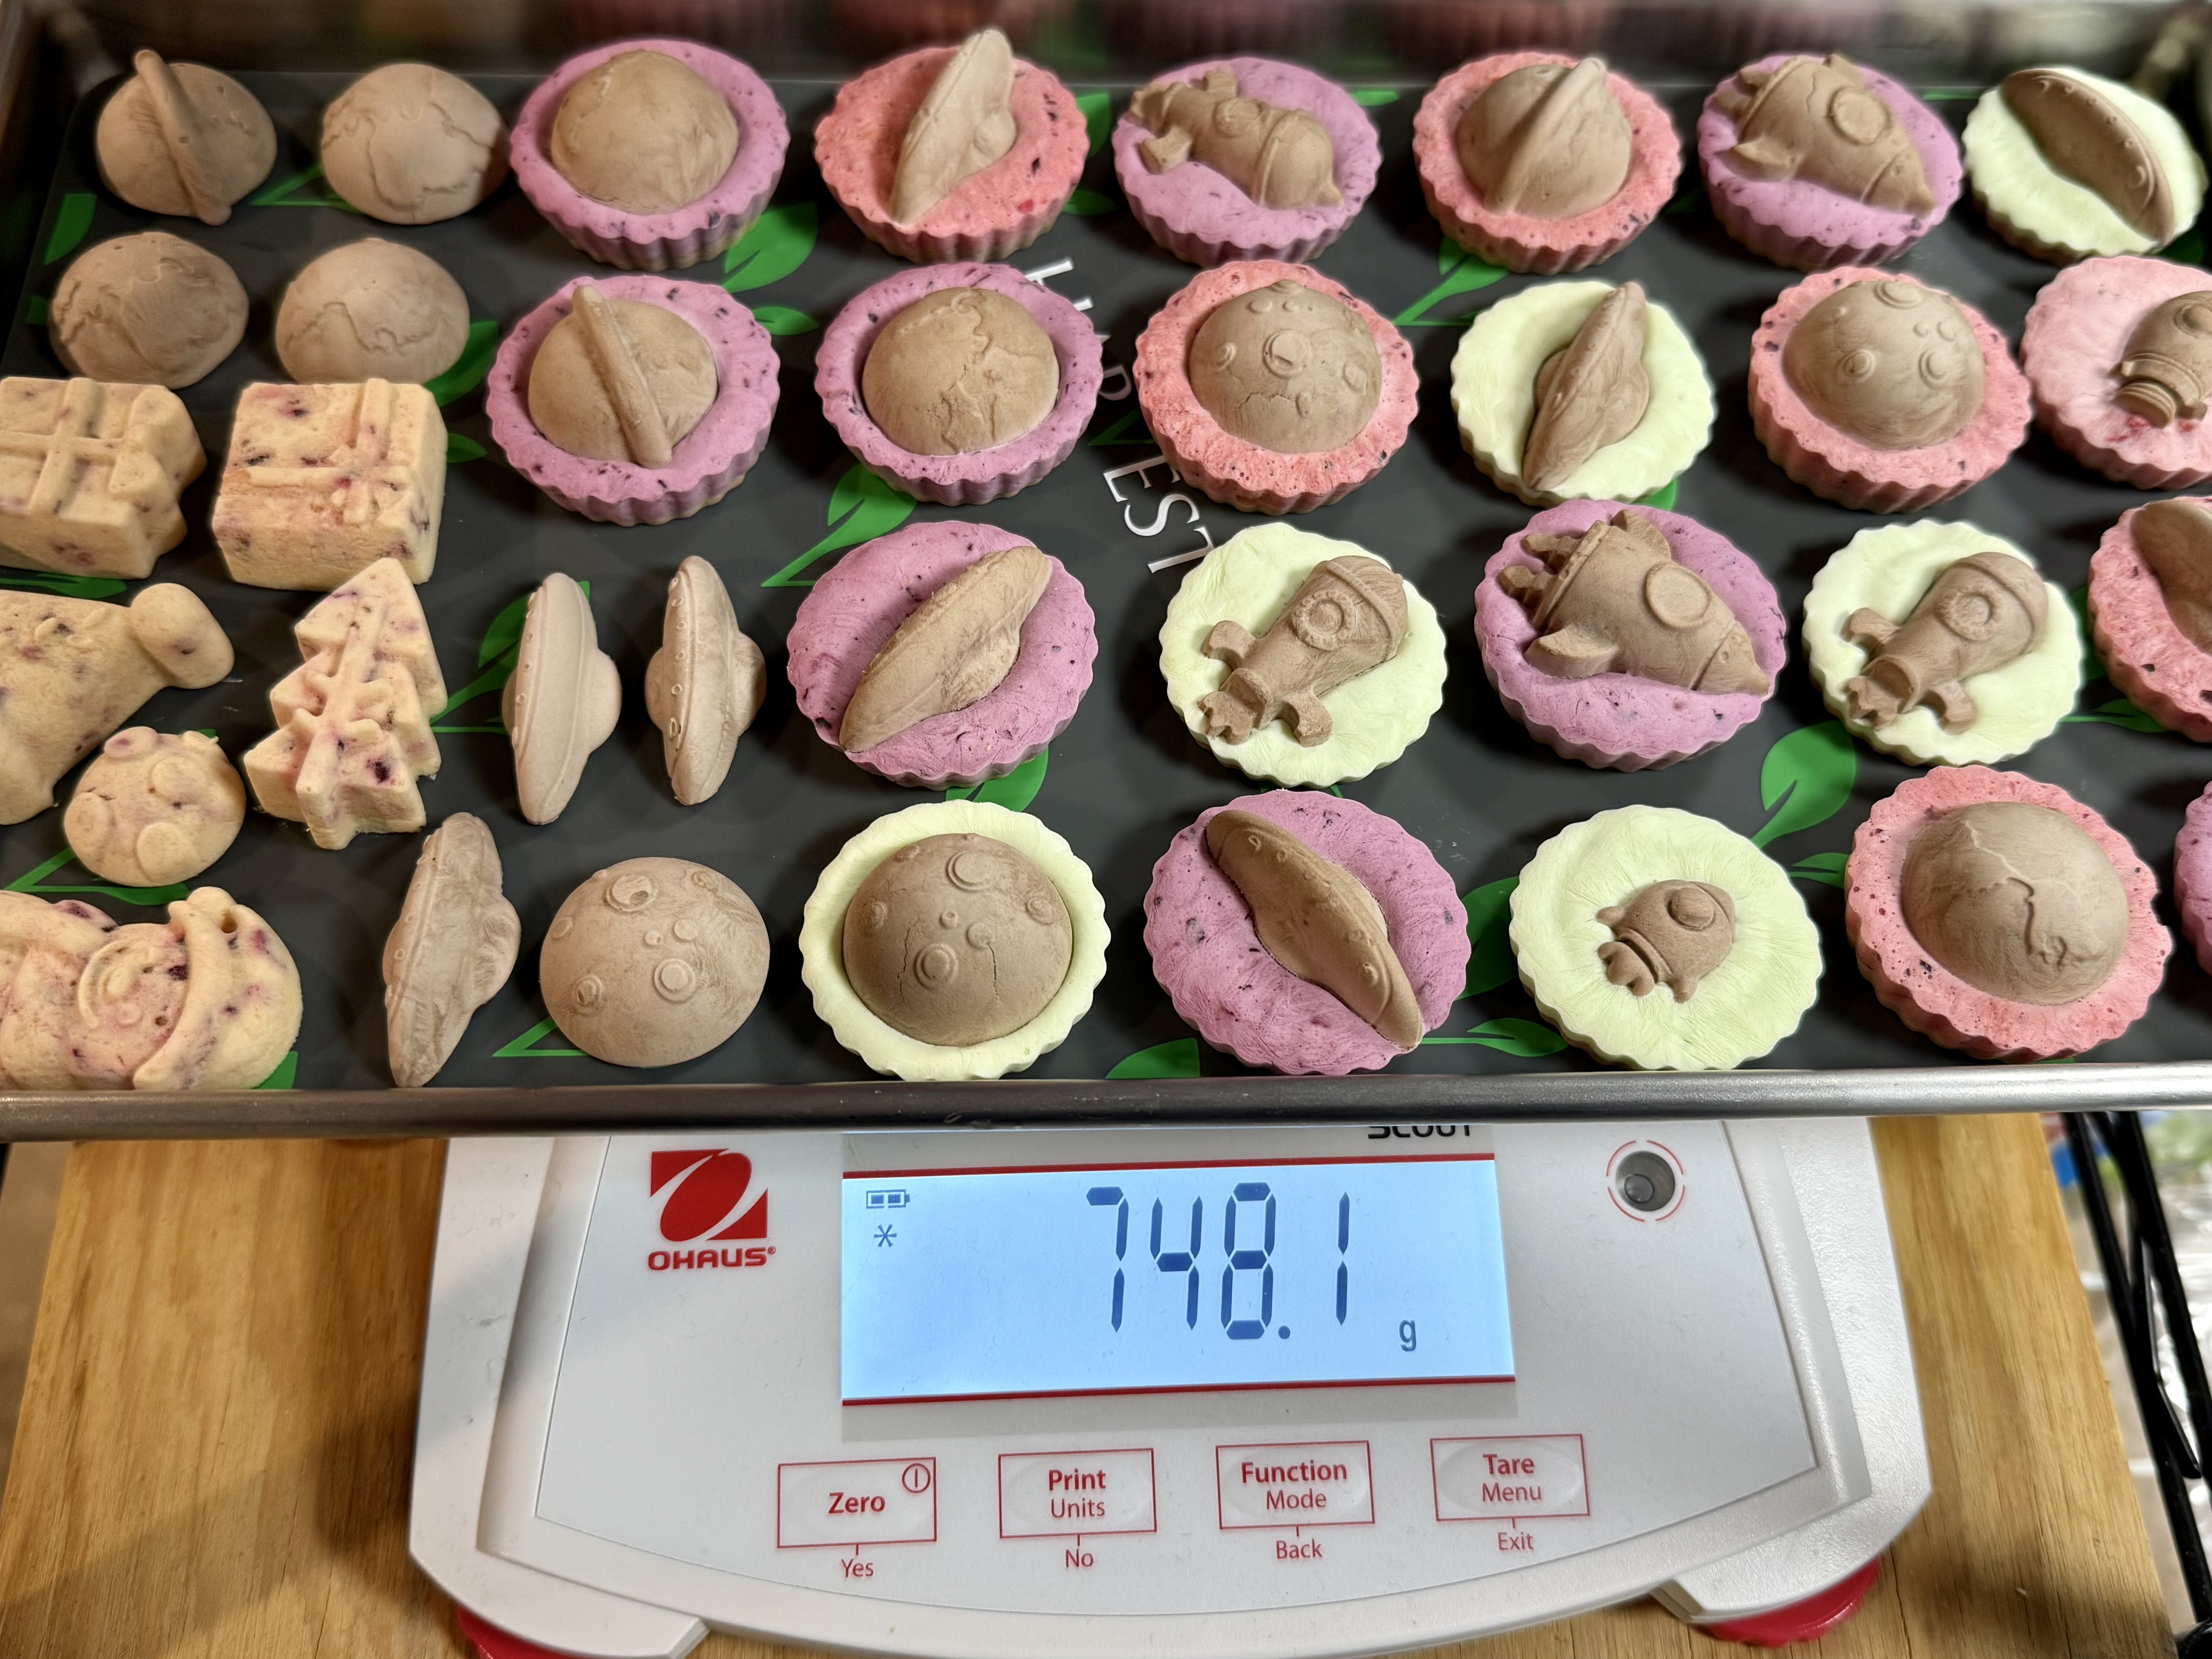
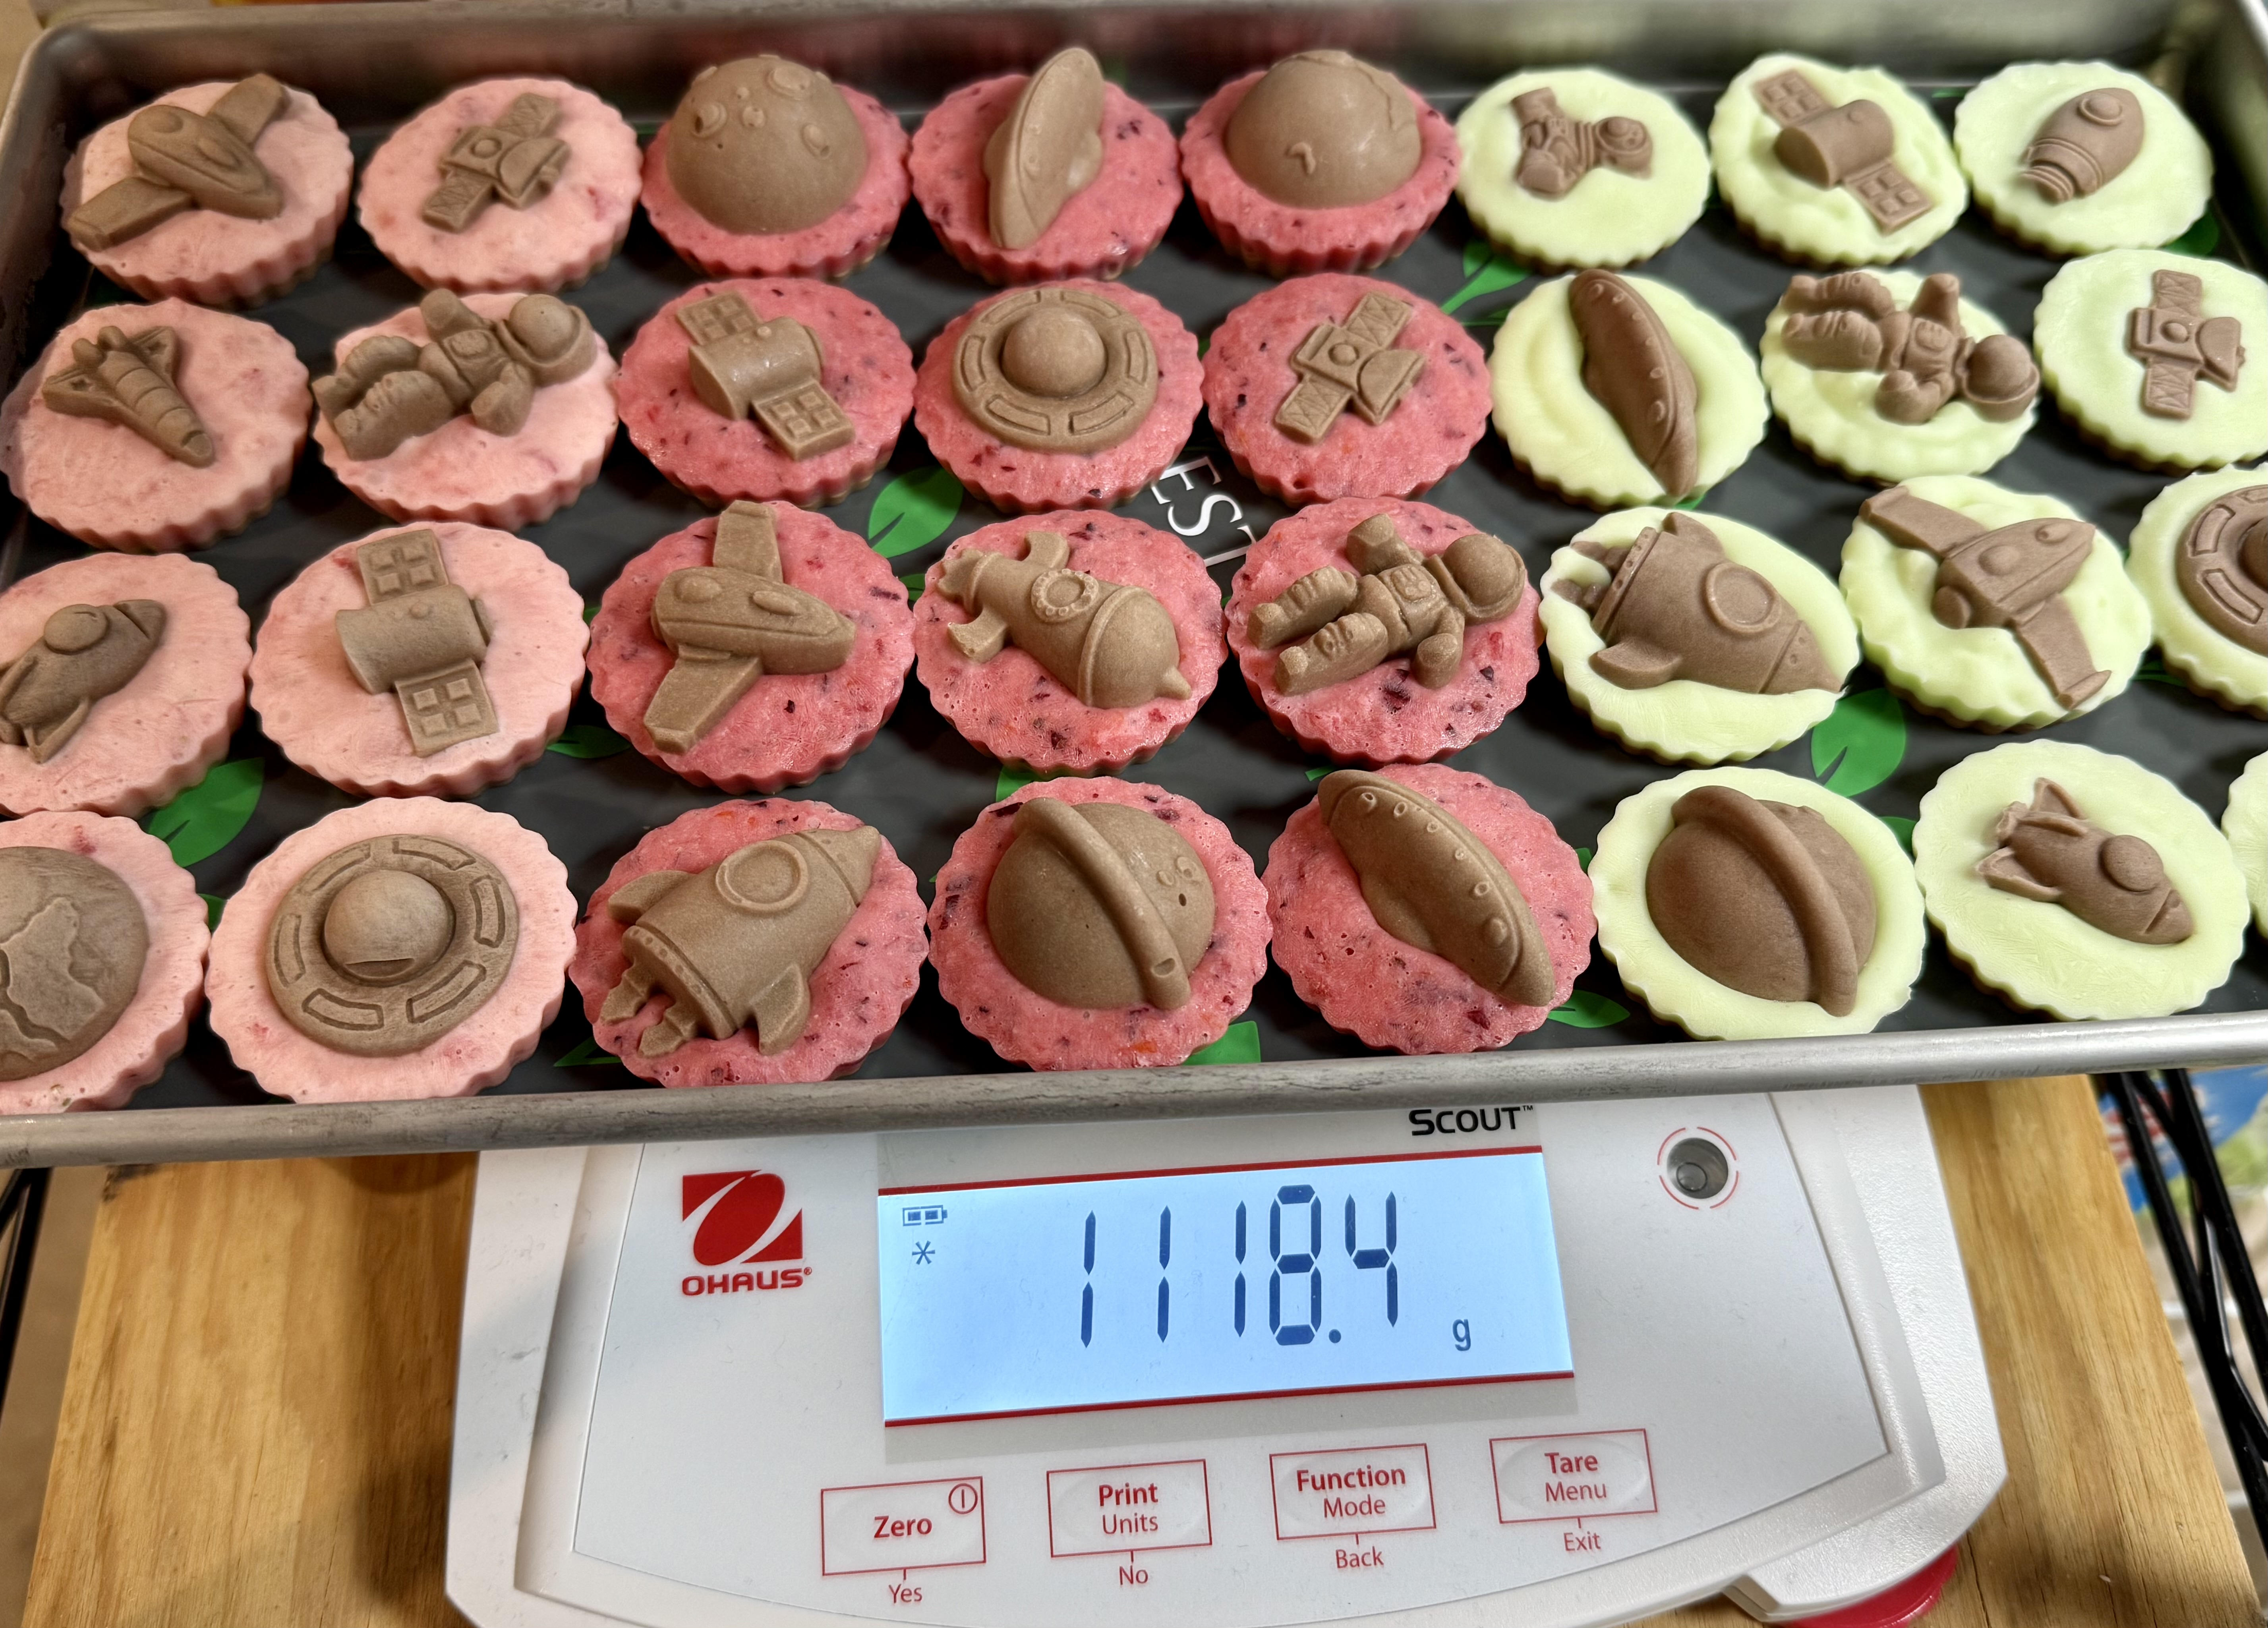 Weighing Trays:
We like to weigh our full trays of food items to be sure we're within the capacity limits of our model. According to our communications with HR Support, the #1 mistake users make is overloading their trays! Overloading can lead to excess moisture getting pulled into the pump which can then lead to rust and all sorts of resulting issues.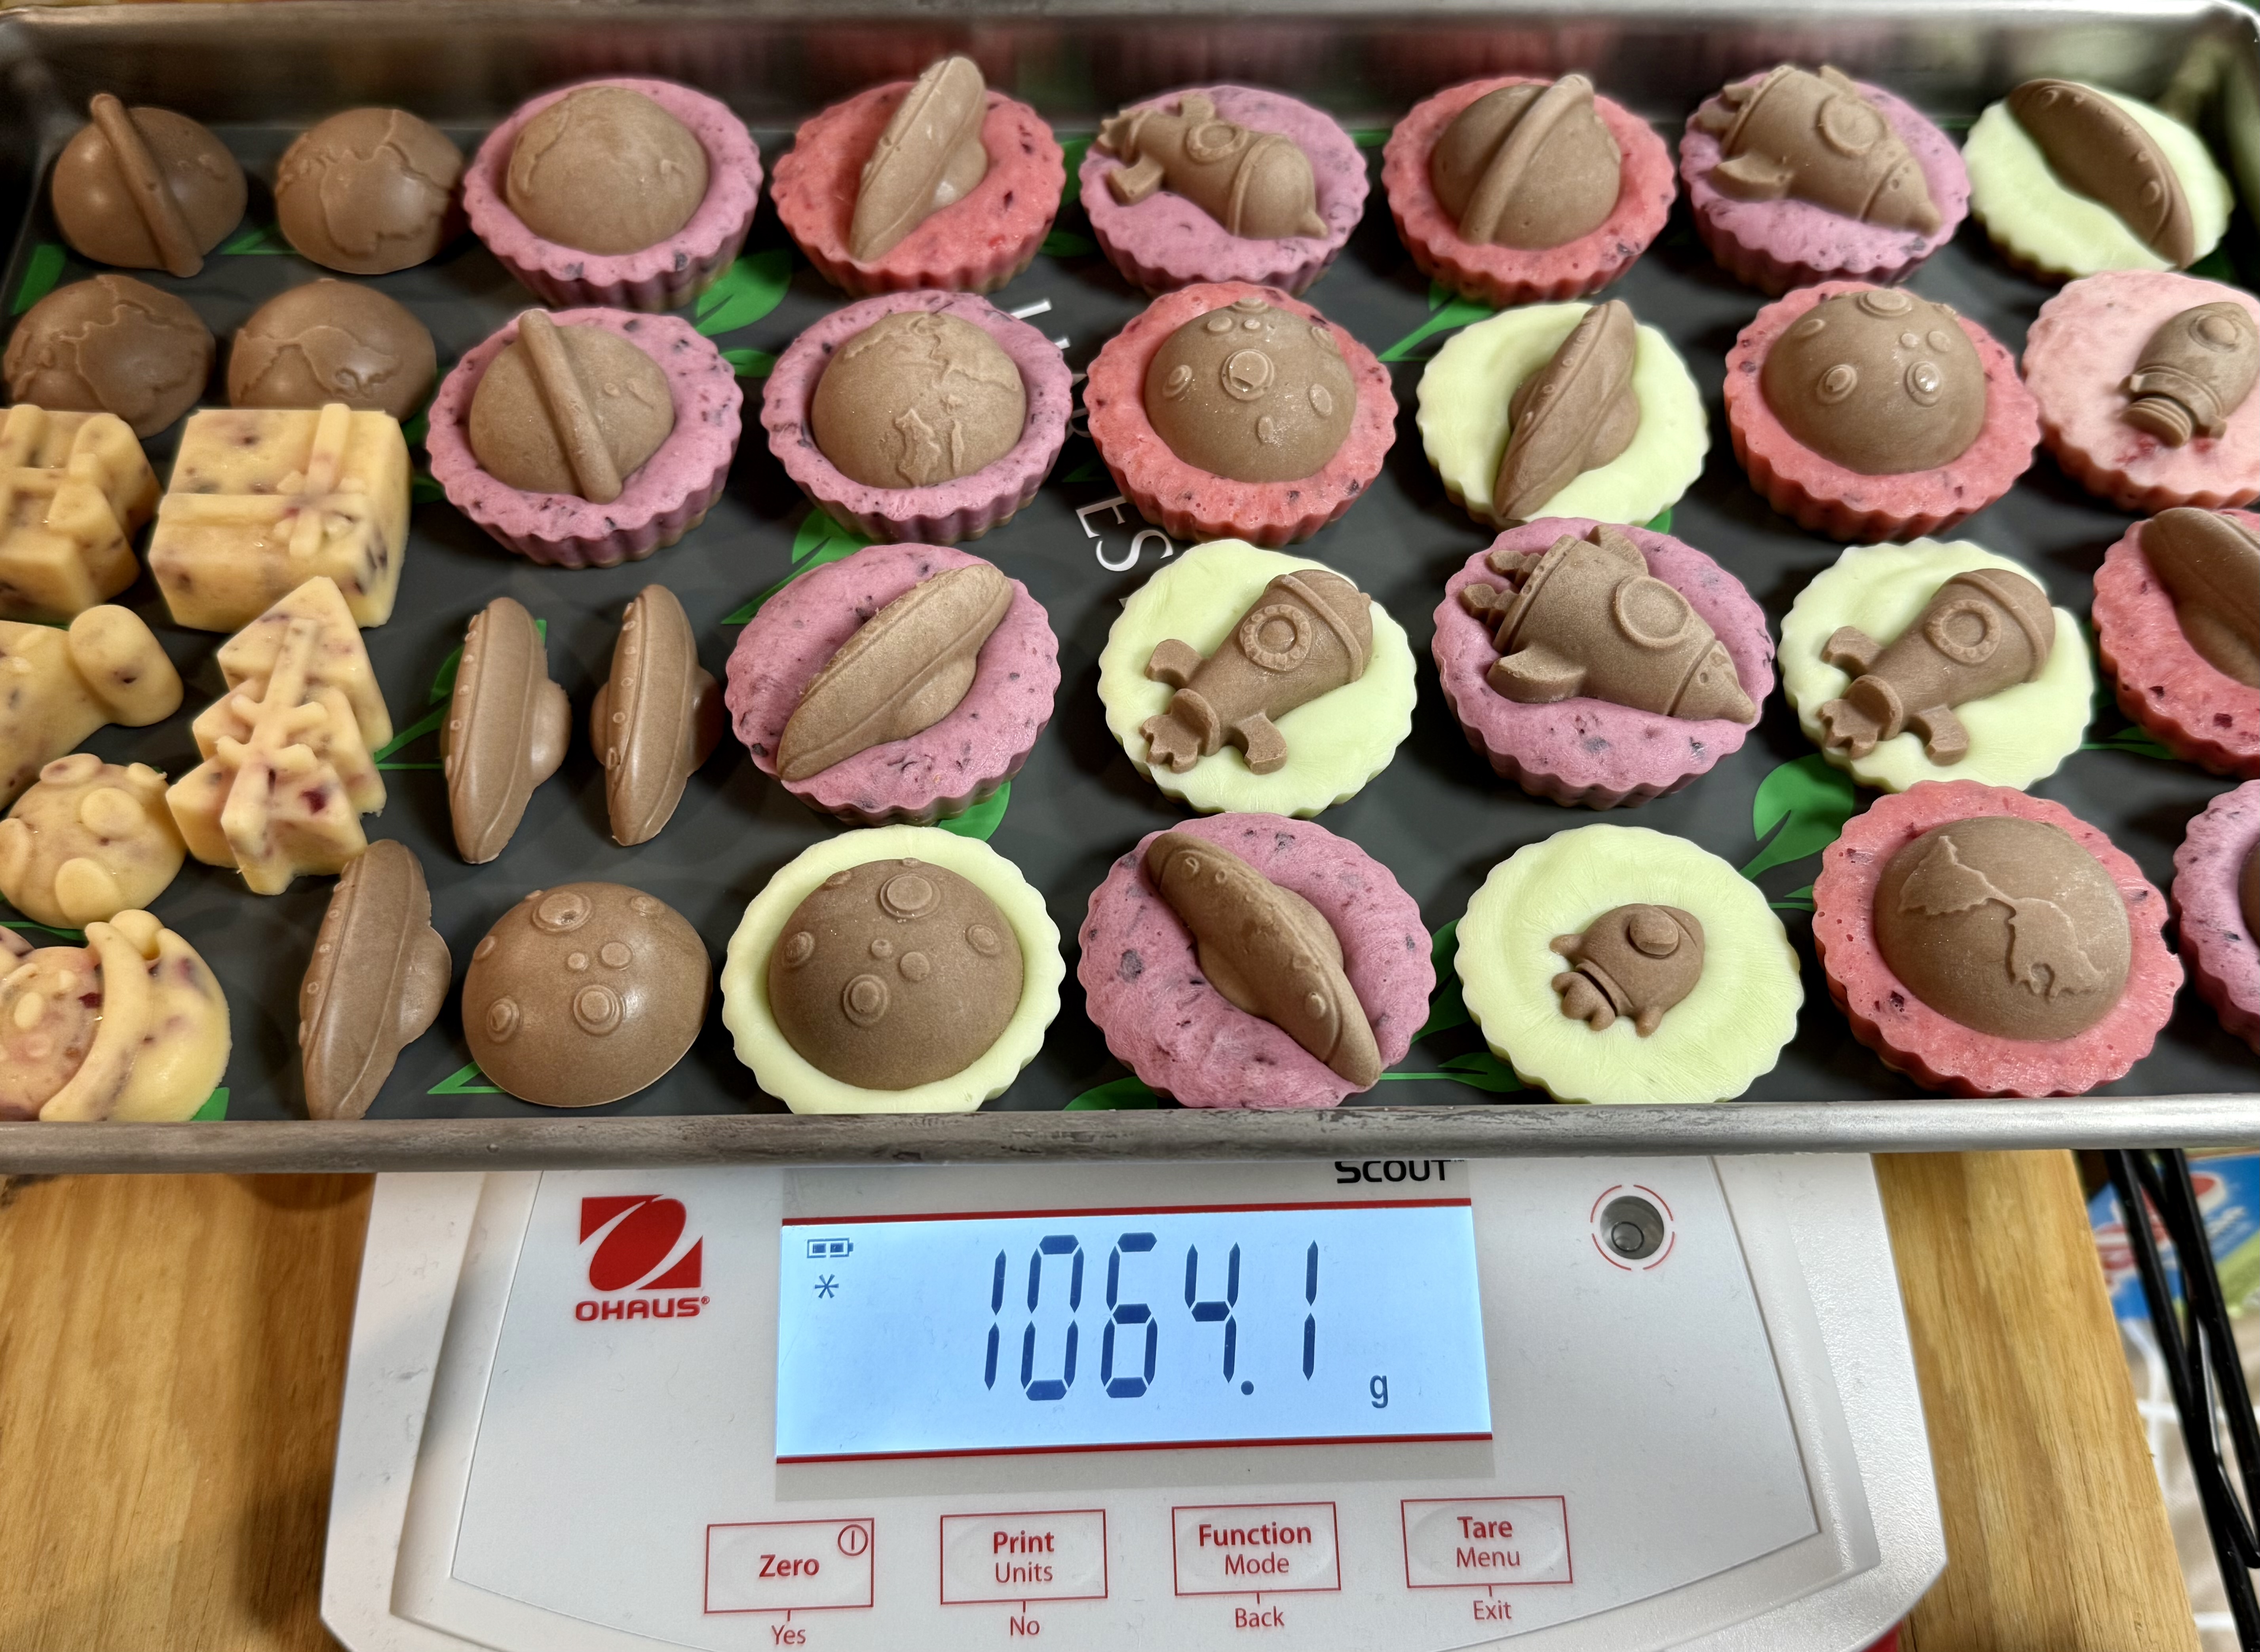 Simply take the weight of the full tray, subtract the weight of the empty tray & liner, and this gives you the Net Wet Weight of your food items. If you don't want to do the math manually you can also use our FD Log App and it will calculate it for you! Just enter in the first two numbers, add the equals sign, and it will auto-calculate in the field for you!
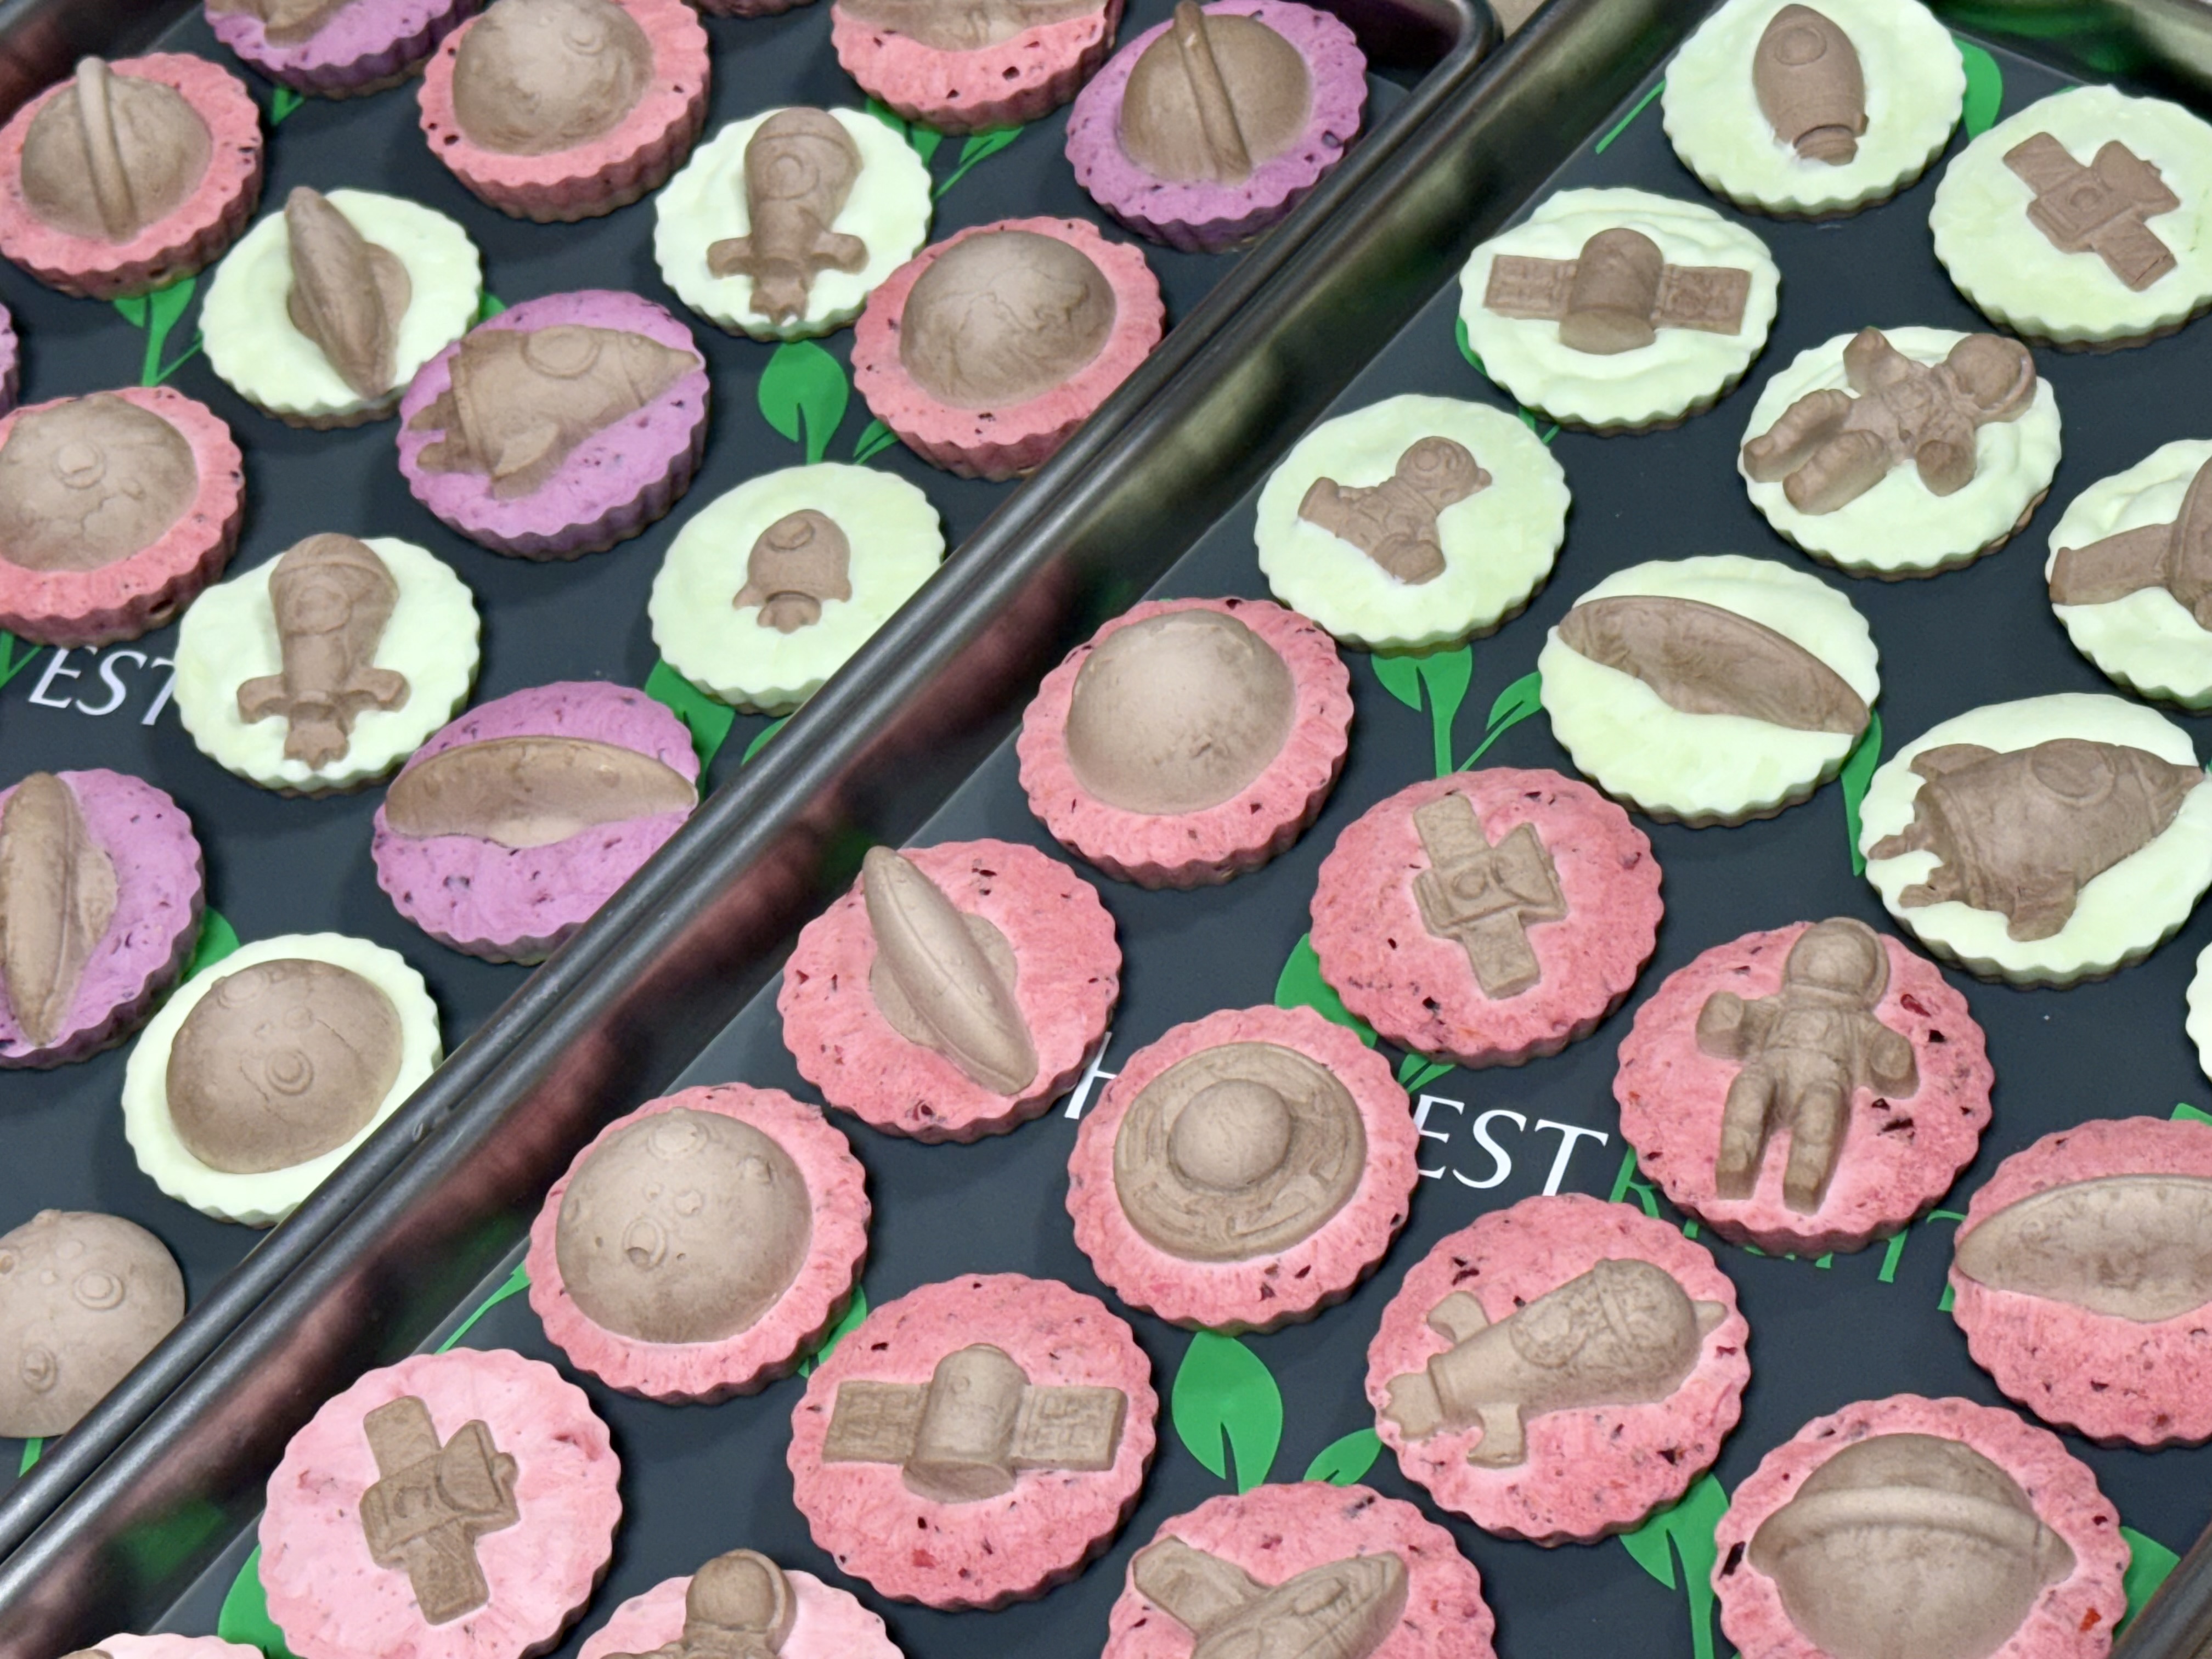 If you'd like to learn how to custom-build your own FD Log App to track your batches and inventory using your cell phone or tablet, click here to learn more about our online tutorial!
 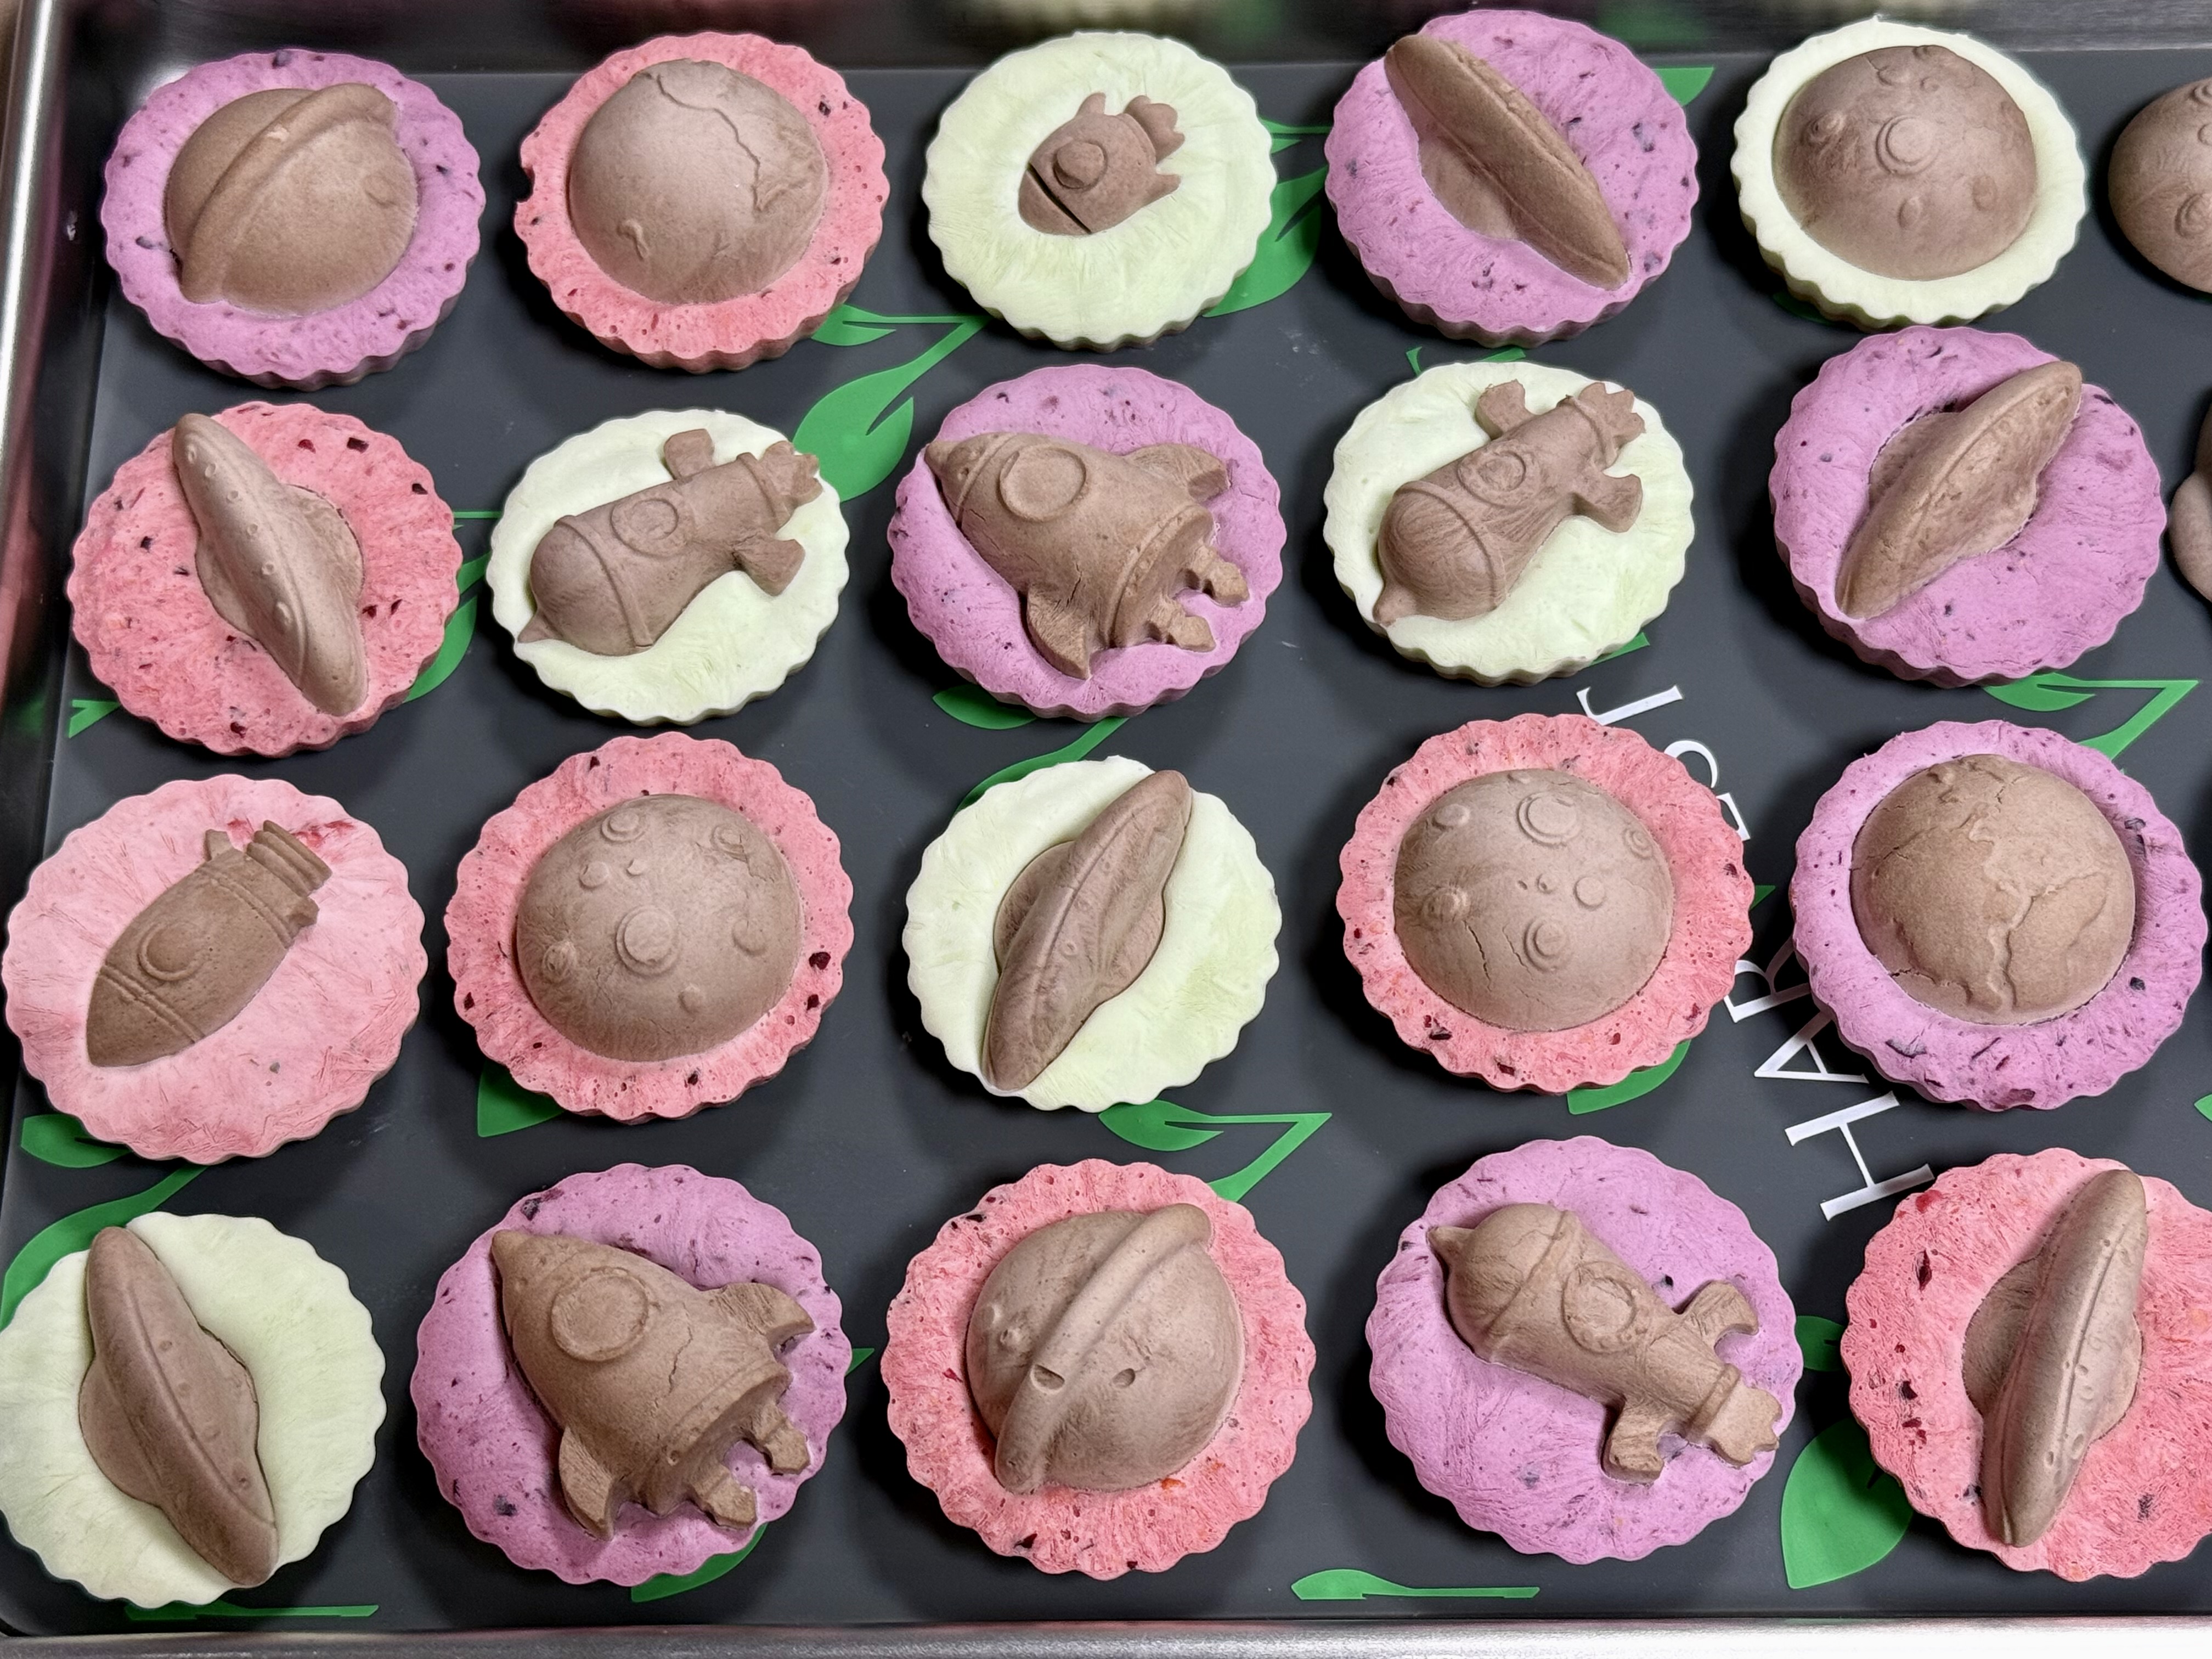 Here are some photos during a dry check. We record our notes in our FD Log App along the way. This is helpful for referring back to later when we're preparing to FD similar batches of food items.
 For example, when we do our batches of FD Biscuits N Sausage Gravy or Homemade Chili we know approximately how long it will take since we measure out the same recipe each time. Knowing the approximate total time helps us load the machine at a time in the evening which will result in the batch being Storage-Ready-Dry two days later at a time when it's convenient for us to package up.
 Airtight Containers:
Freeze dried food items are feather-light which makes them great for mailing boxes to Family & Friends or when traveling. Just make sure to protect them from getting crushed.
For shorter-term storage or travel purposes we like to use Airtight Plastic Containers with a silicone ring in the lid. In the past we have used snack-sized zip bags for FD Treats, and then packed those in either larger zip bags or in the airtight containers. Everything we have mailed or used ourselves for traveling has been great! Of course, for longer-term storage purposes all of the FD Industry Experts recommend using solid mylar bags with OAs.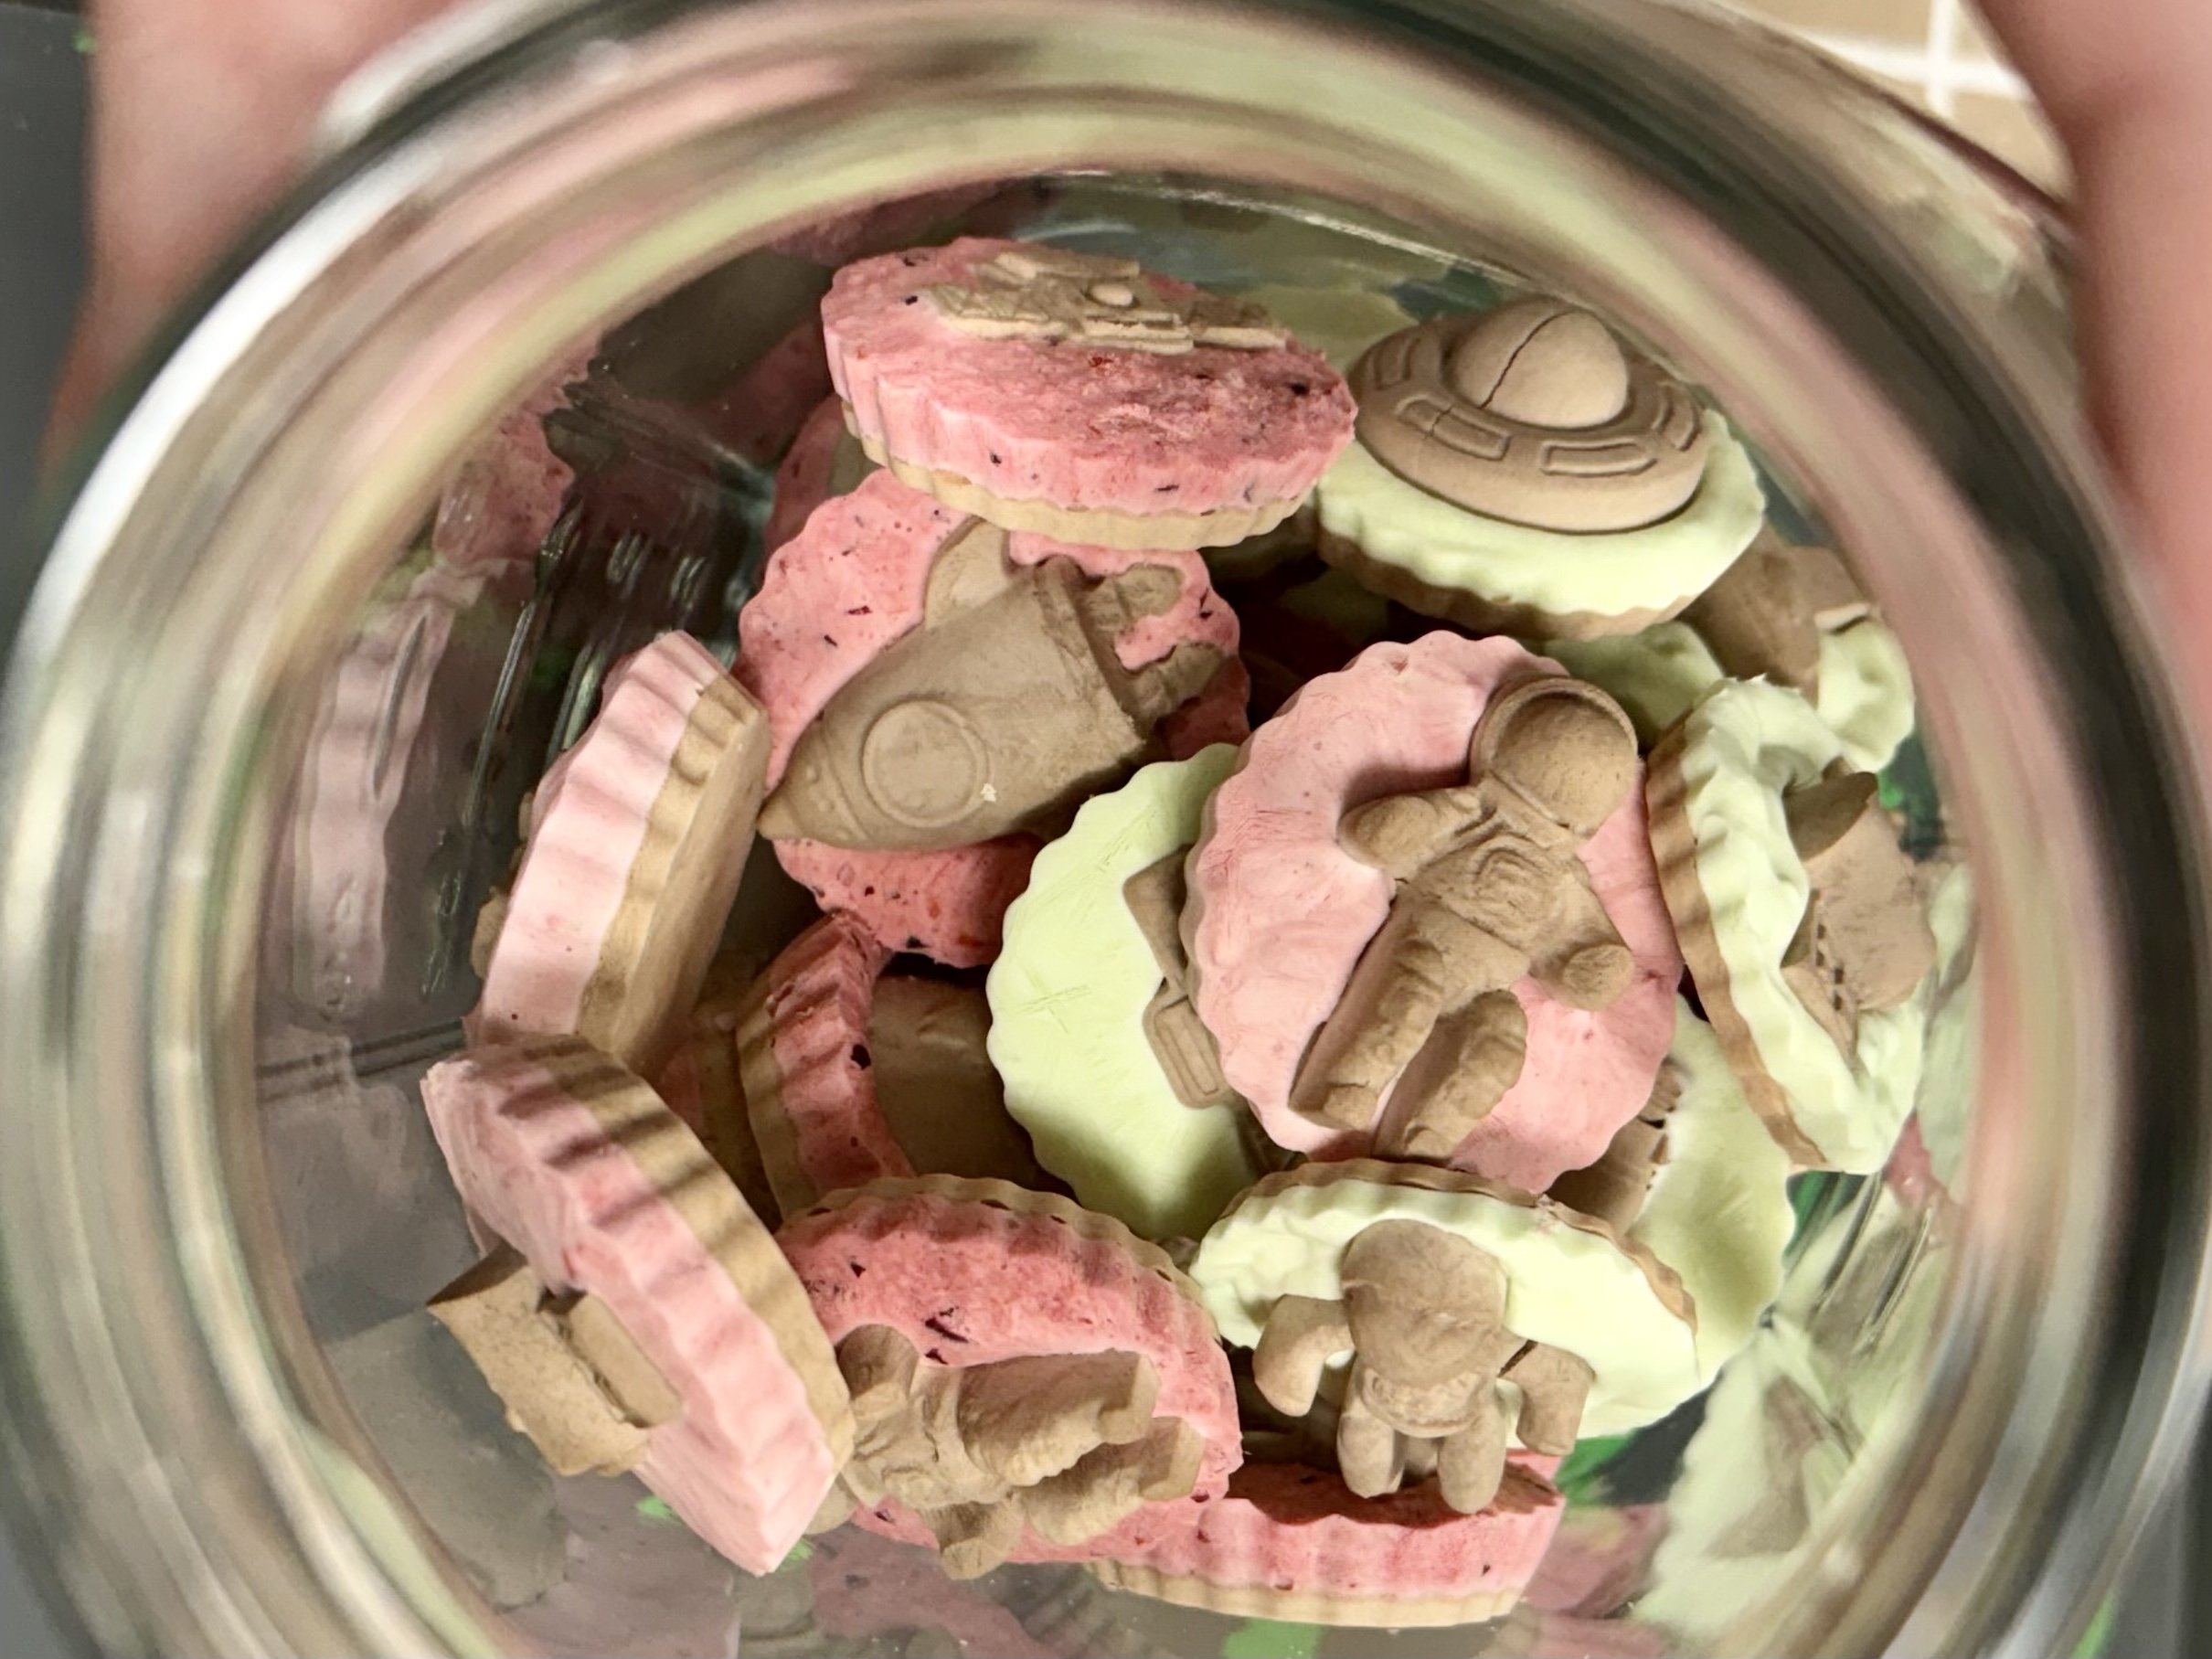 These FD Treats were stored in vacuum sealed jars with OAs until it was time to put together the Care Package. I like to use small zip bags for temporary storage since they allow me to put together individually portioned packets that are easy to hand out to the Team.
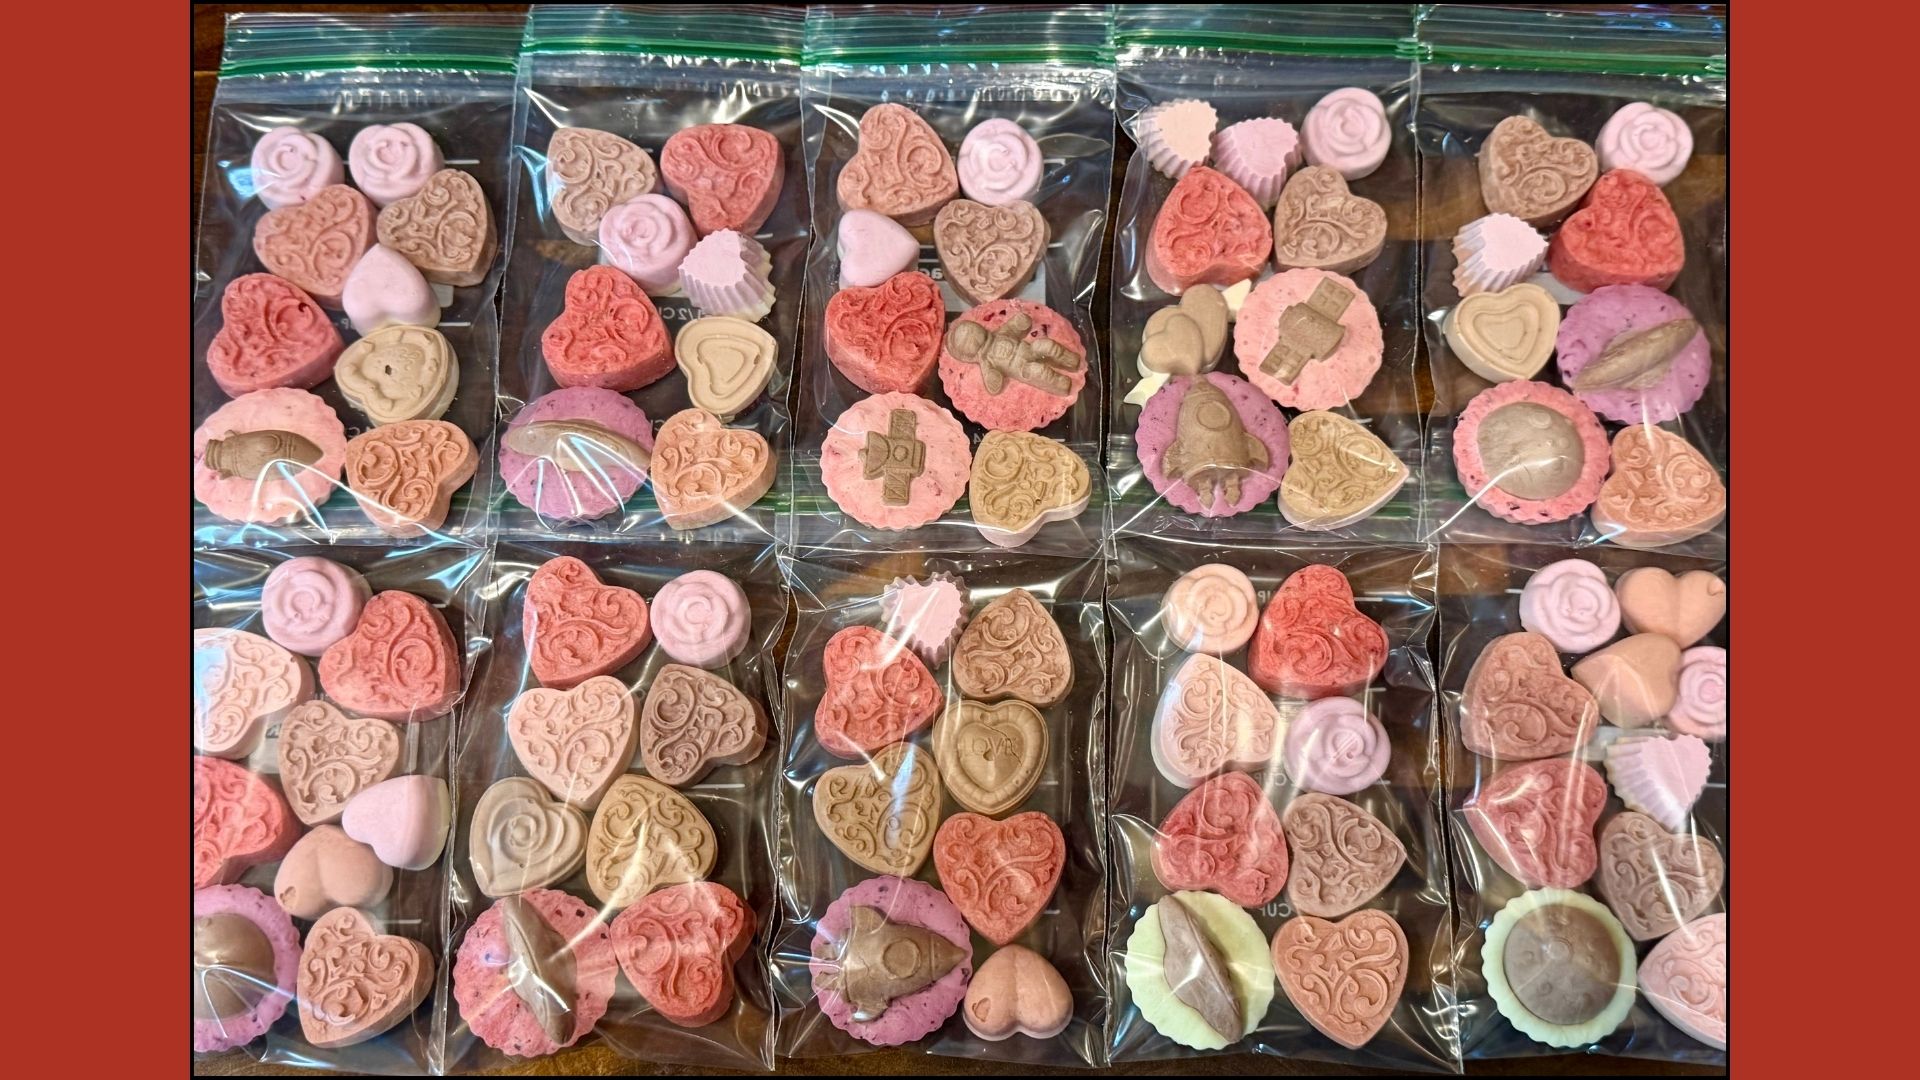 I try to work as quickly as possible so that the treats are not exposed to the air for too long. I have a Set of Stainless Steel Food Tweezers that I use to load pieces into jars or mylar bags. It can be difficult to fit your hand in and out of jars or bags repeatedly, and these long tweezers fit easily down into the deepest ones. They also allow you to arrange pieces in ways that maximize all of the open spaces.
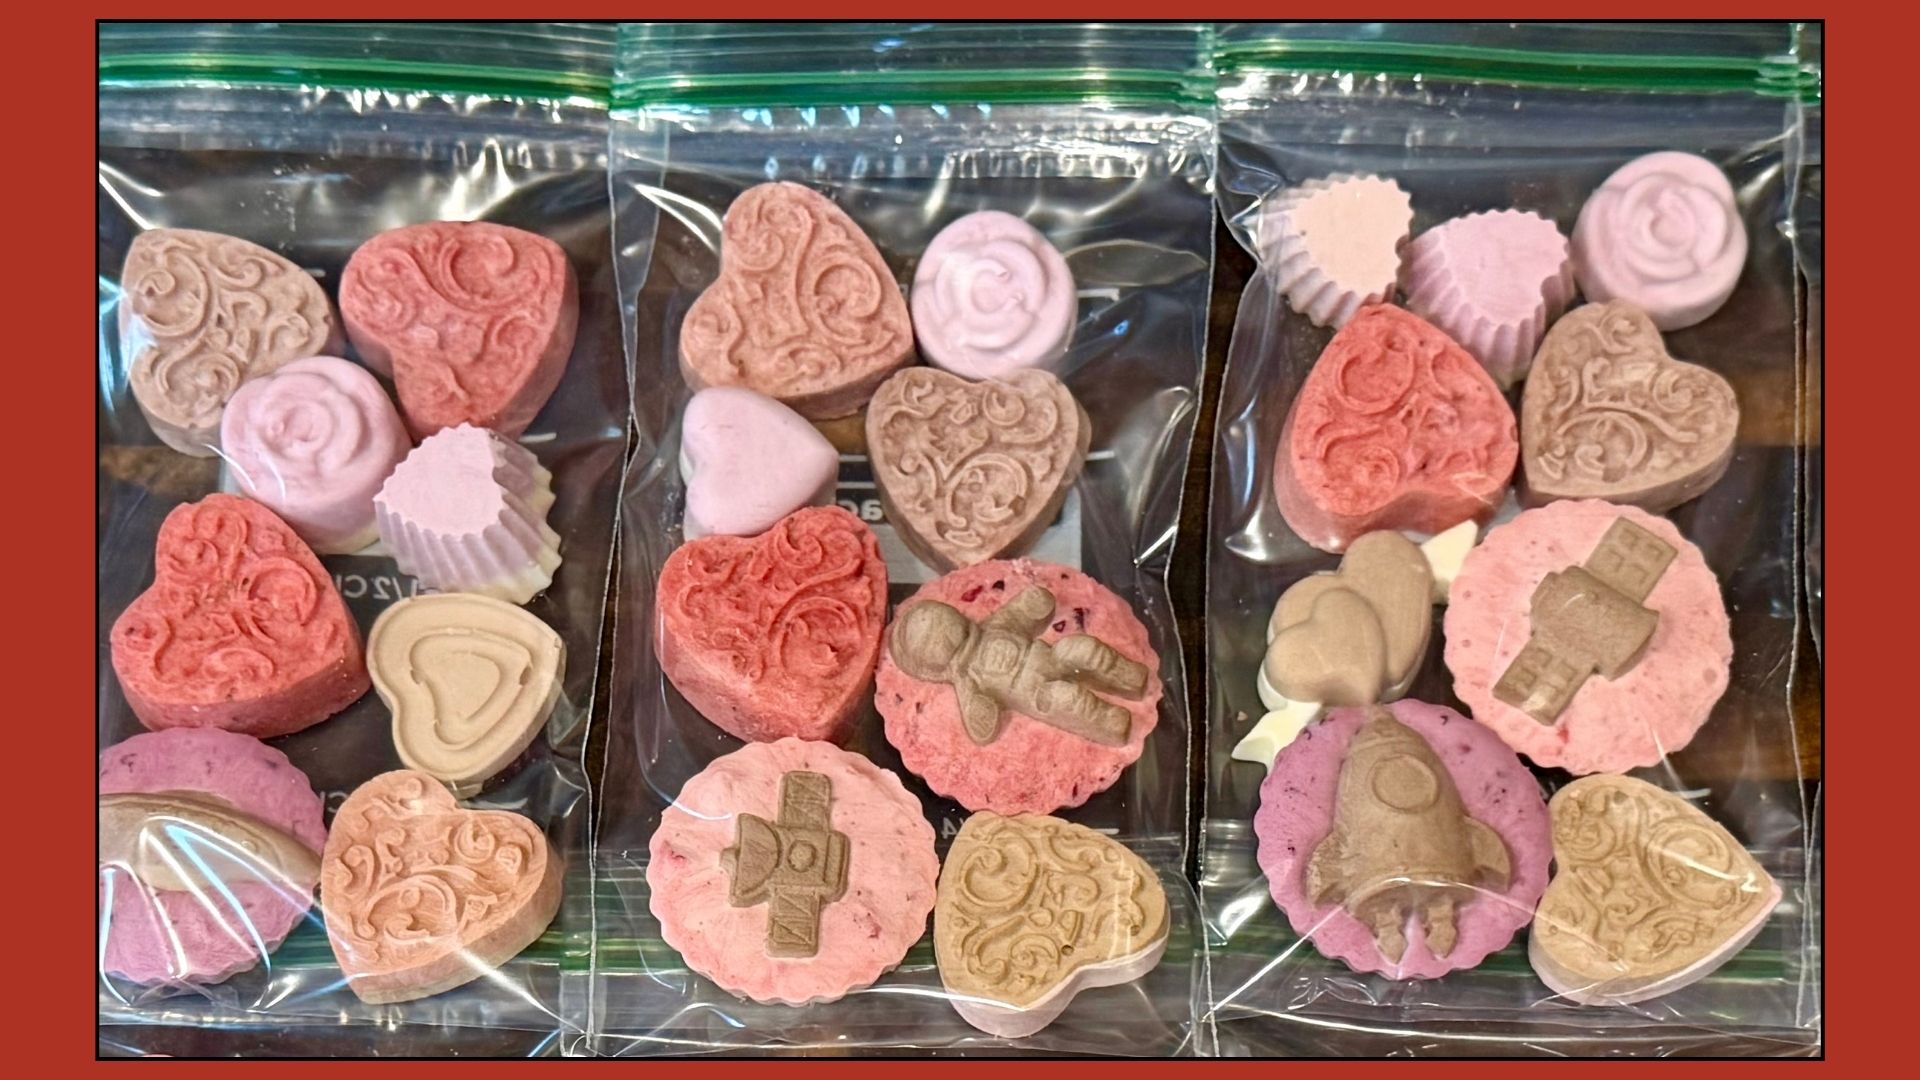 I bought a gift bag from our local dollar store, and carefully loaded the zip bags full of treats into it.
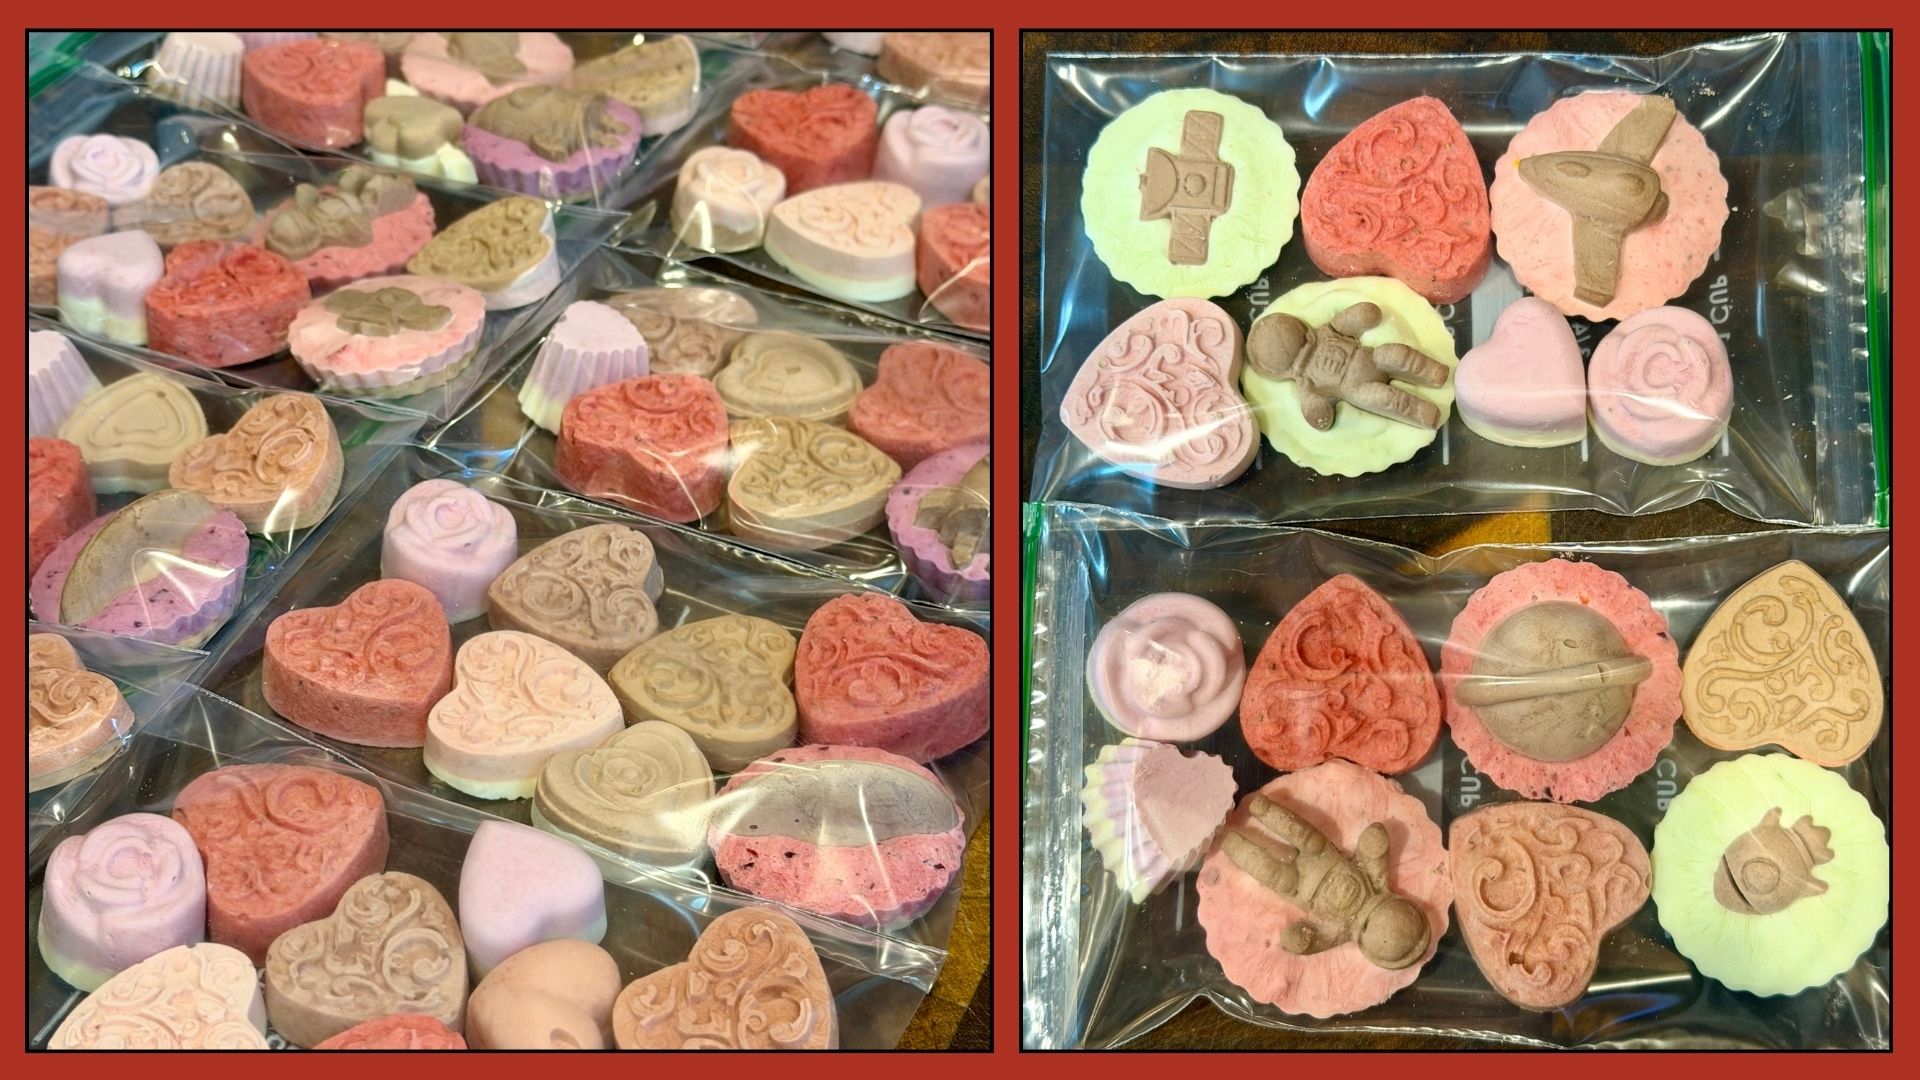 Our Son was able to hand-carry these treats back to Base and share with his Team - they loved them! They said it was the best Care Package so far!
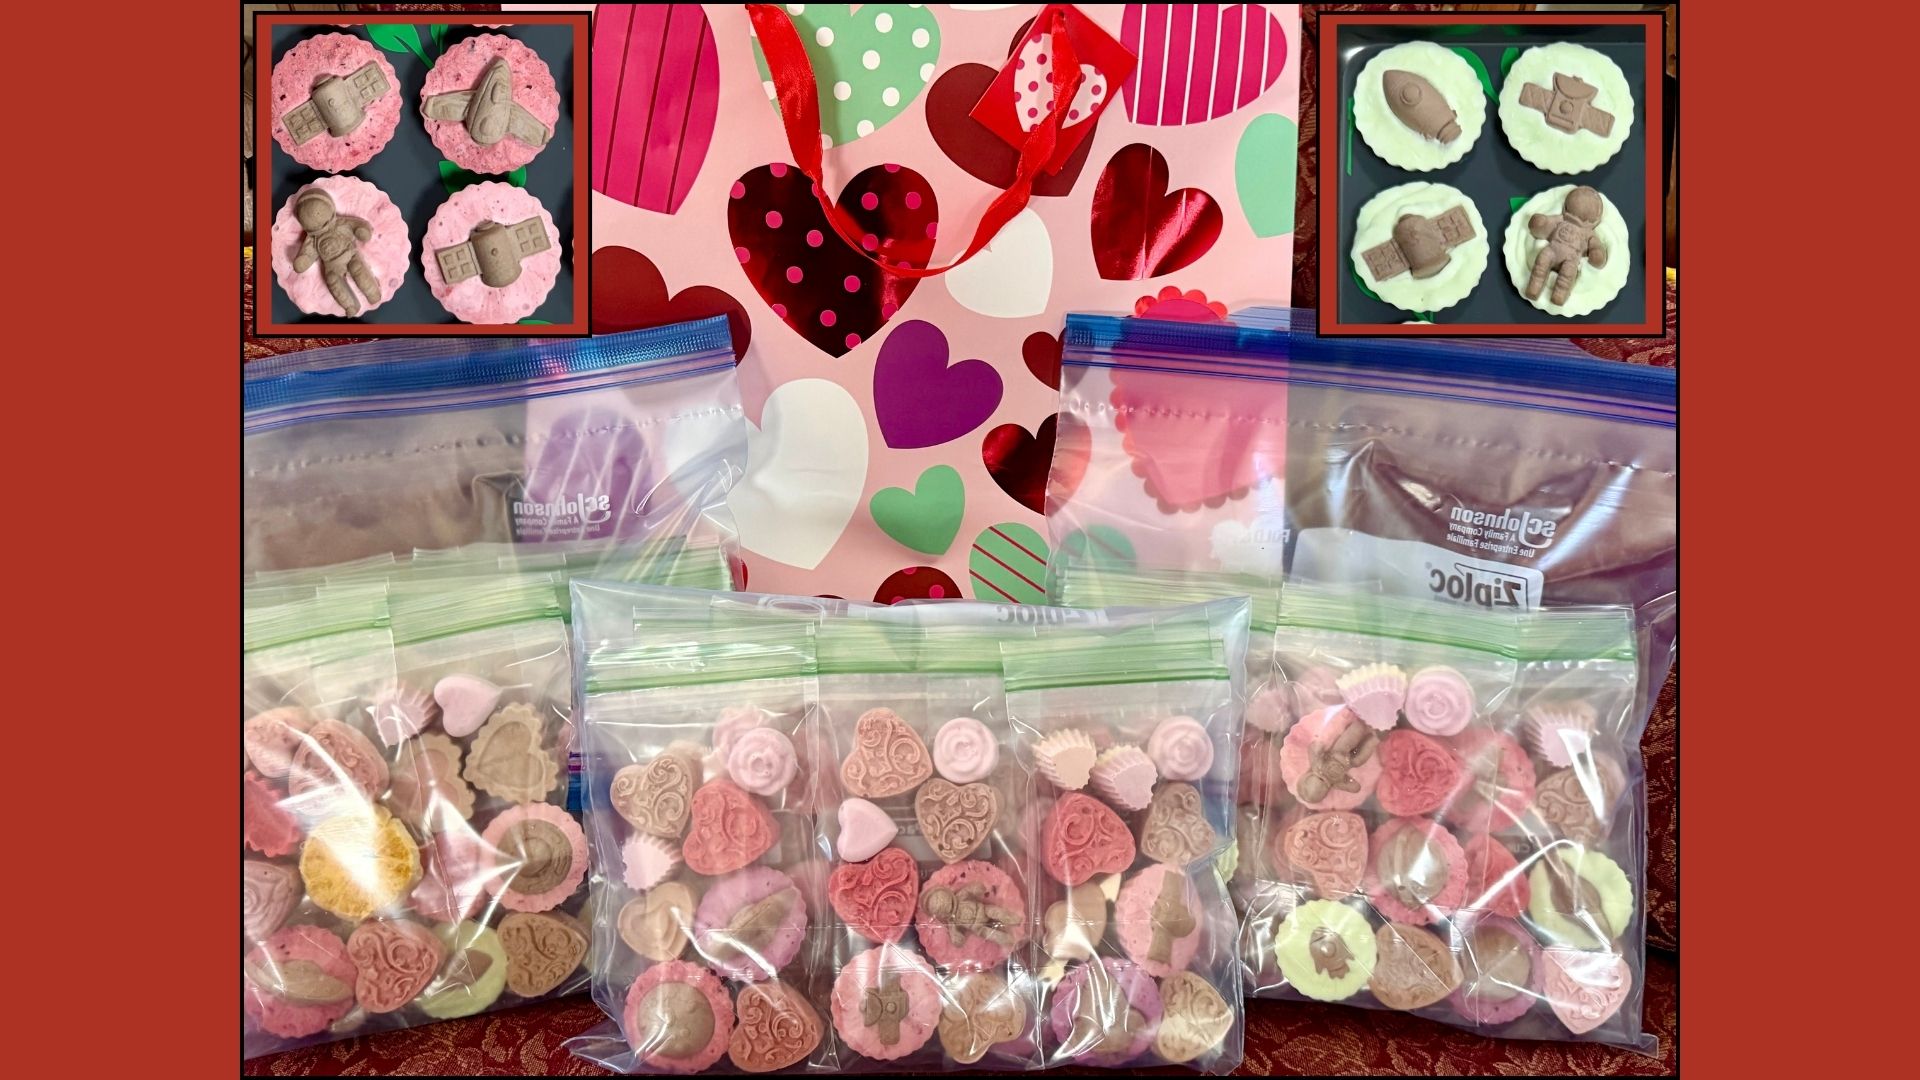 We hope that you found this to be Interesting, Informative, and Inspires you to freeze dry some Fruit and Cheesecake Treats of your own very soon!
If you'd like to contribute to the next Care Package of Freeze Dried Treats For The Troops then click the button below. You can specify that it's for the Squadron, and also include a note to the Team that will be included in the box. We believe in Collaboration. Let's all help and support each other to become more Confident Freeze Dryers.
Love Our Content?
Want To Support Our Efforts In The Freeze Drying Community?
Here are ways you can contribute:
1. Use our links to purchase FD tools and Accessories. It's free for you and as an Amazon Associate I earn from qualifying purchases
2. Need to get more organized? Purchase our Online Training Guide to learn How to Custom-Build your own FD Log App to track your batches and storage inventory
3. Subscribe To Our YouTube Channel
4. Buy us a coffee! Your donations fuel our passion for freeze drying - We Appreciate Your Support!
5. Share Our FD Blog Posts With Others Who Will Enjoy This Info
6. Join our Facebook Group Freeze Dried Food For Travel And Storage
Scroll Down To See More Posts On Our Freeze Drying Projects And Experiments