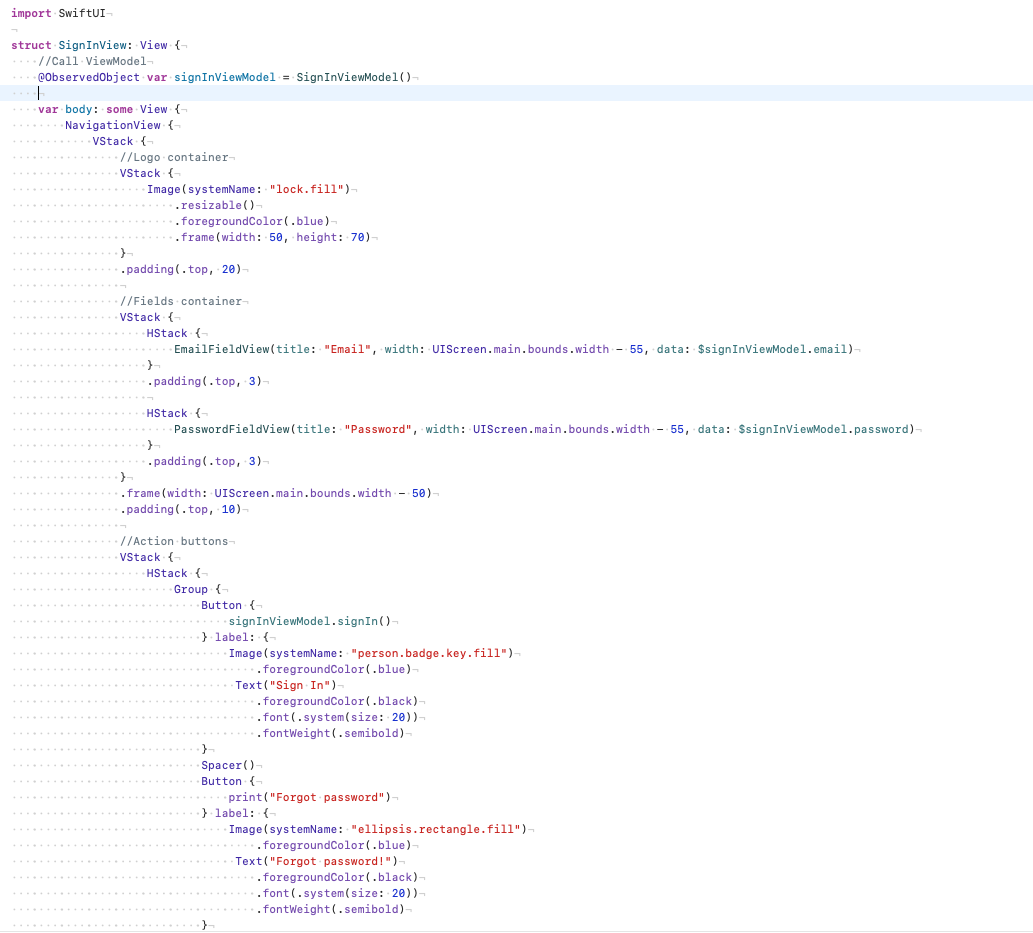
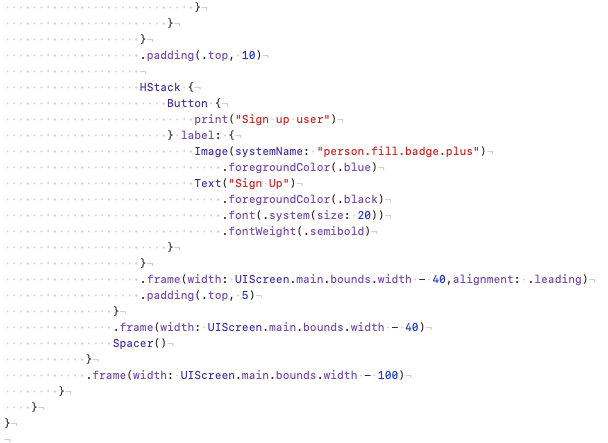
Hi everyone in this tutorial we are going to learn how to build a Sign In screen using SwiftUI.
So let's start it.
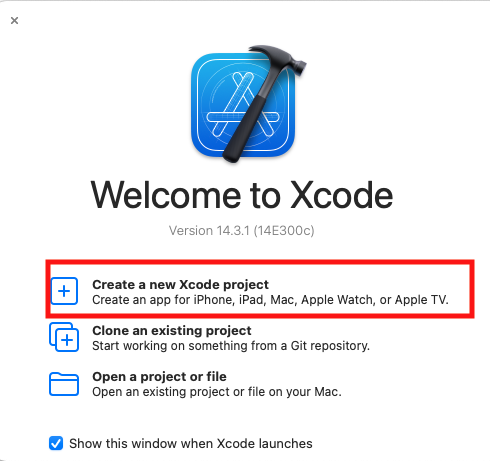
Open Xcode and select create new project alike this:
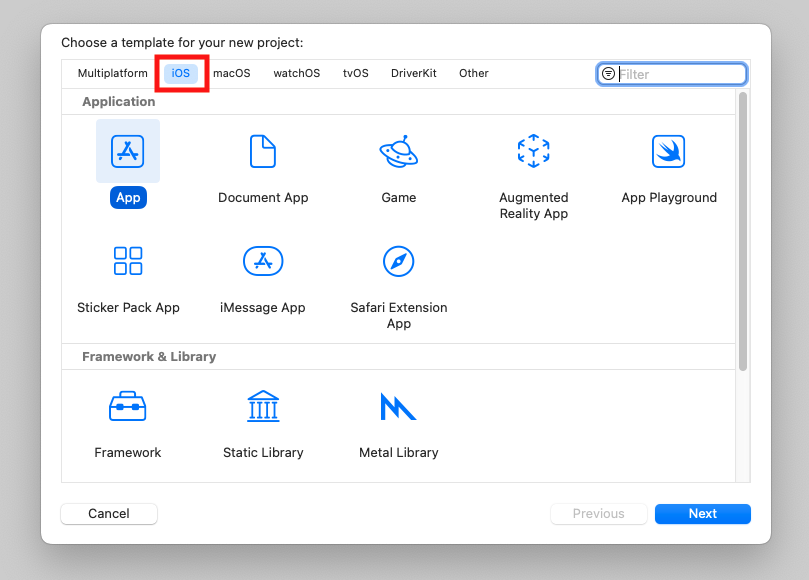
Now you must choose a template for your project alike this:
Click at Next button, choose language and interface you must choose SwiftUI as Interface and Swift as Language and write the name of your app:
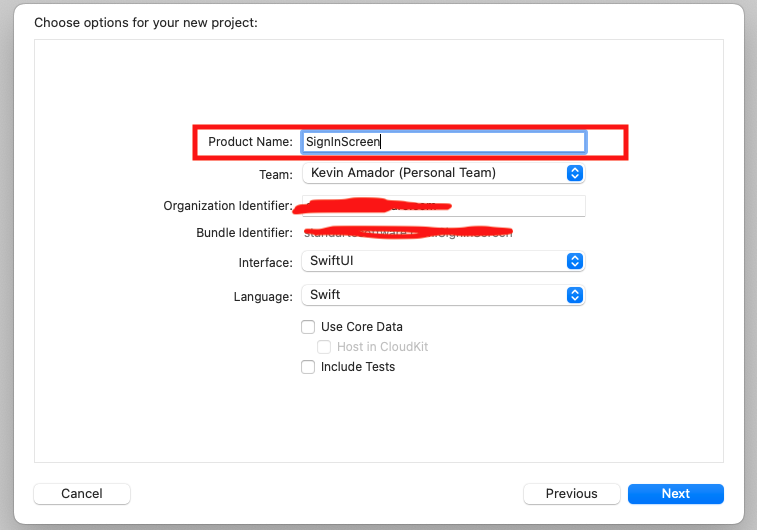
Click and Next button, choose in what path do you want to save it. In my case I will use my Desktop path.
Congratulations you have created your first Xcode Project, now We are going to code.
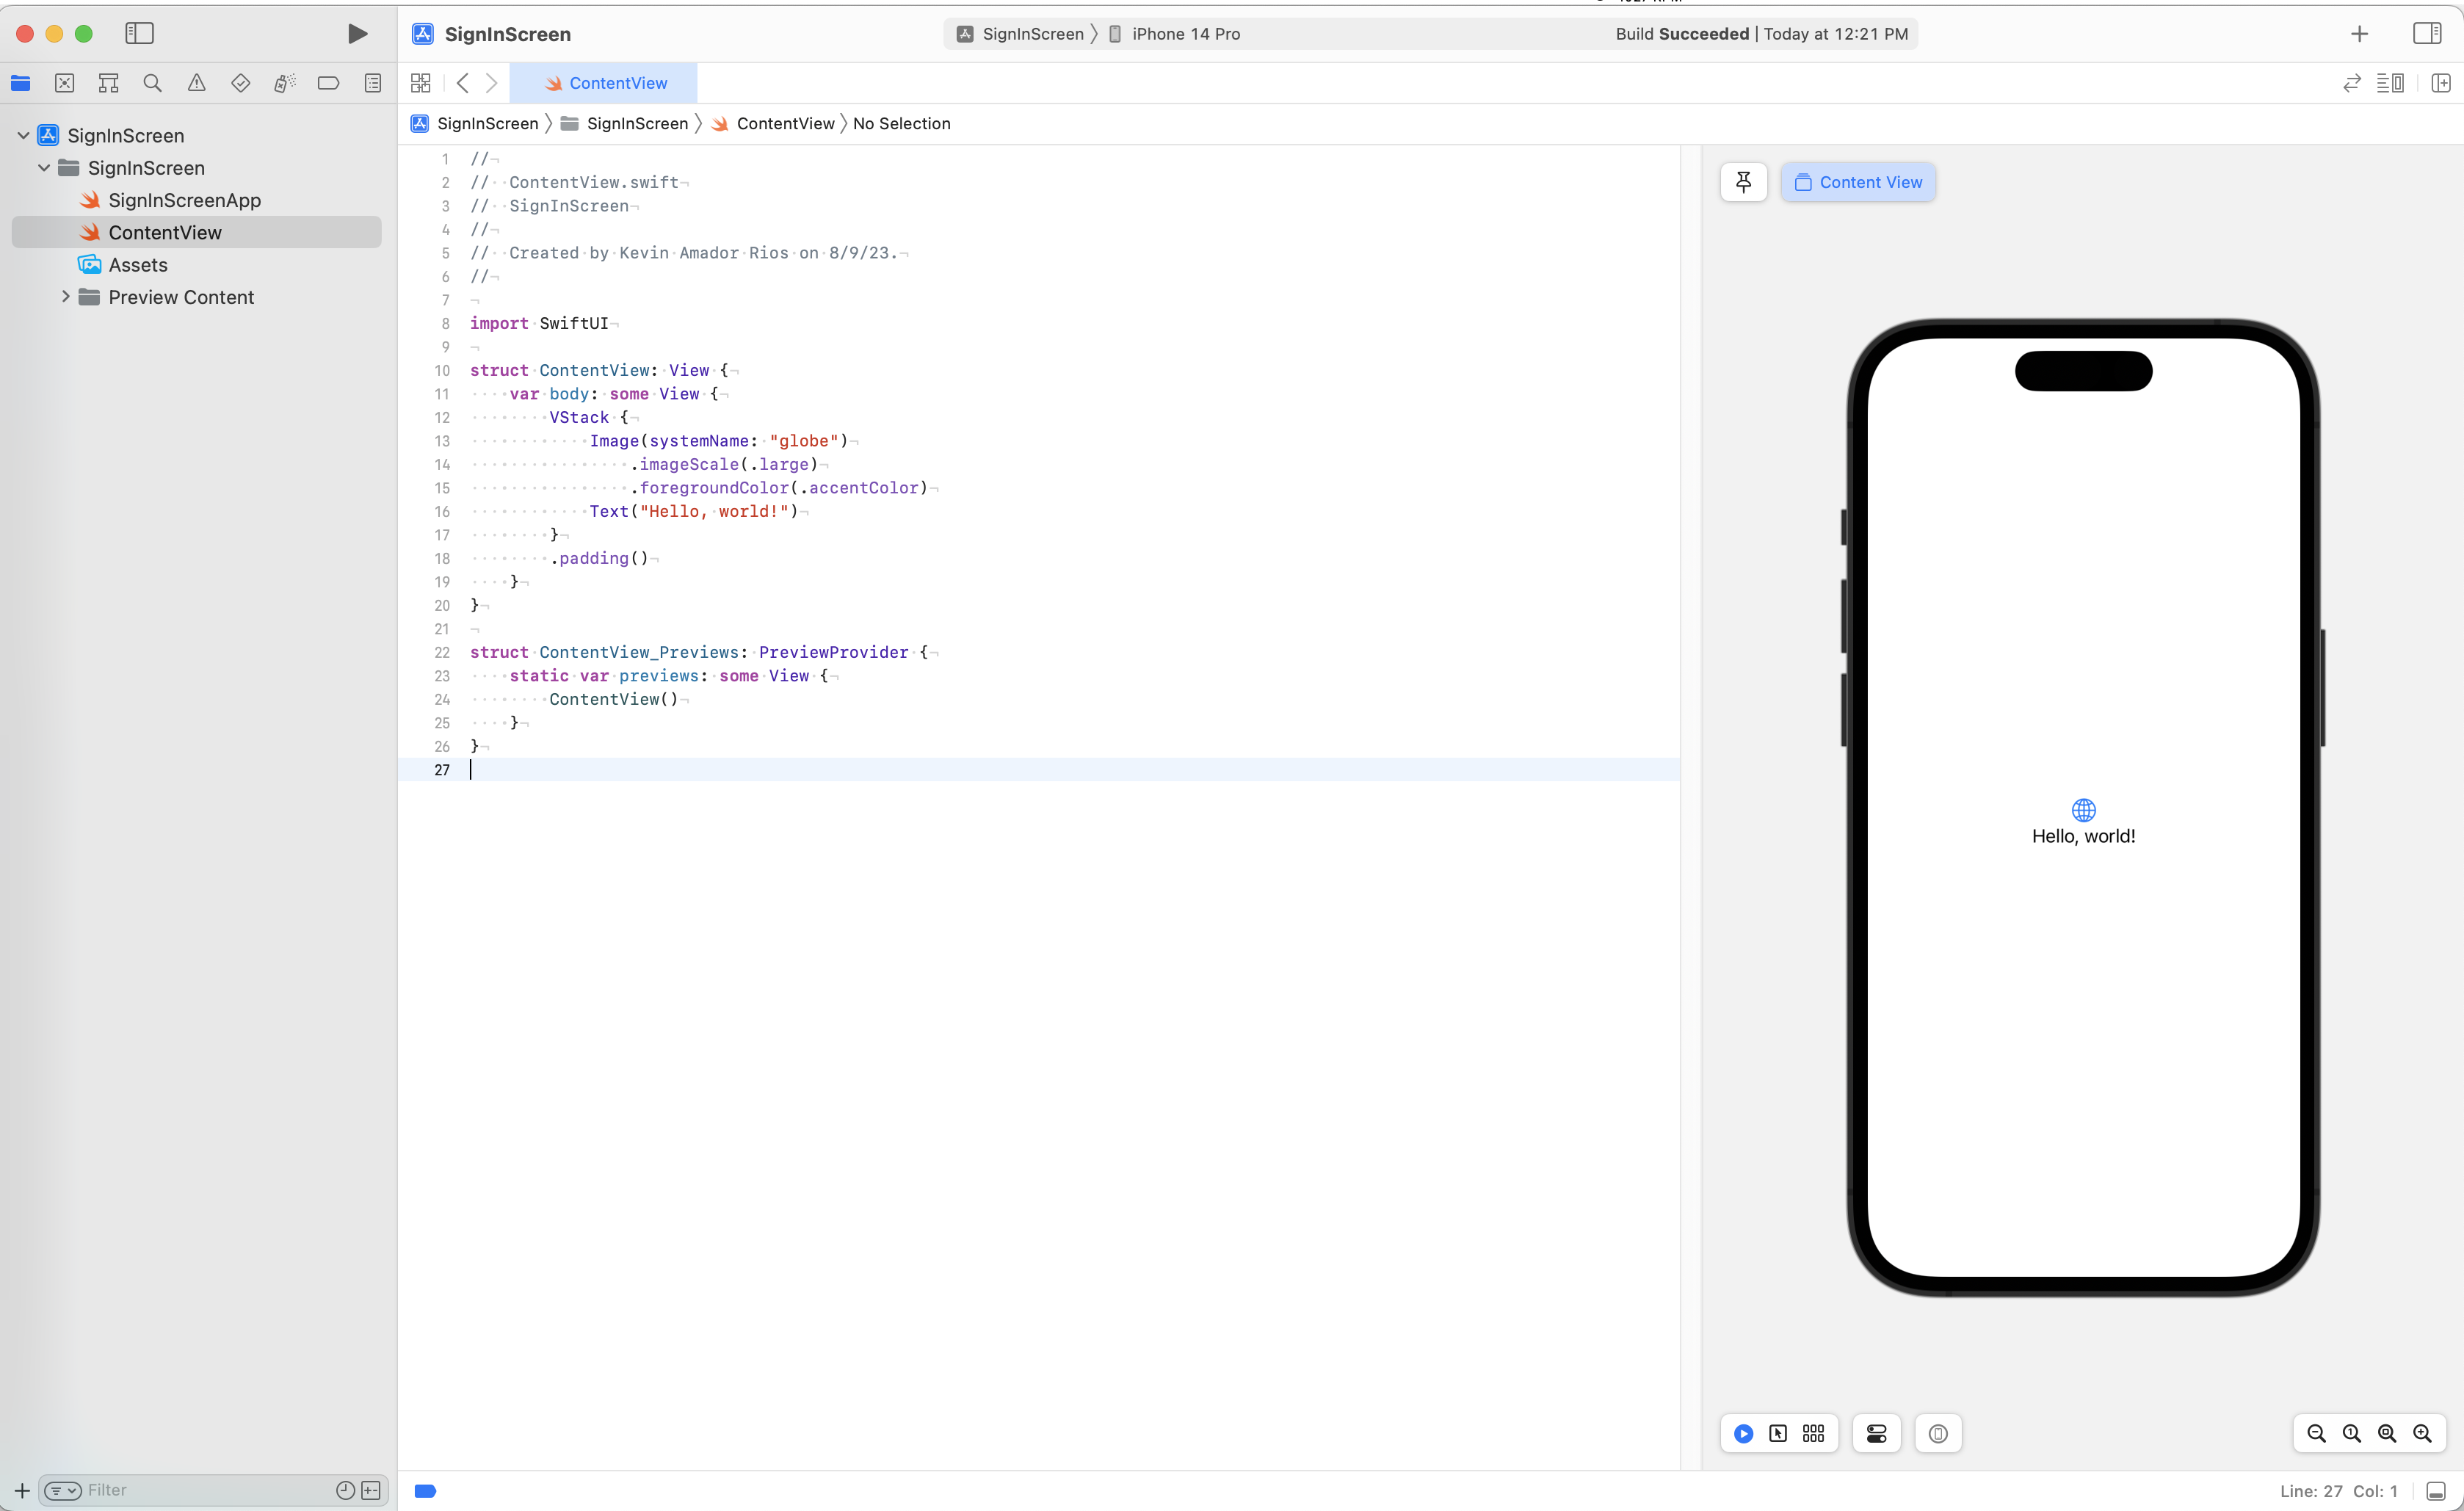
First of all this will be your environment code, in all my future post you will learn how to use it step by step. Well left side you will see a Sidebar with all content of your app, assets, code, folders, etc. In the right side you will see the canvas area where you are going to observing all the update from your code, please delete ContentView file, you will watch a error but don't worry we will fix it.
Now in the right side we are going to create a couple of folders called:
View
ViewModel
Inside of View Folder please create another folder called:
Components
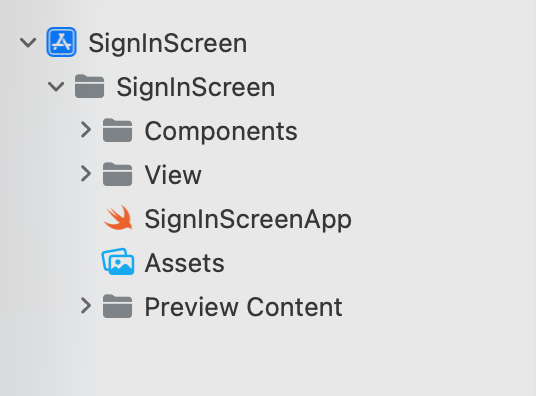
Your project structure must be alike this:
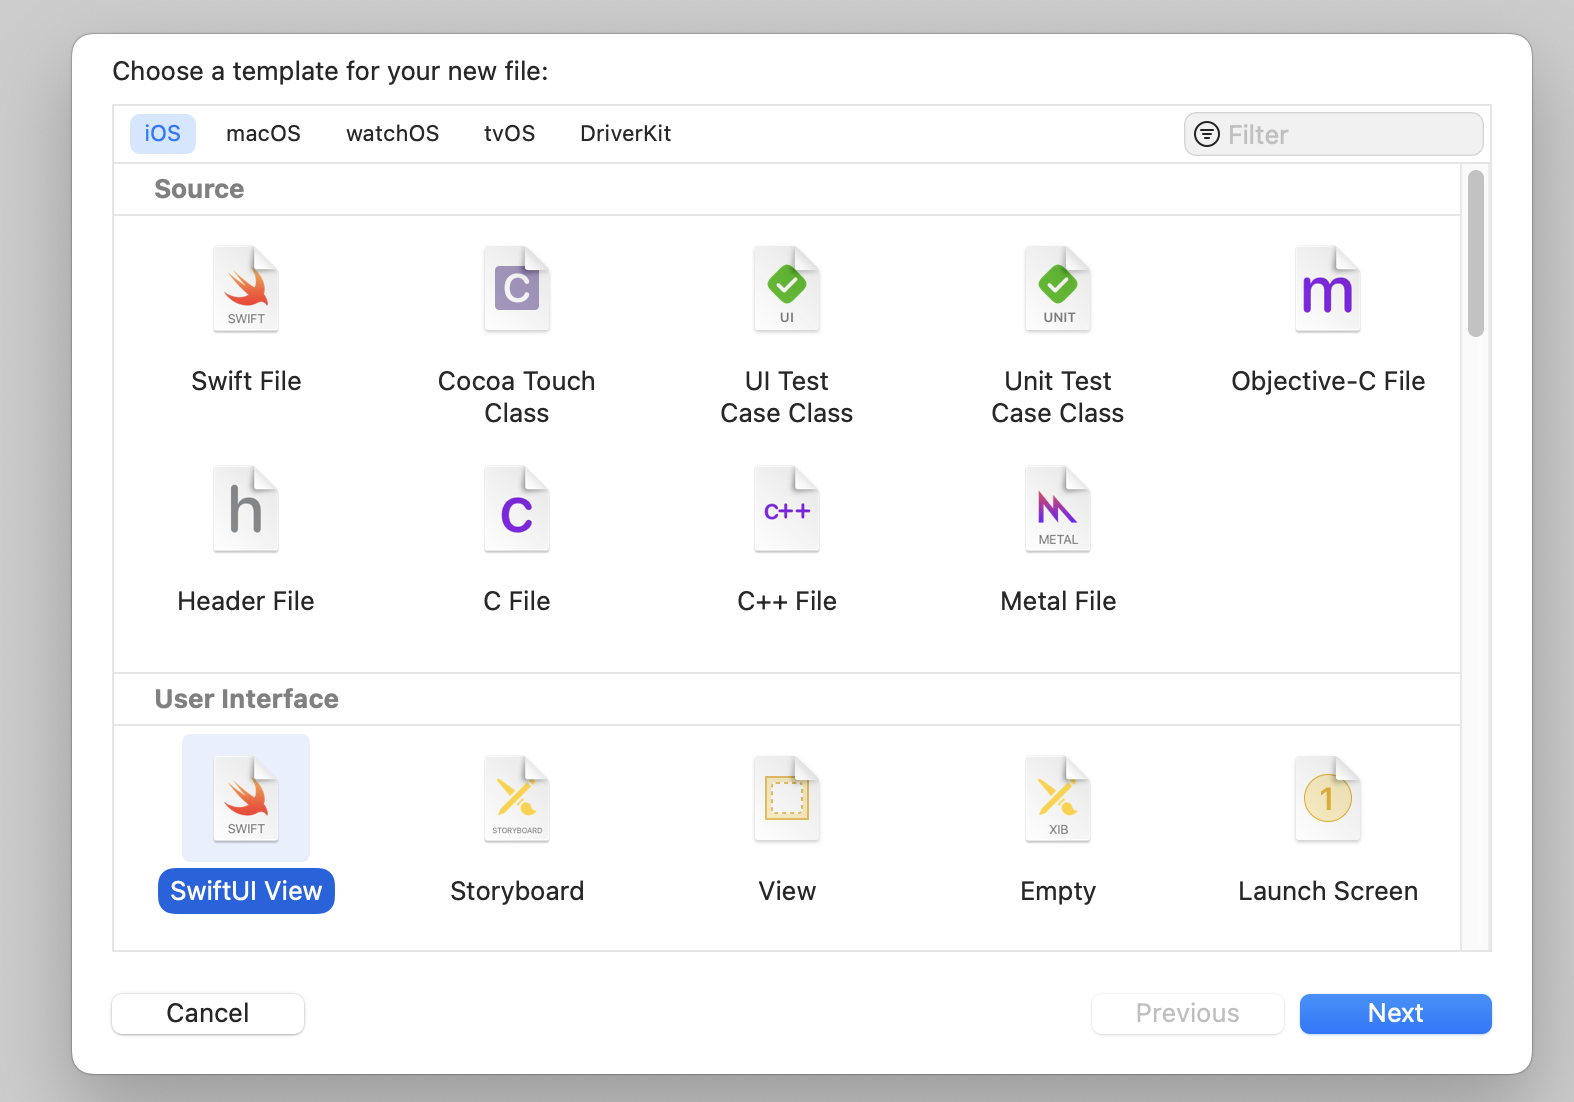
Now please create a SwiftUIView right click over View folder and choose "new file" and choose SwiftUI View below of Source menu, in this capture you will watch it and write it a name of your view, please follow a convention like this: SignInView, in every file related with View at the end of file write View, for example SignInView, HomeView, SearchView, etc.
Alright, you have been created a basic SwiftUIView, now compile your project without run simulator, please follow this command key: CMB + Shift + B, Xcode will compile or build your project the result will be a error like this:
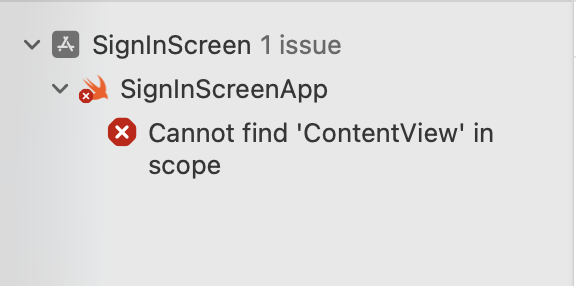
Why occur this error? Because before we did delete our ContentView file, so let's fix it right away. Please look for a file called SignInScreenApp this file is alike rootViewController but not completely works like rootViewController lol.
You will watch this code:
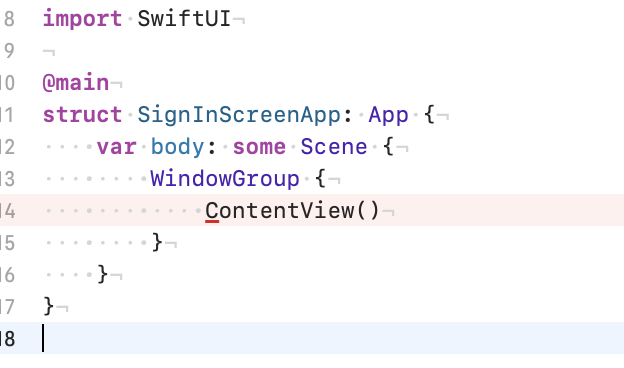
If you look well, you will watch ContentView() is called, so replace it with SignInView() like this:
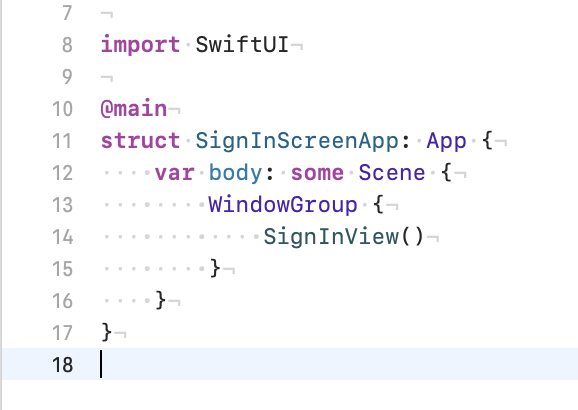
Now build or compile the project and the result will be any error in your code, now we are going to focus on build our components view.
First we are going to create EmailFieldView.
Create a view called EmailFieldView inside of Component folder, please follow this code.
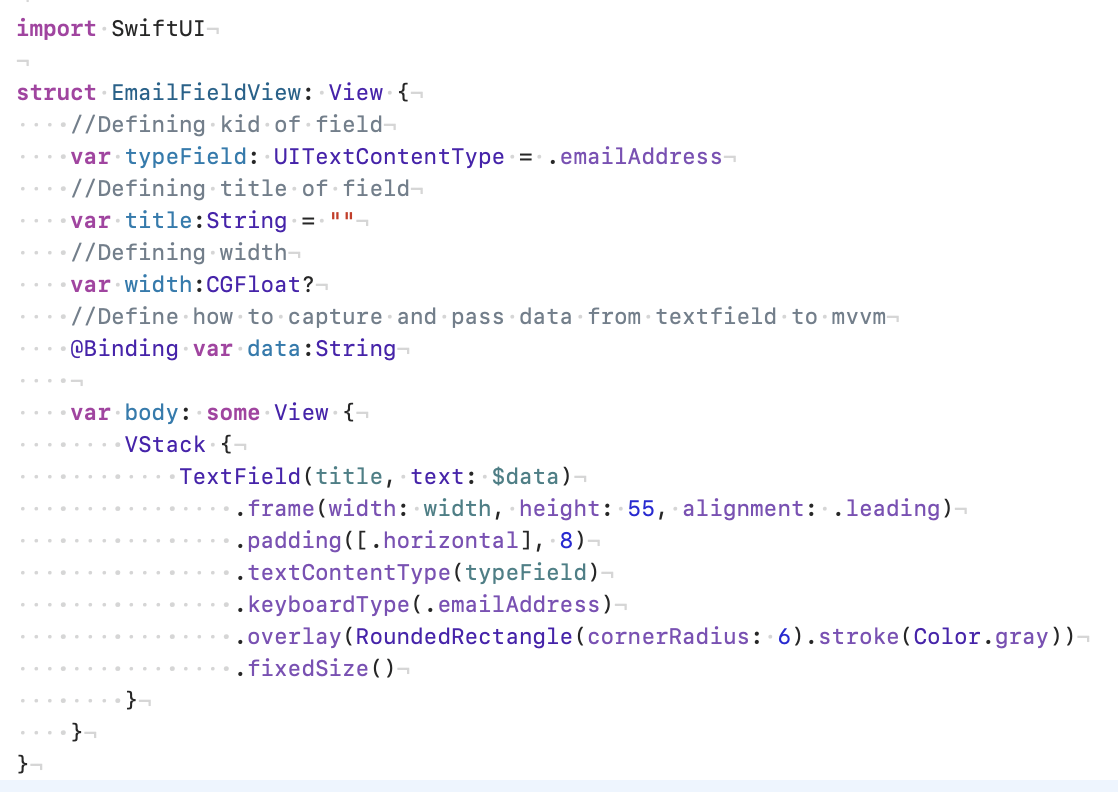
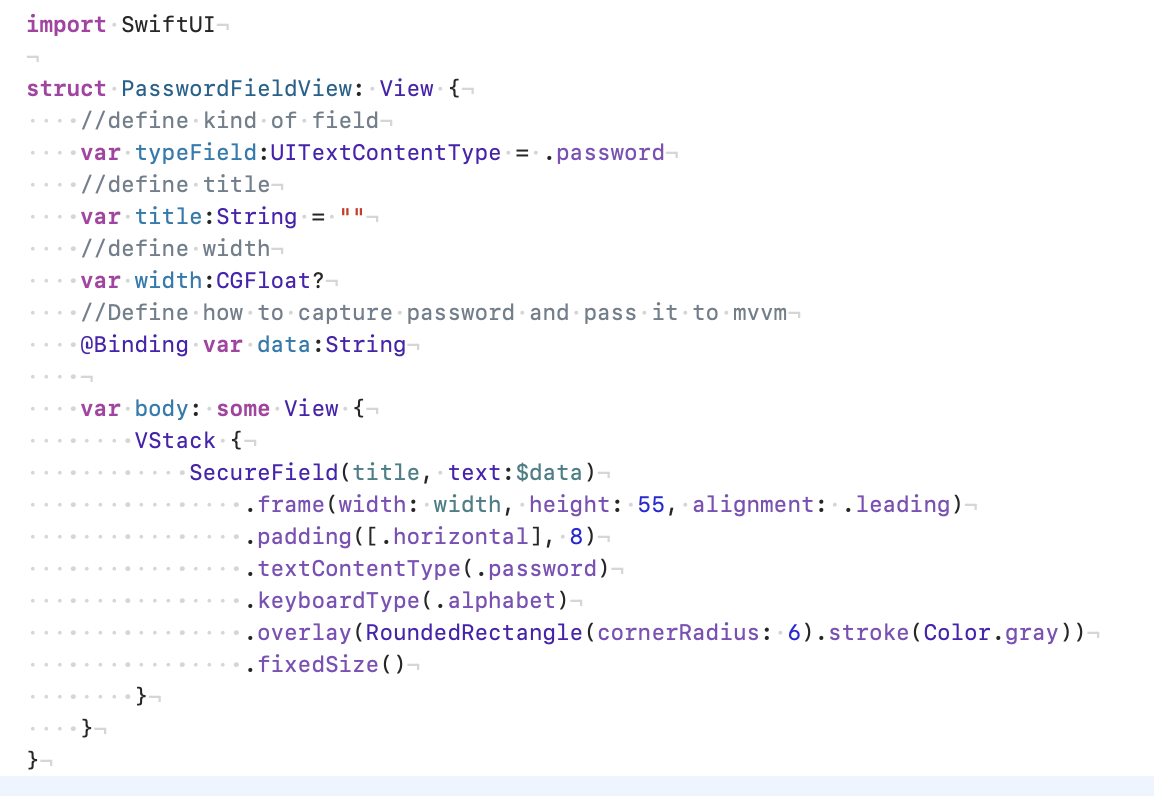
Now create the PasswordFieldView inside Component folder and following this code, is similar to the last but some things change.
Now we must to create ViewModel, this file is super important because this file will help you to move your data and make networks calls, update view, etc. Let's start it right now, in the root of your project create a folder called ViewModel and inside of this create a Swift file called SignInViewModel, and follow my code.
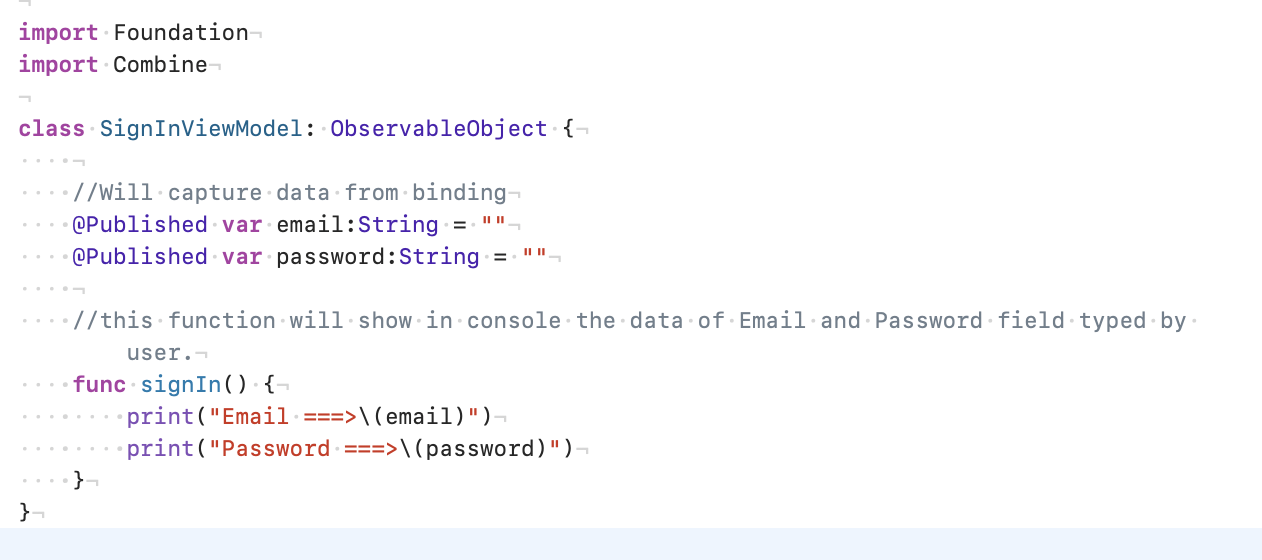
Yeah, we have created our SignInViewModel, now we can pass data from view to ViewModel and show it in console.
Let's do a quickly review
We have created a Xcode Project
We did learn how to create a SwiftUIView
SignInView
EmailFieldView
PasswordFieldView
We did learn how to create a ViewModel
SignInViewModel
We did learn how to create a function to show data in console, but this function will help us to make api calls using URLSession and Combine but this is for future tutorials.
Complete Sign In View
Now we are going to build our SignInView using the components created, this is the code complete of SignInView:
First part
Second Part
And your result must be look like this:

If you type an email and password in your Xcode console you will see the data, alike this:

Well fellow, we done. This is the first SwiftUI tutorial series below of this post you will find a full project in github repository.

